We write the text for our website in English. The multiple language selection feature is an auto-translation by Google. This translation is not perfect; it sometimes uses peculiar words and even expresses things in a very different way than what we actually meant. So, if you’re reading in a language other than English, and you read something strange, switch back to the English version to read what we actually meant to write!
If you’d like a shorter/summarized version of our posts, read only the “Highlights” section below and stop before “The Captain’s Log“, which is much more detailed, more like a logbook / diary and contains information for our reference as well.
Highlights – the overview
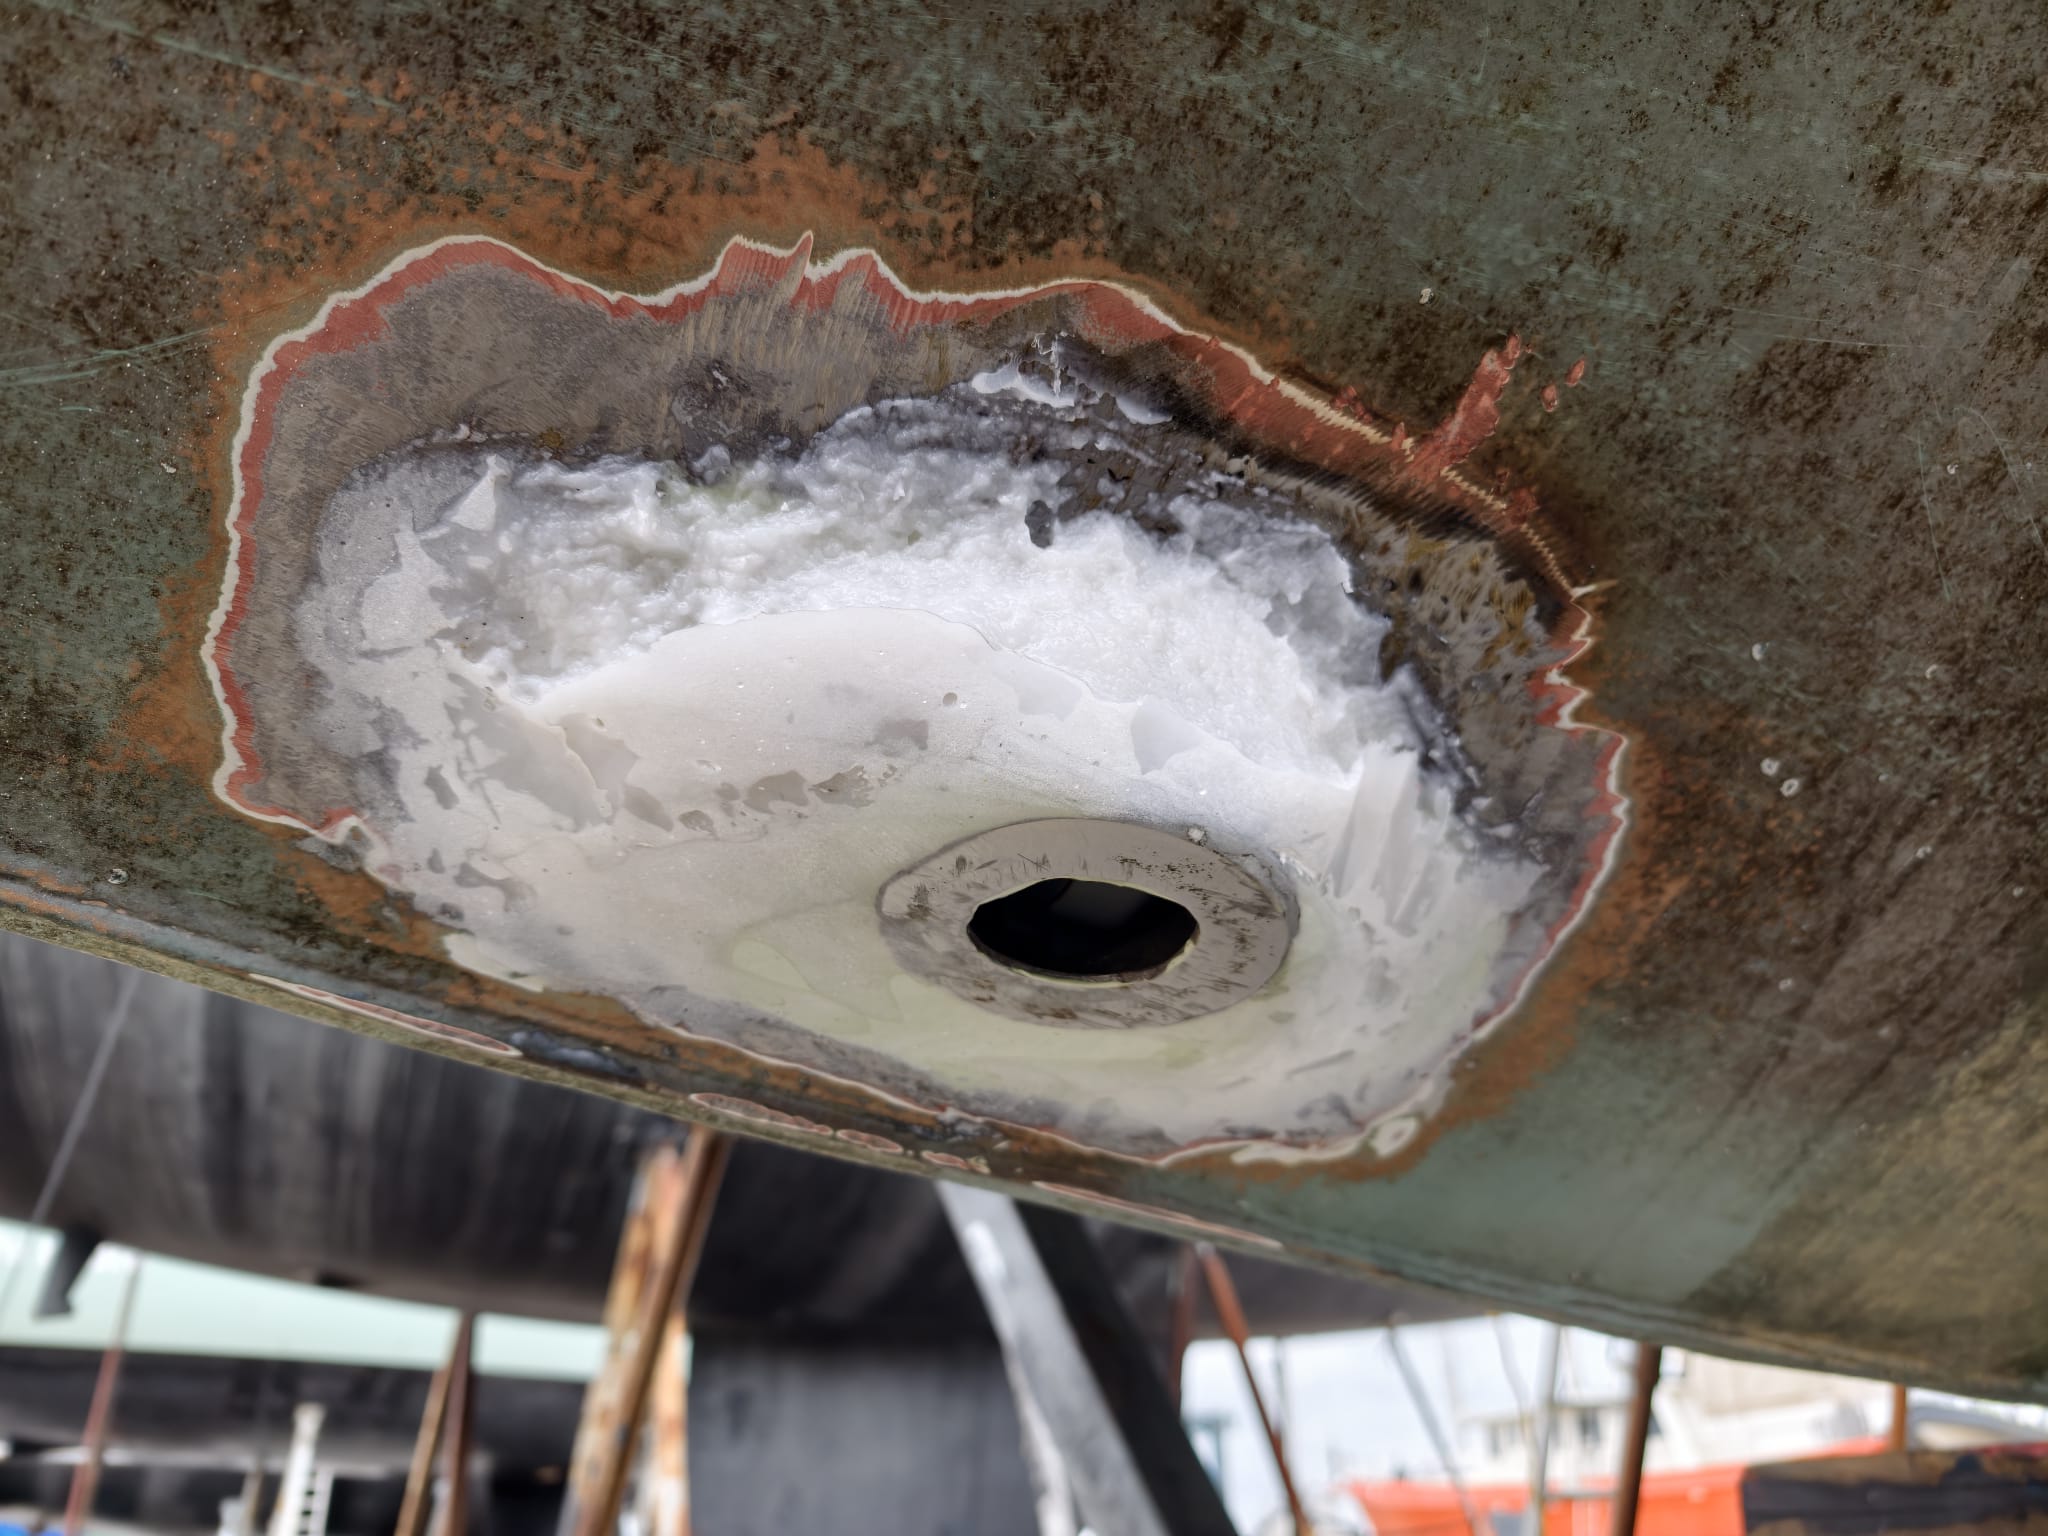
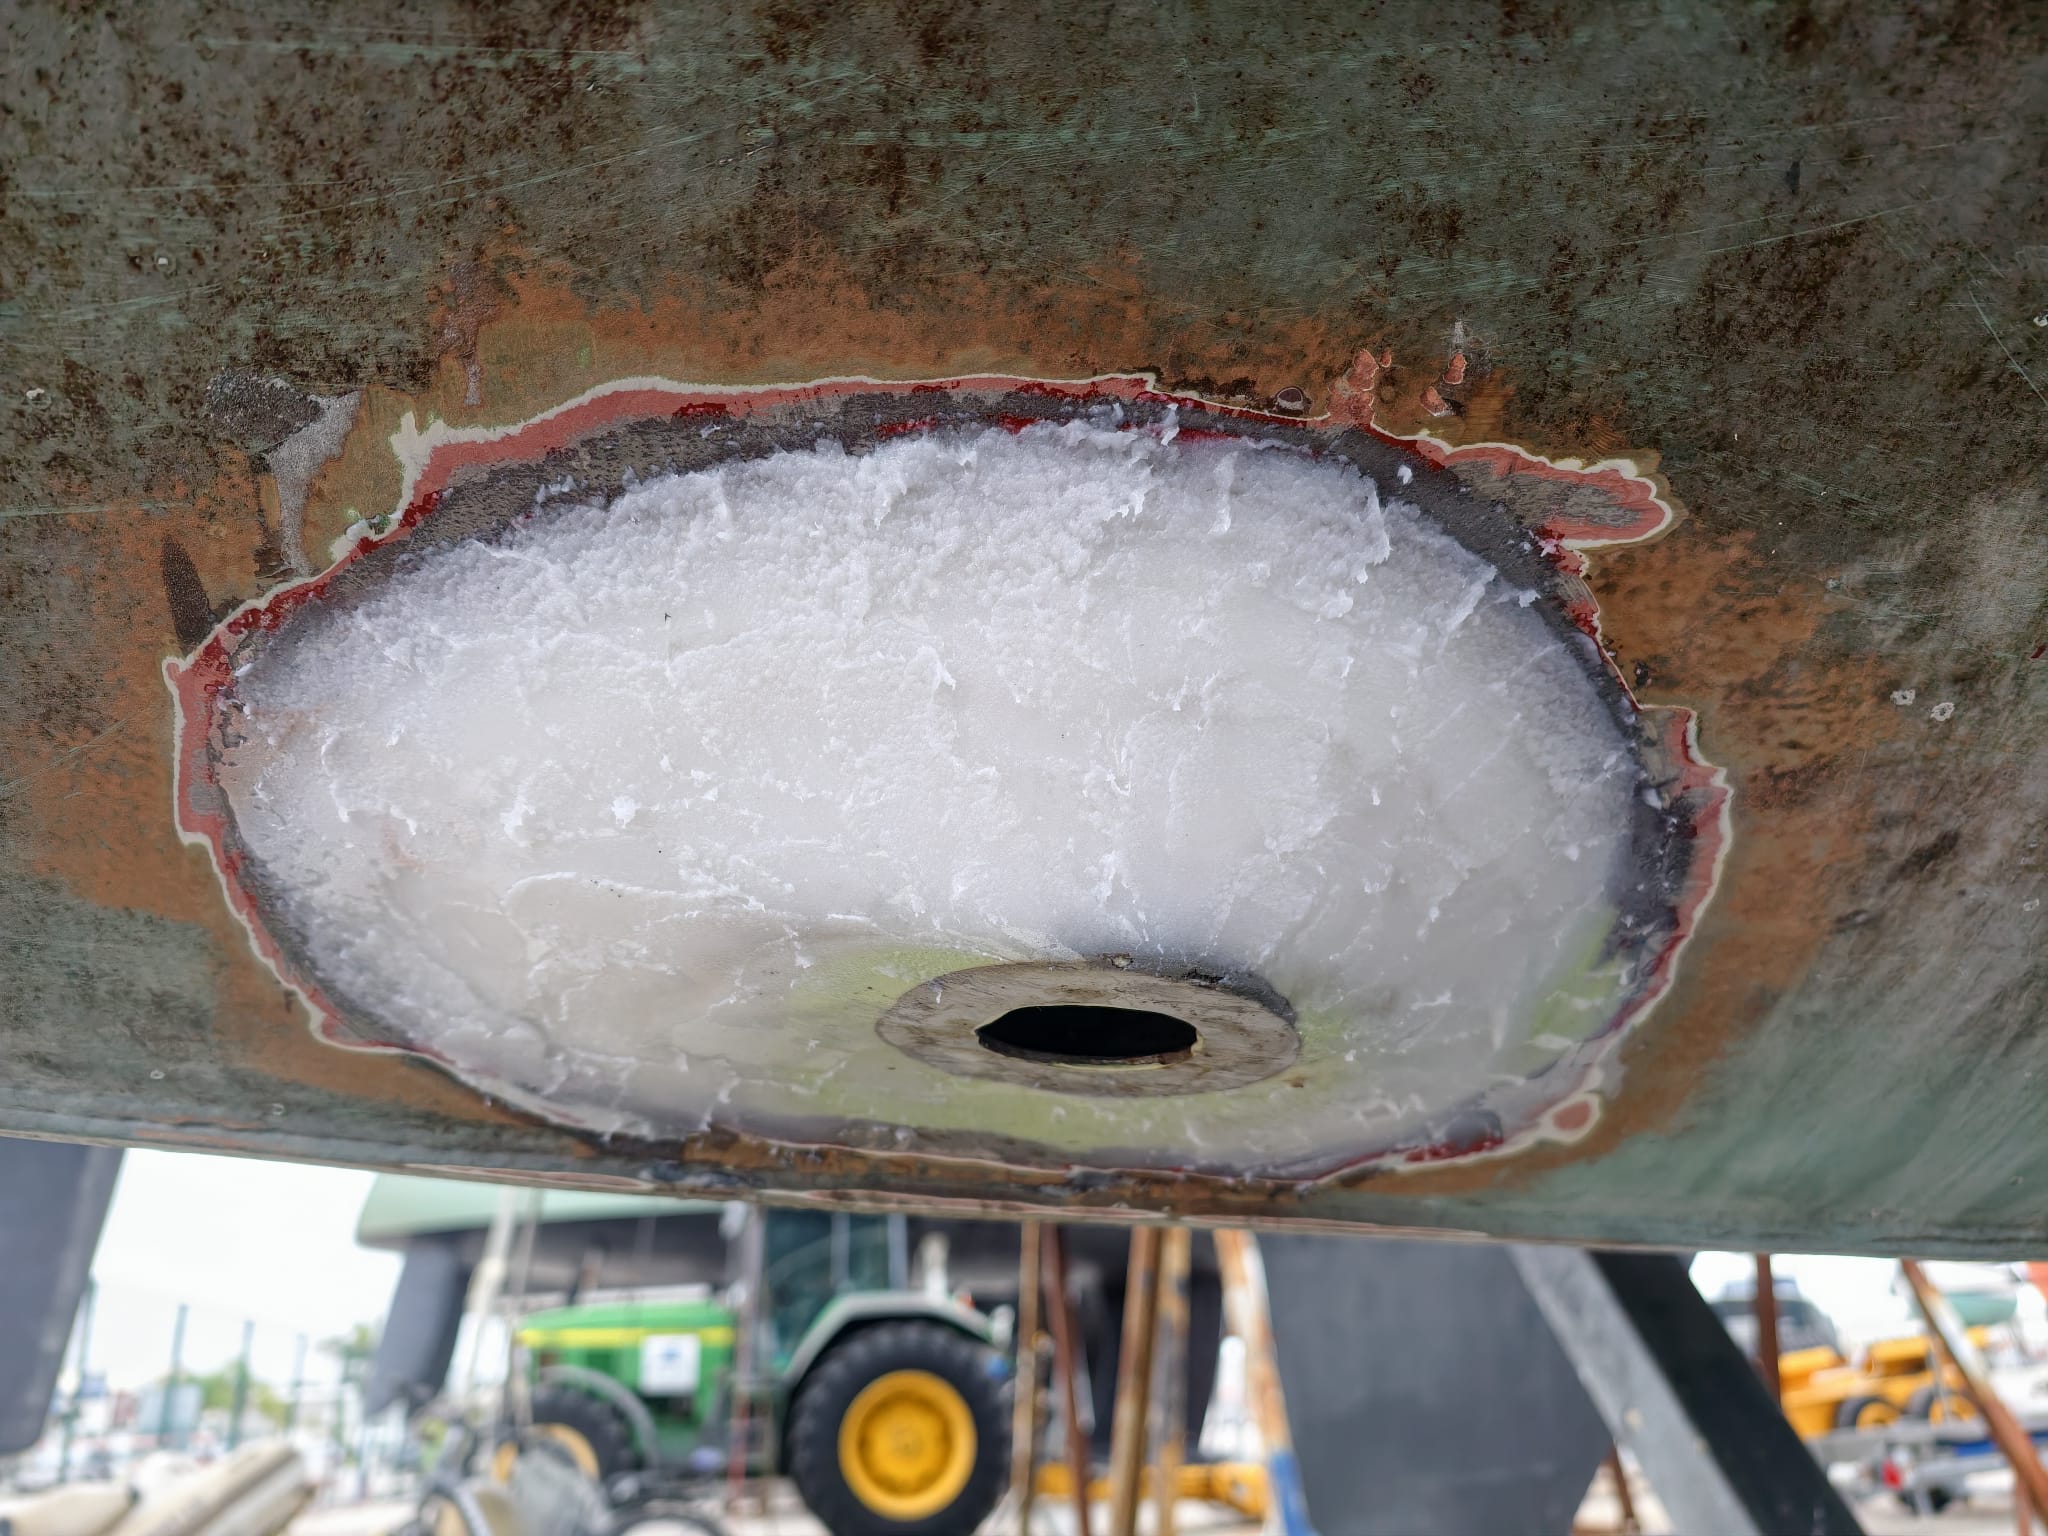
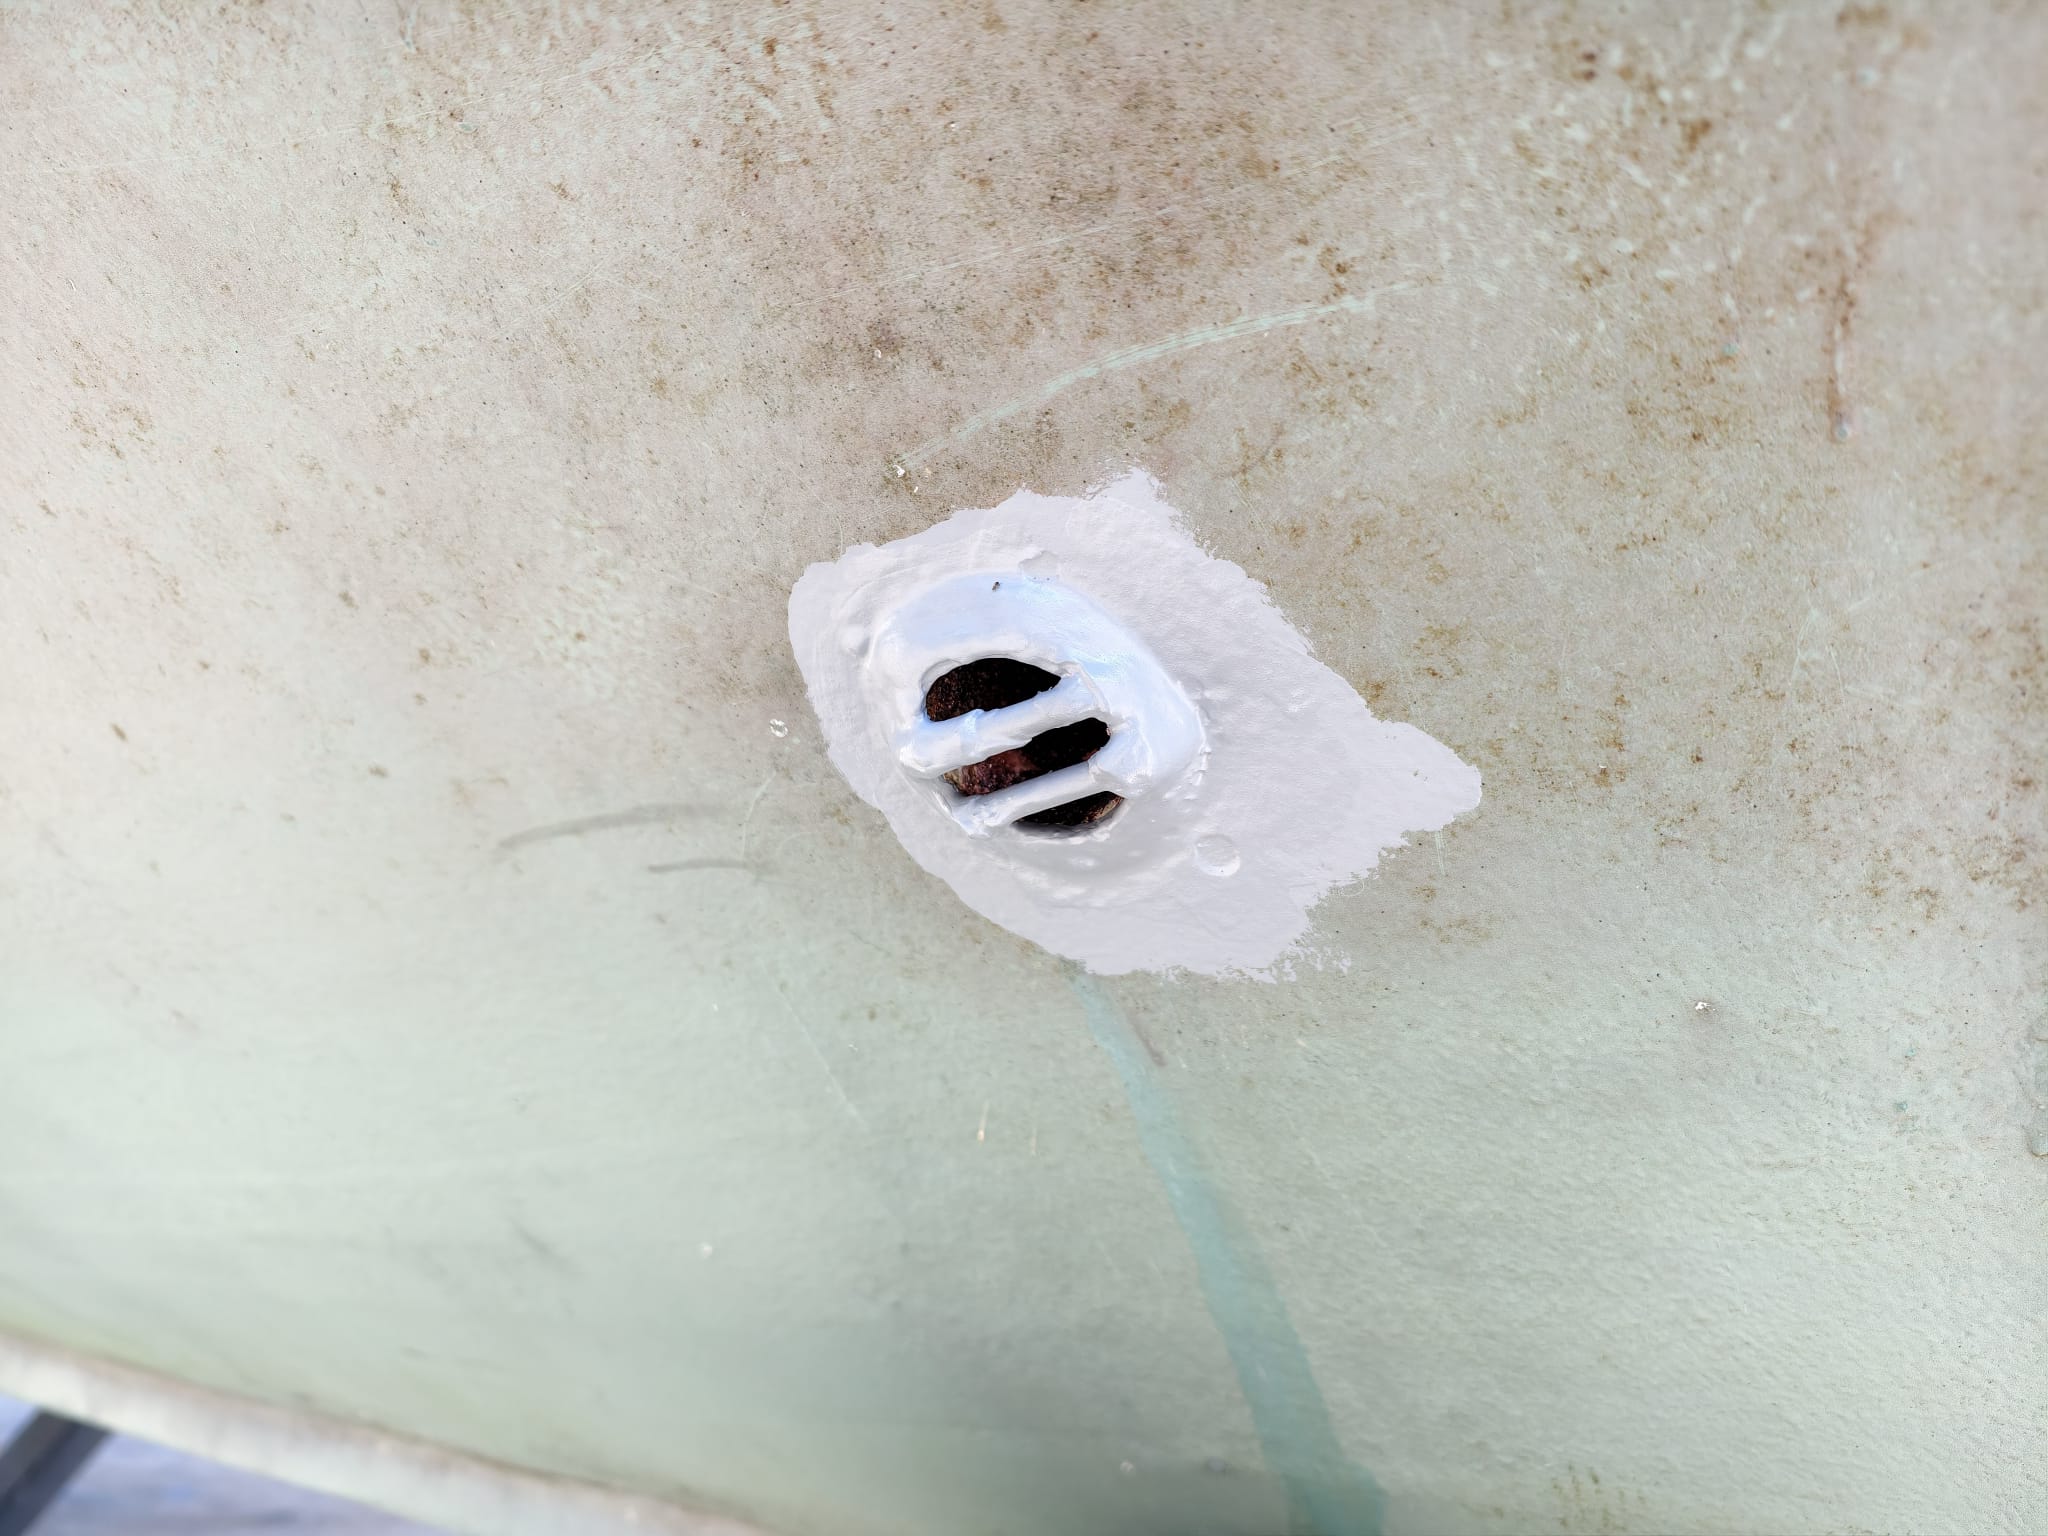
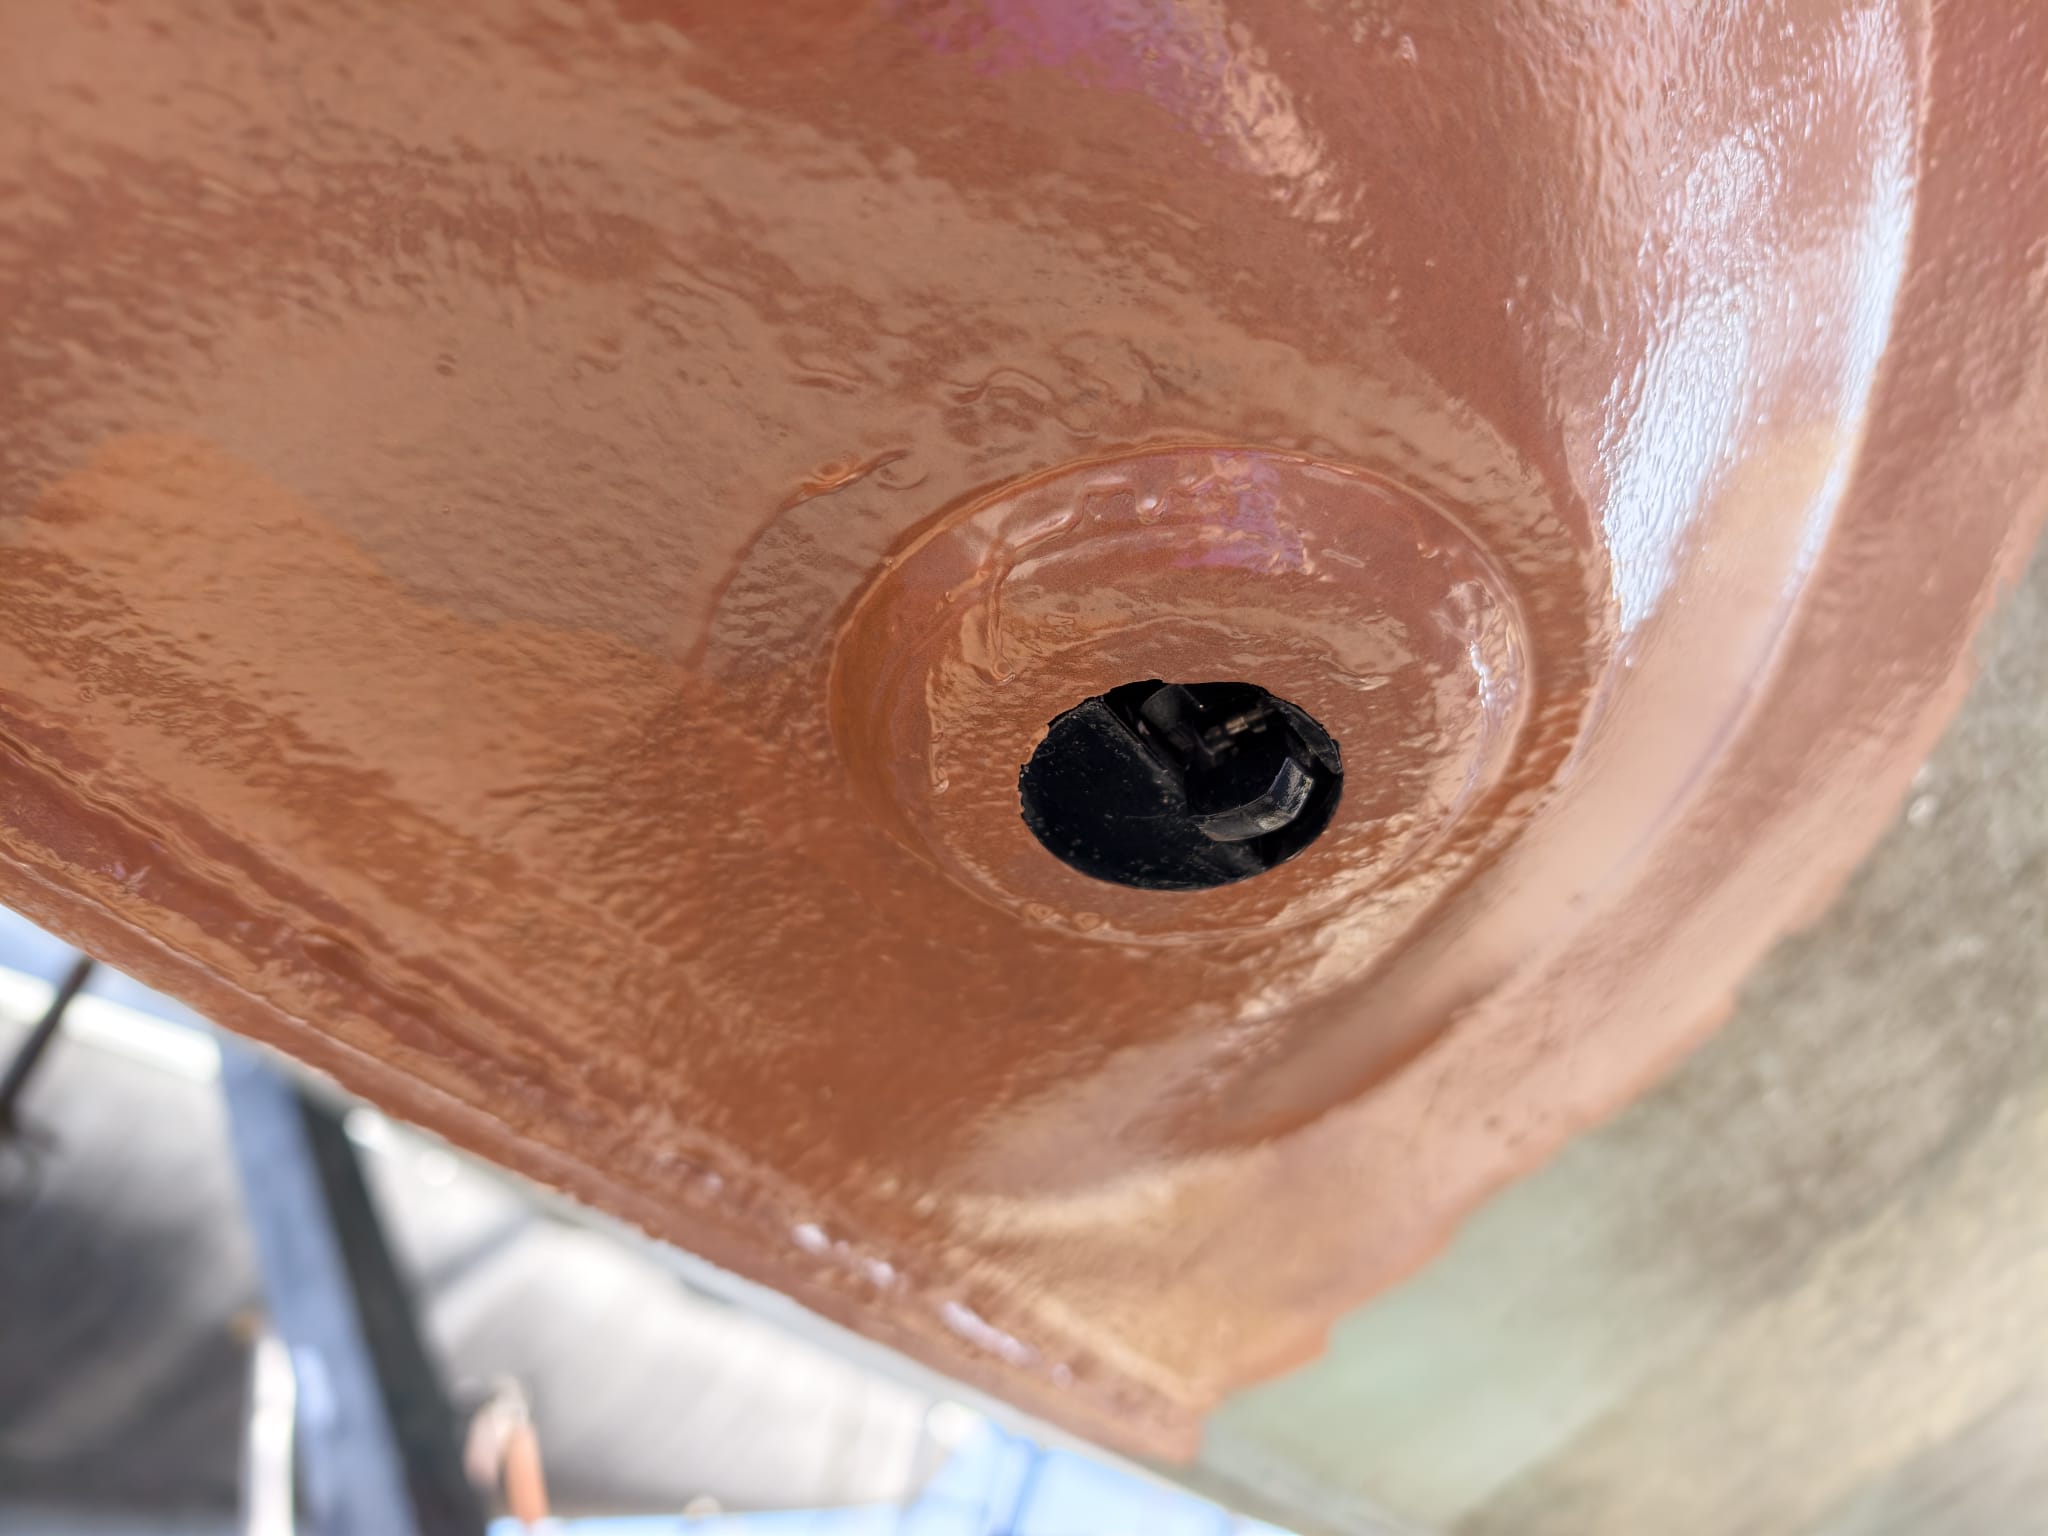
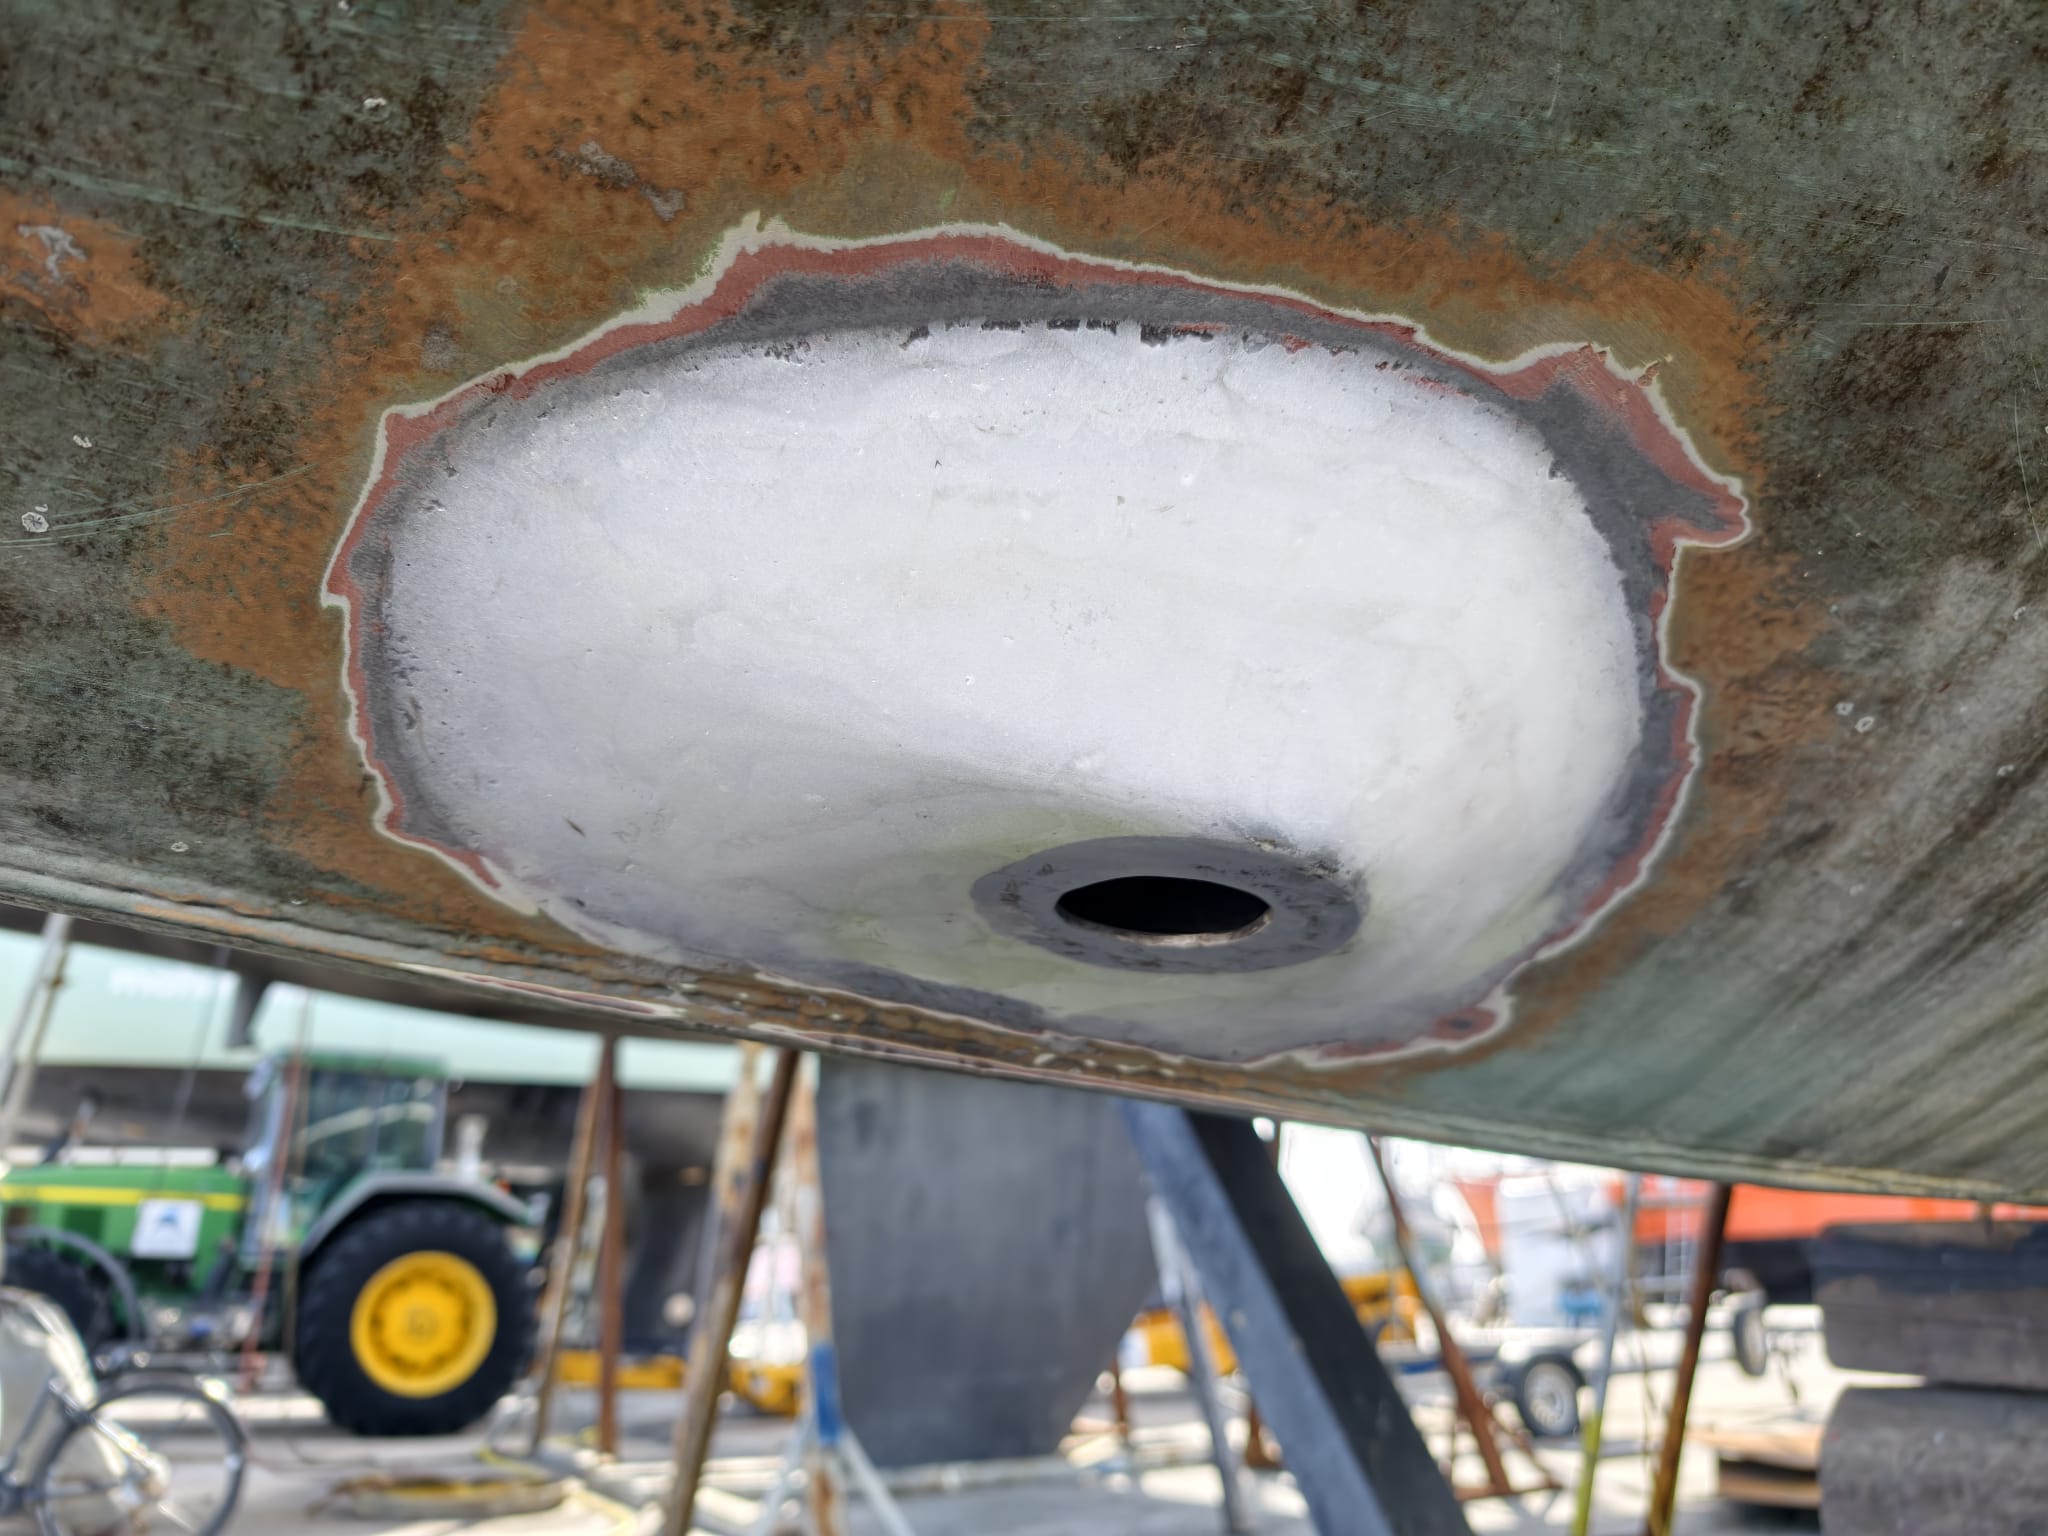
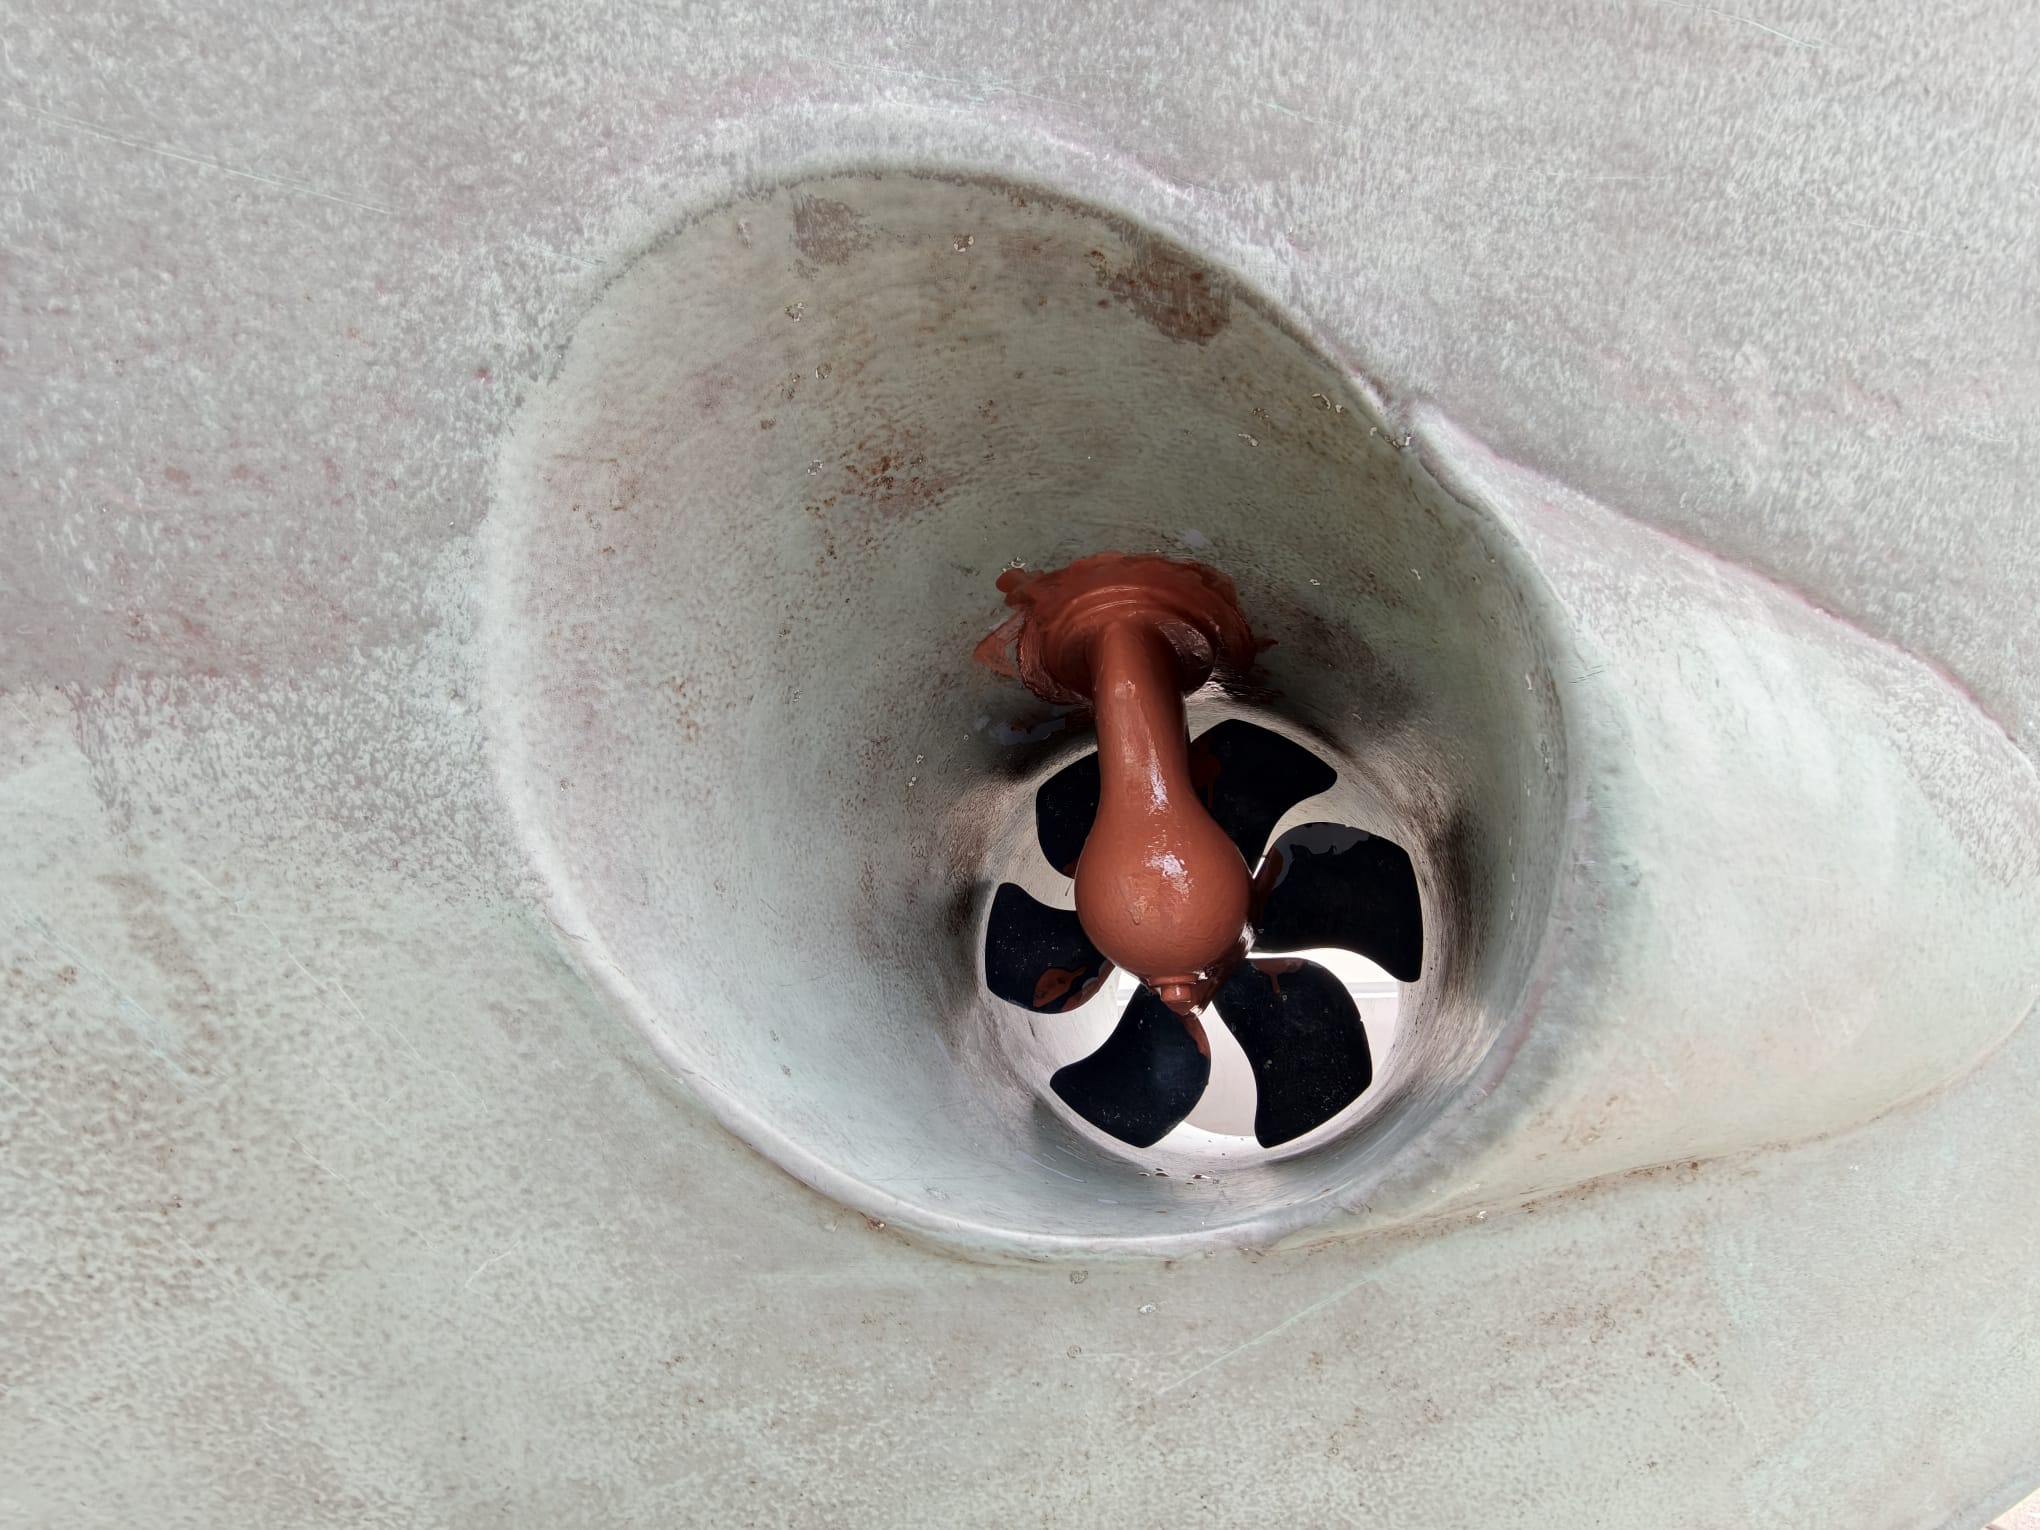
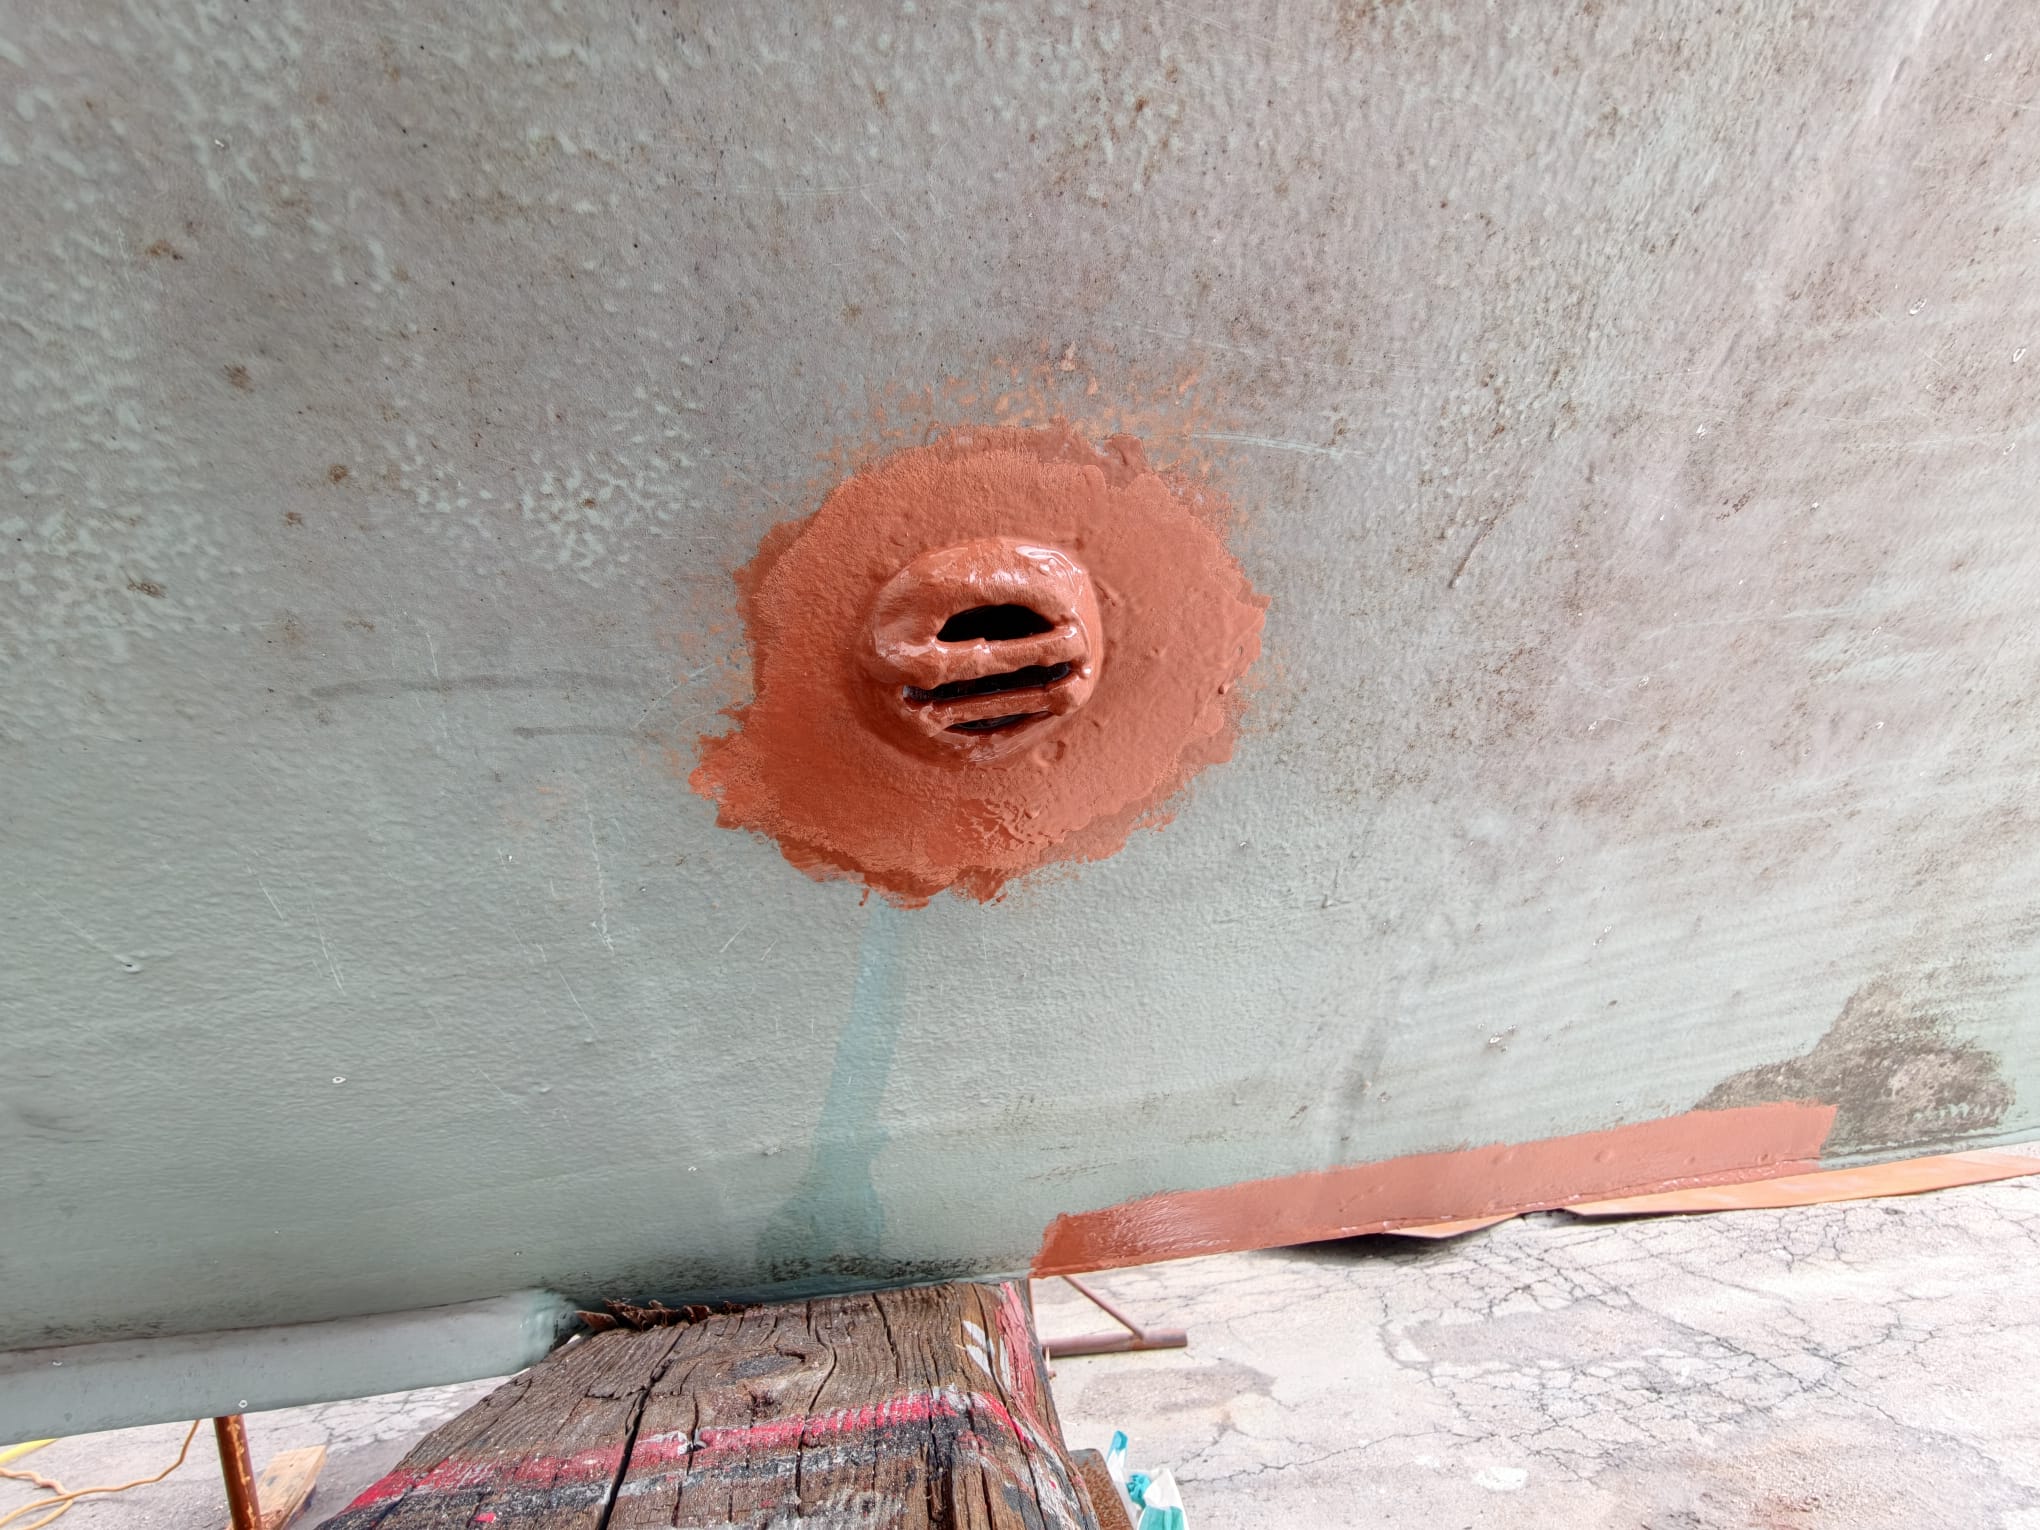
Still here in the boatyard, we continue to work on our projects. Bit by bit, the filler takes shape around the transducer…
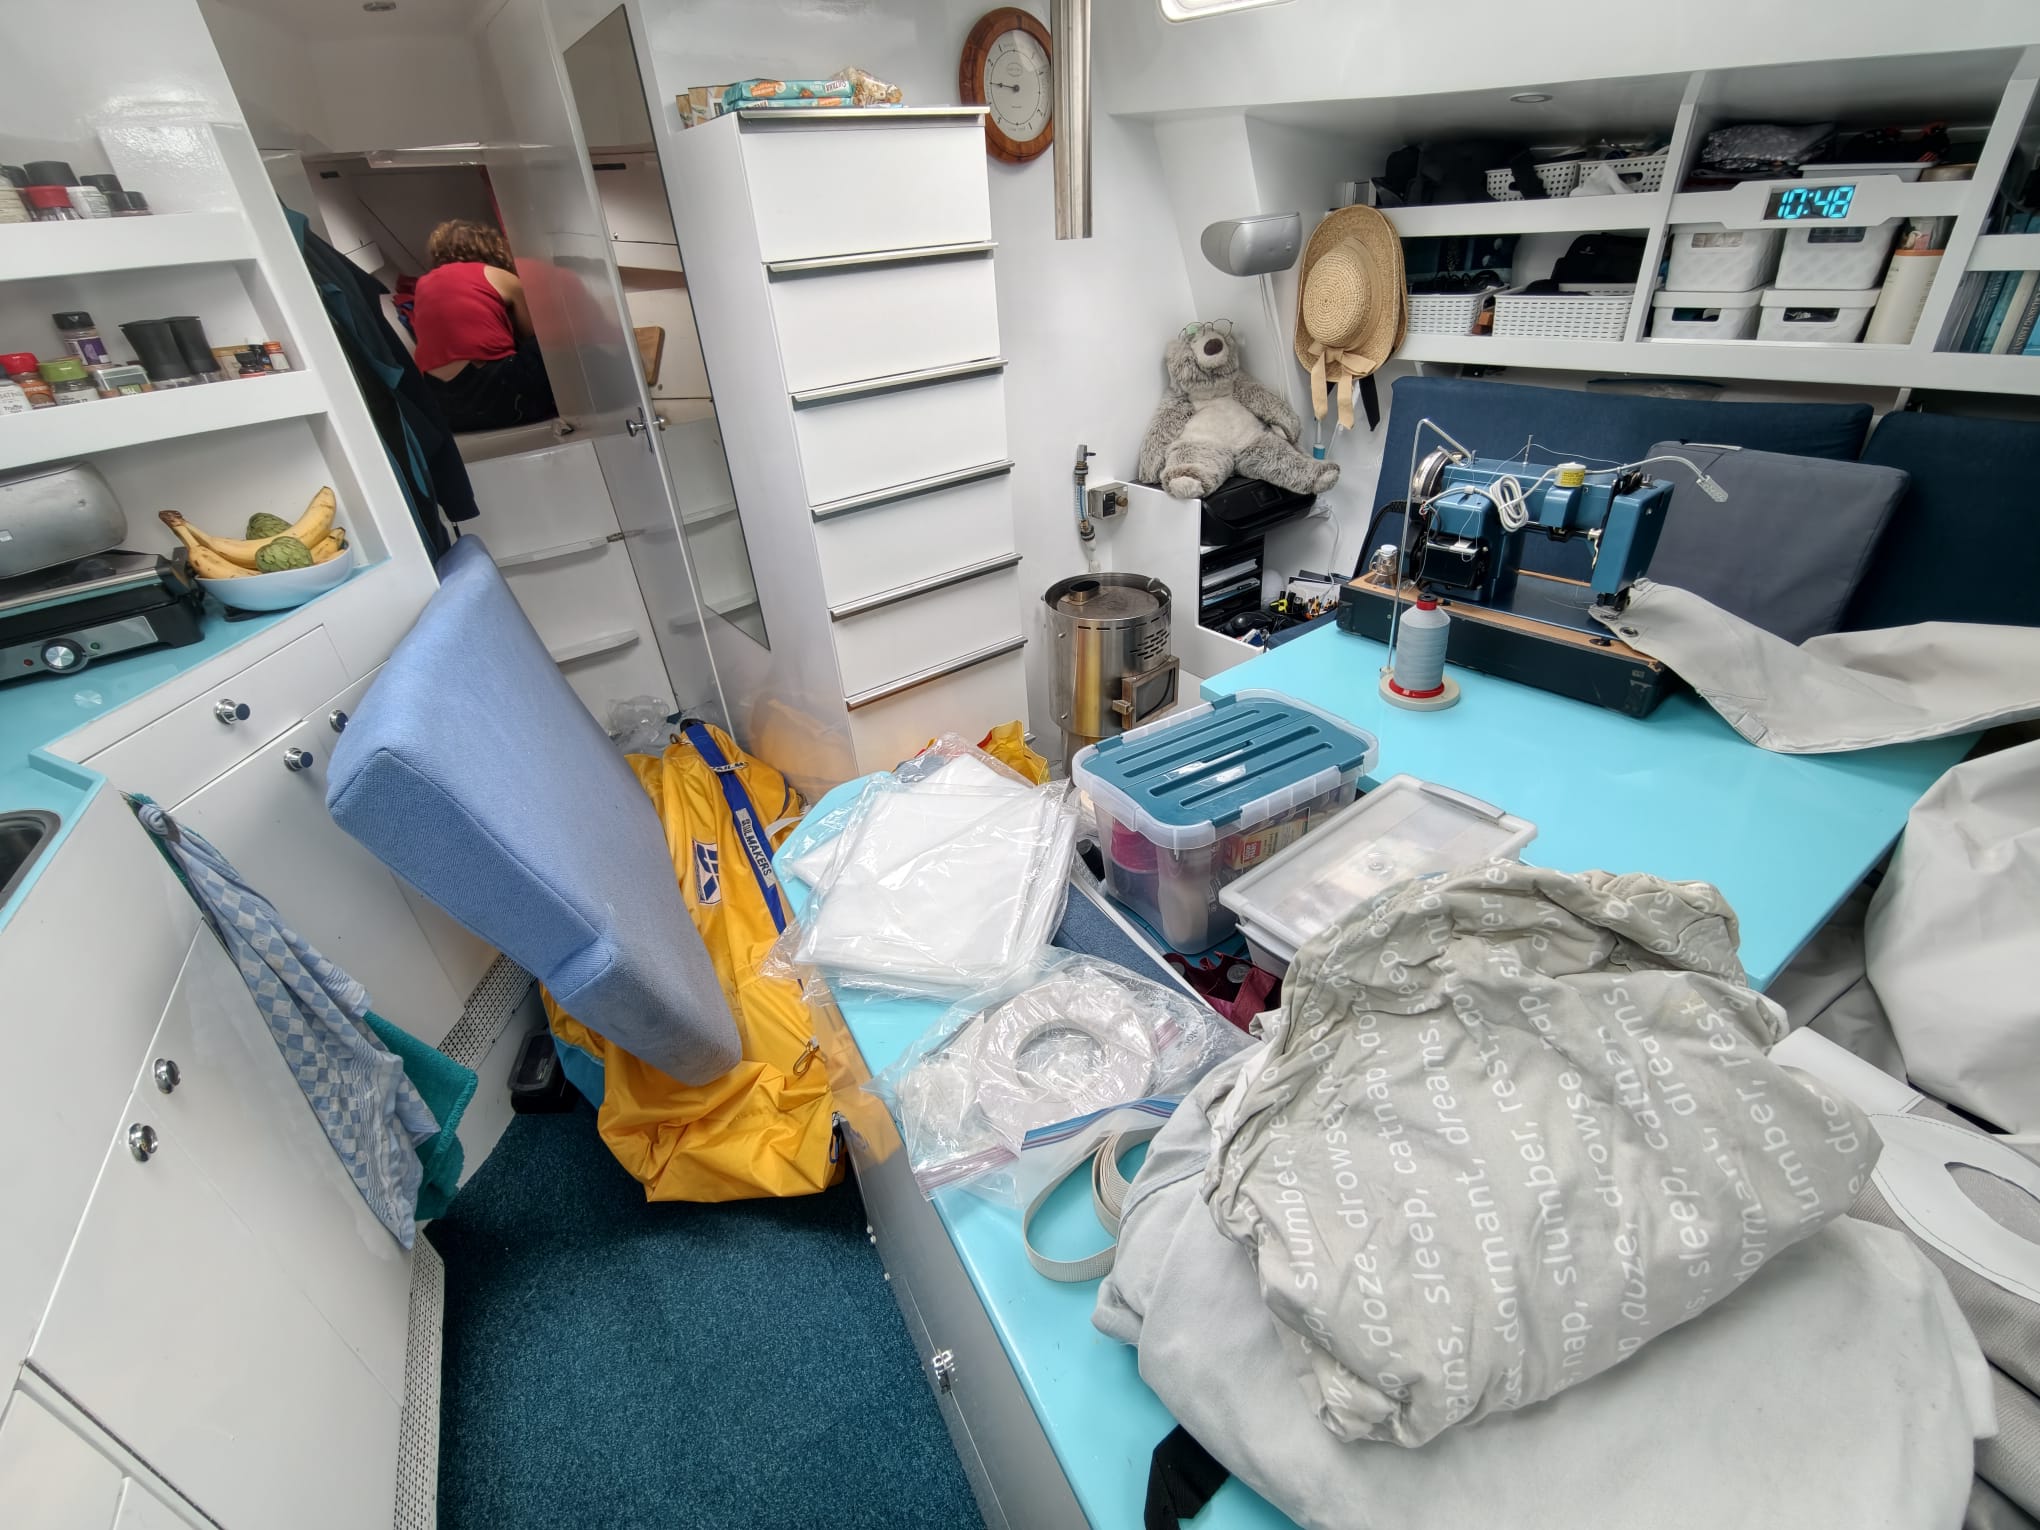
Another job on the list is welding a bracket for the anchor chain roller. Wim needs his welding tools, but they are all the way in the bow, in the area of the bow thruster, under the bed. To reach it, everything has to come out of the forward cabin, resulting in a huge mess in the boat 🫡
But there it is. A little welding workshop outside, with a wood block as workbench.
We brought the stainless steel parts a year ago from the Netherlands but we didn’t have an opportunity to do the welding and grinding. Here, that no problem. So, Wim goes ahead.

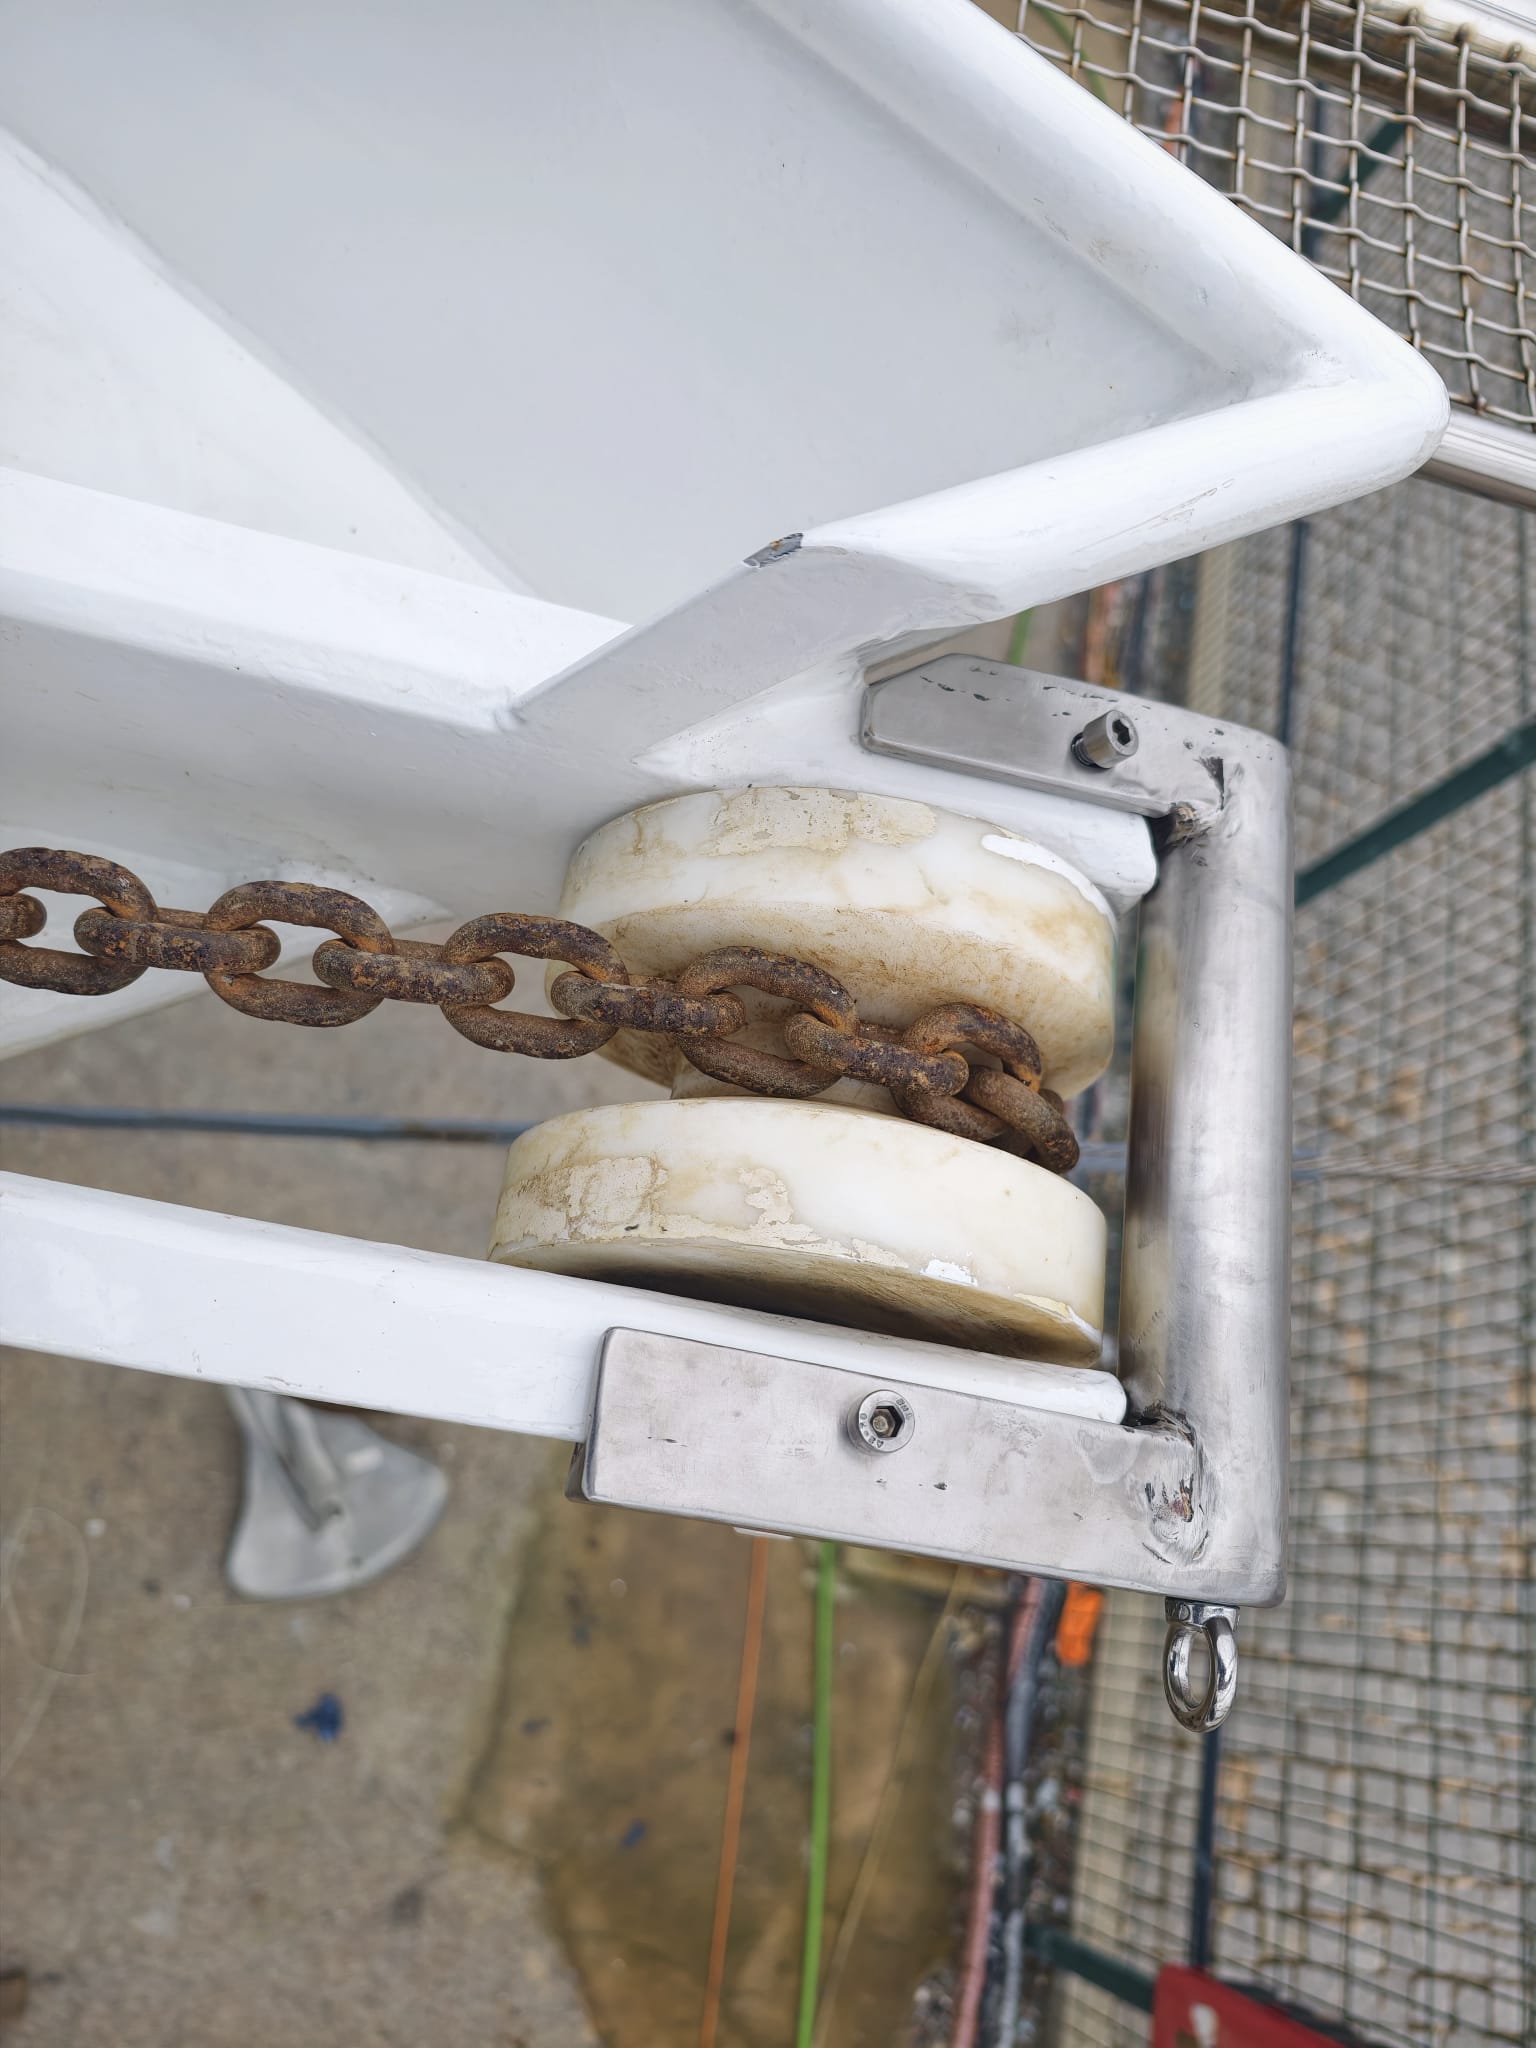
The purpose of this bracket is to prevent the chain flipping off the roller. That happened a few times in the past when we had to hoist the anchor while pulling sideways in crazy situations with wind against current.
Another thing is that this provides extra safety. If the chain hook or the anchor bridle breaks, we want to be absolutely sure that the chain stays on the strong roller construction. We could even keep the chain hook and anchor bridle on deck, if necessary.
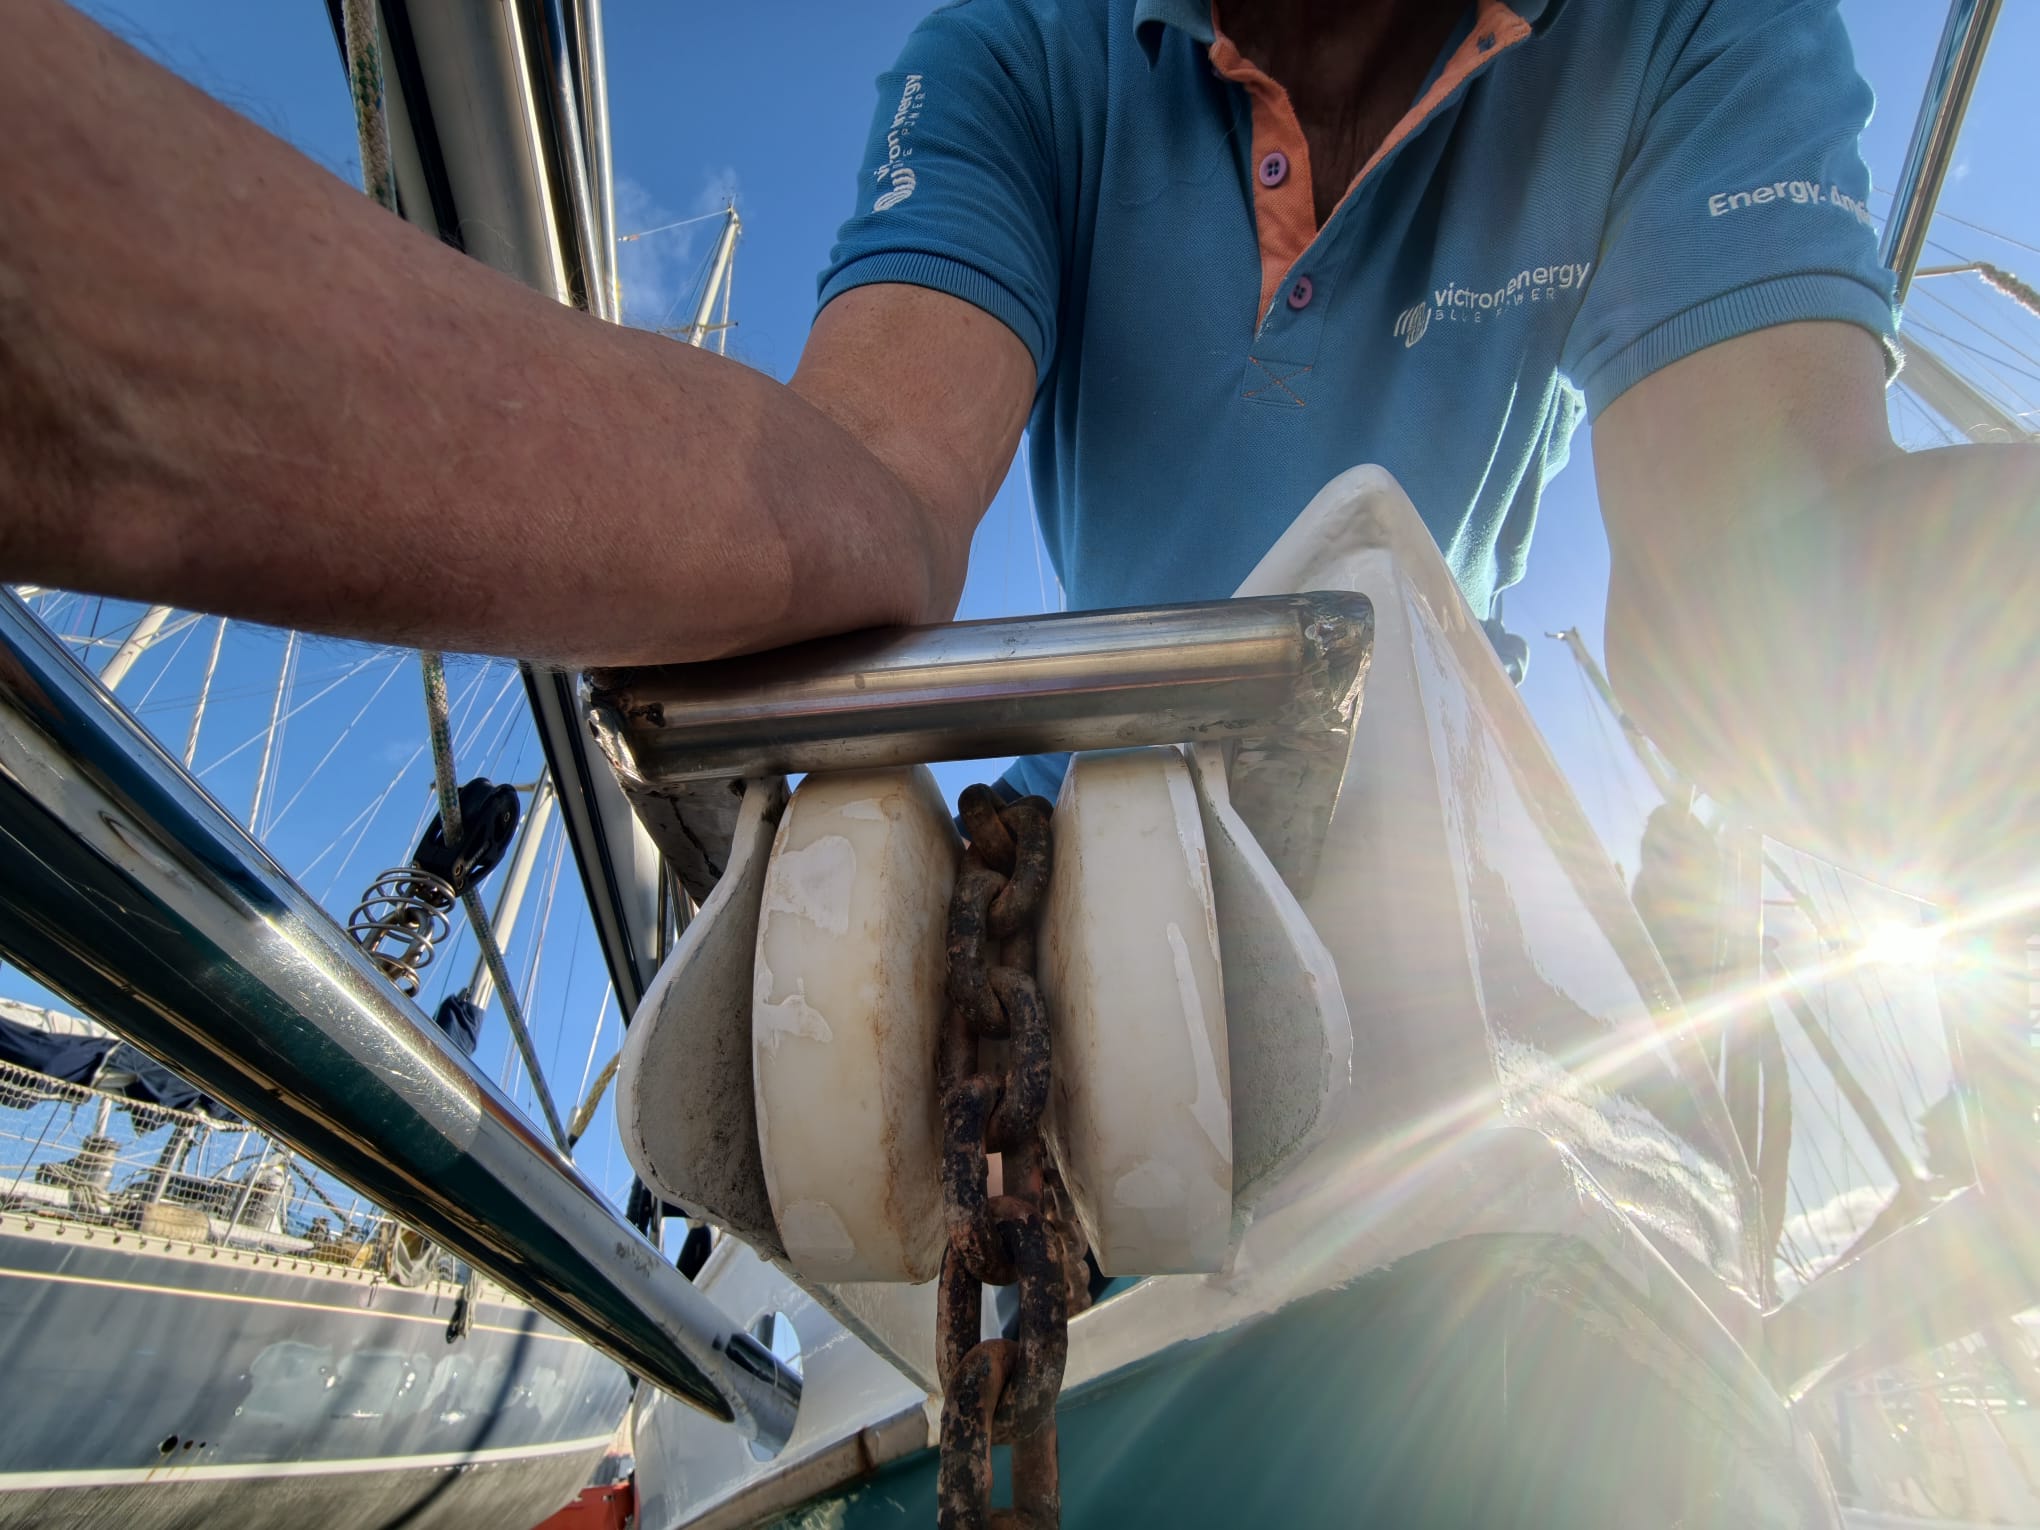
Of course we have to remove this bracket when the anchor is up and pulled onto the roller, but that’s easy to do by removing two pins.
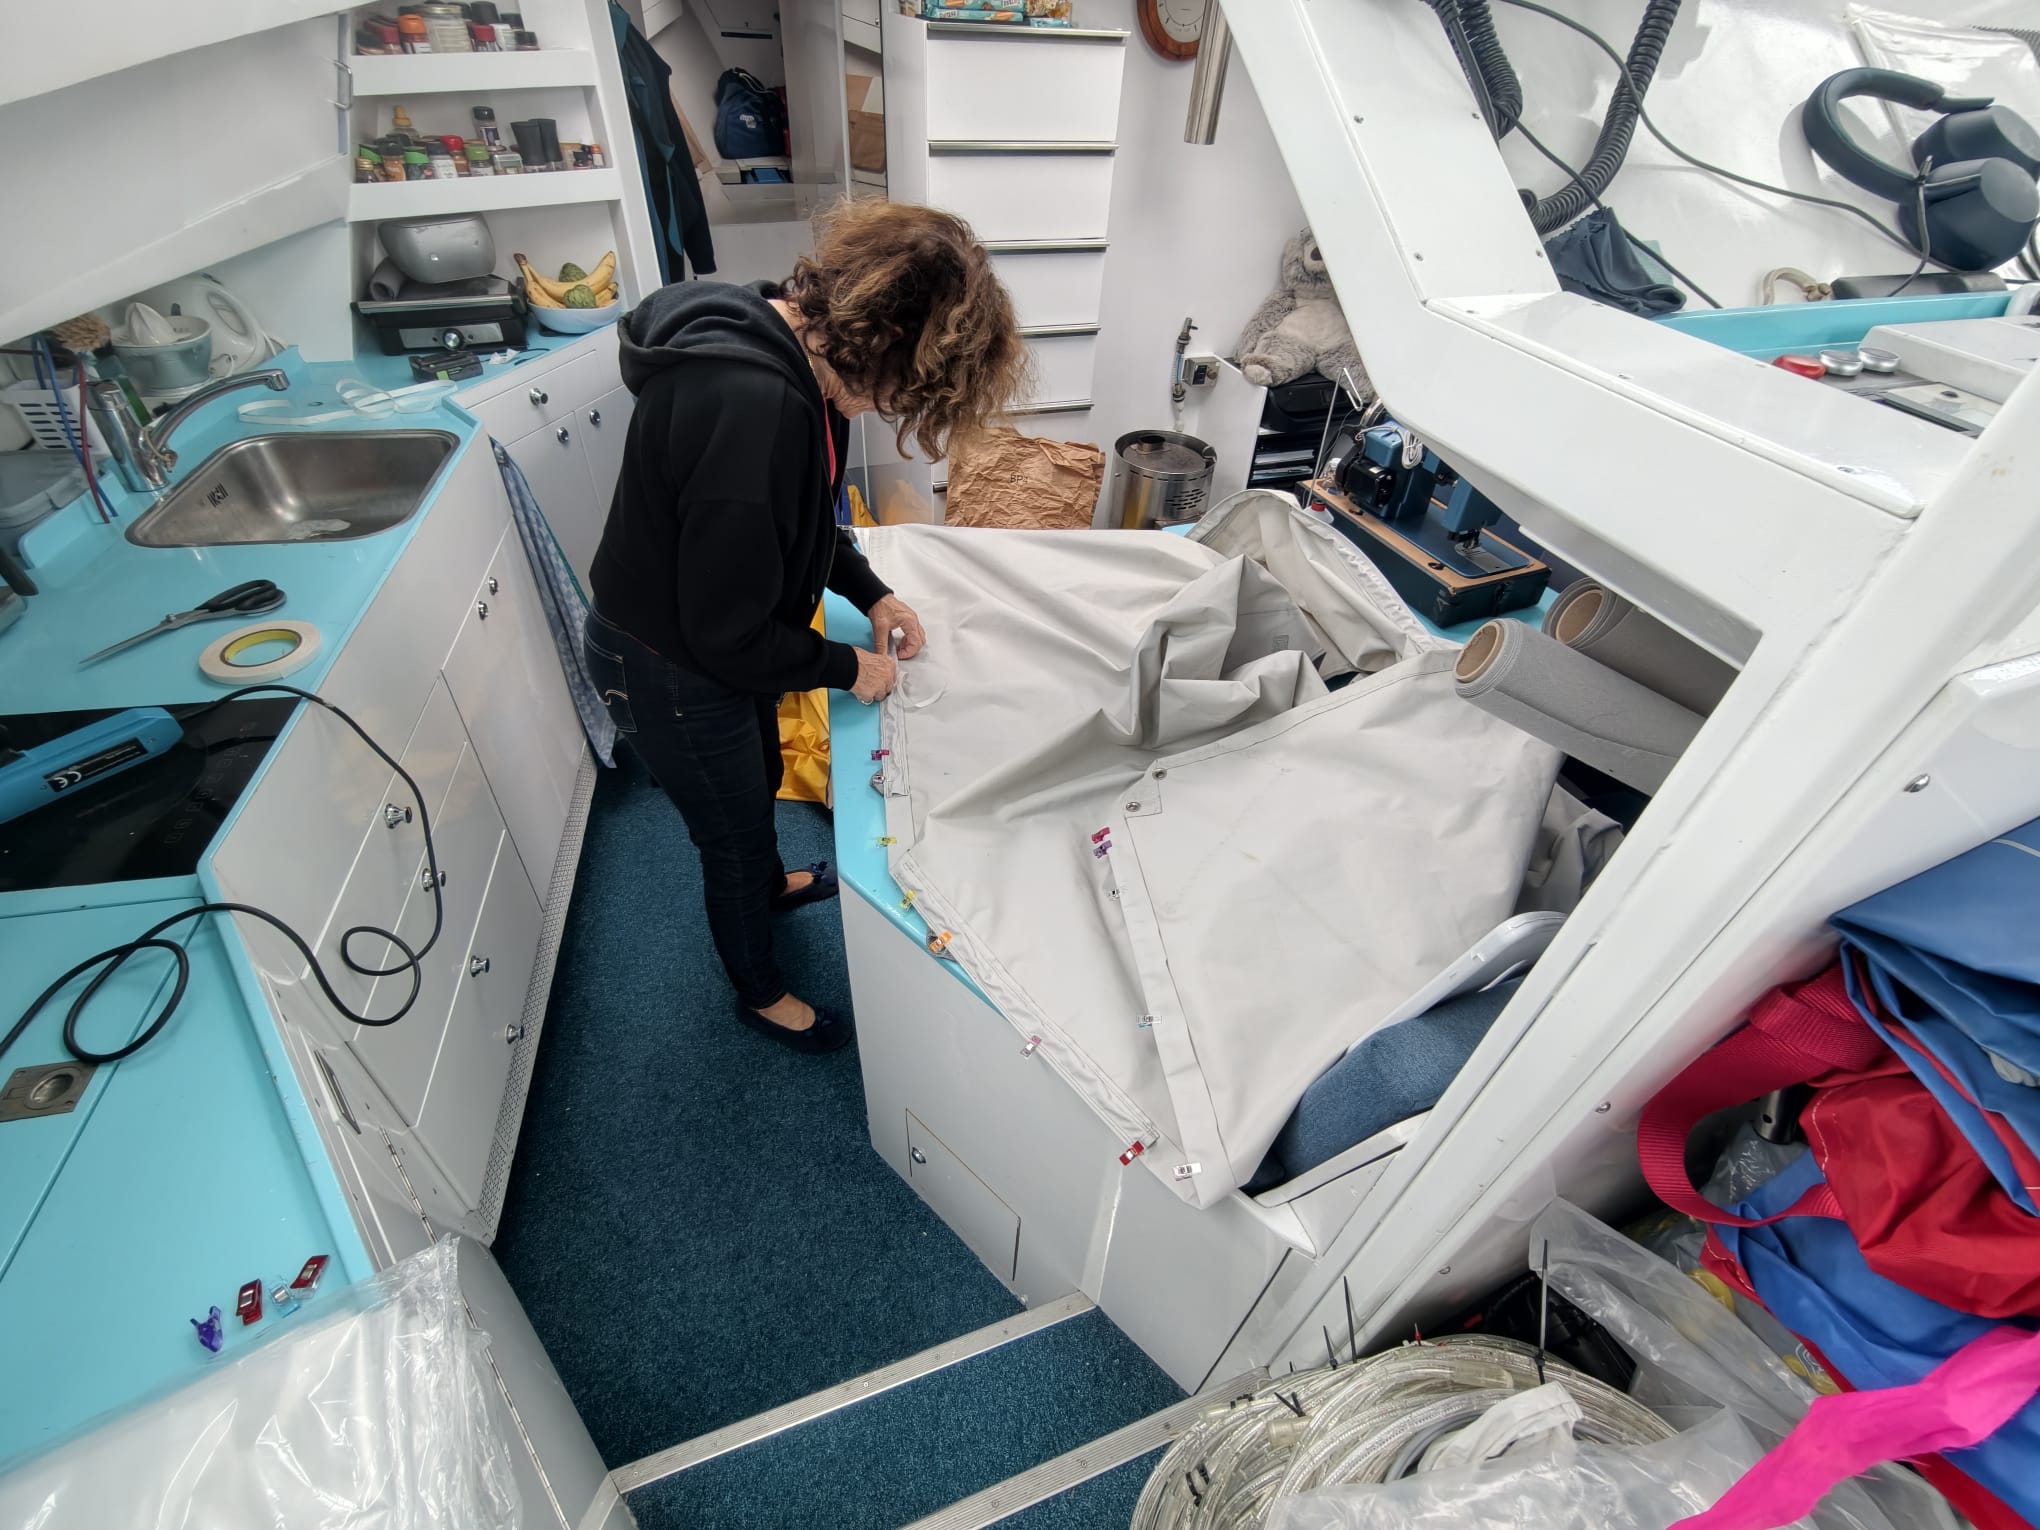
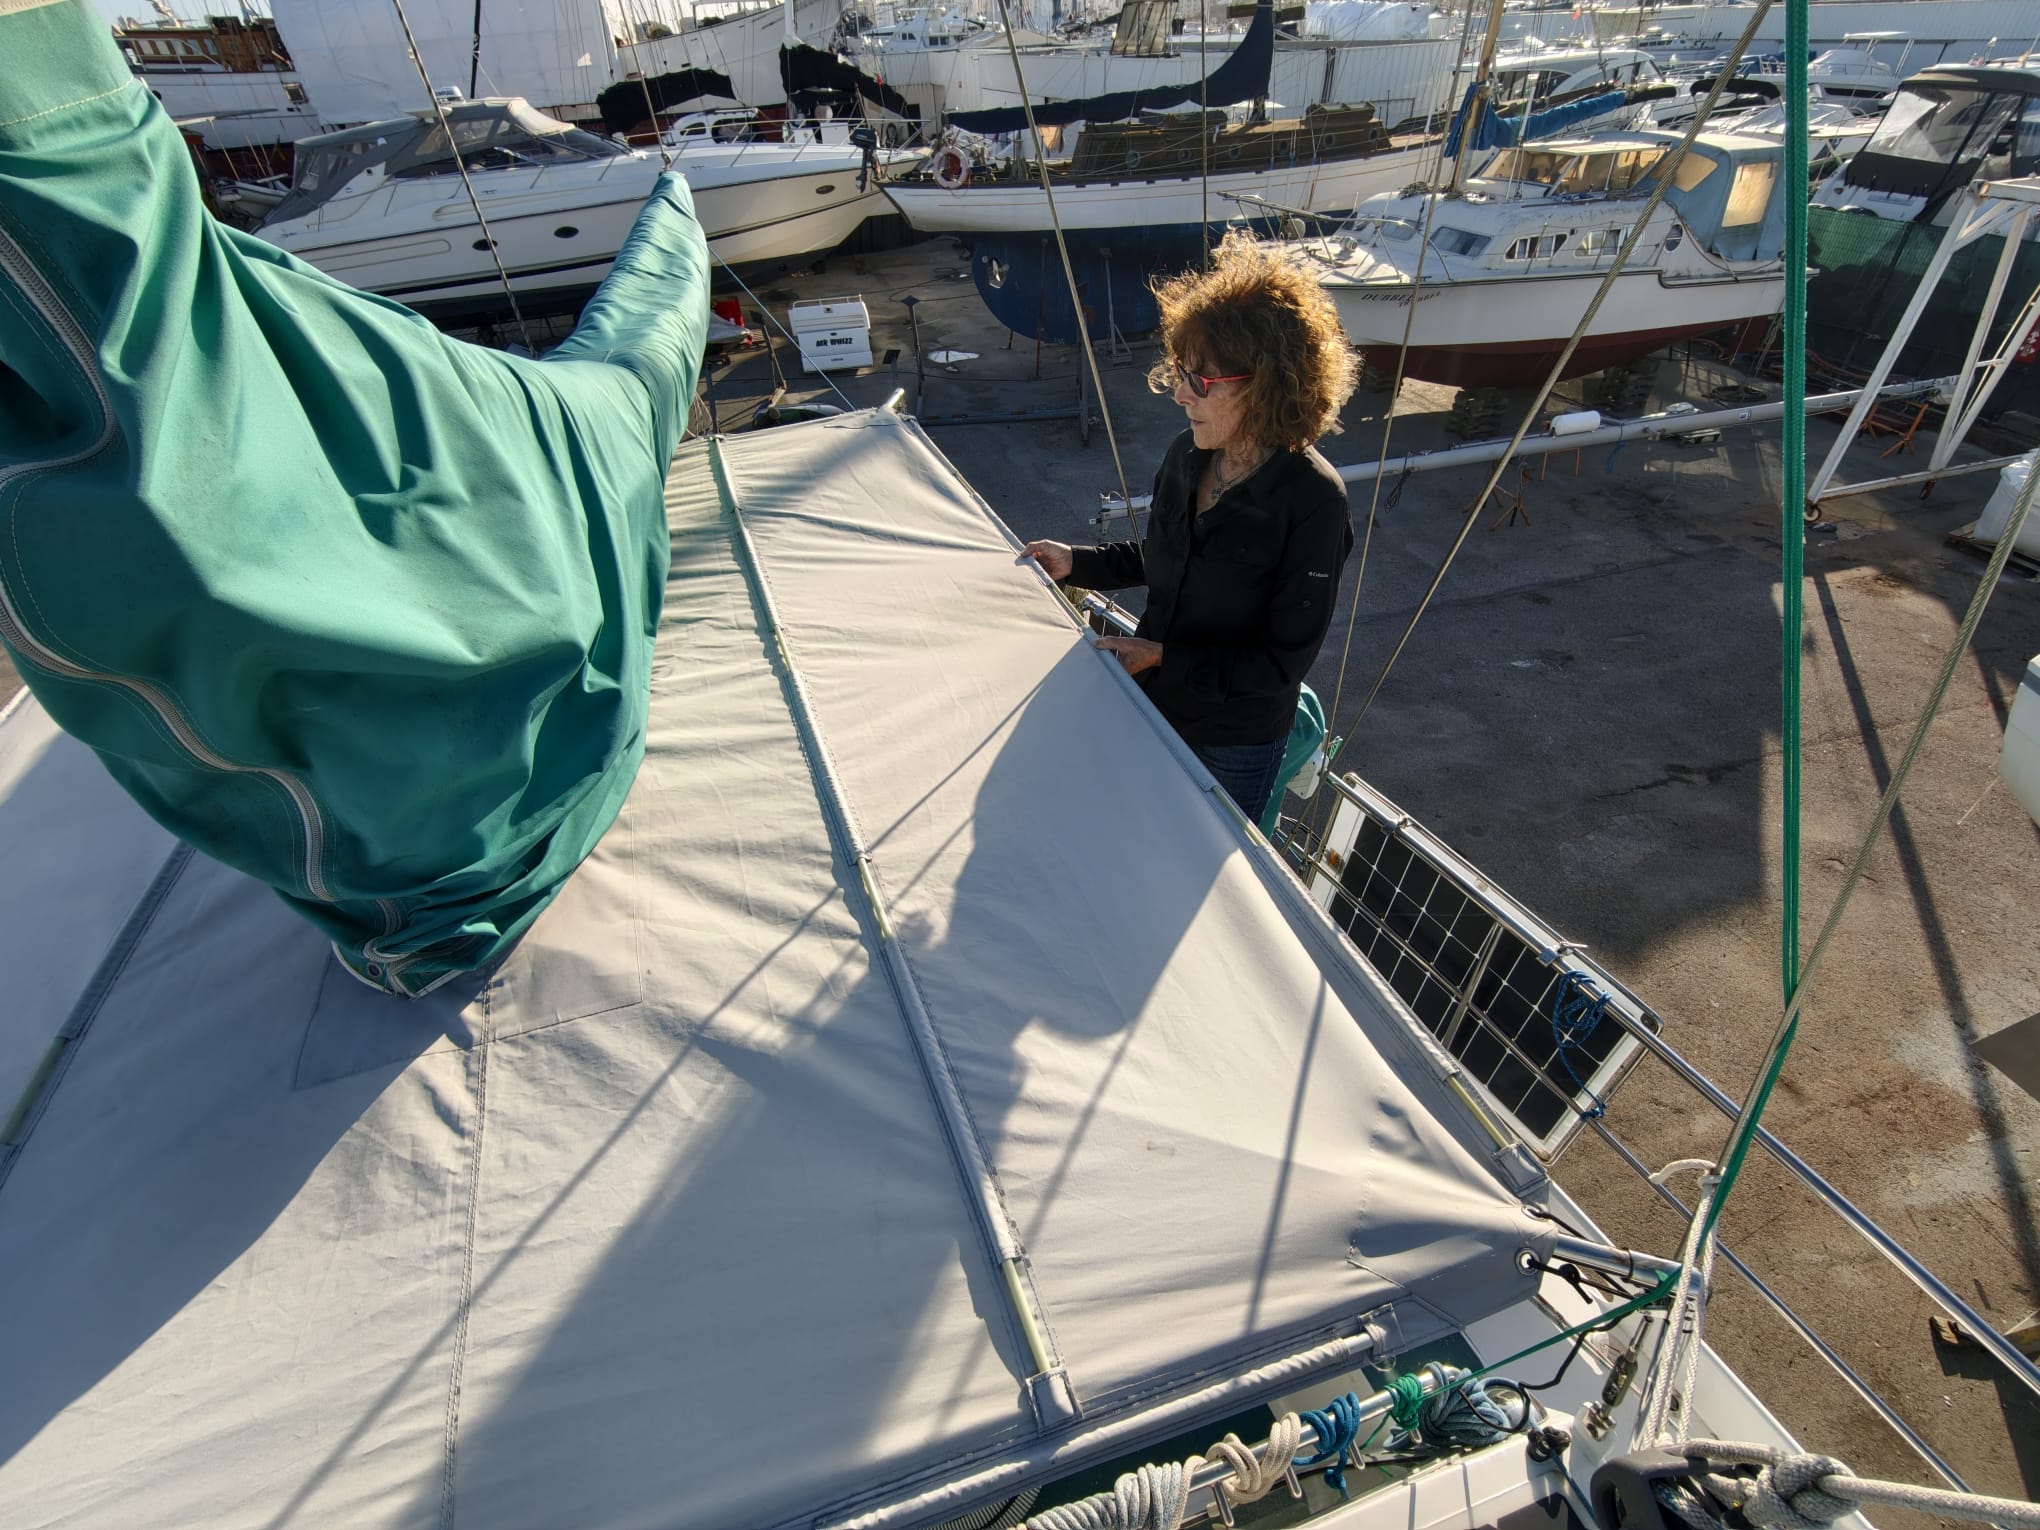
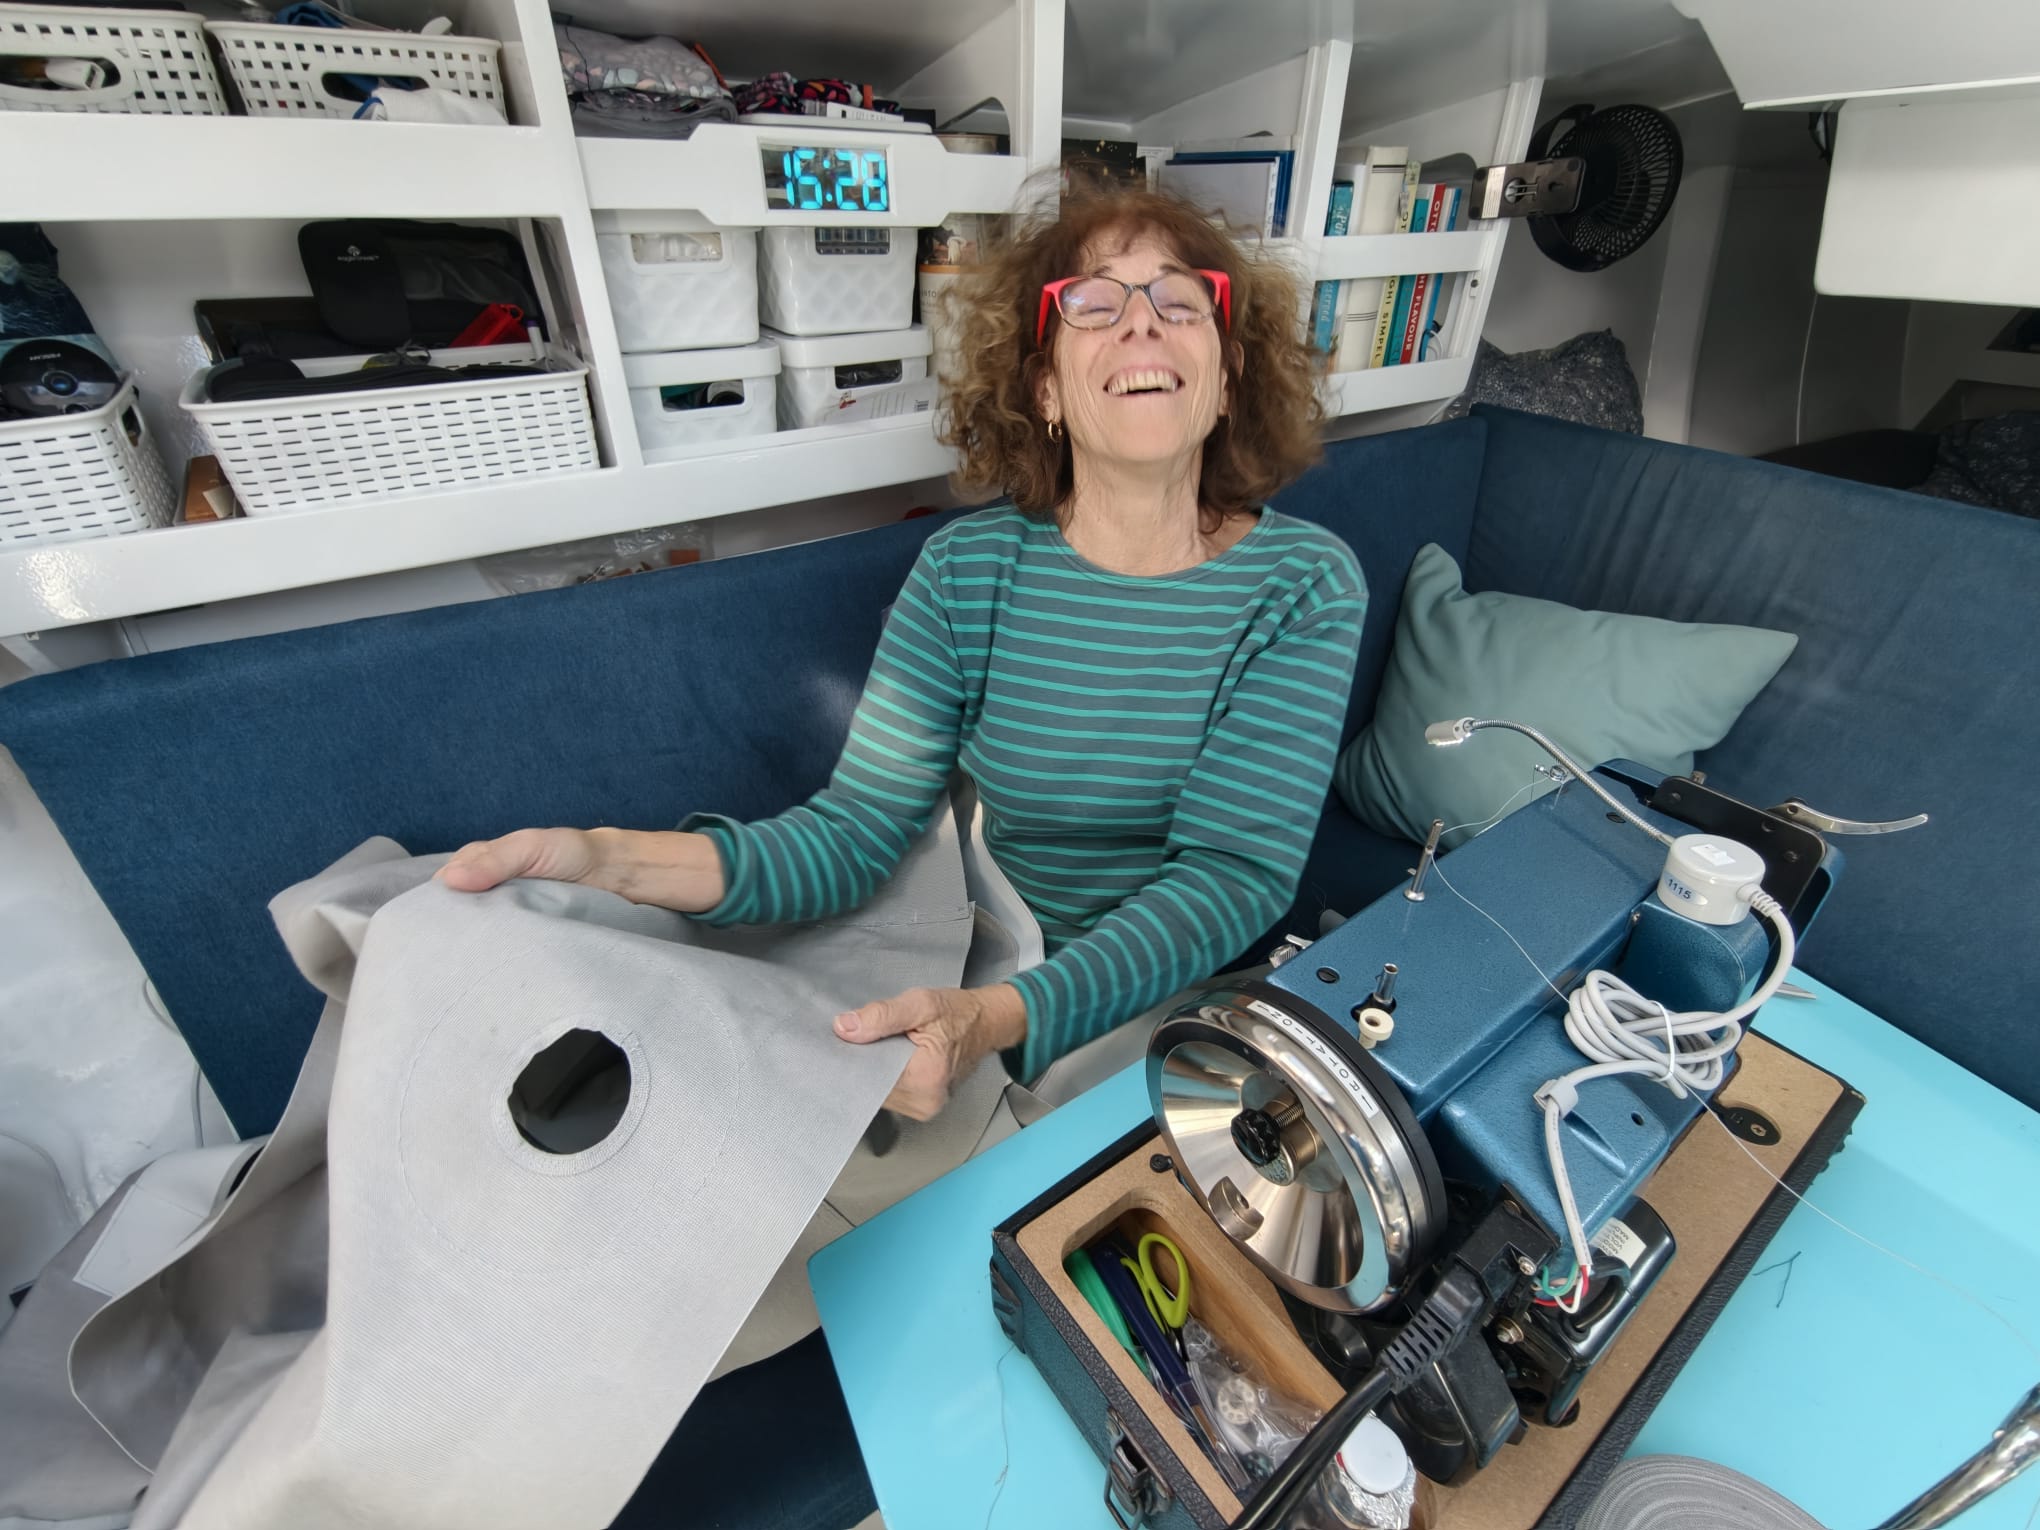
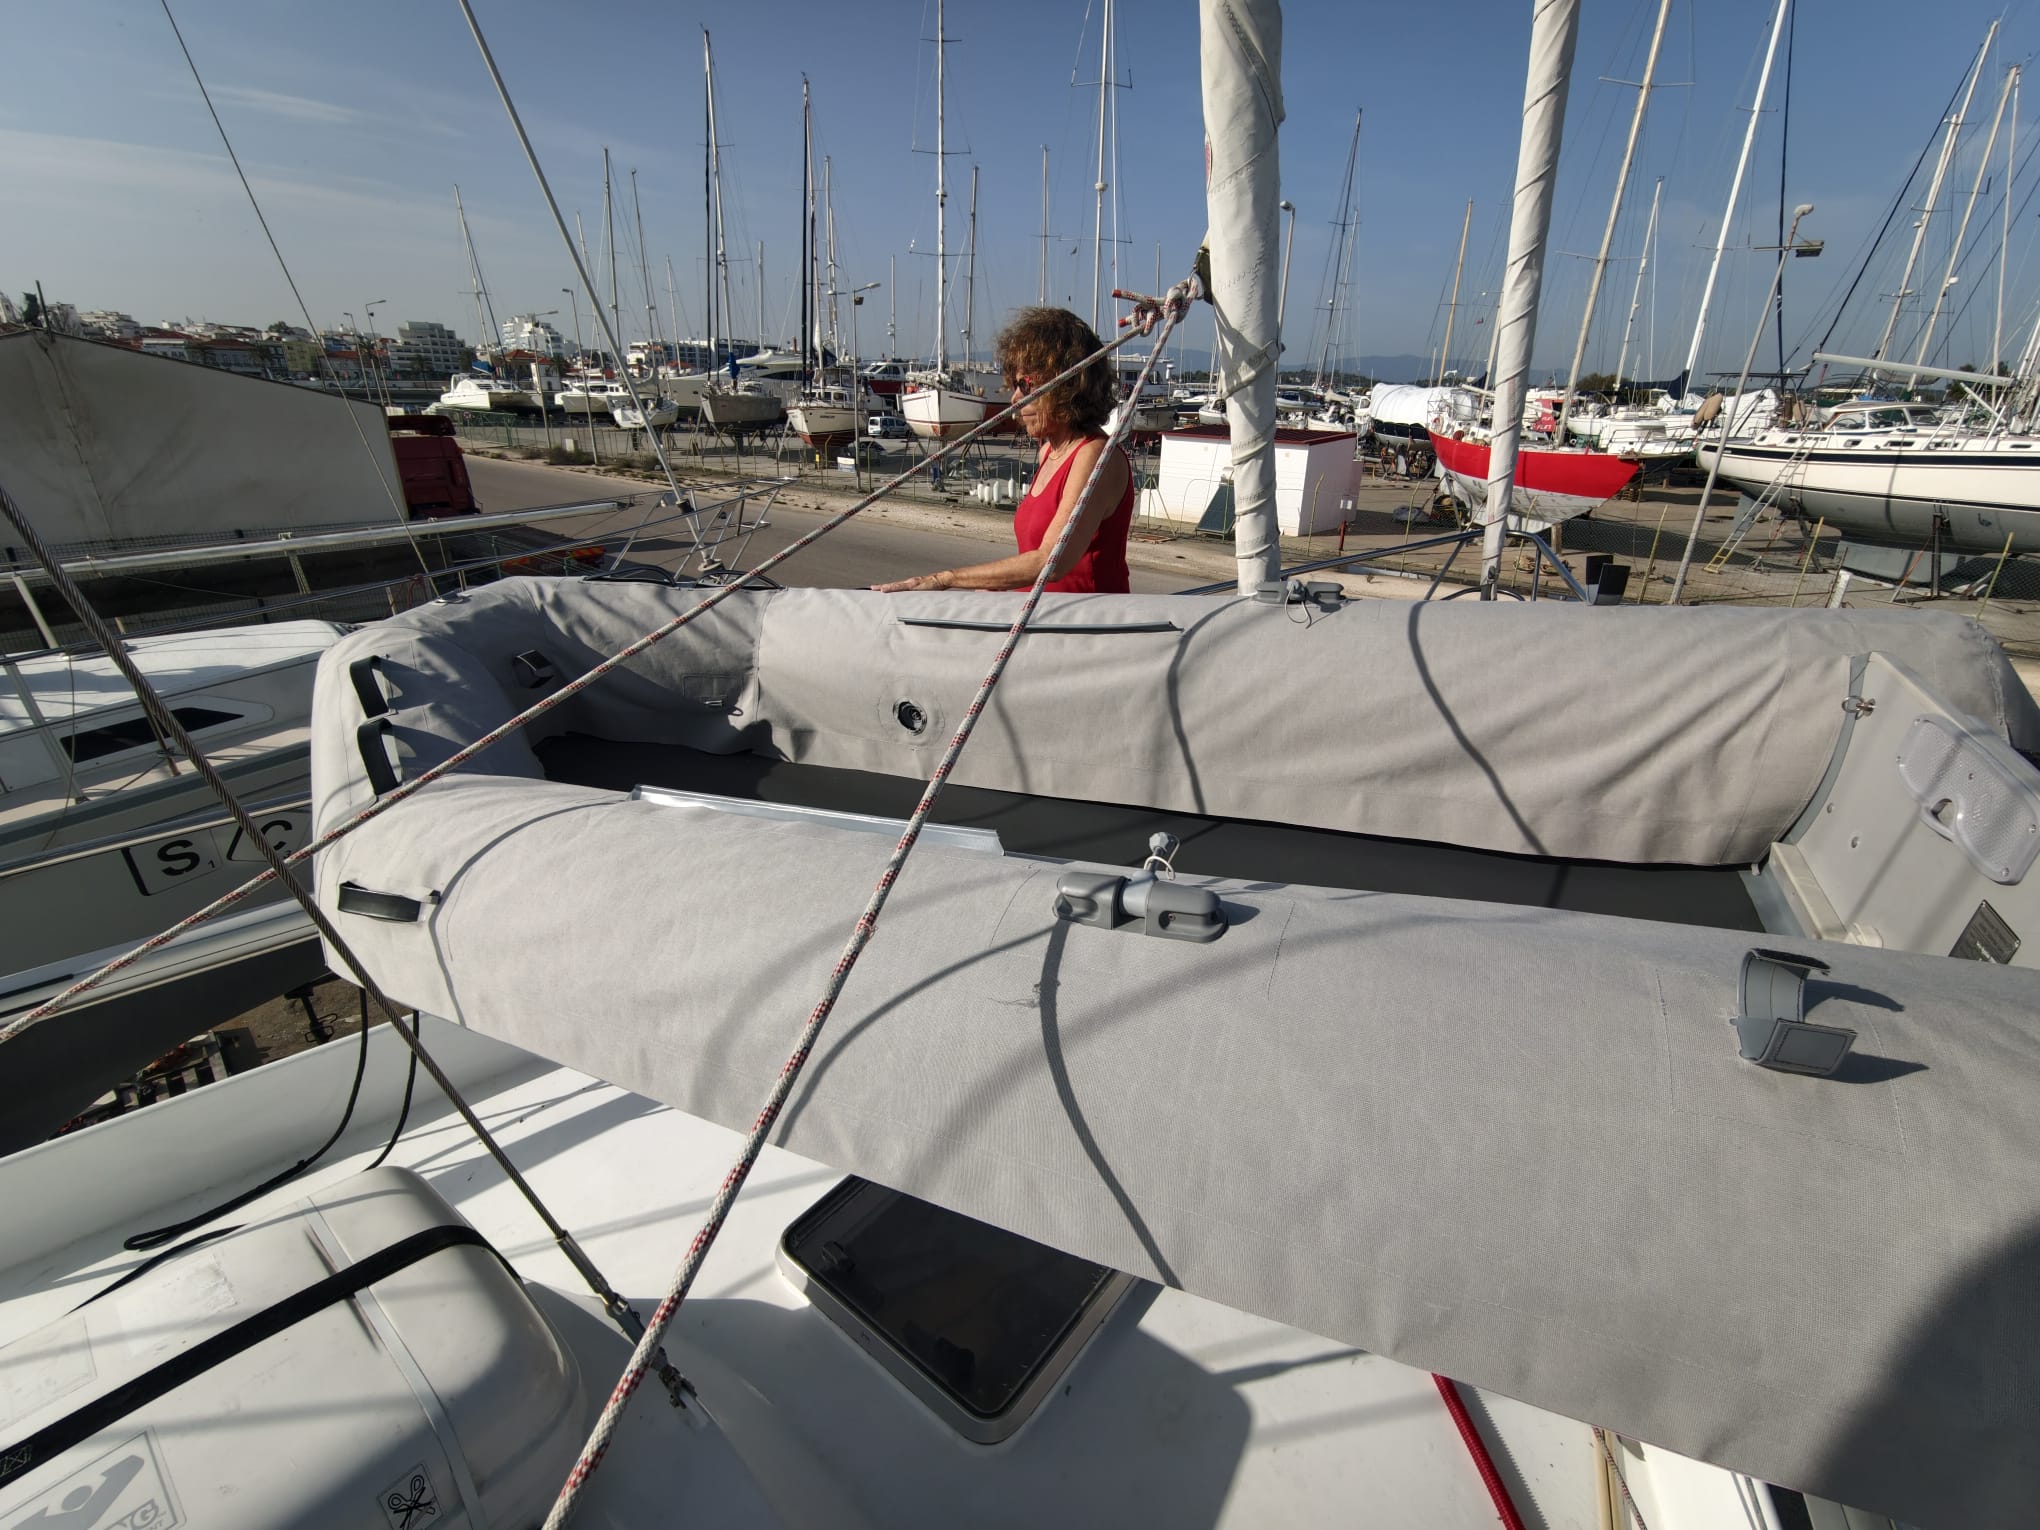
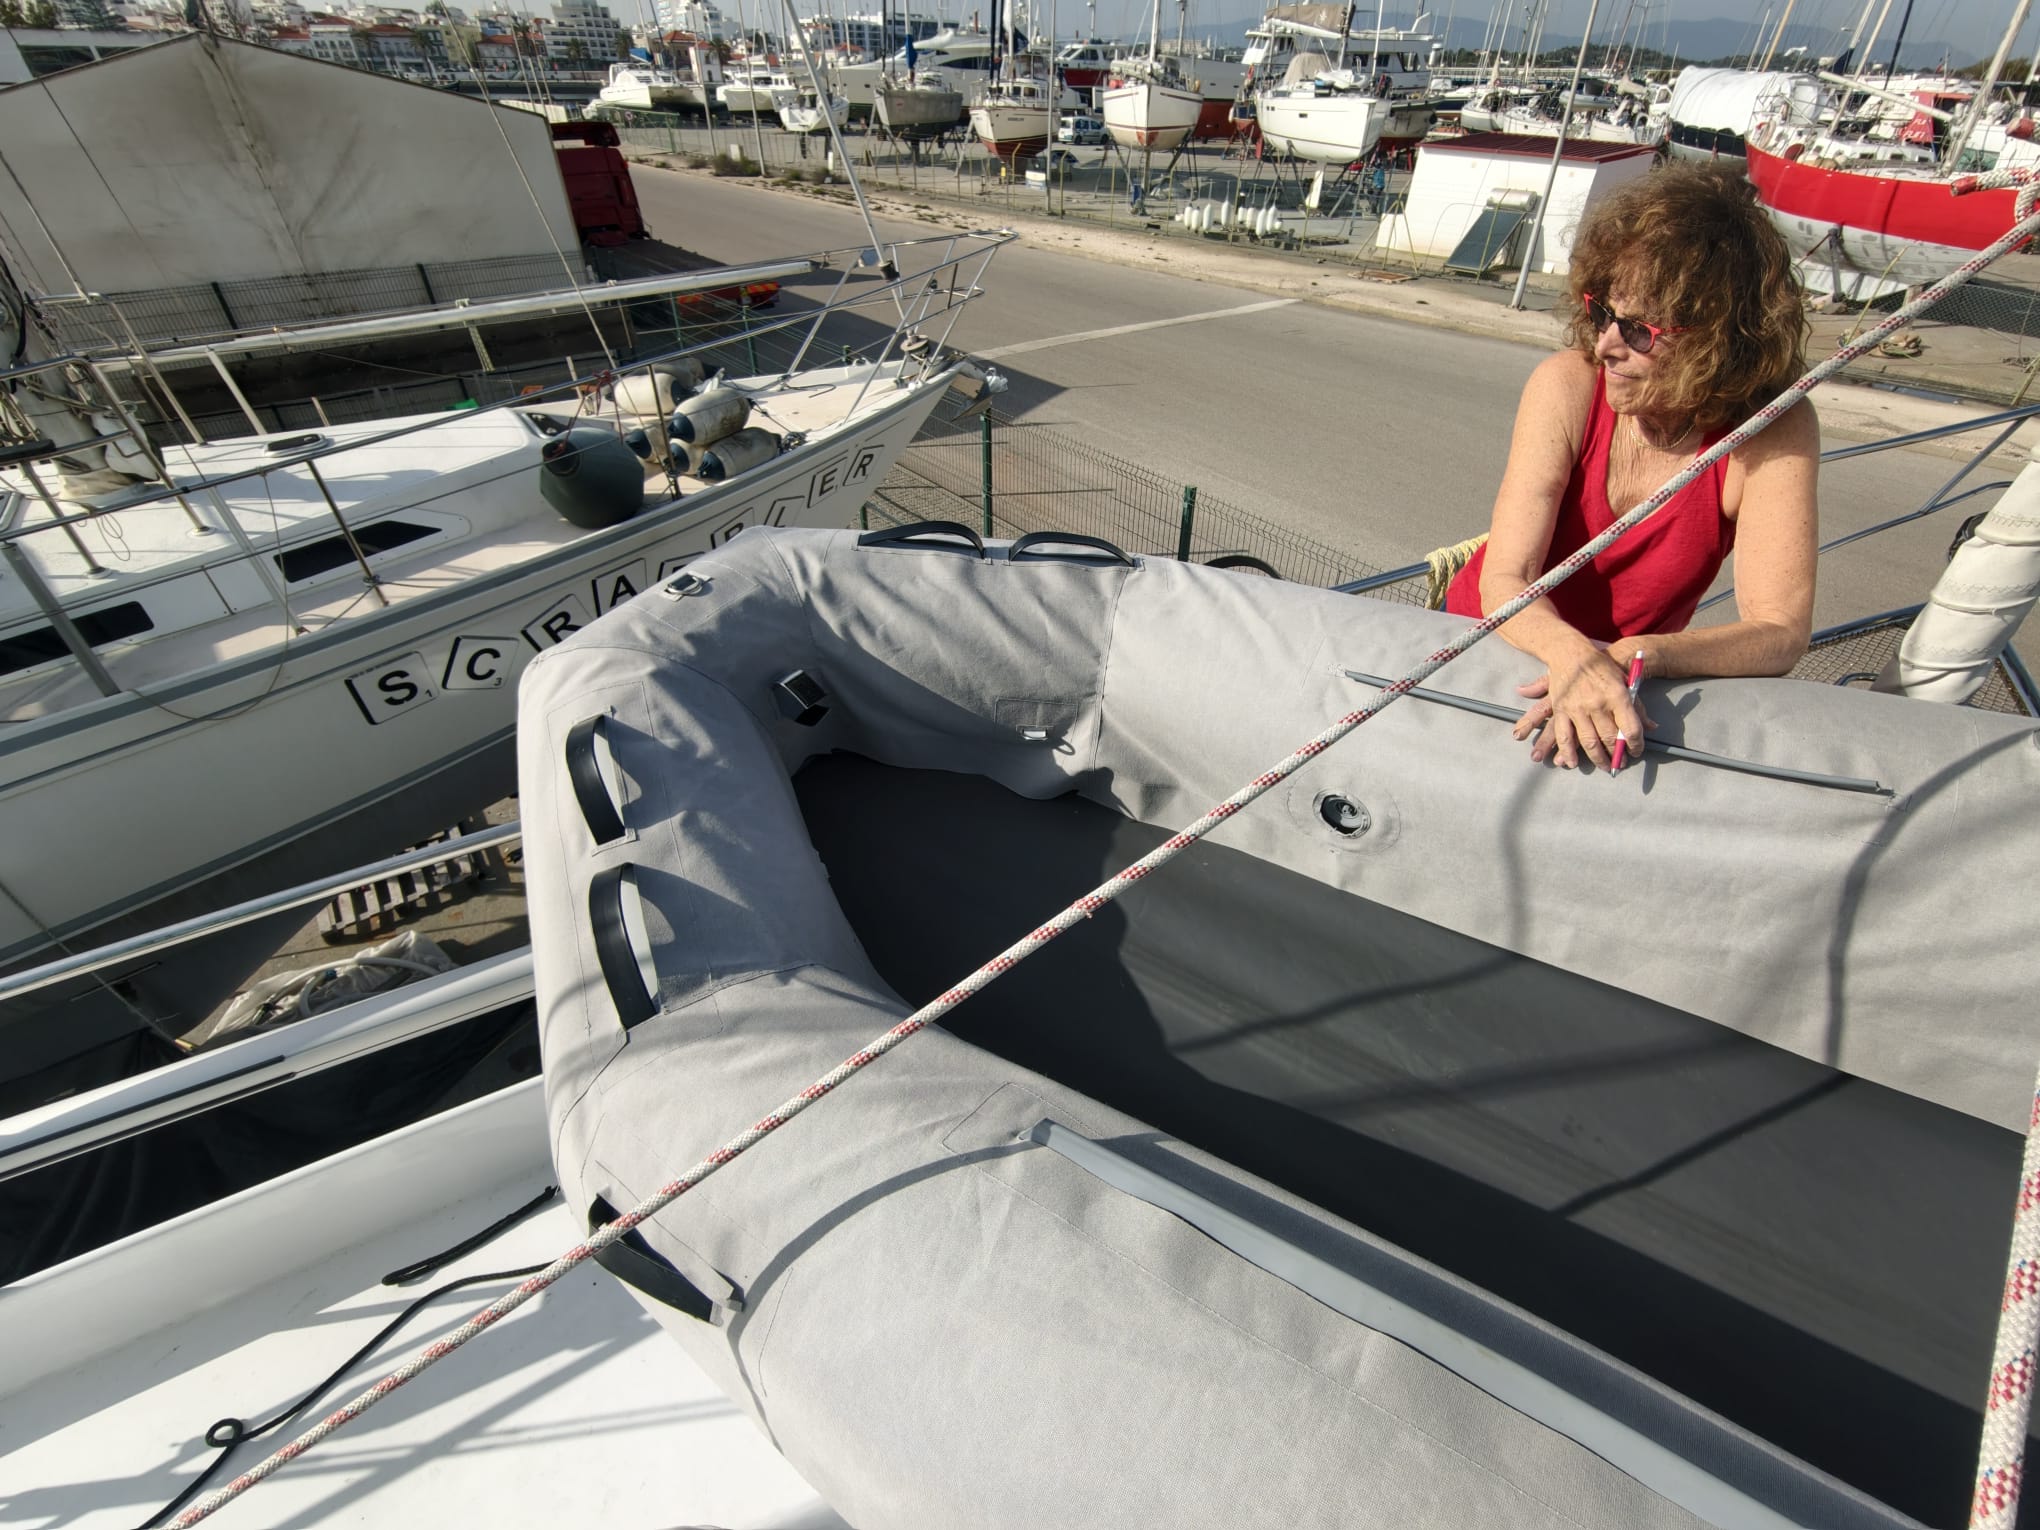
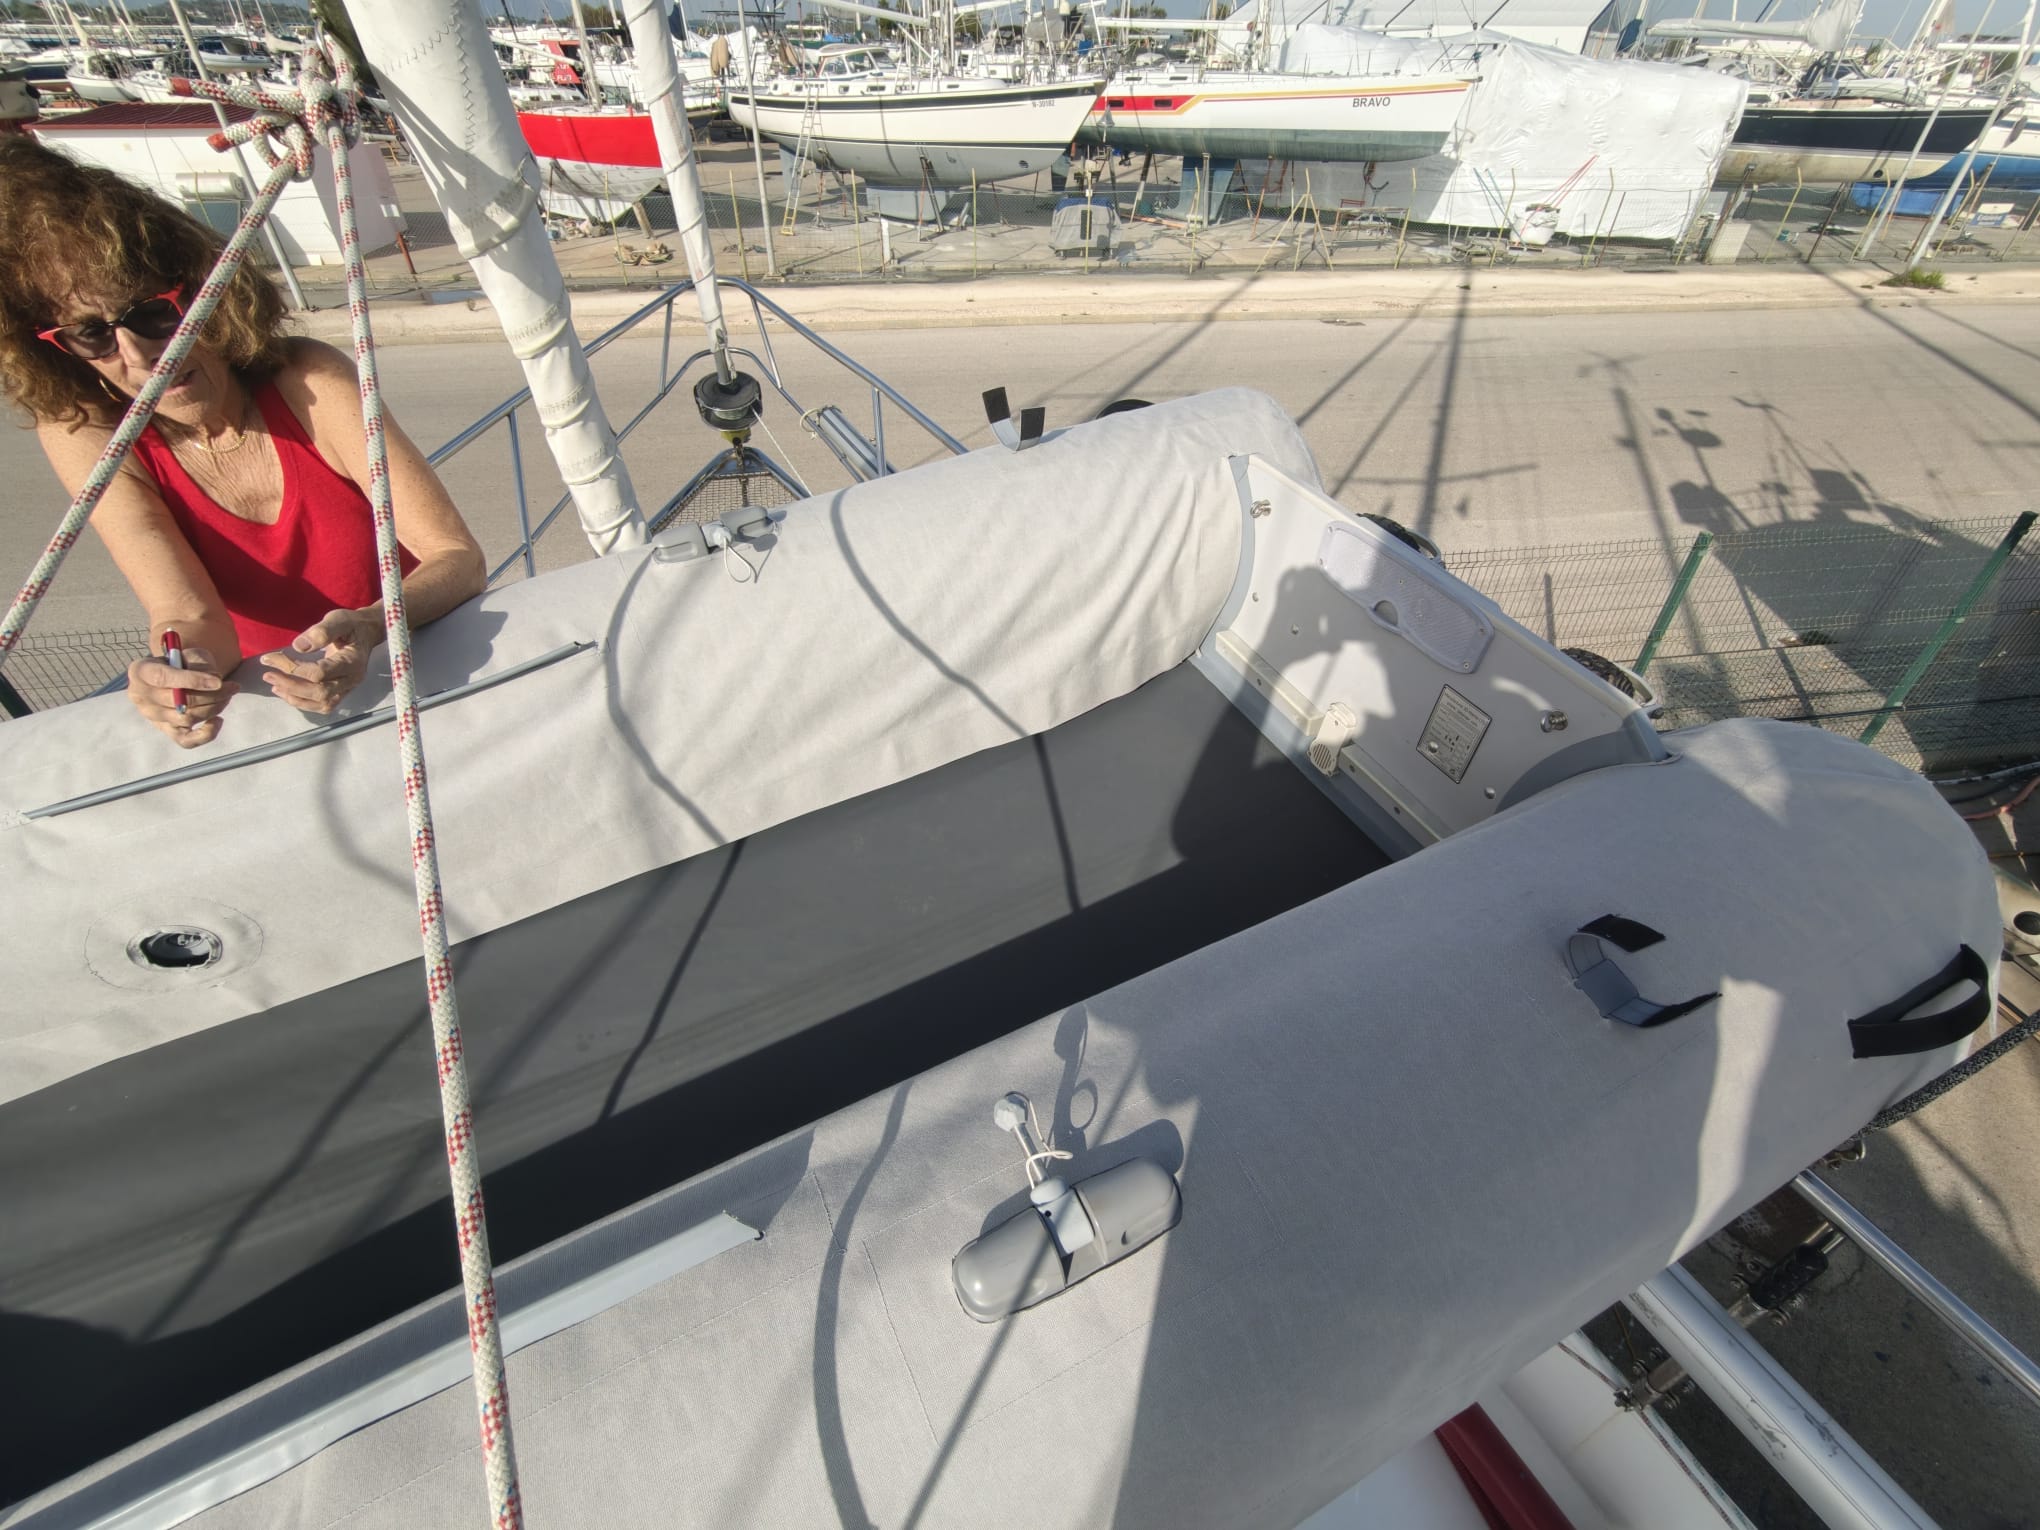
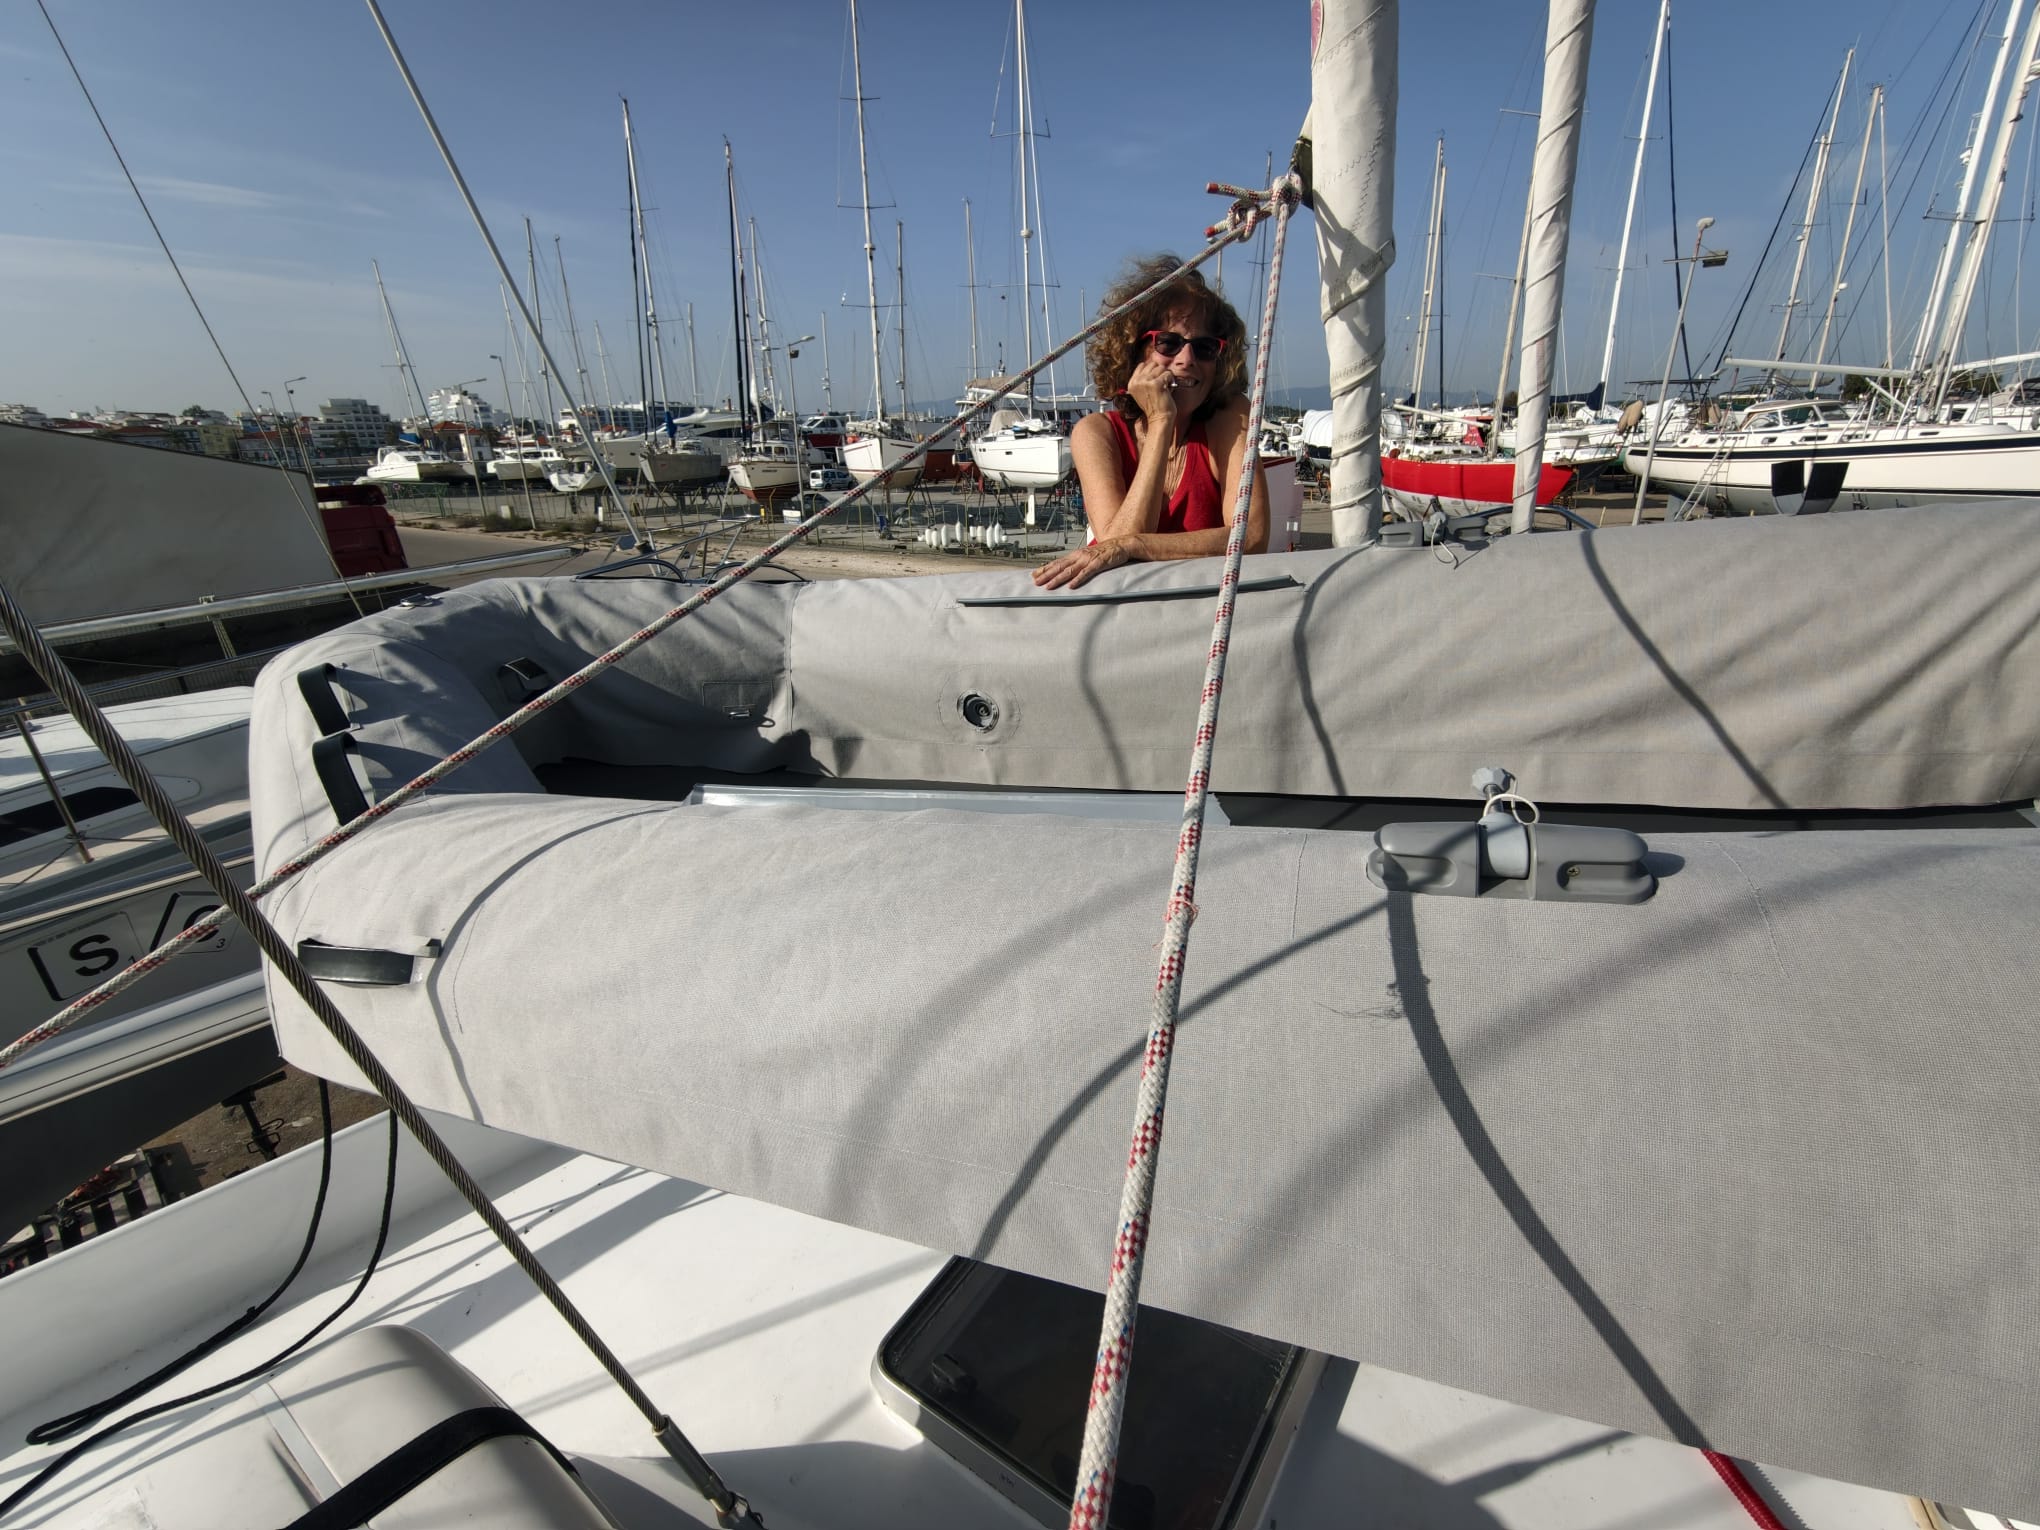
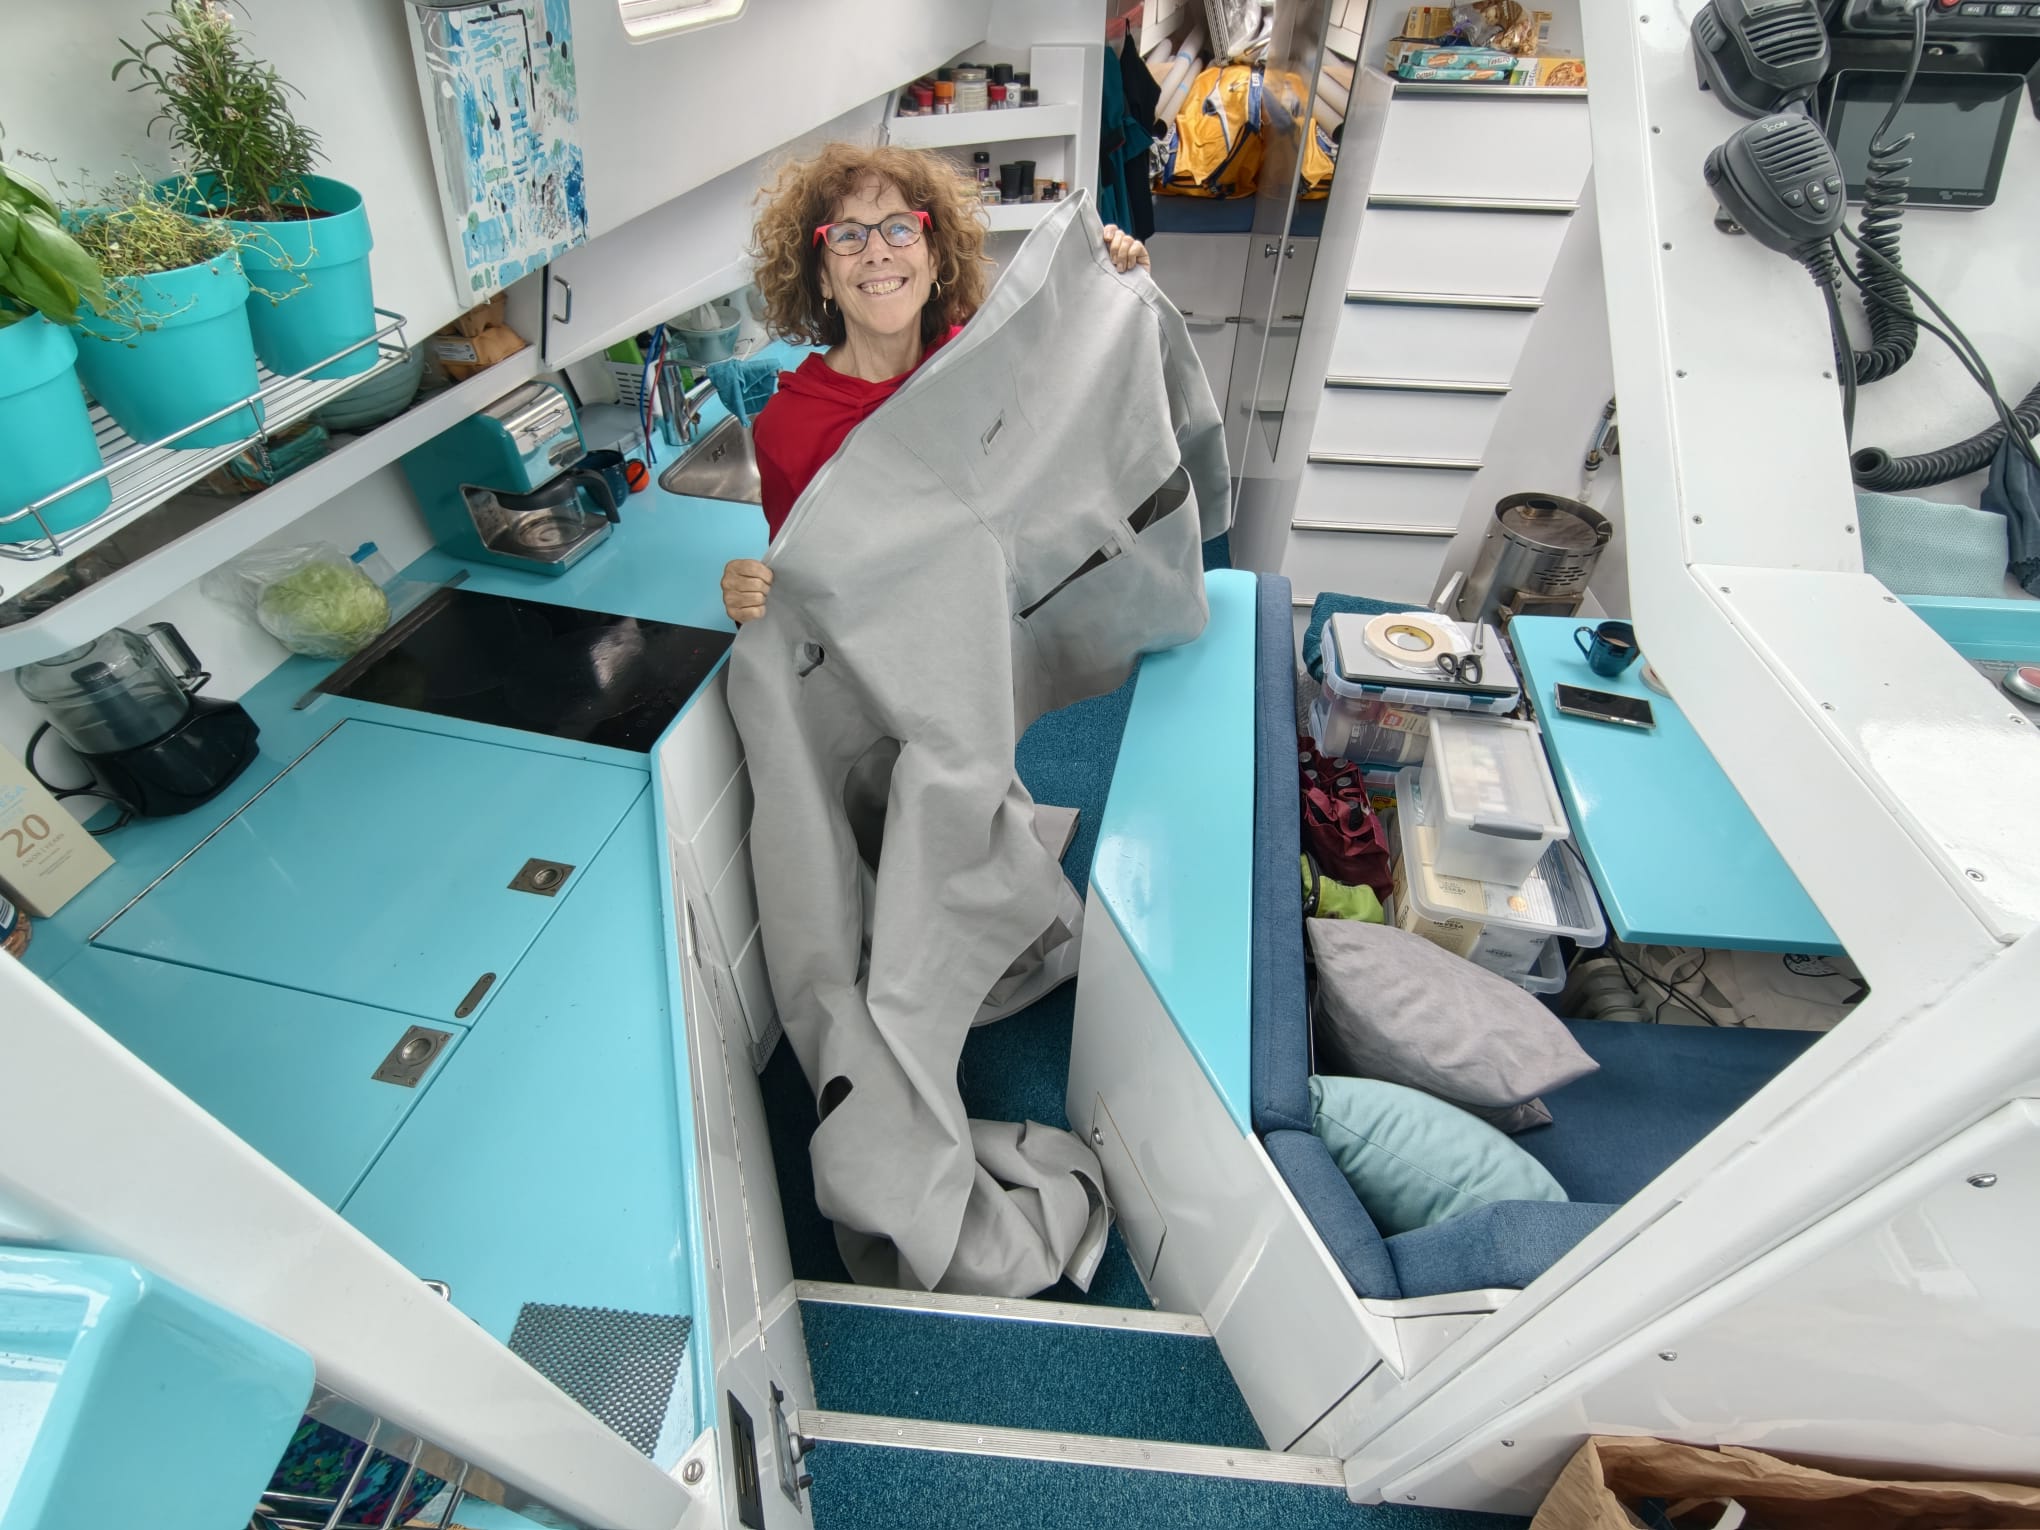
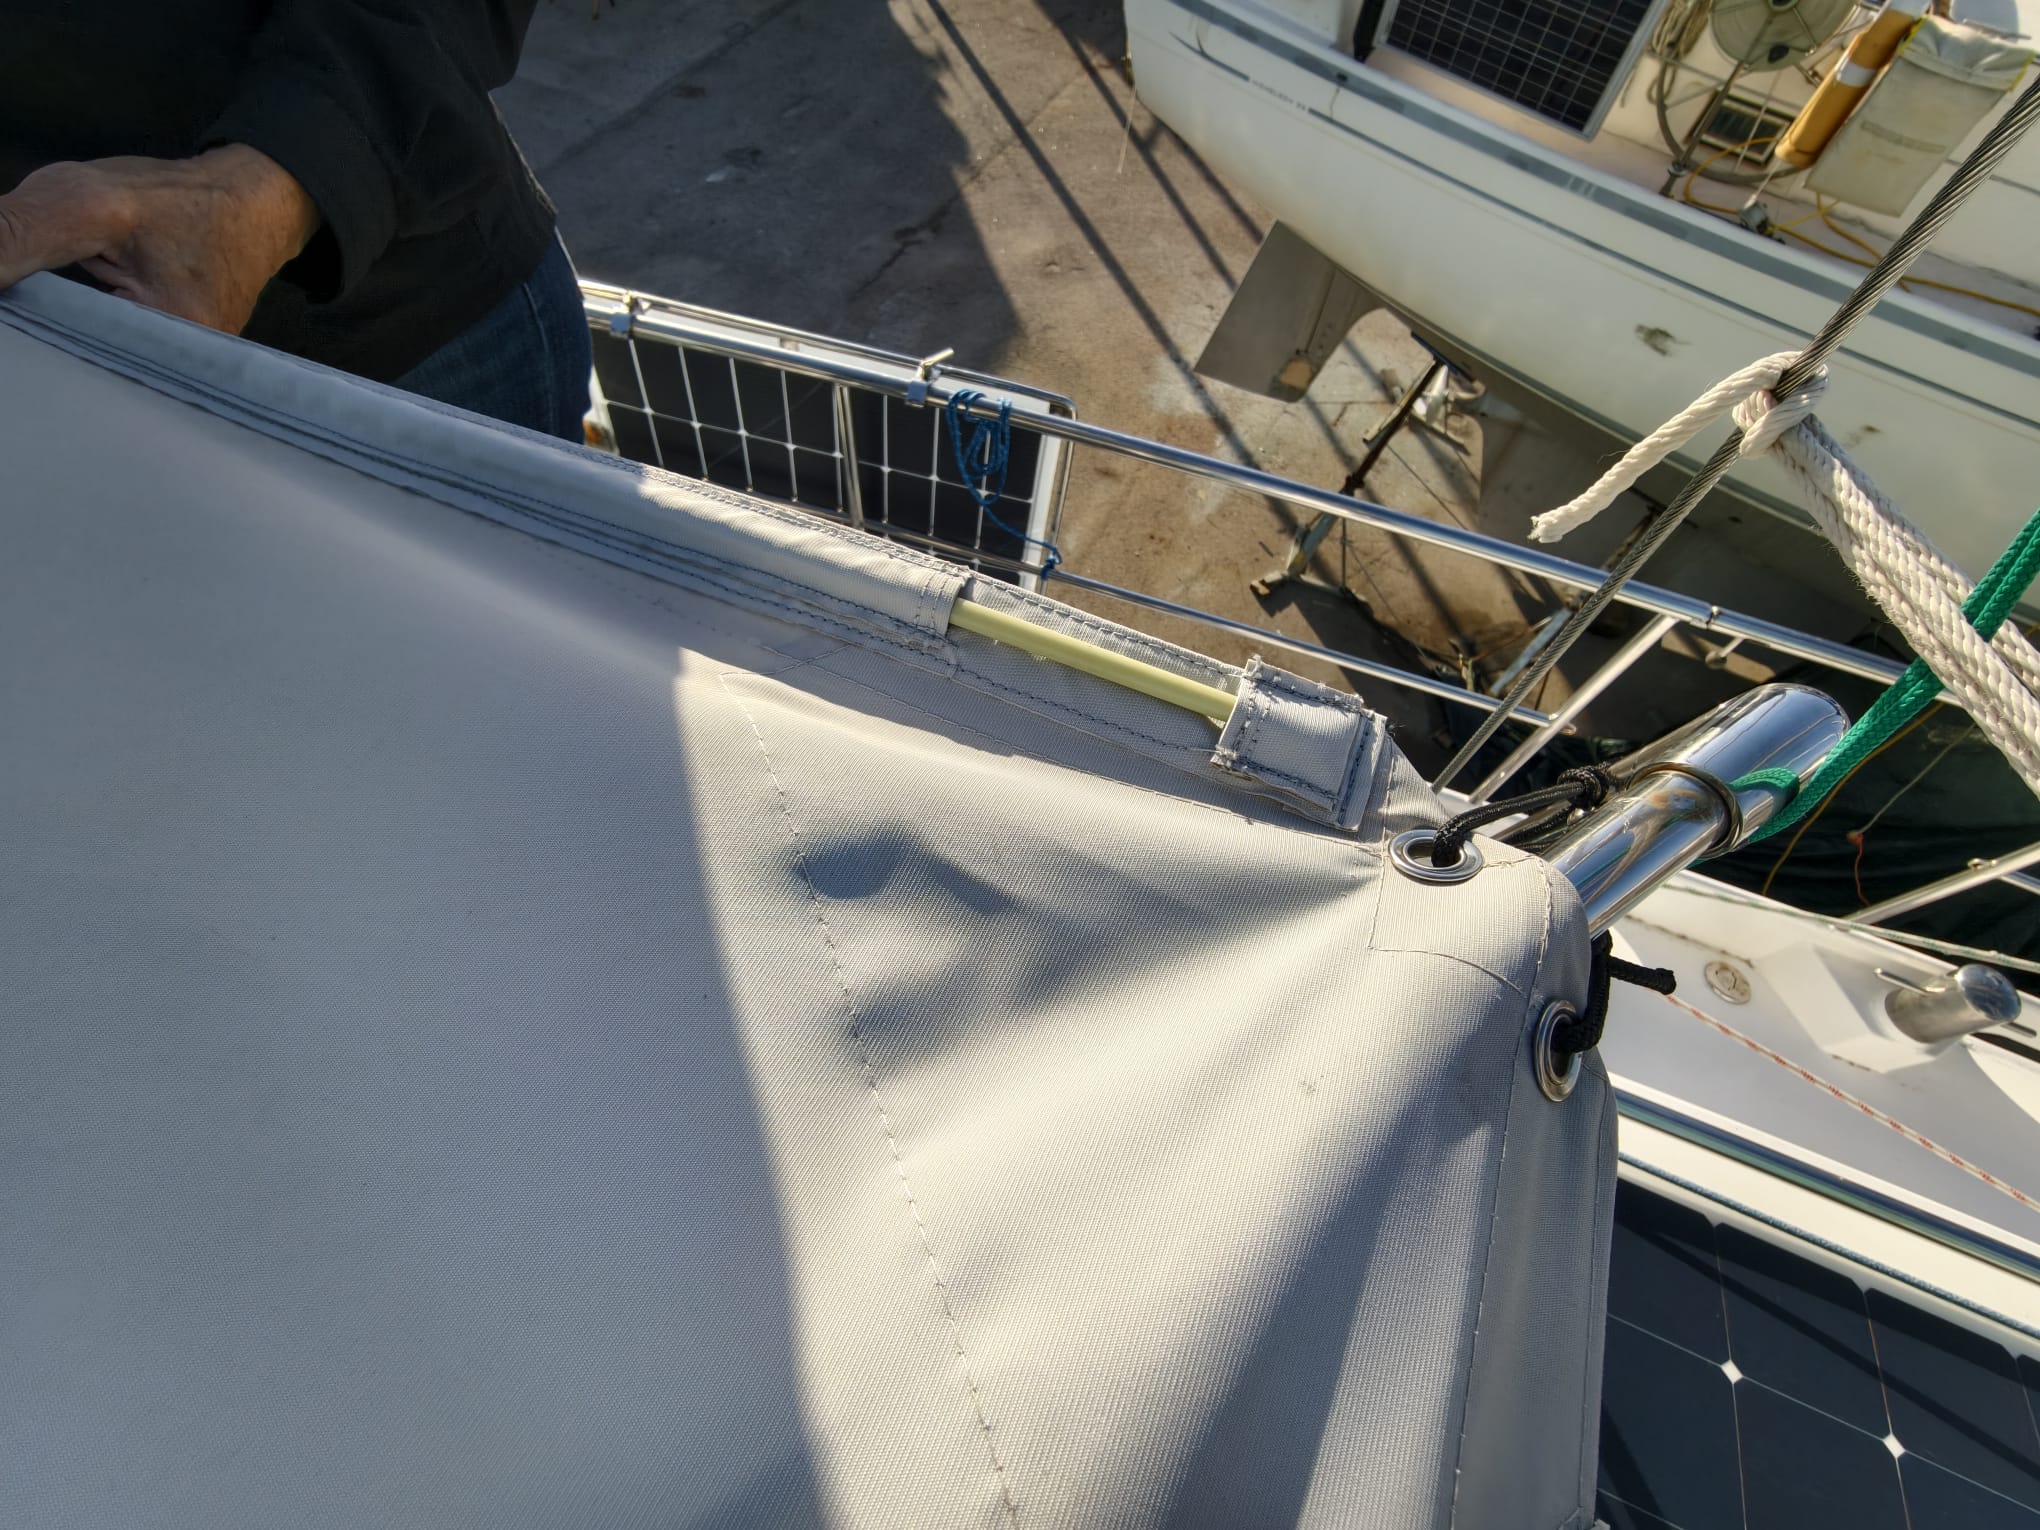
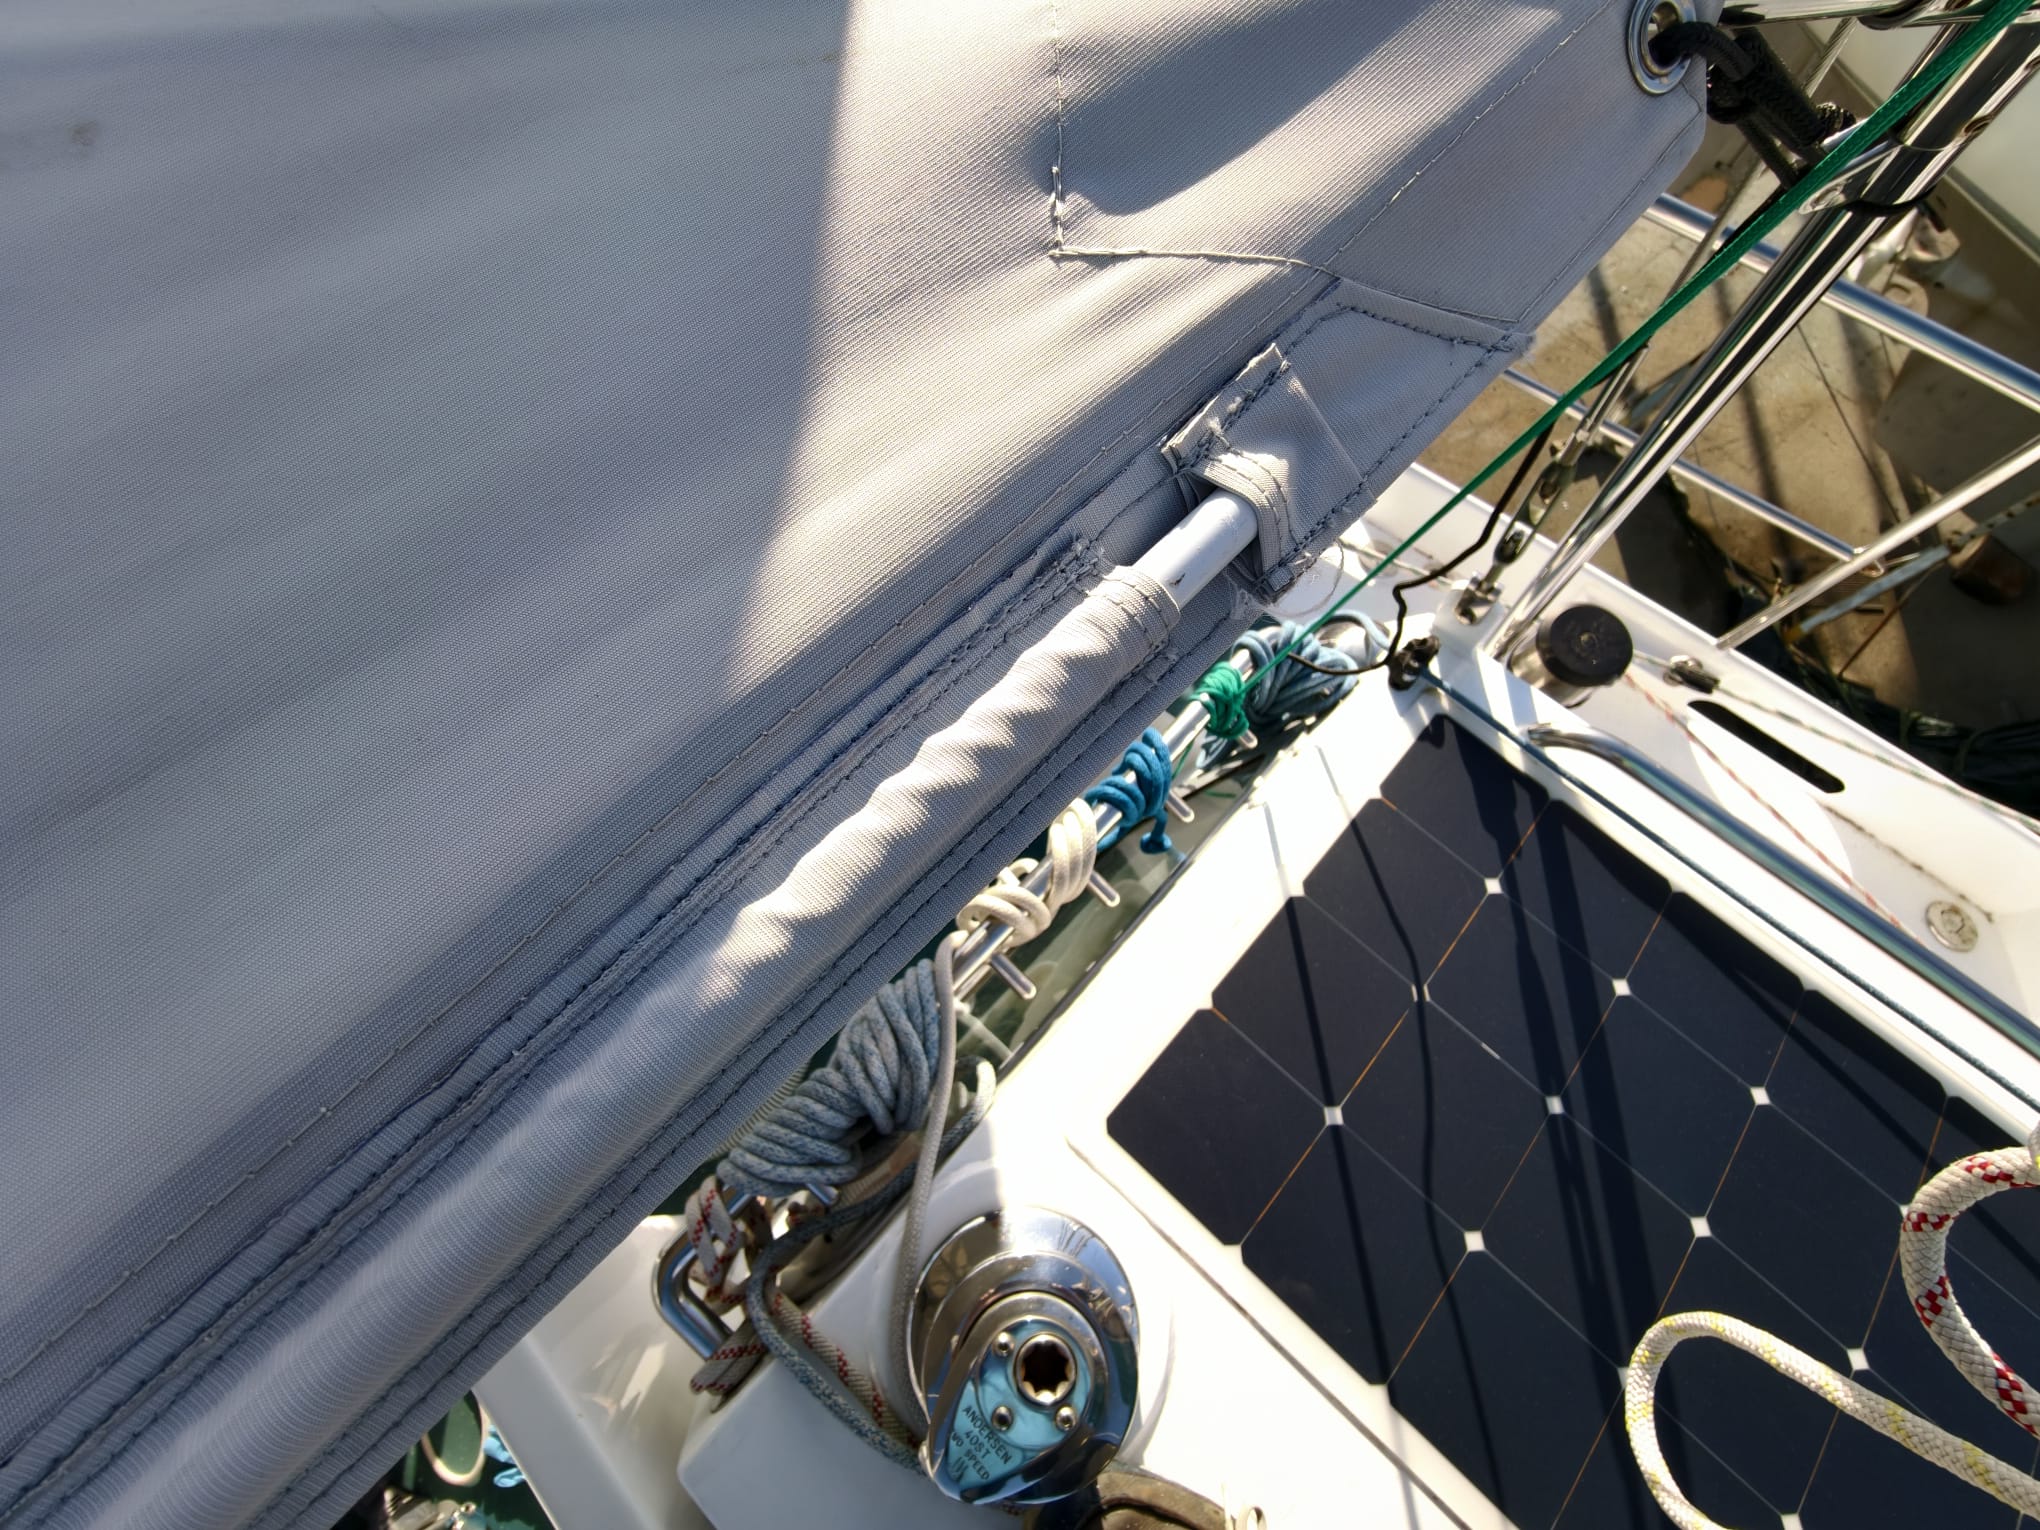
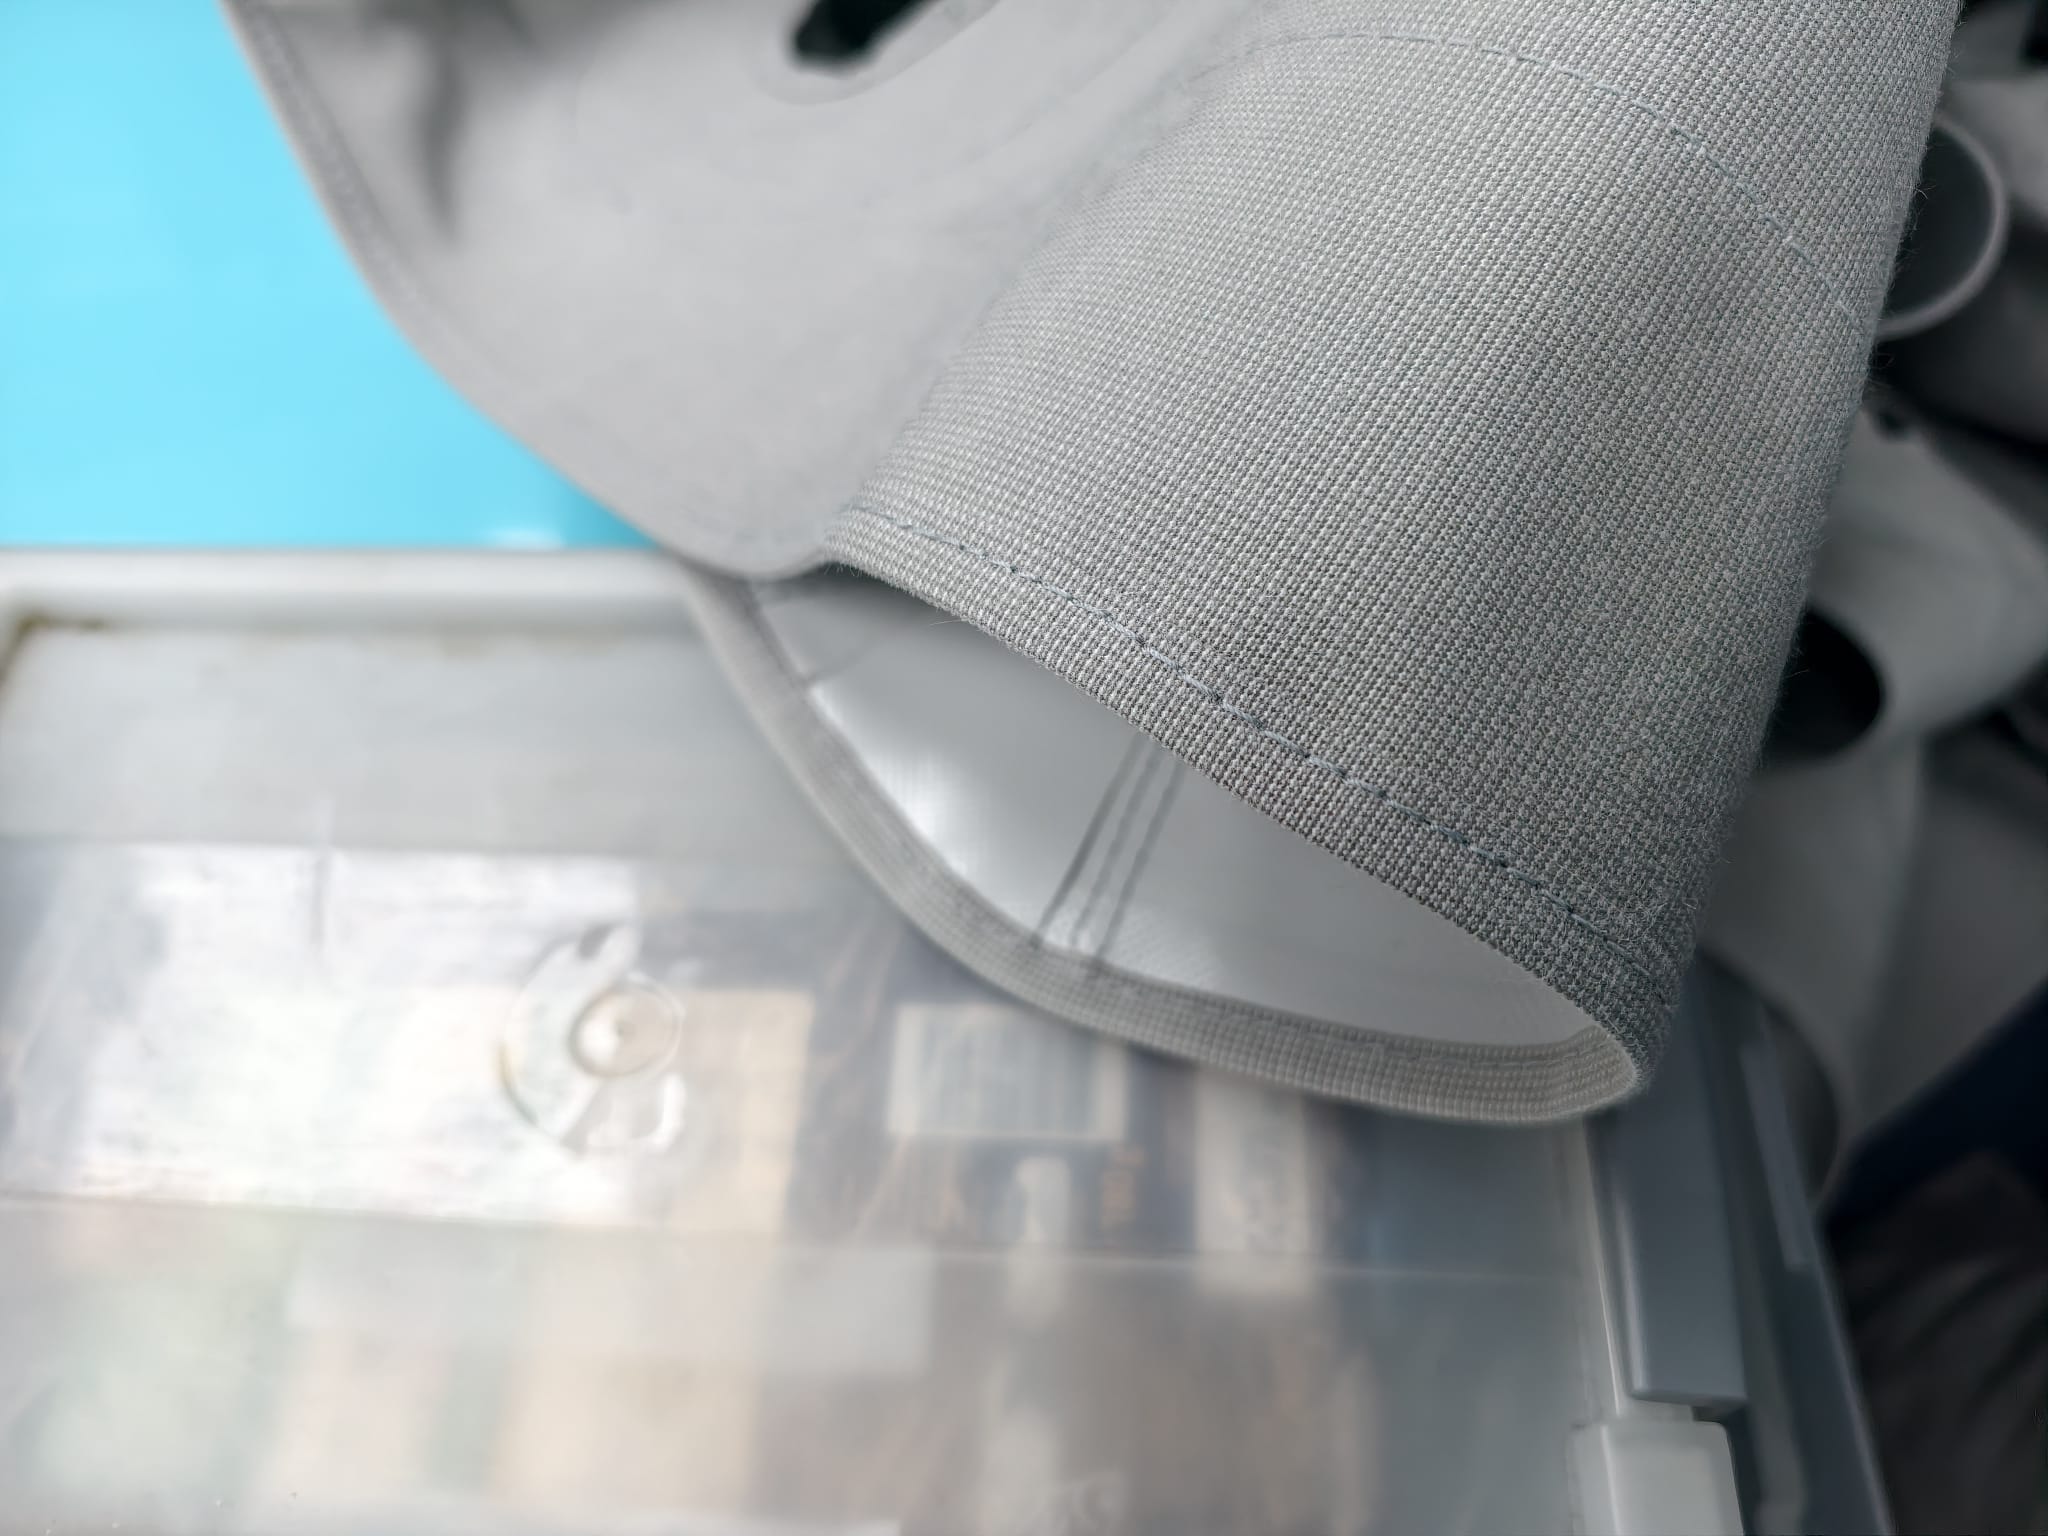
In the meantime, Sher continues her work on the cockpit sun shade.
We fit it outside on the frame over the cockpit and the side battens look perfect. Sher measures where the inner batten pockets have to be sewn and we take the cover inside again.
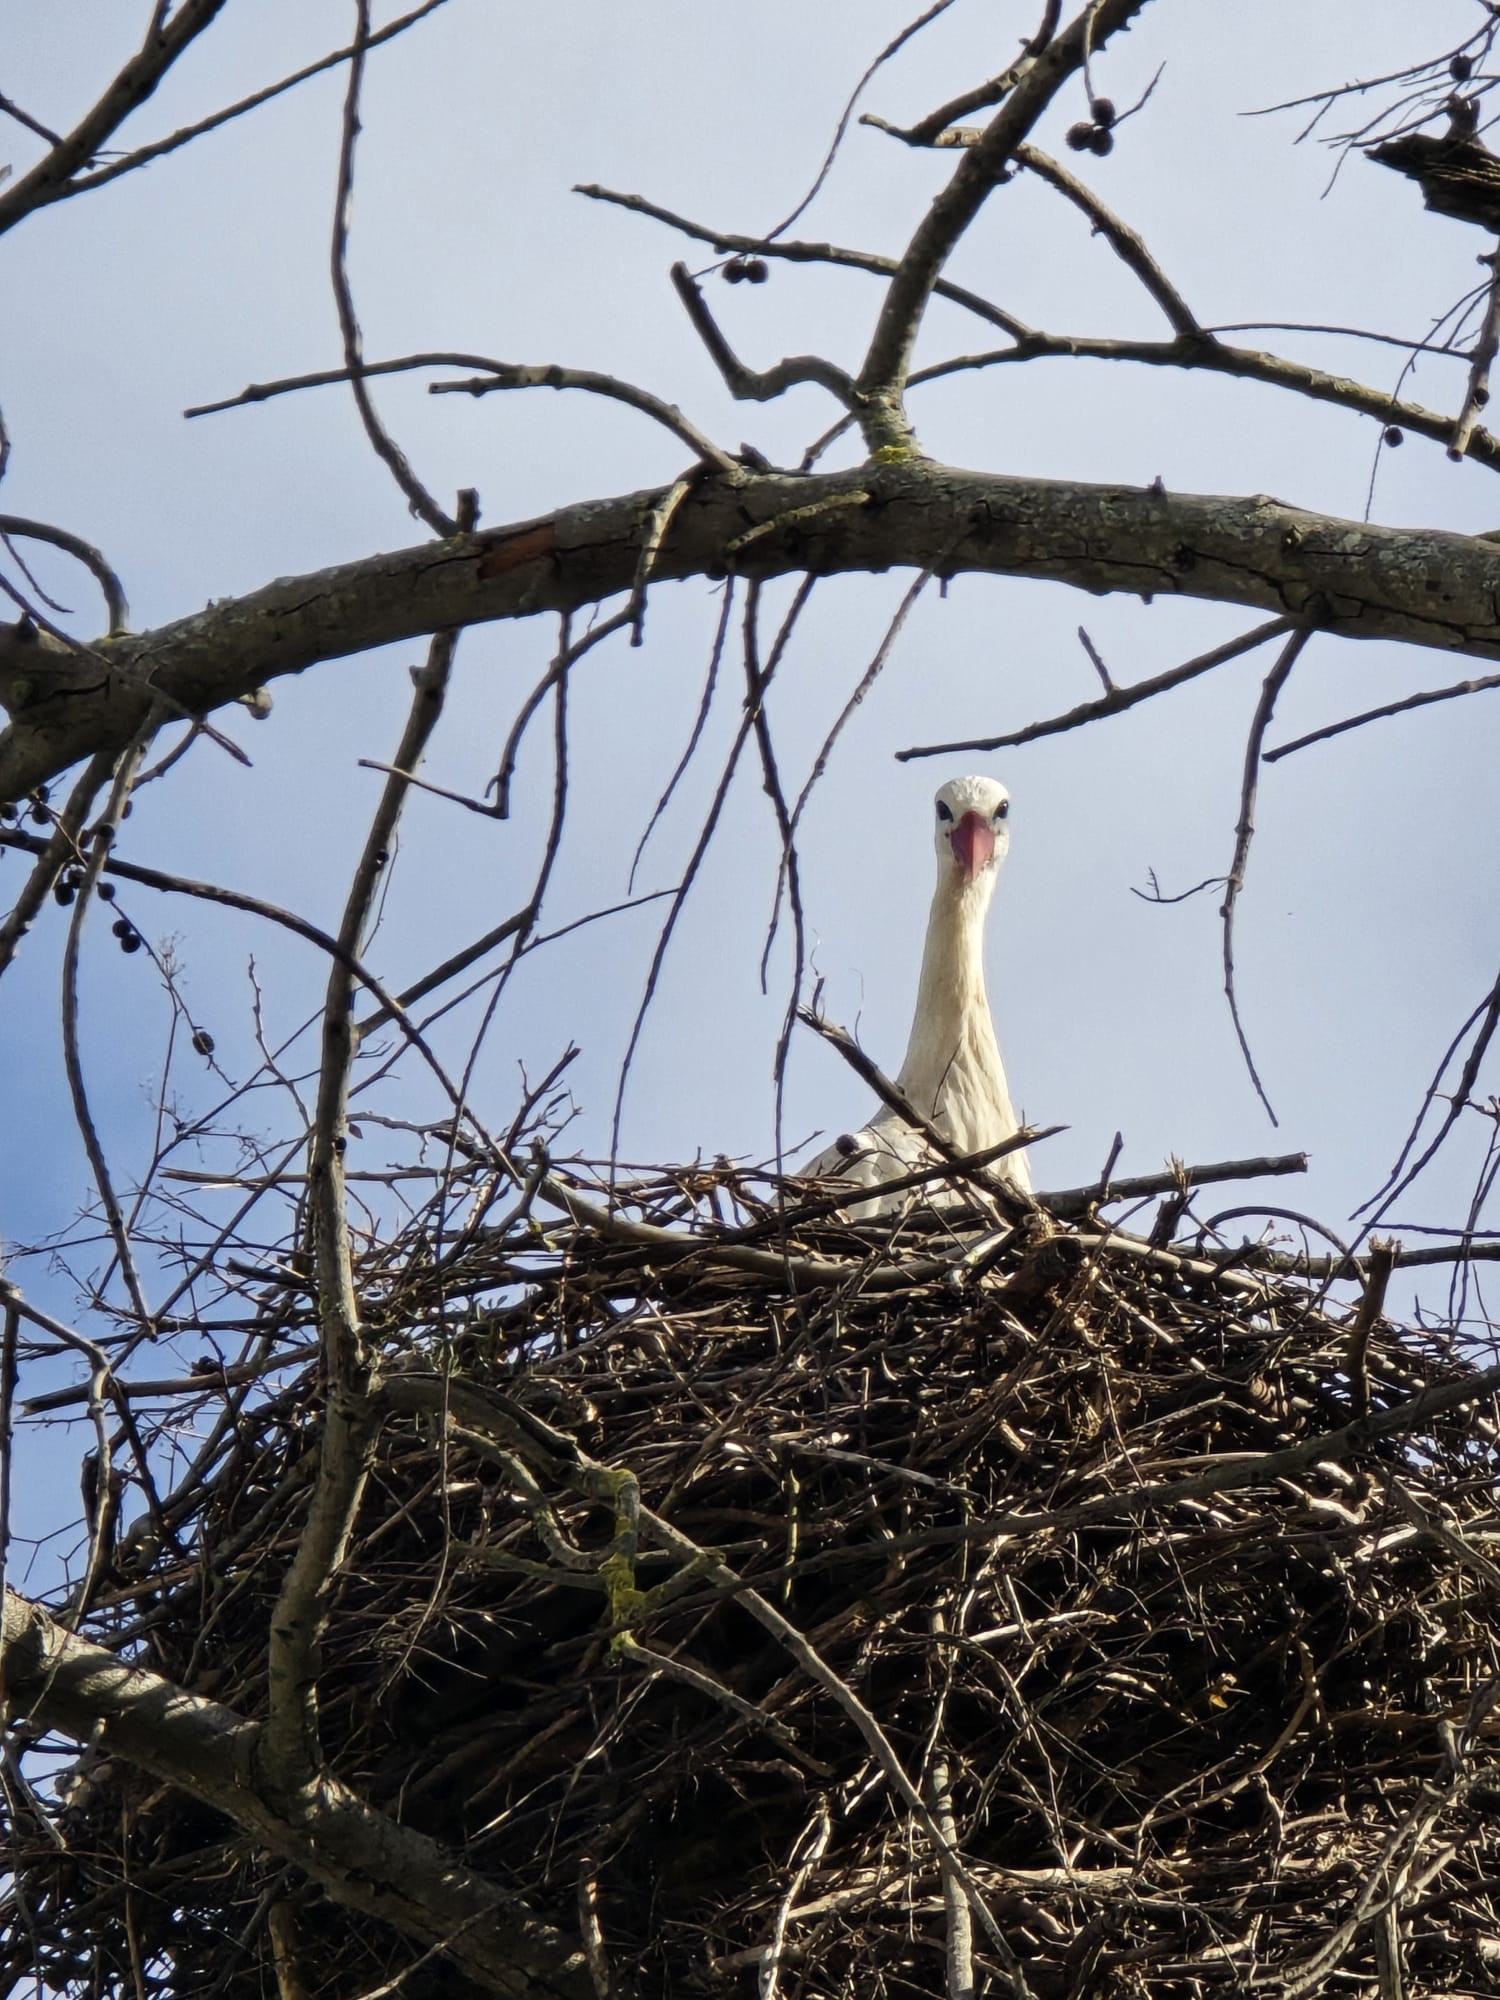
And of course, she has to get her daily dose of storks 😀

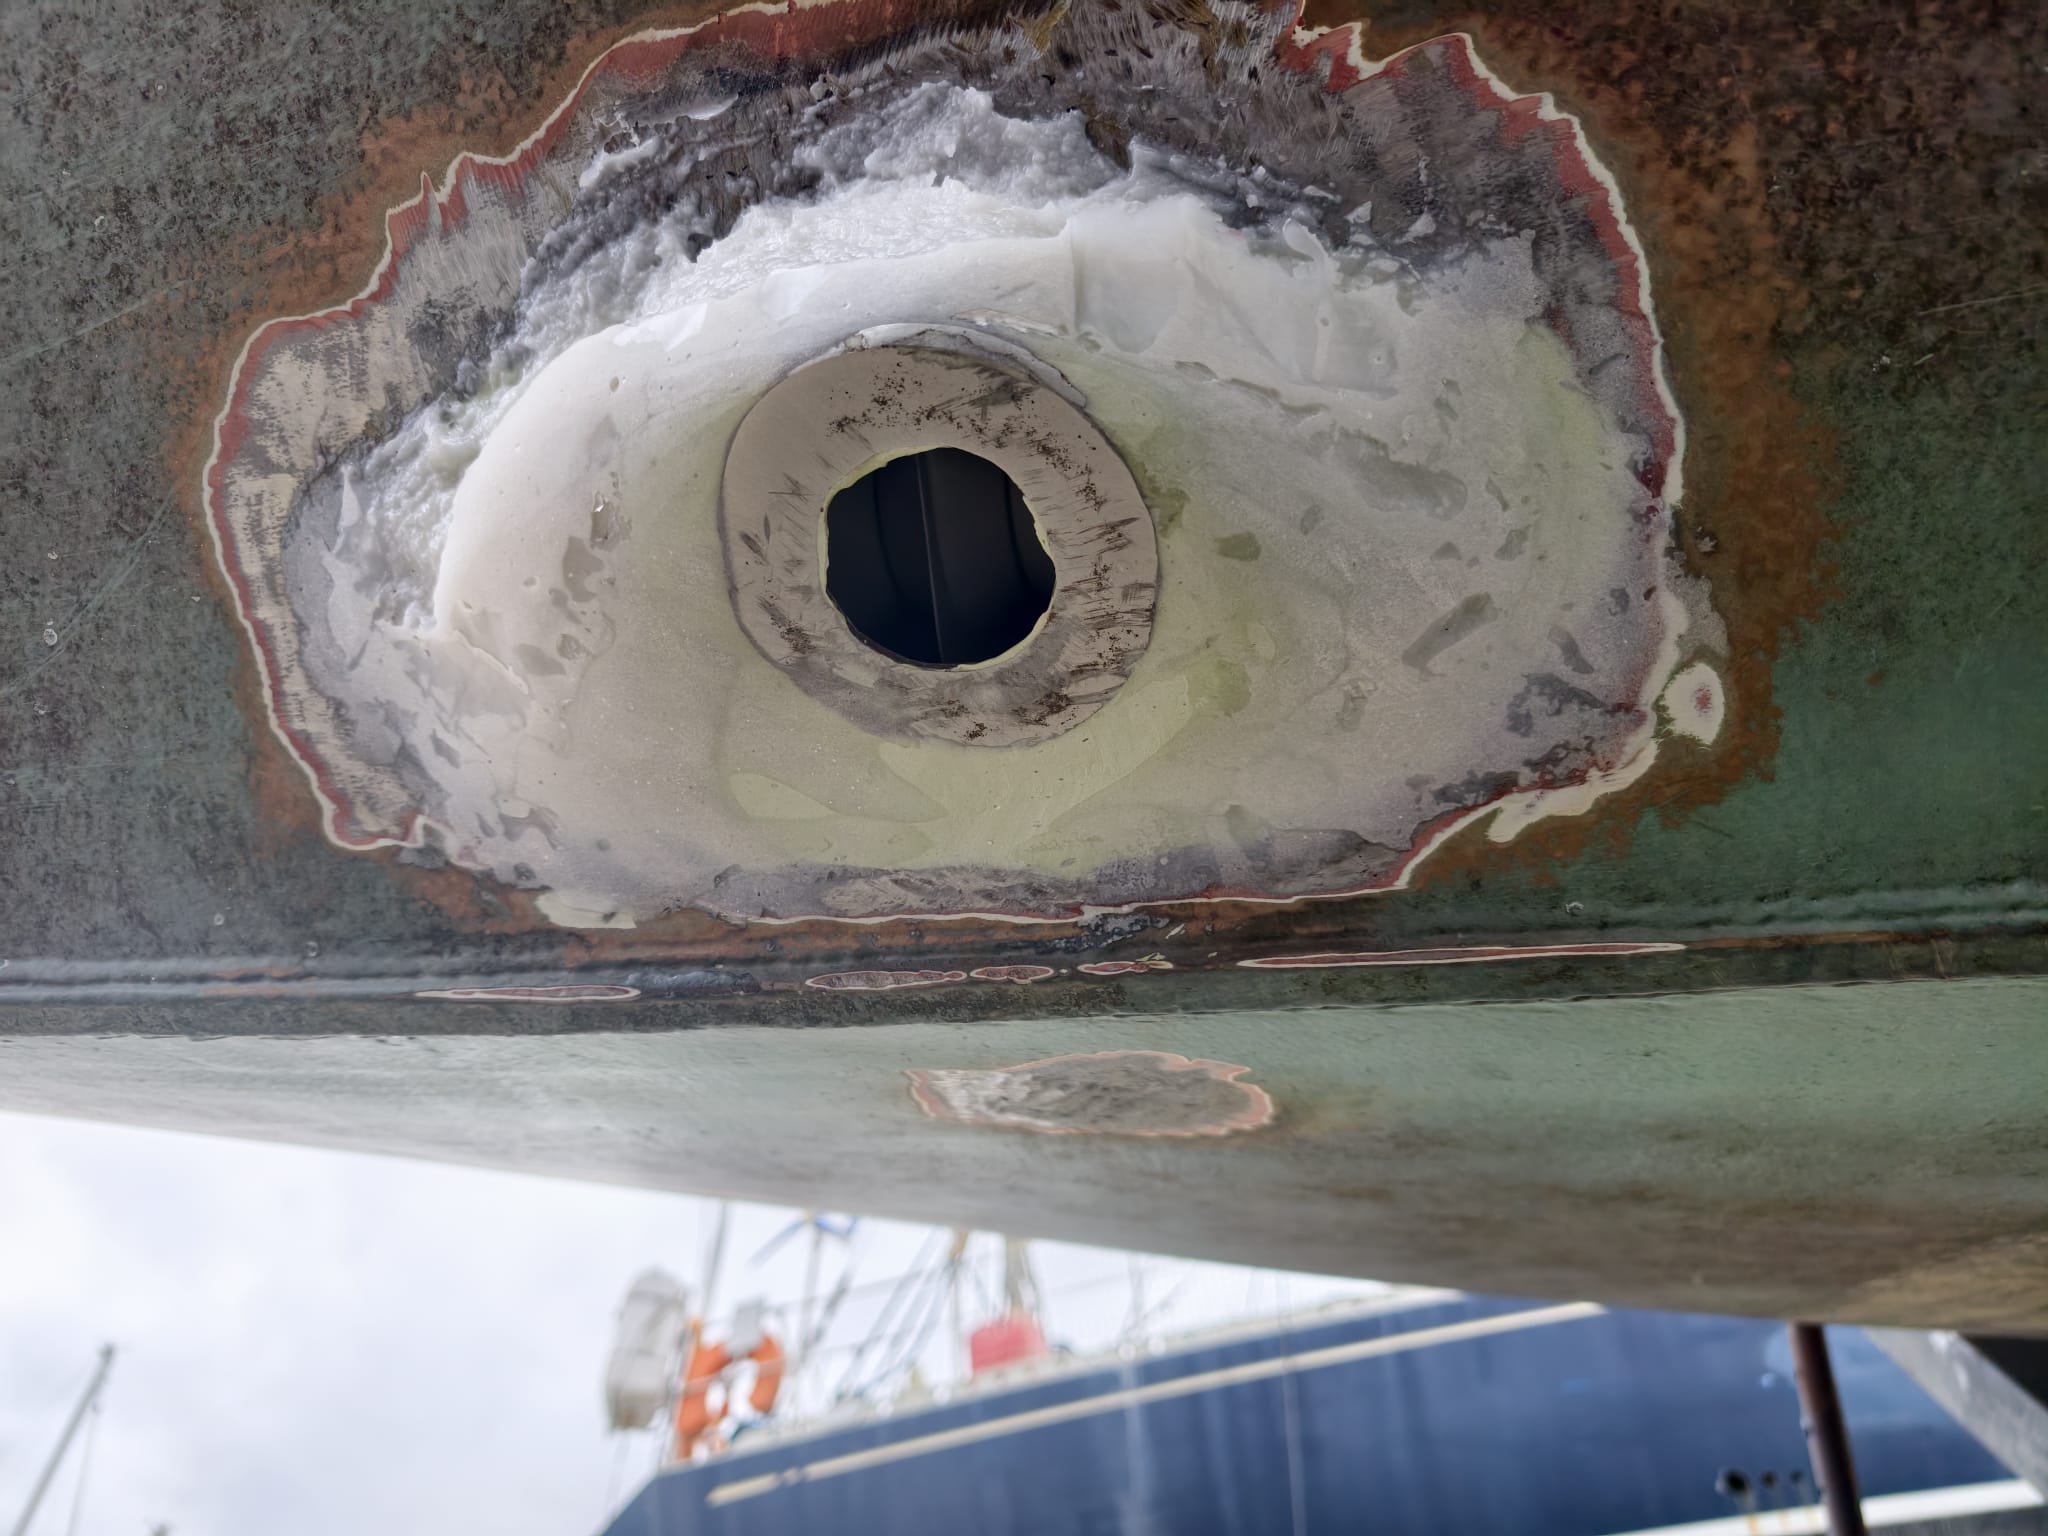
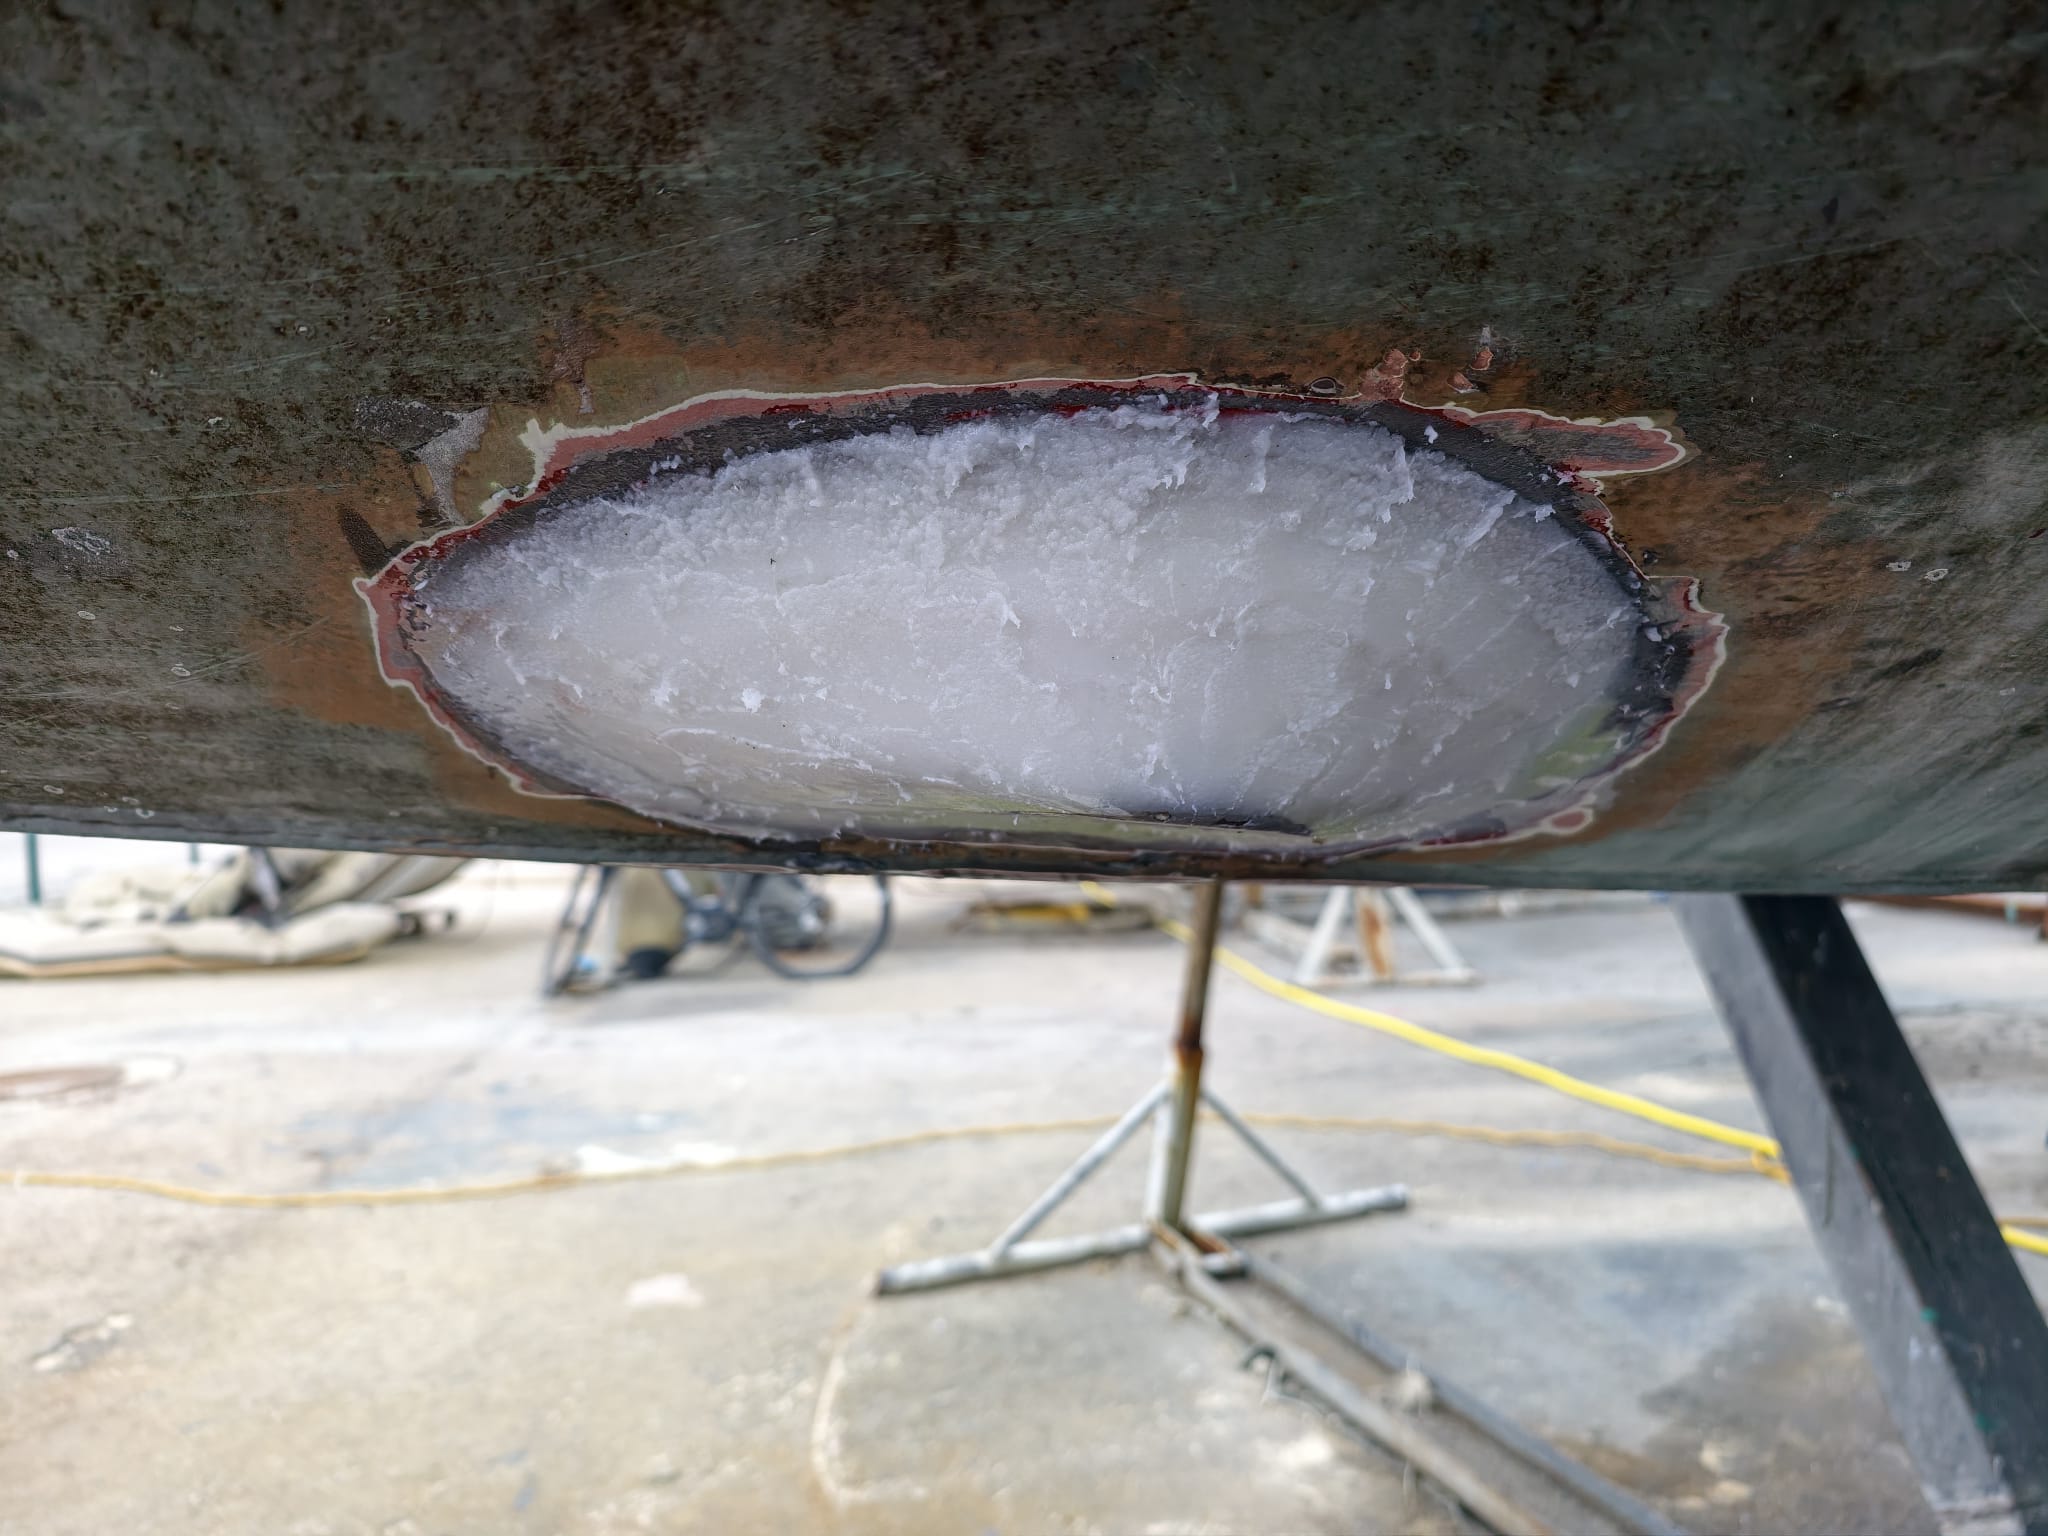
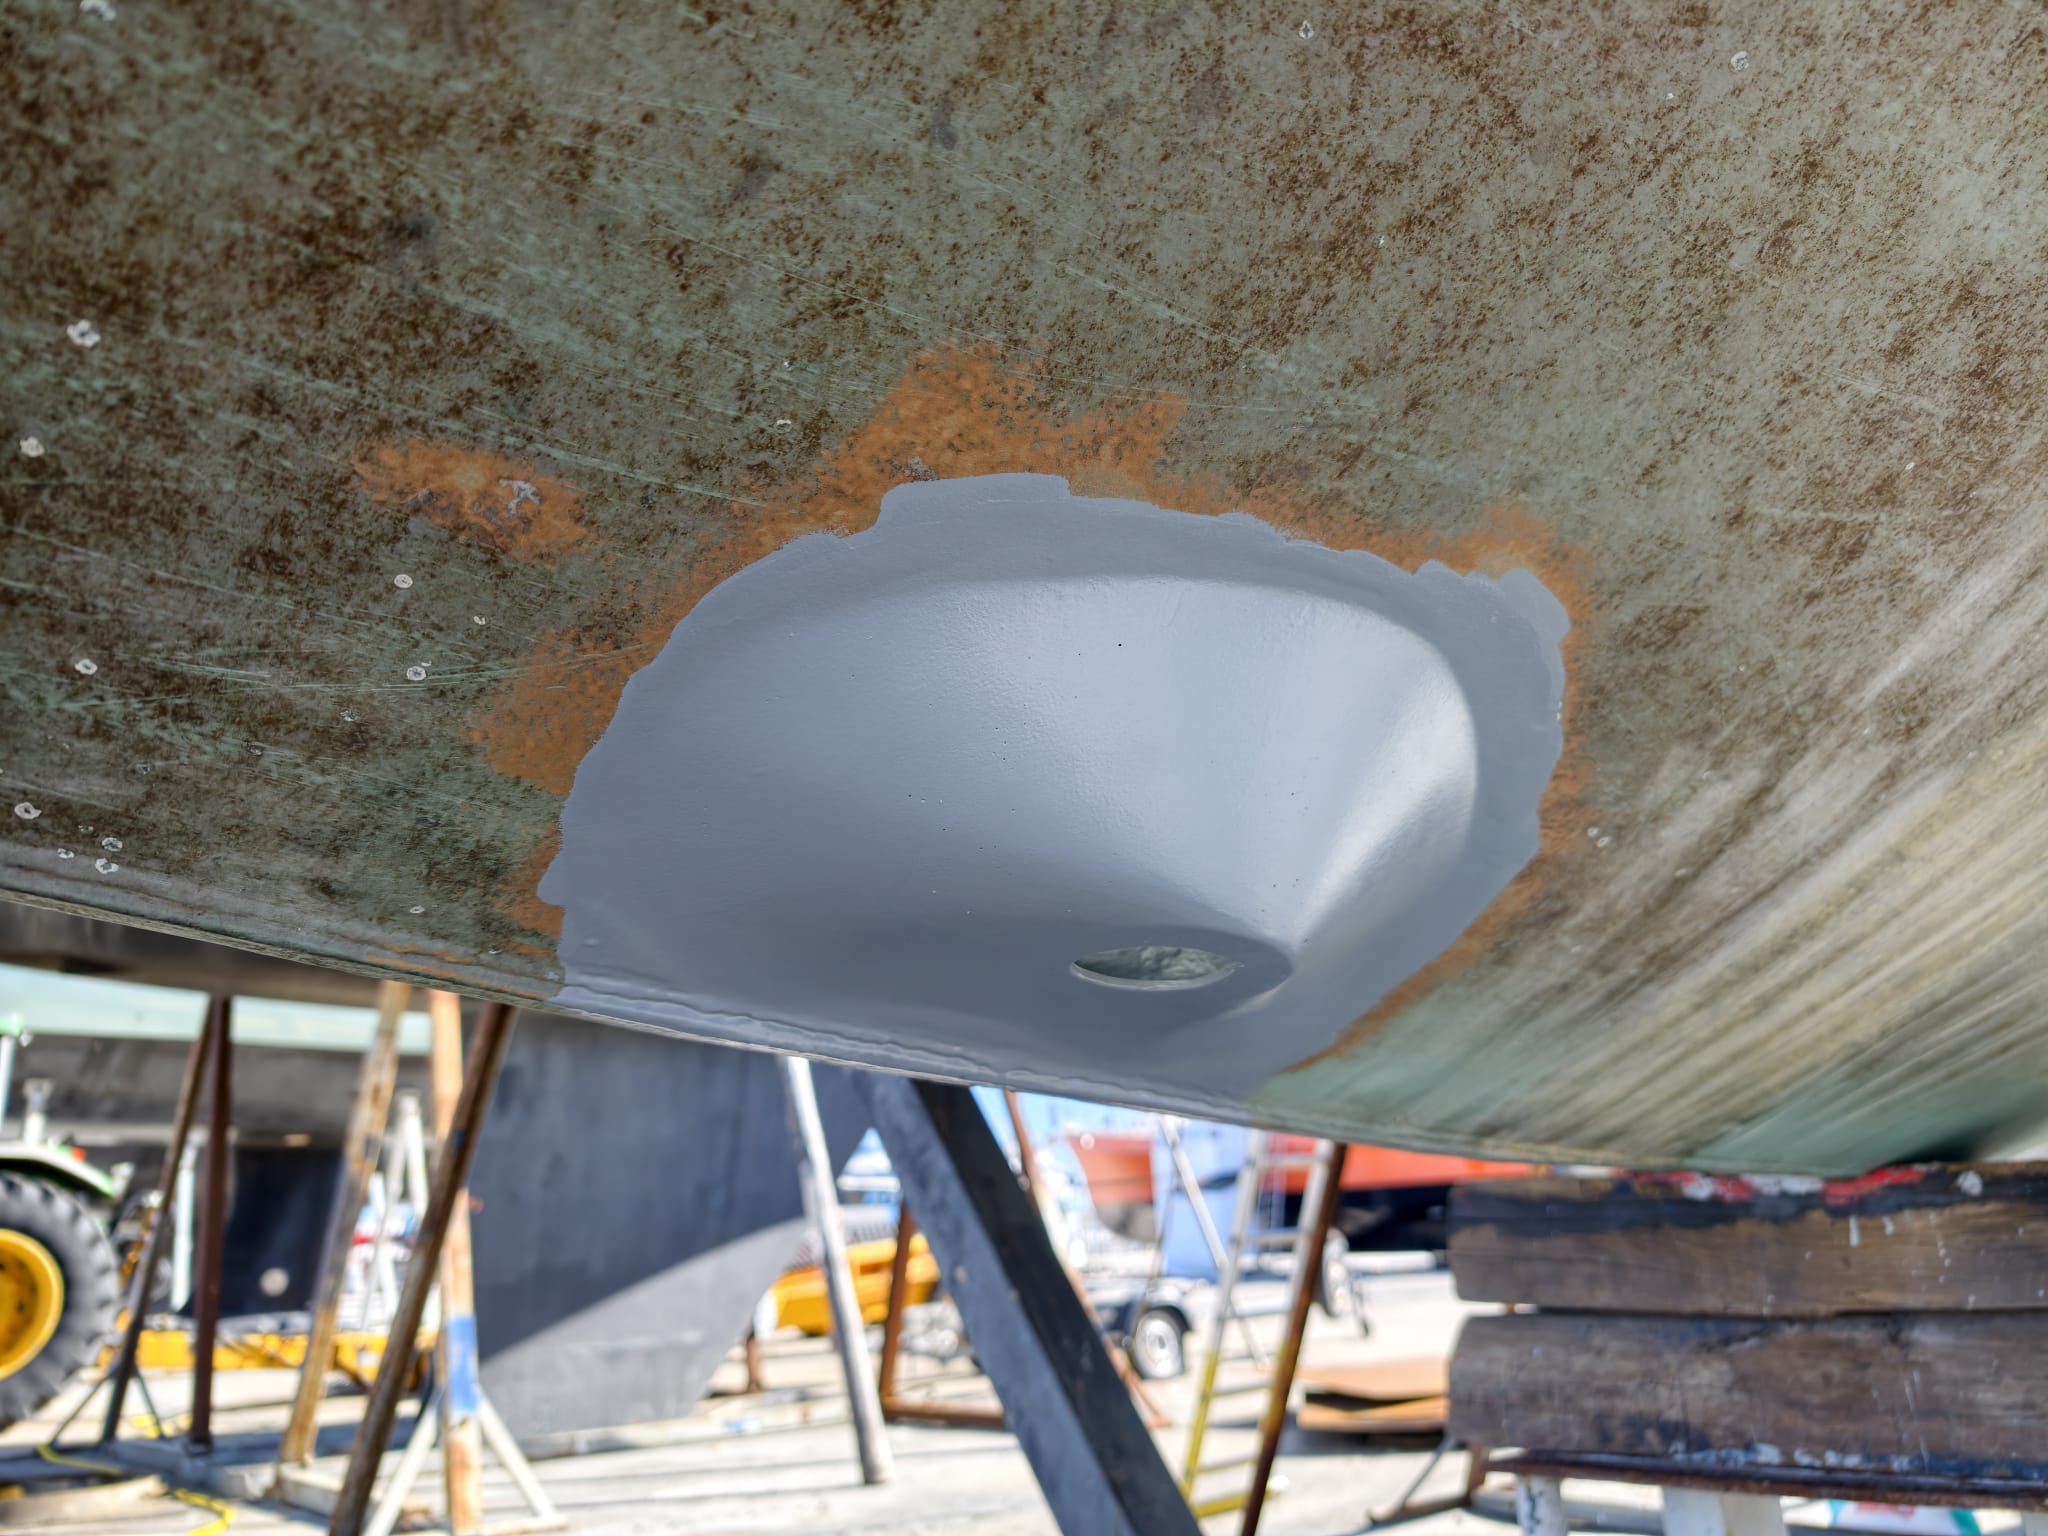
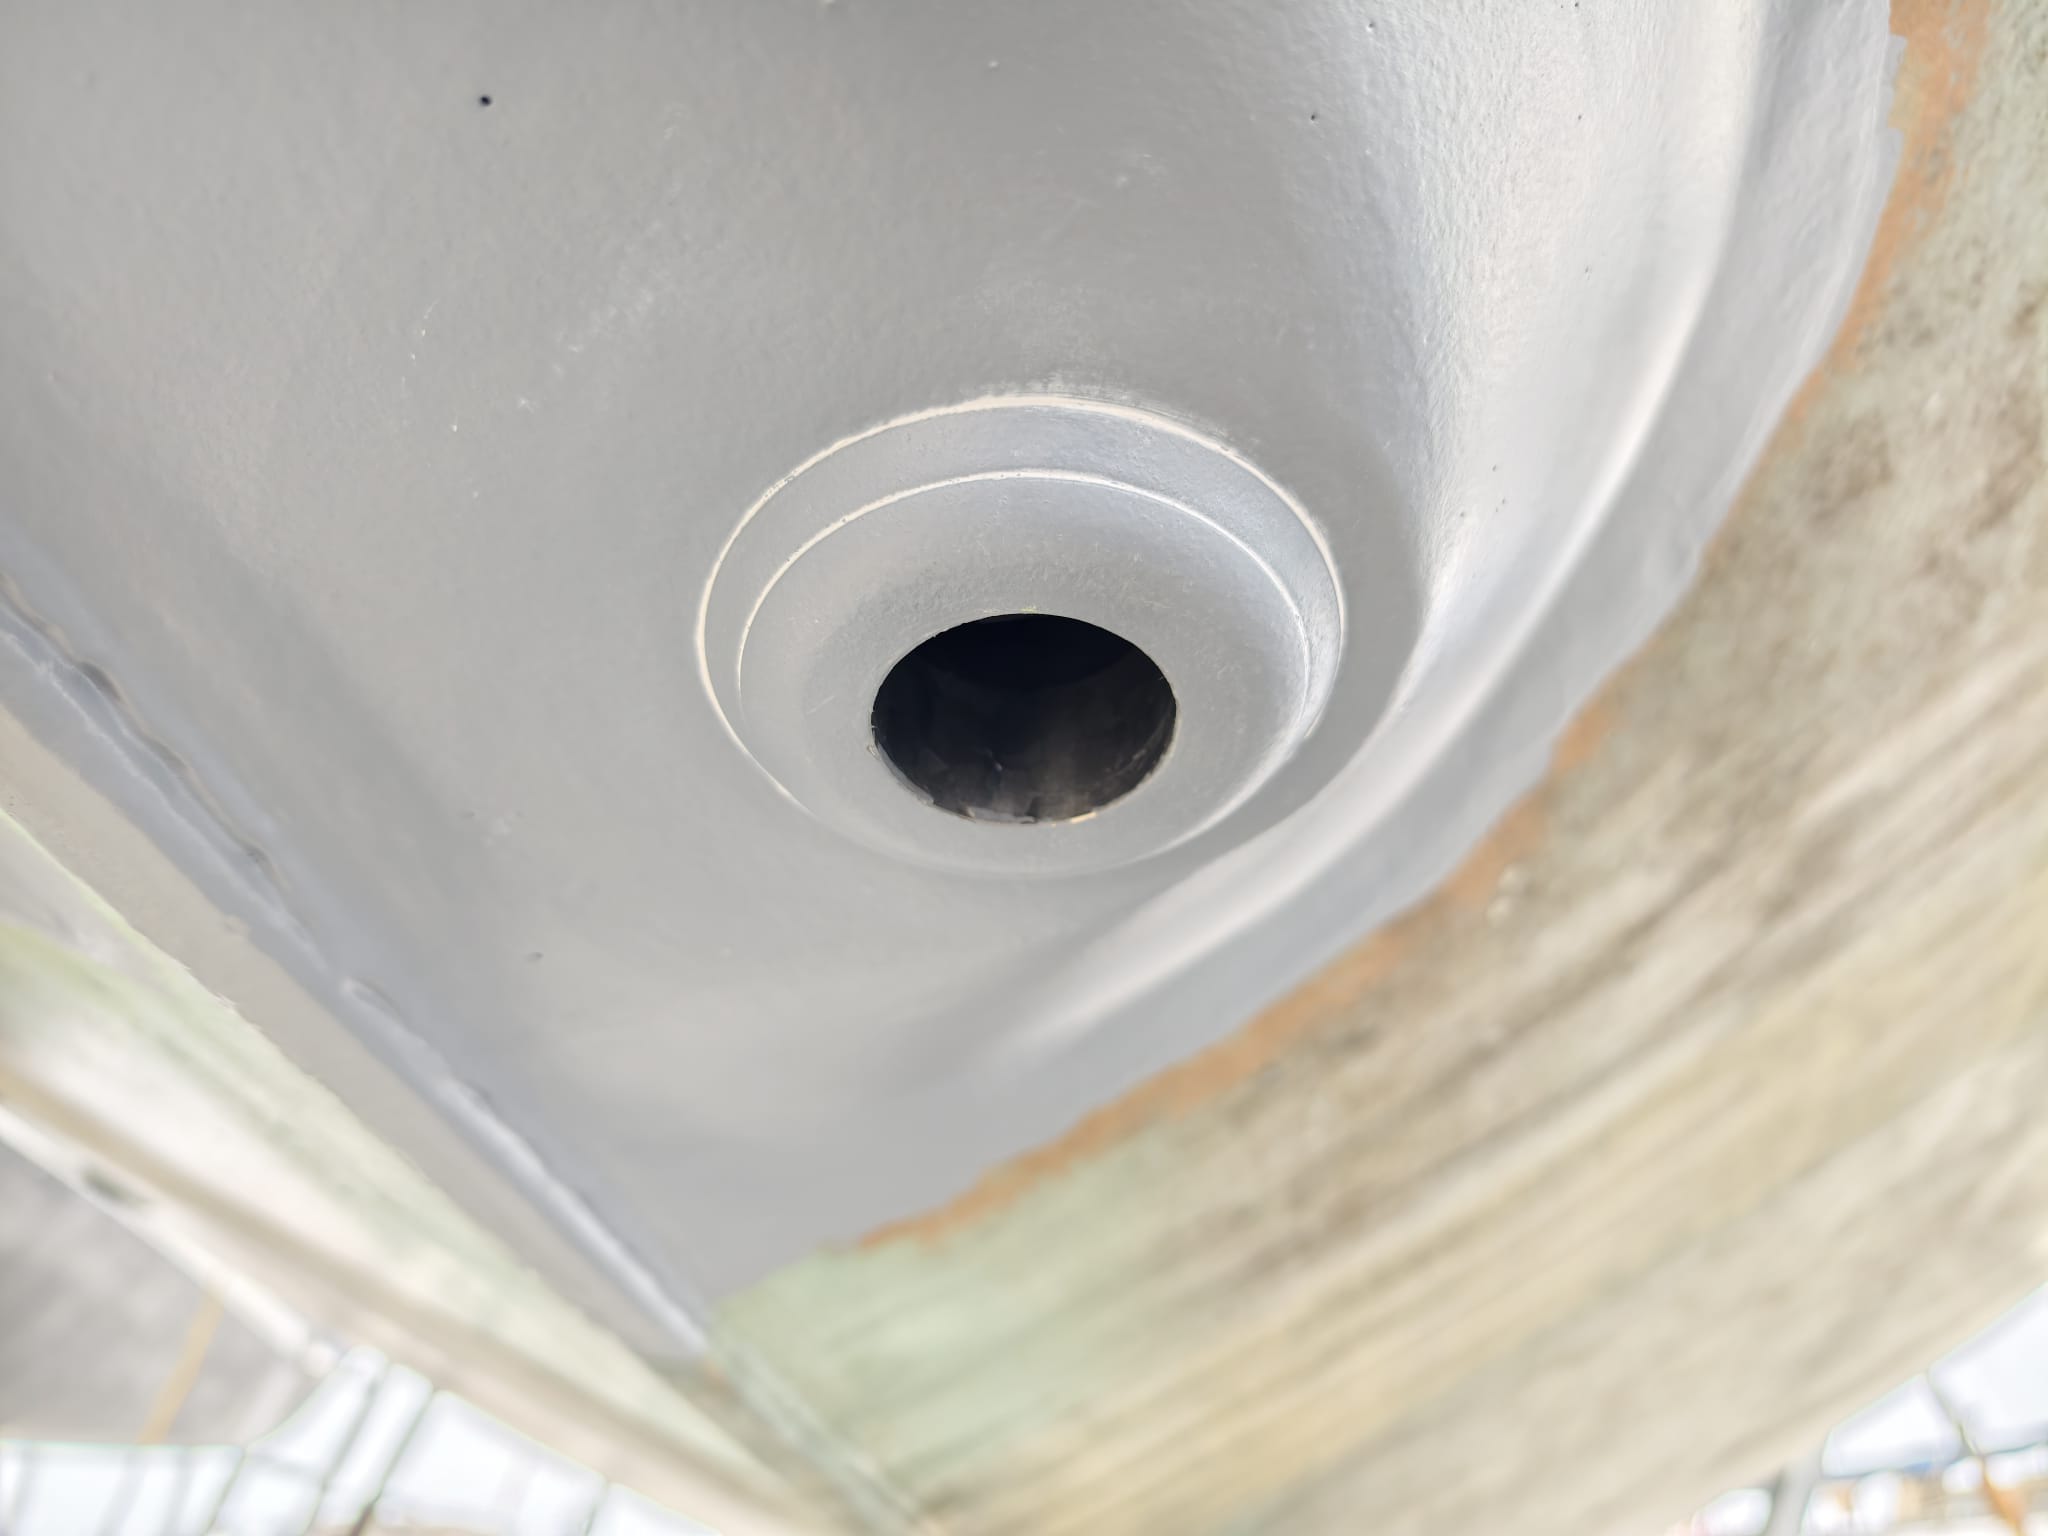
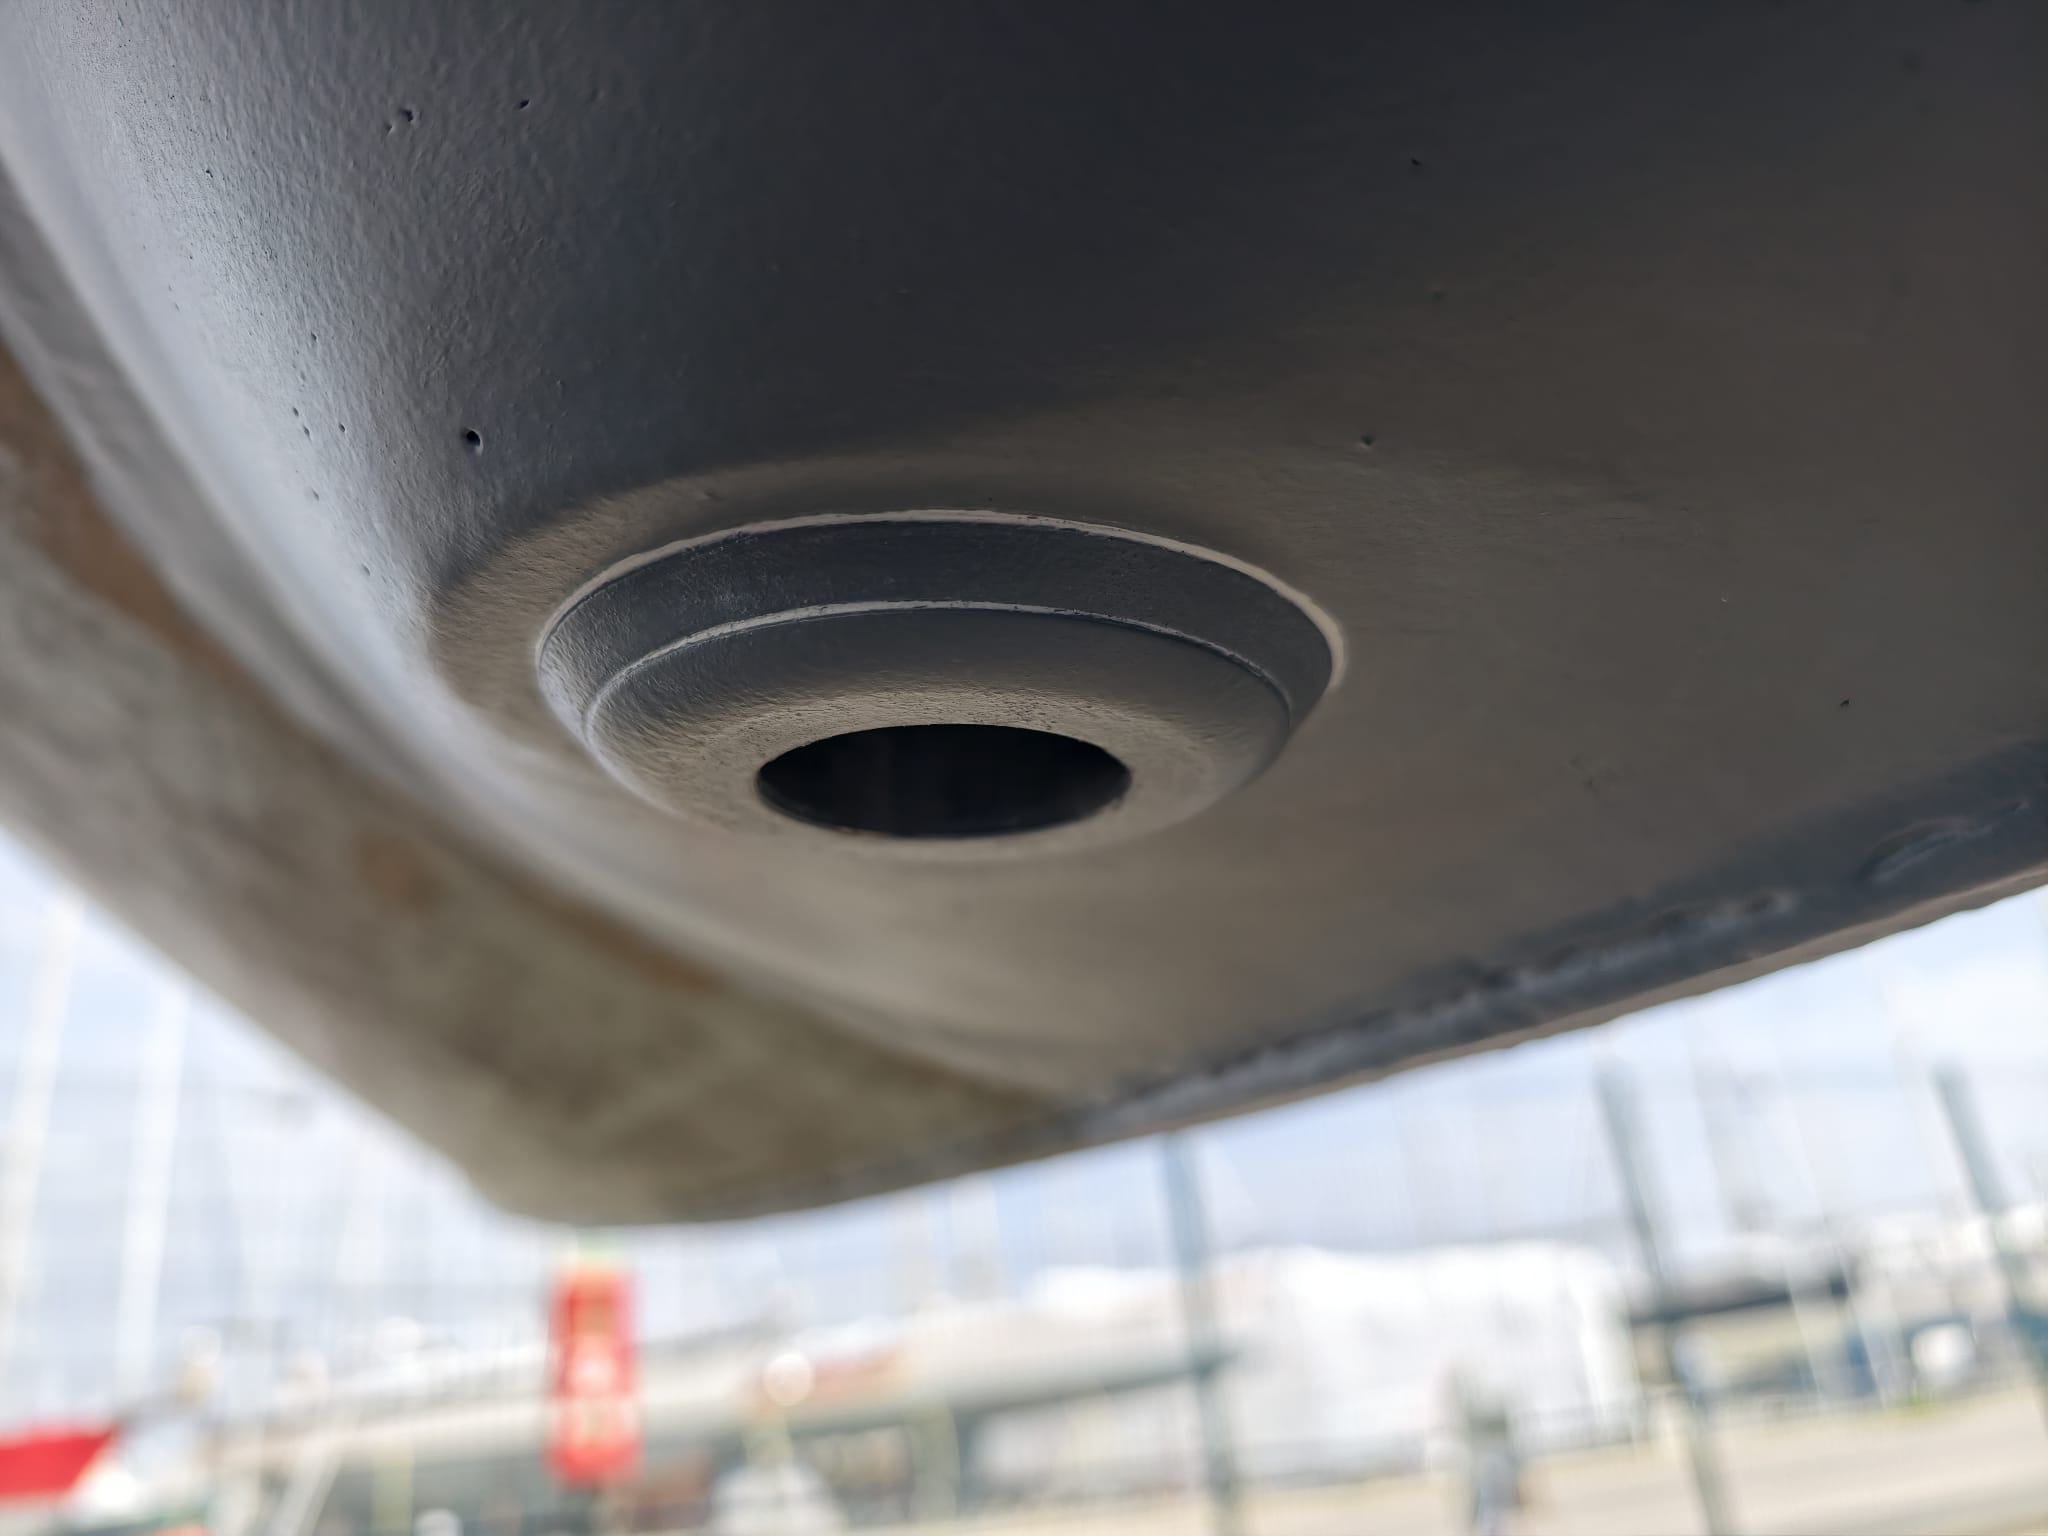
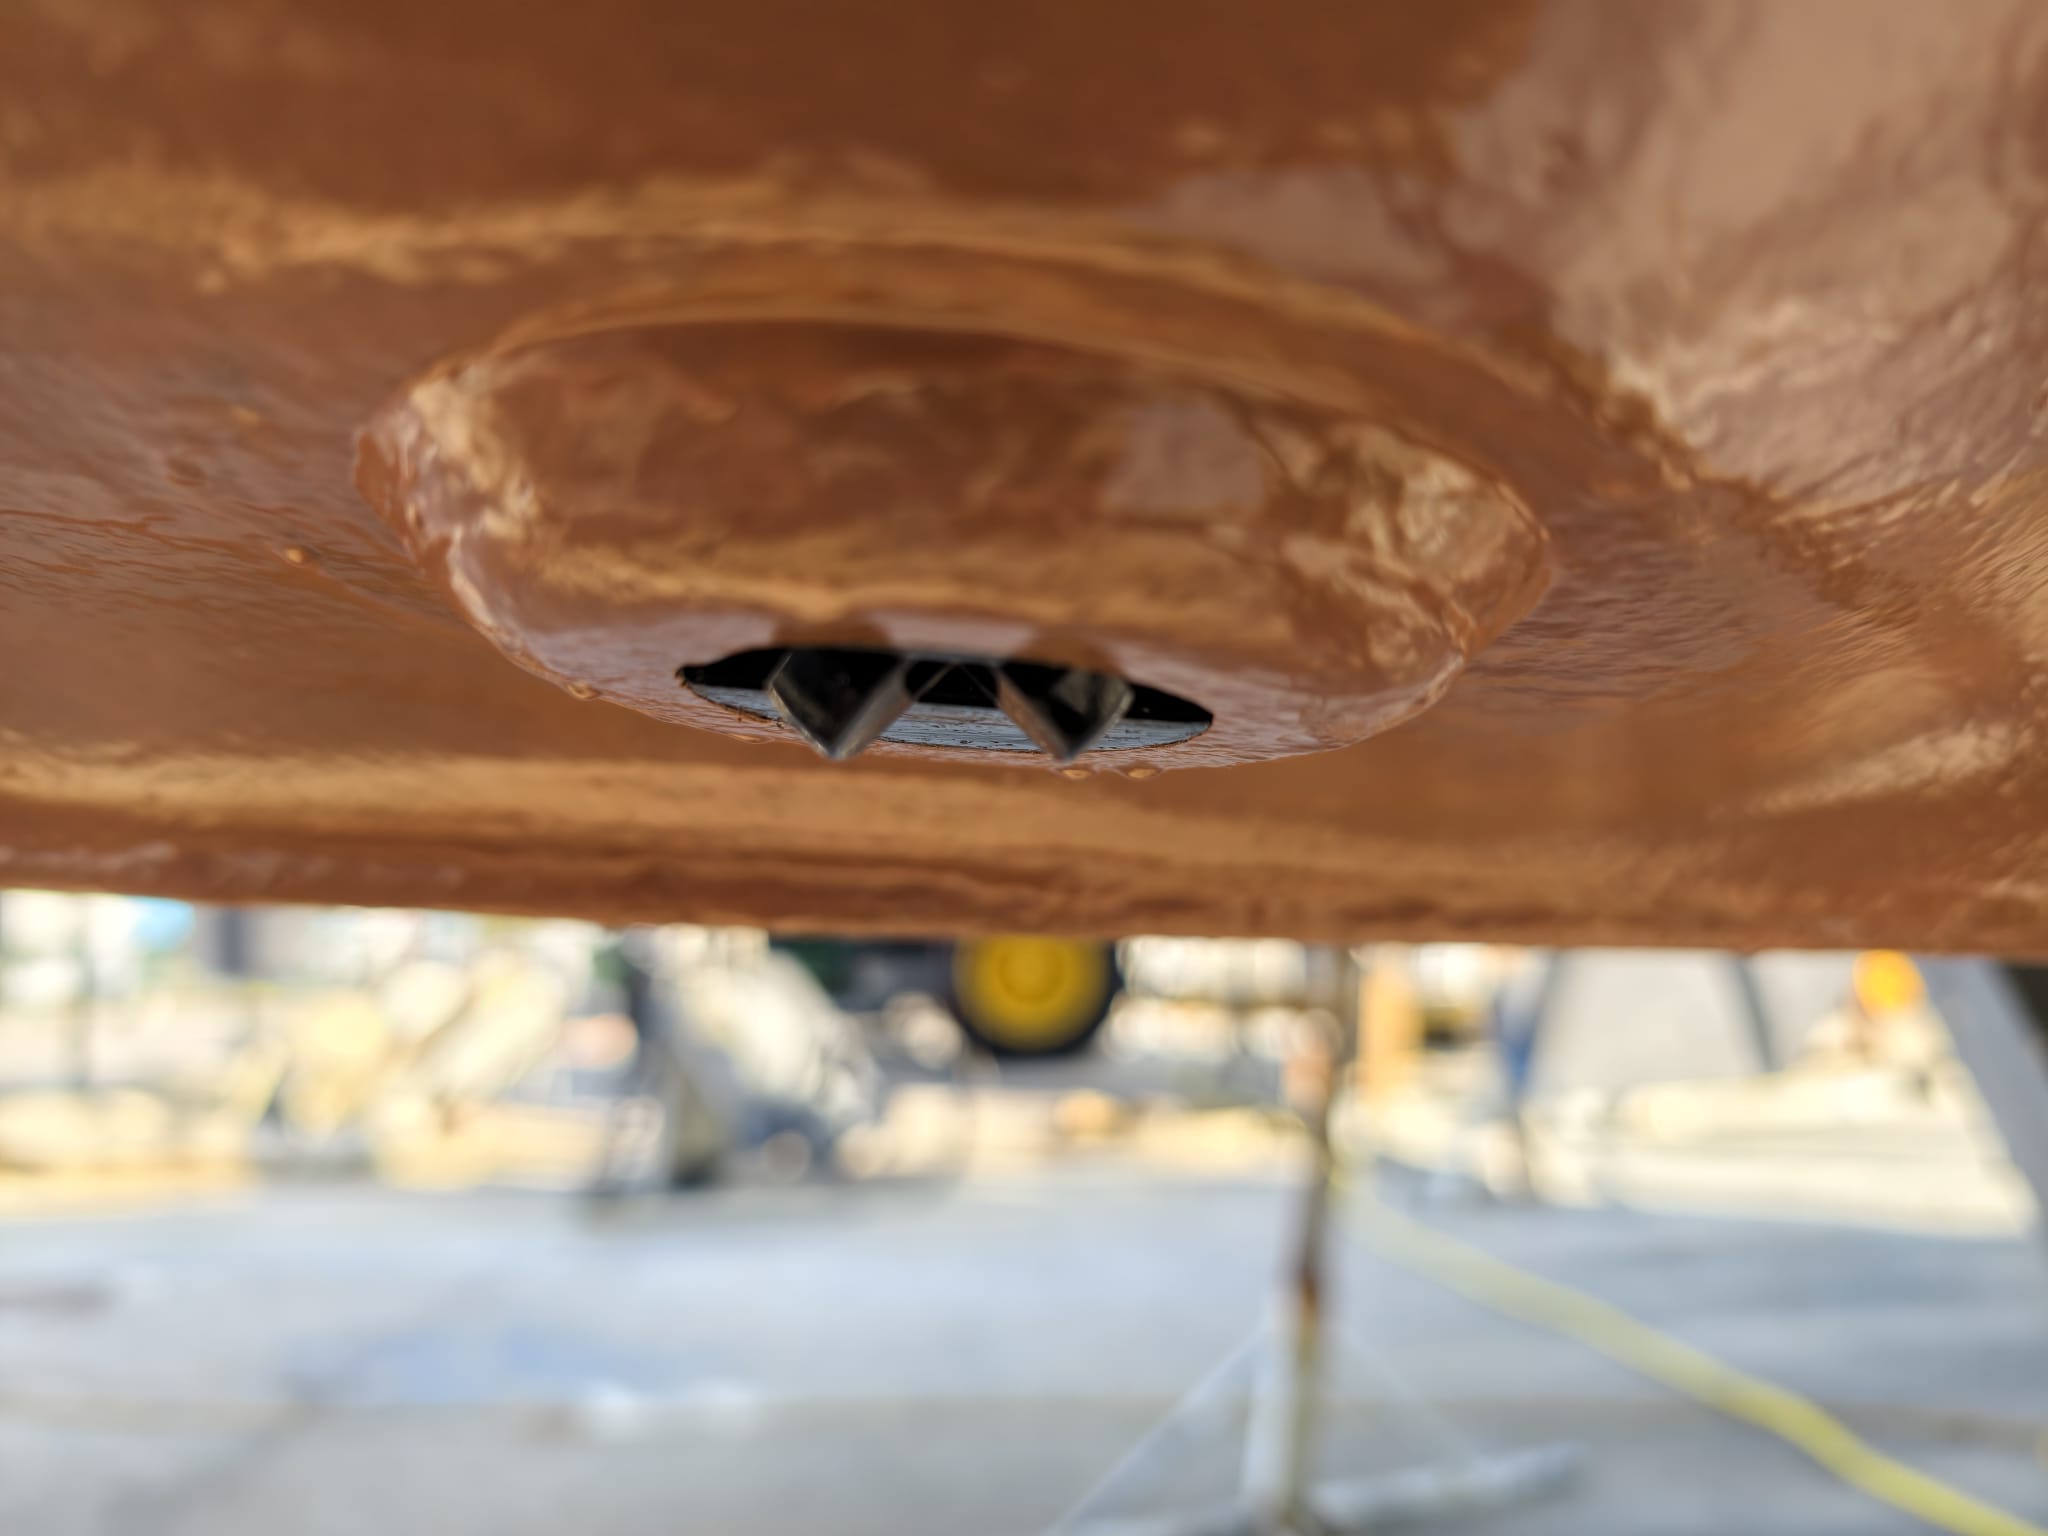
The faring around the transducer is close to its final shape. This will create a gentle flow of water around it.

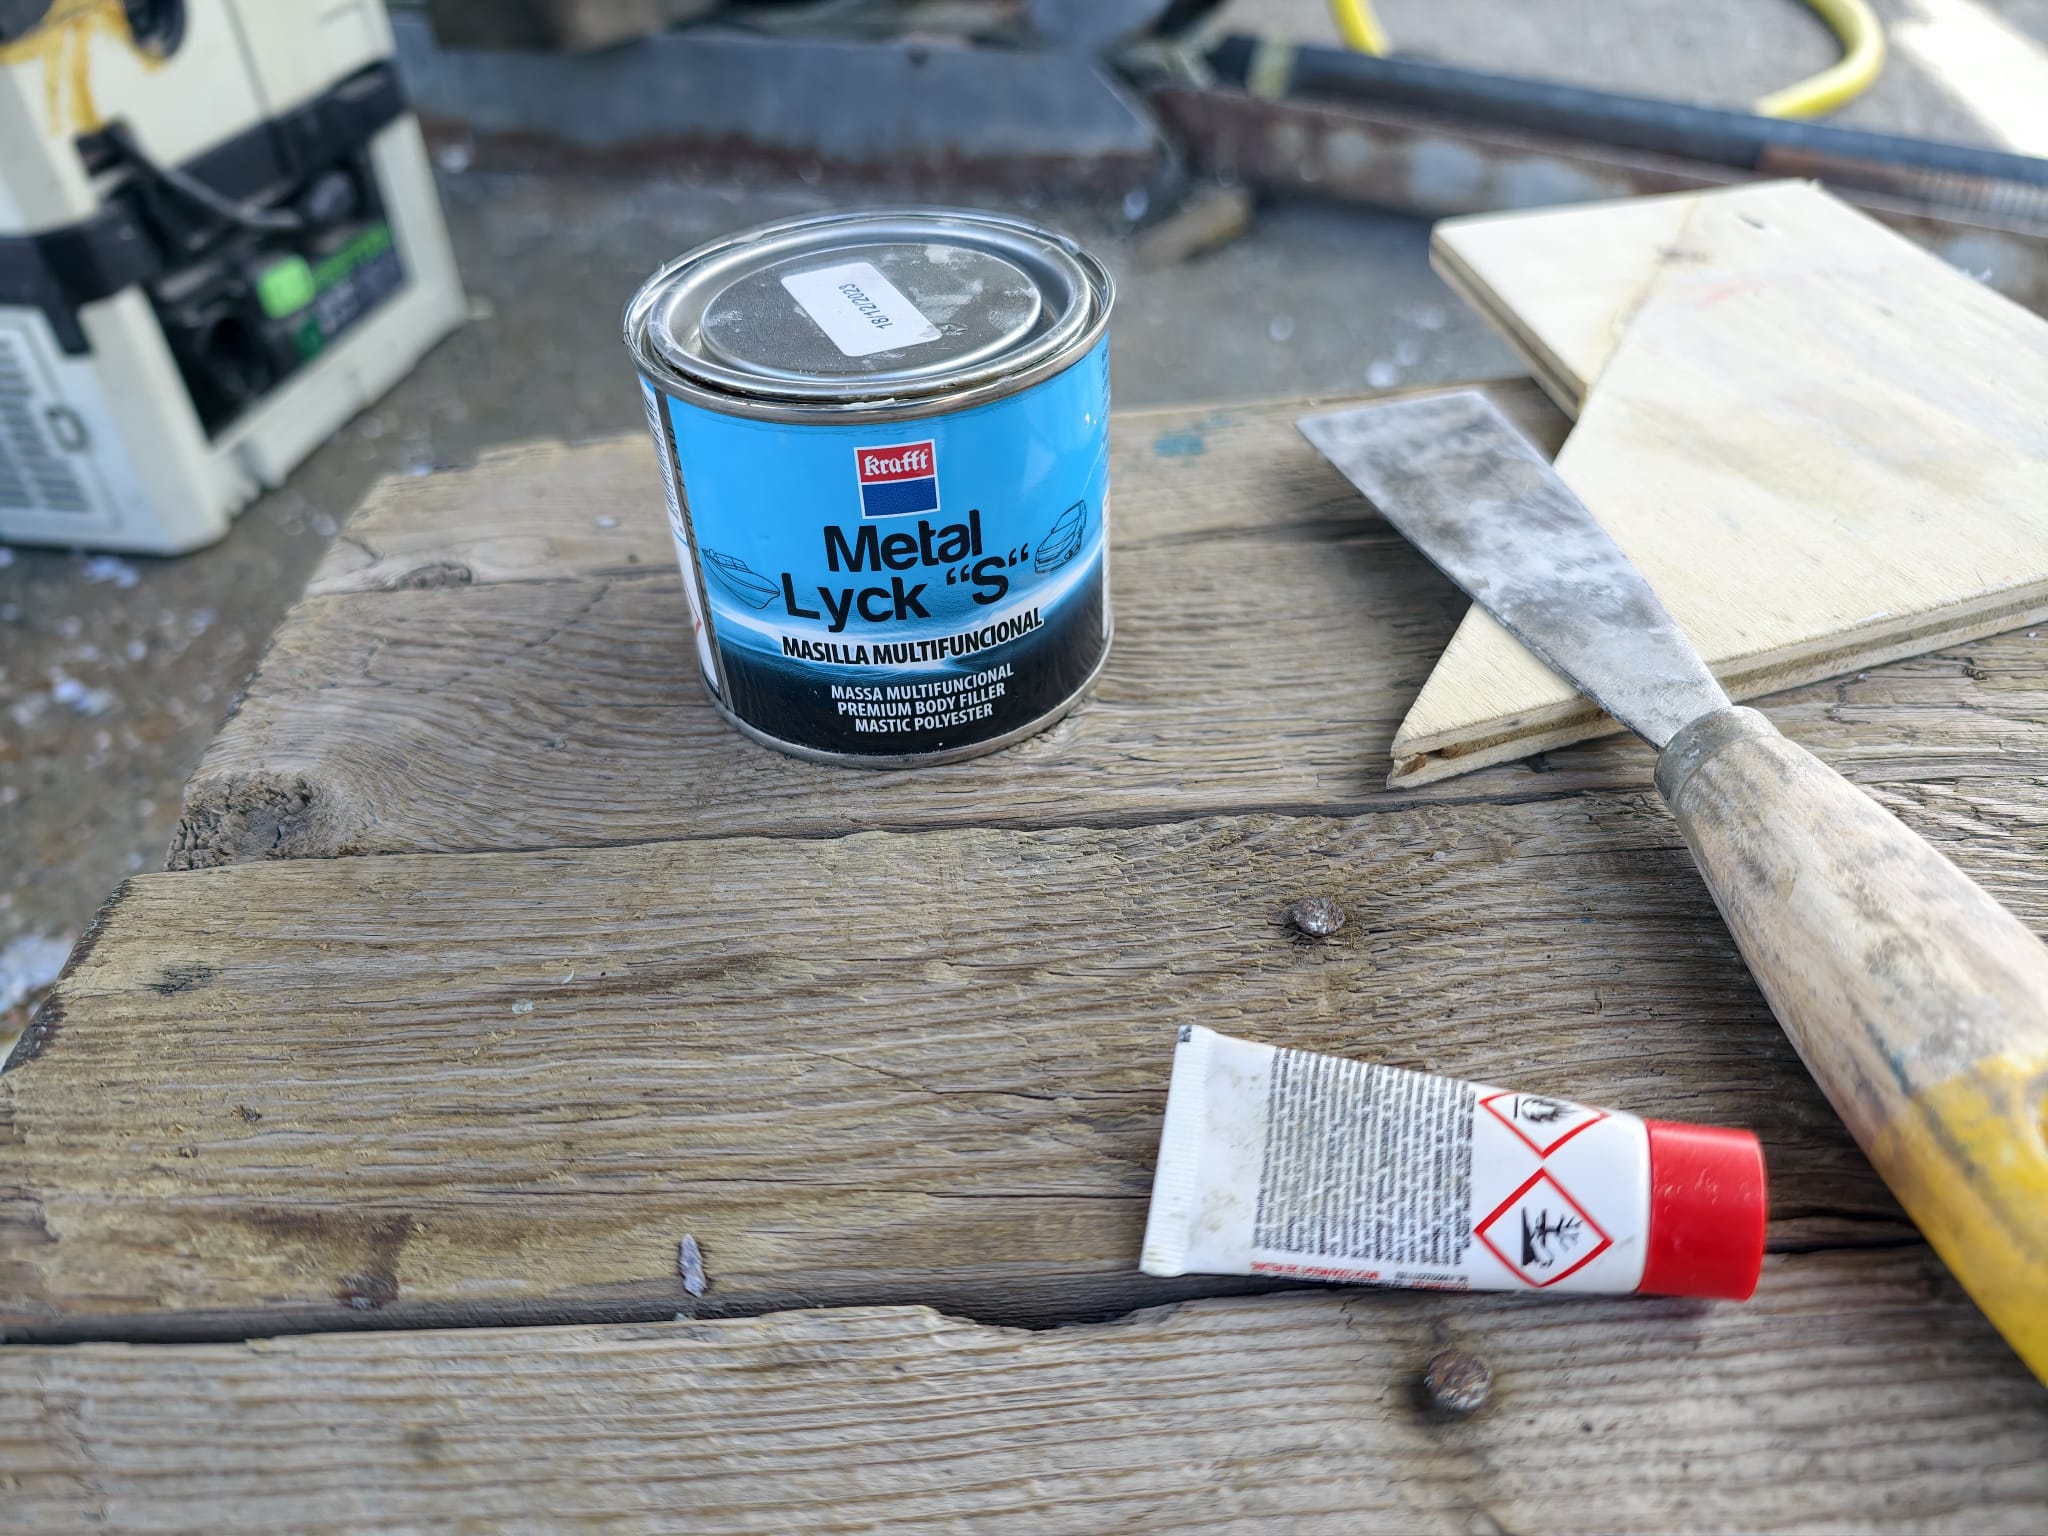
After sanding, there are just a few spots that still need touching up. The epoxy filler is too course for that so we use a little bit of polyester filler.
Meanwhile, Sher finishes the work on the cockpit sun shade.
The weather is lovely so we can install it to see if everything fits nicely.
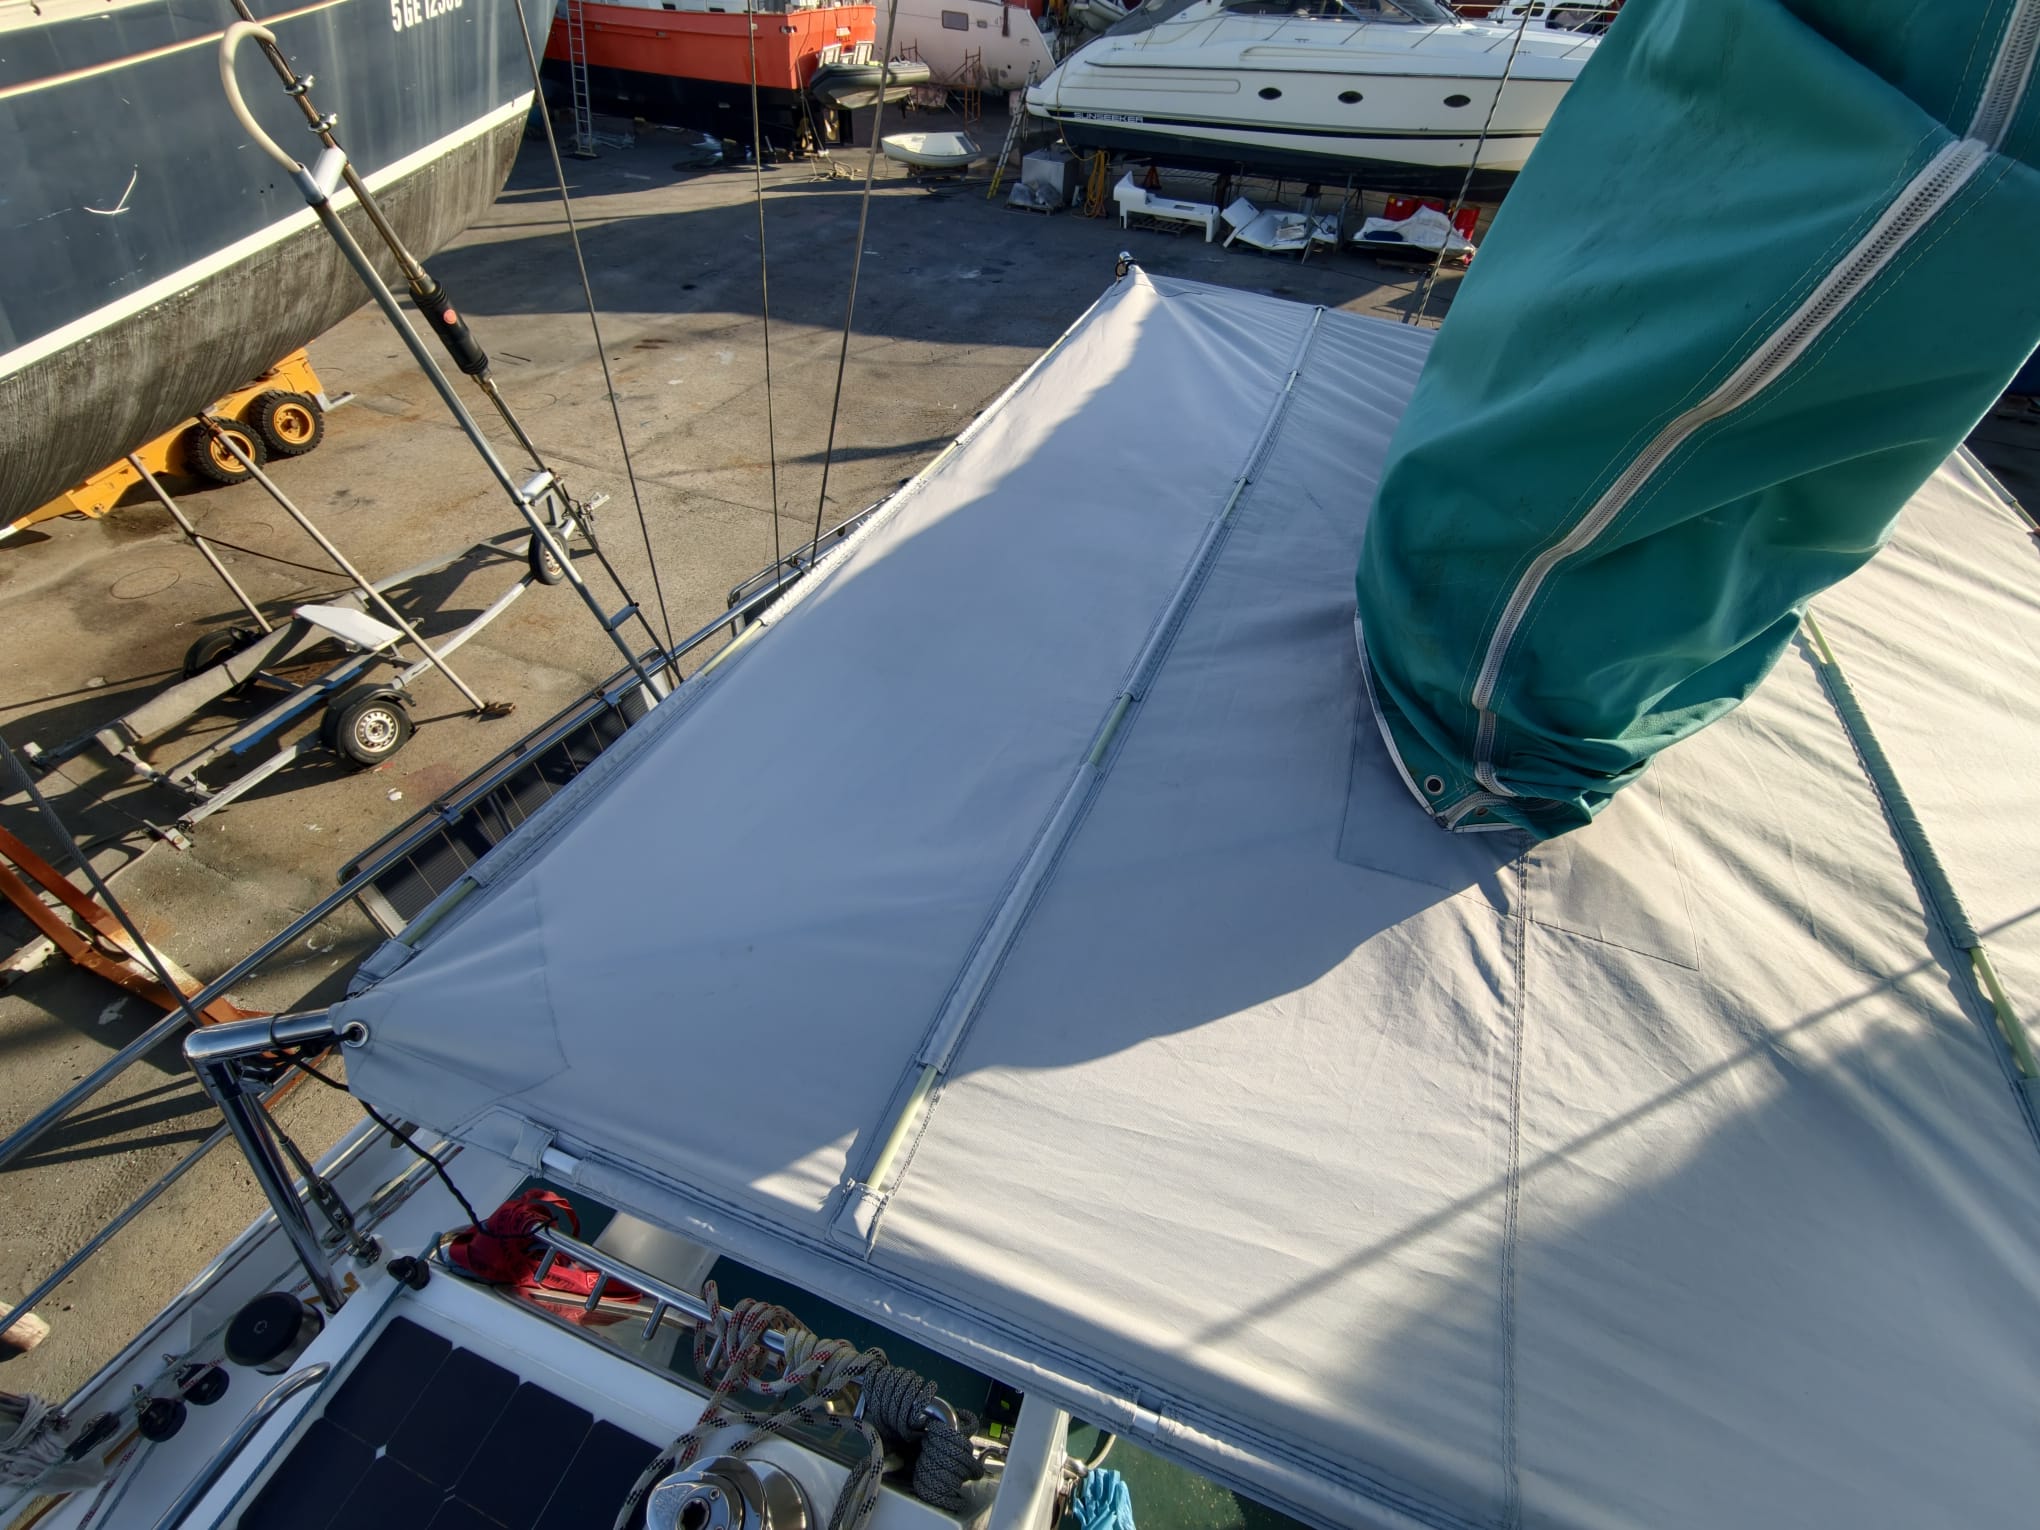
It looks perfect!
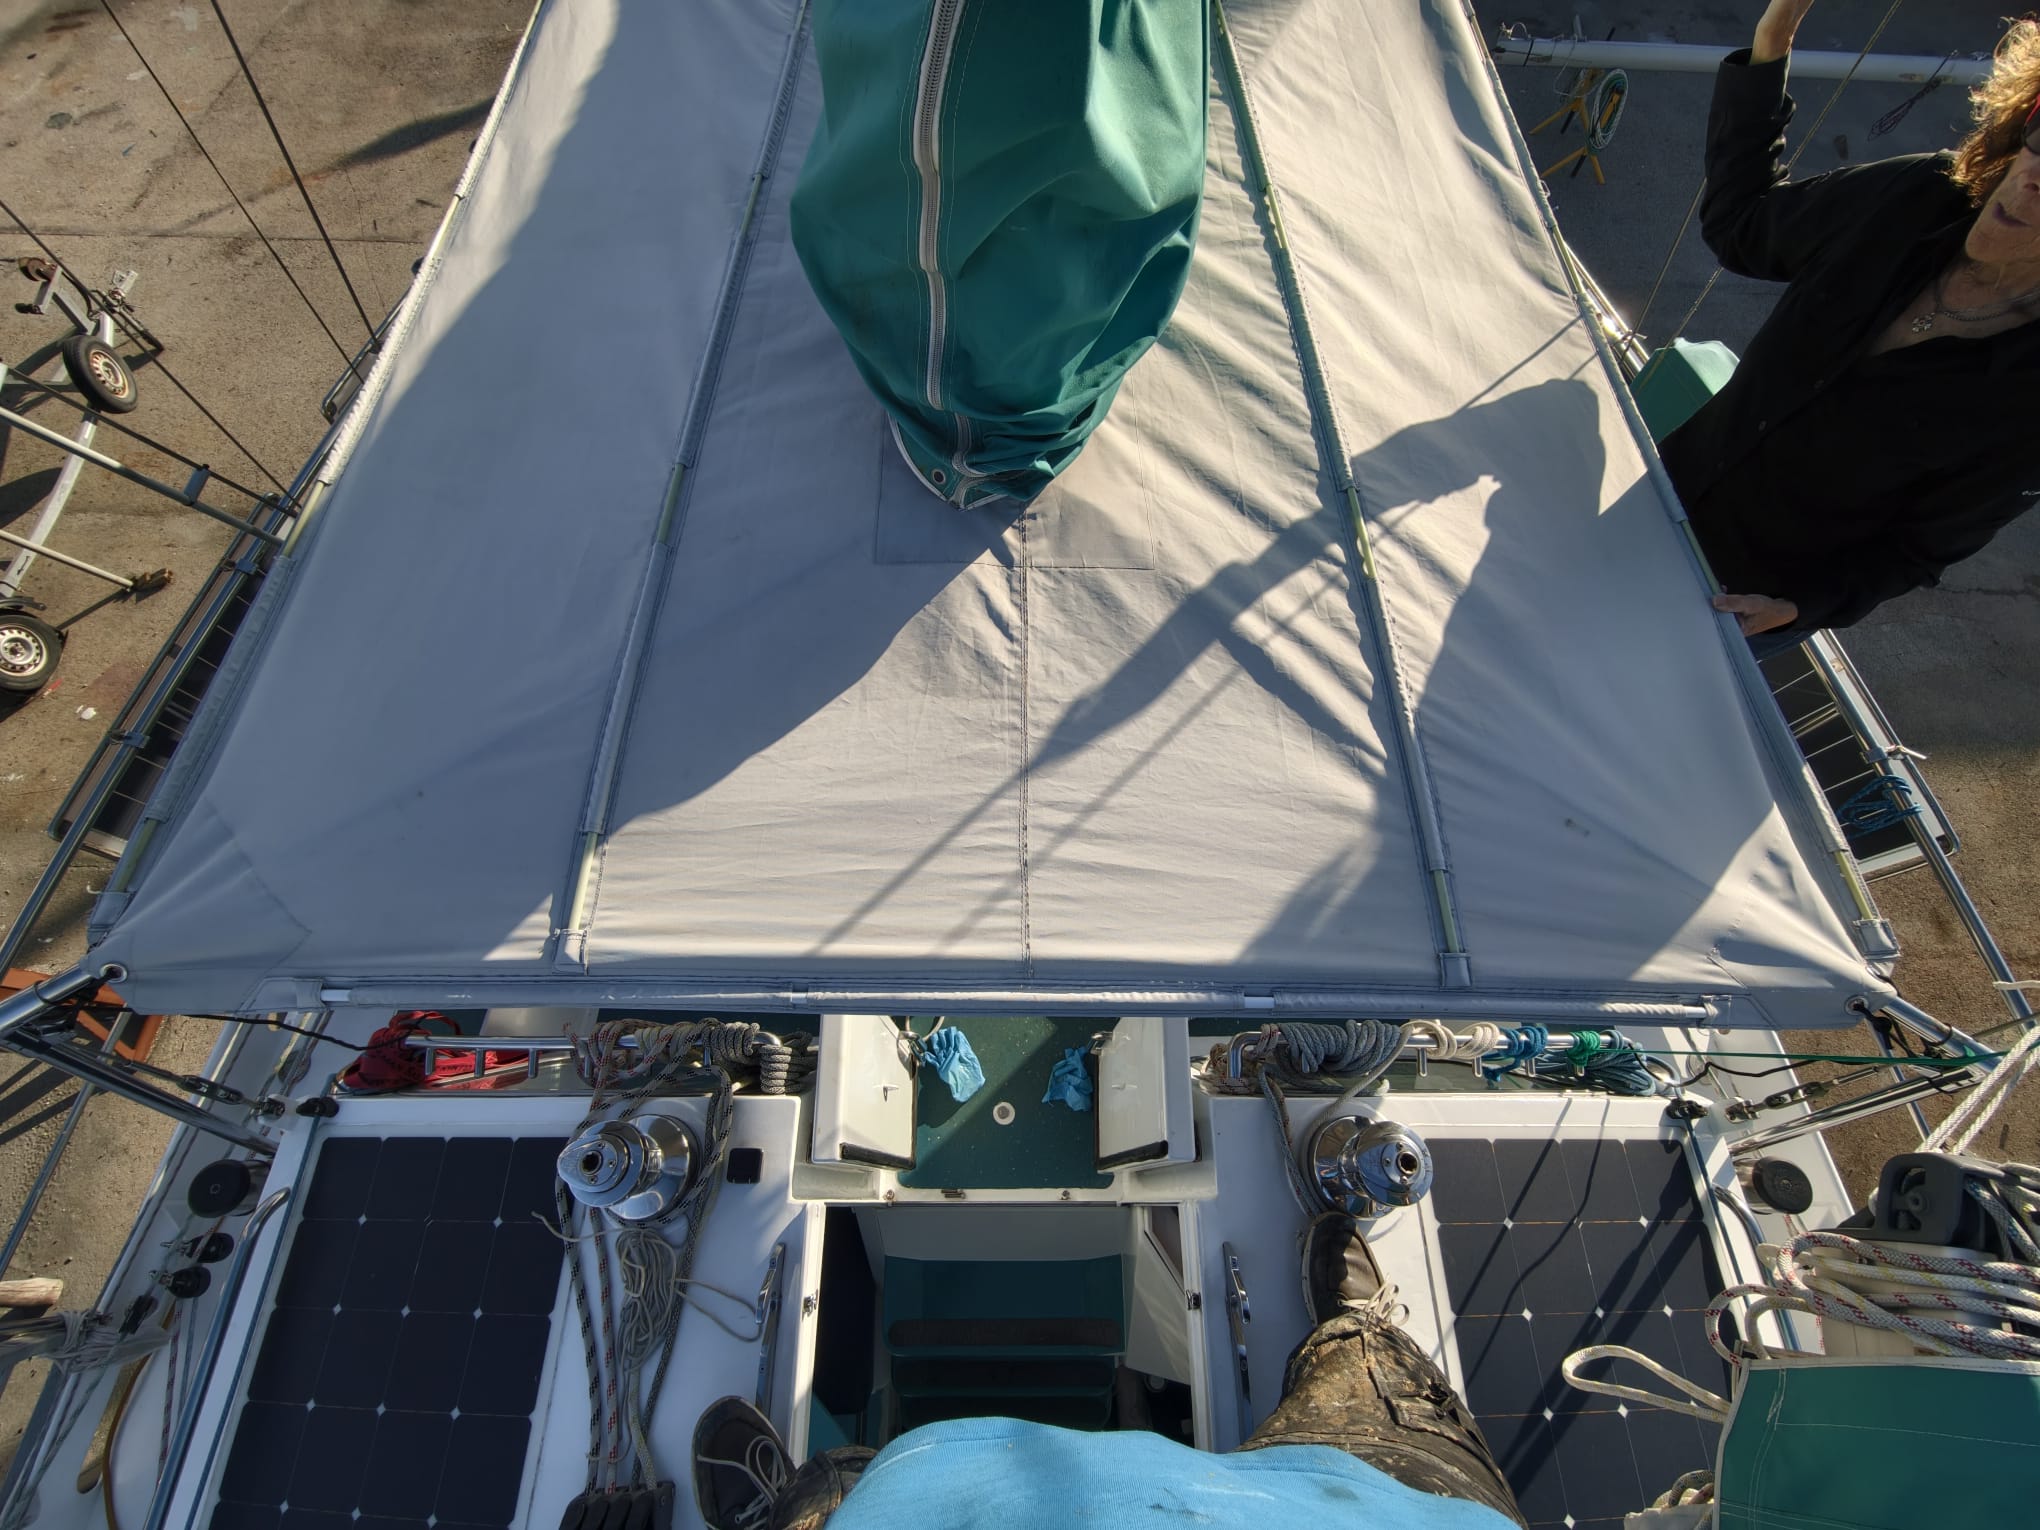
We have some trouble to get the battens into the end pockets. In the end, we tension the fabric firmly to the frame (that stretches the fabric a bit) and then put the batten in the aft pocket, push it up strongly in the middle (the fabric stretches even more) and then push the batten into the forward pocket.
Job well done! Wim can now mount the solar panels securely to the battens and we’ve removed all the rusty grommets.
In the morning, we sand-blast all spots in the bilges. This one was done already and had 1 layer of primer but we found 2 more rusty spots. The area in the bilge where the welding was done gets sand-blasted and has a great, very rough and clean surface after that.

Right after that everything gets a first layer of primer. There was no time to make photos even! The primer has to be applied within minutes after blasting, before the steel starts oxidizing.
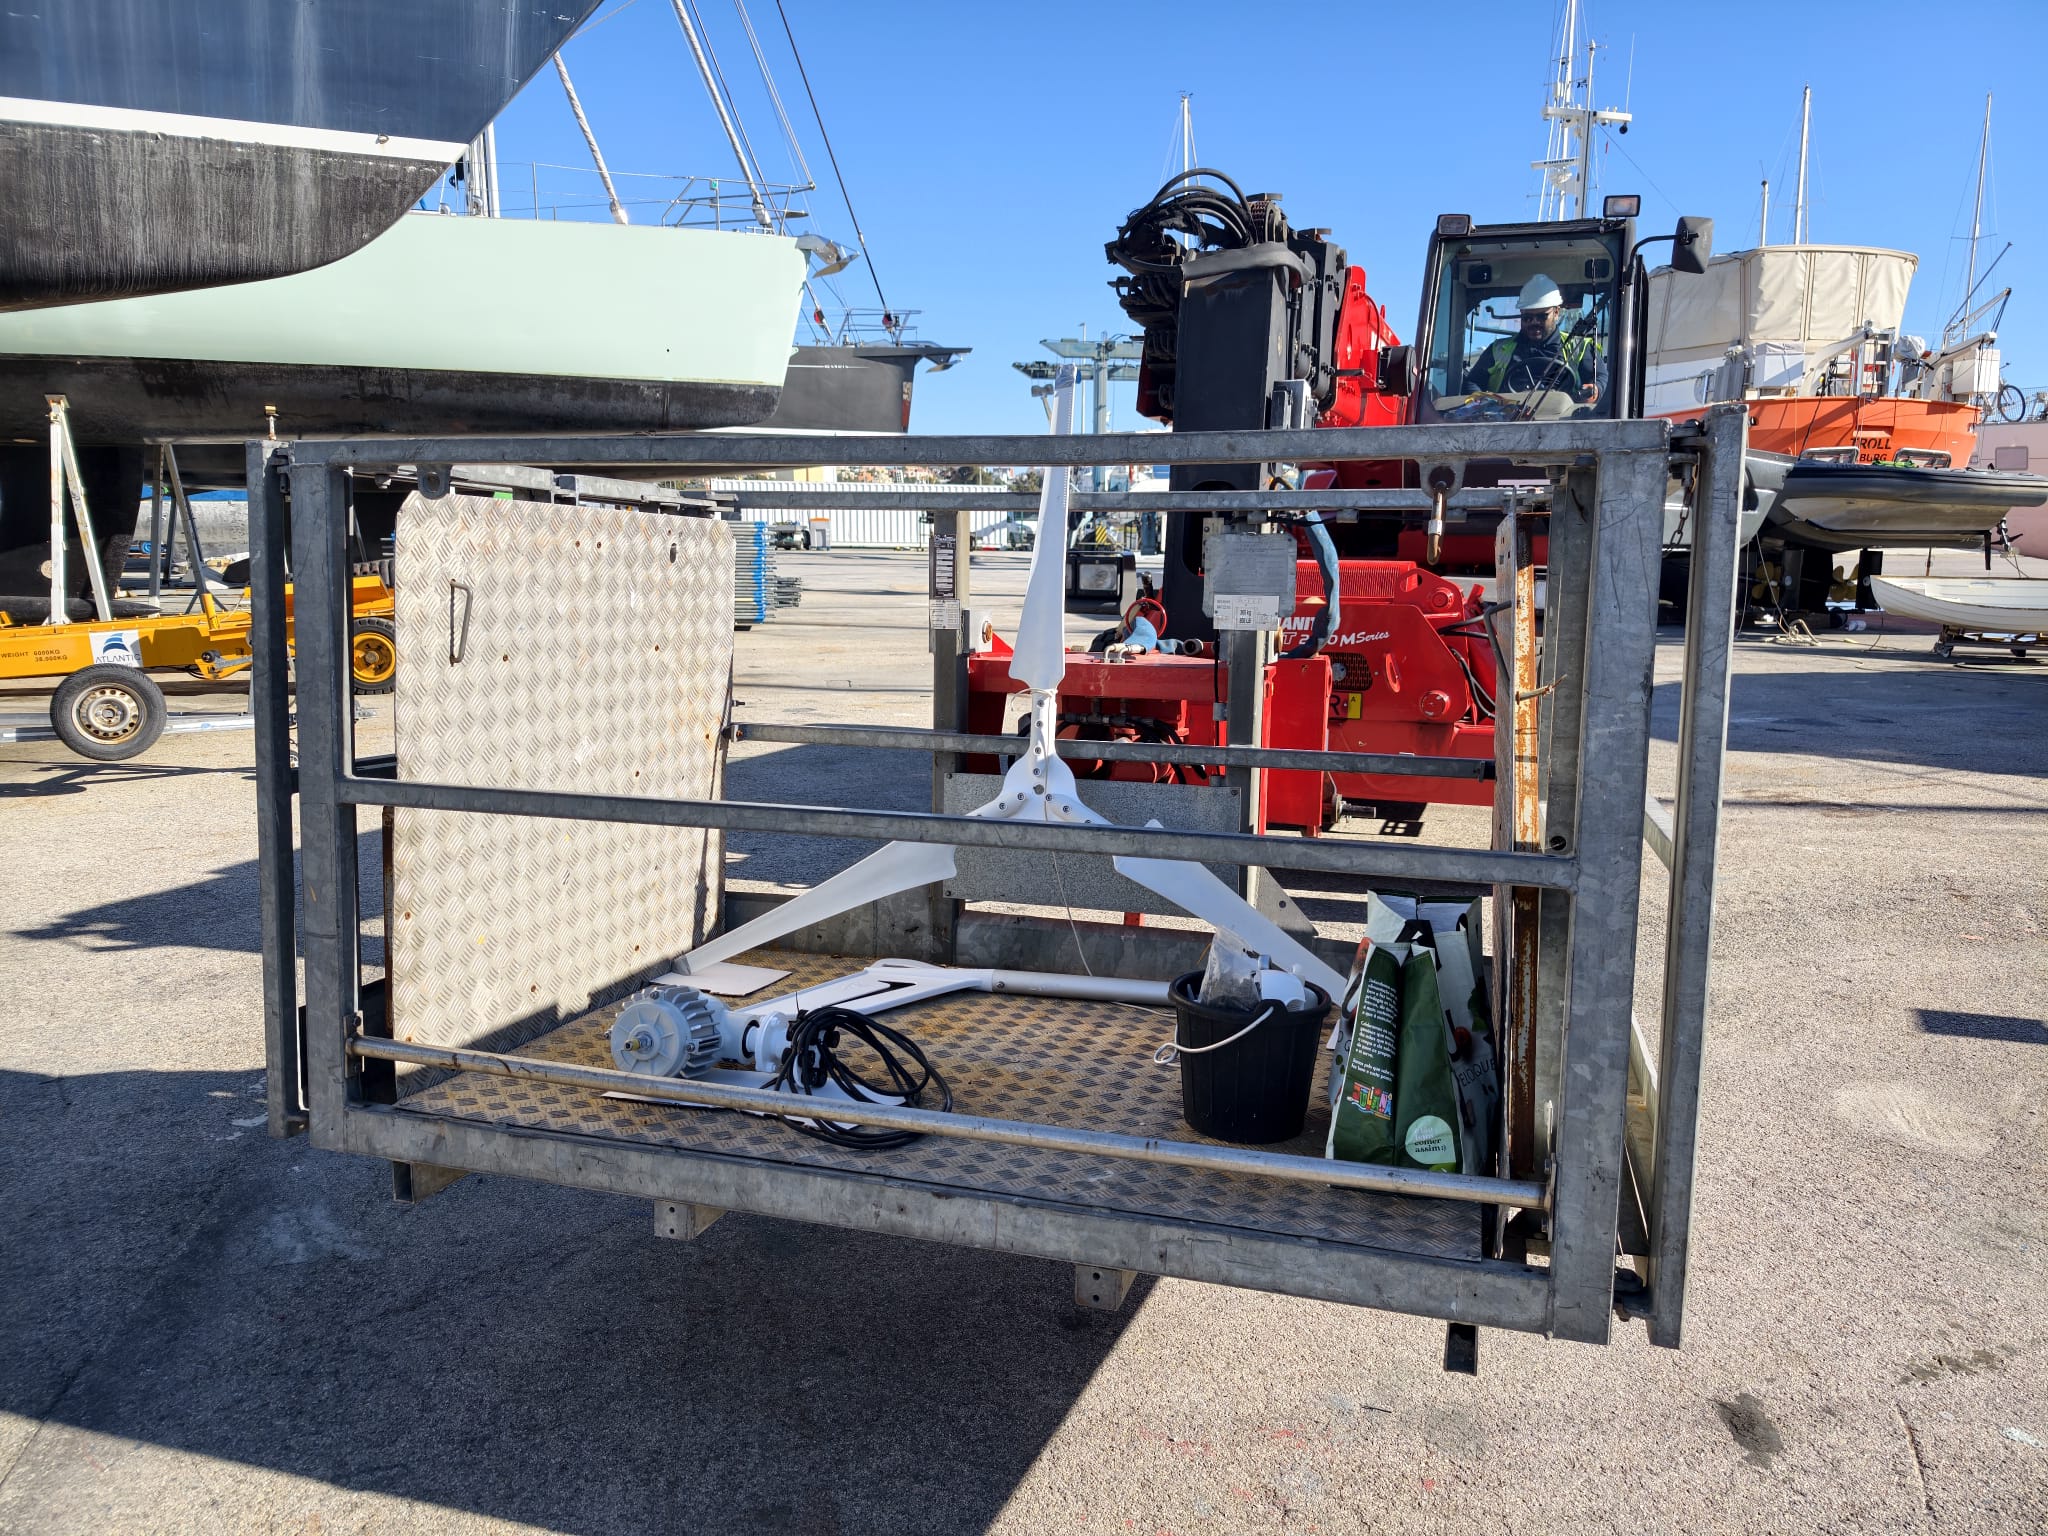
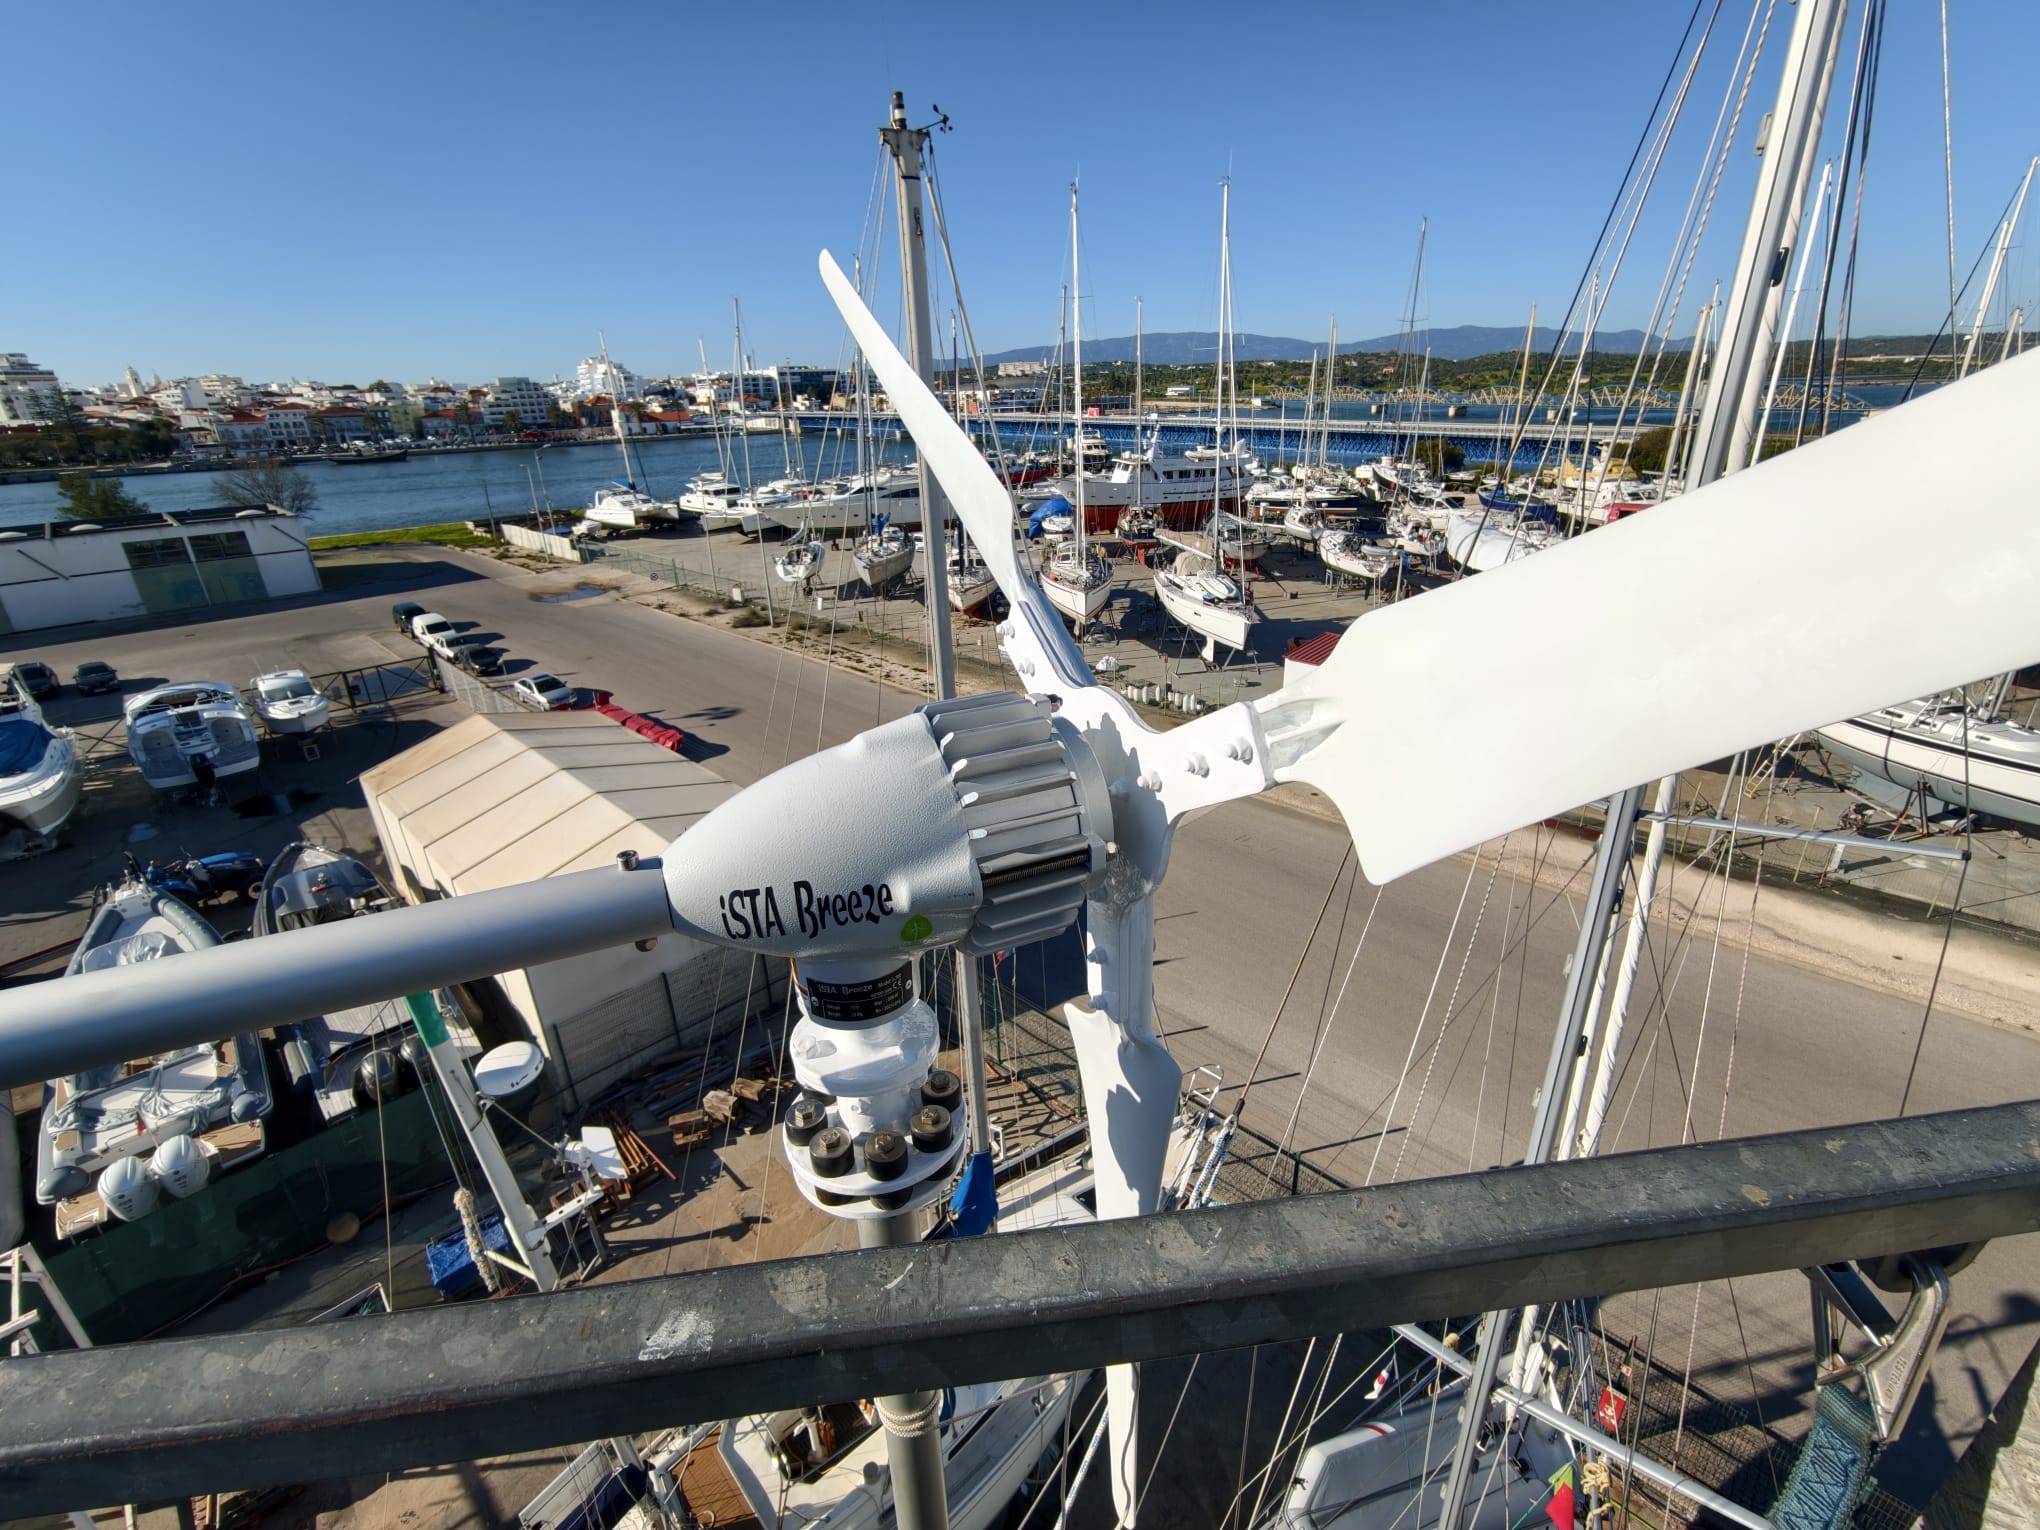
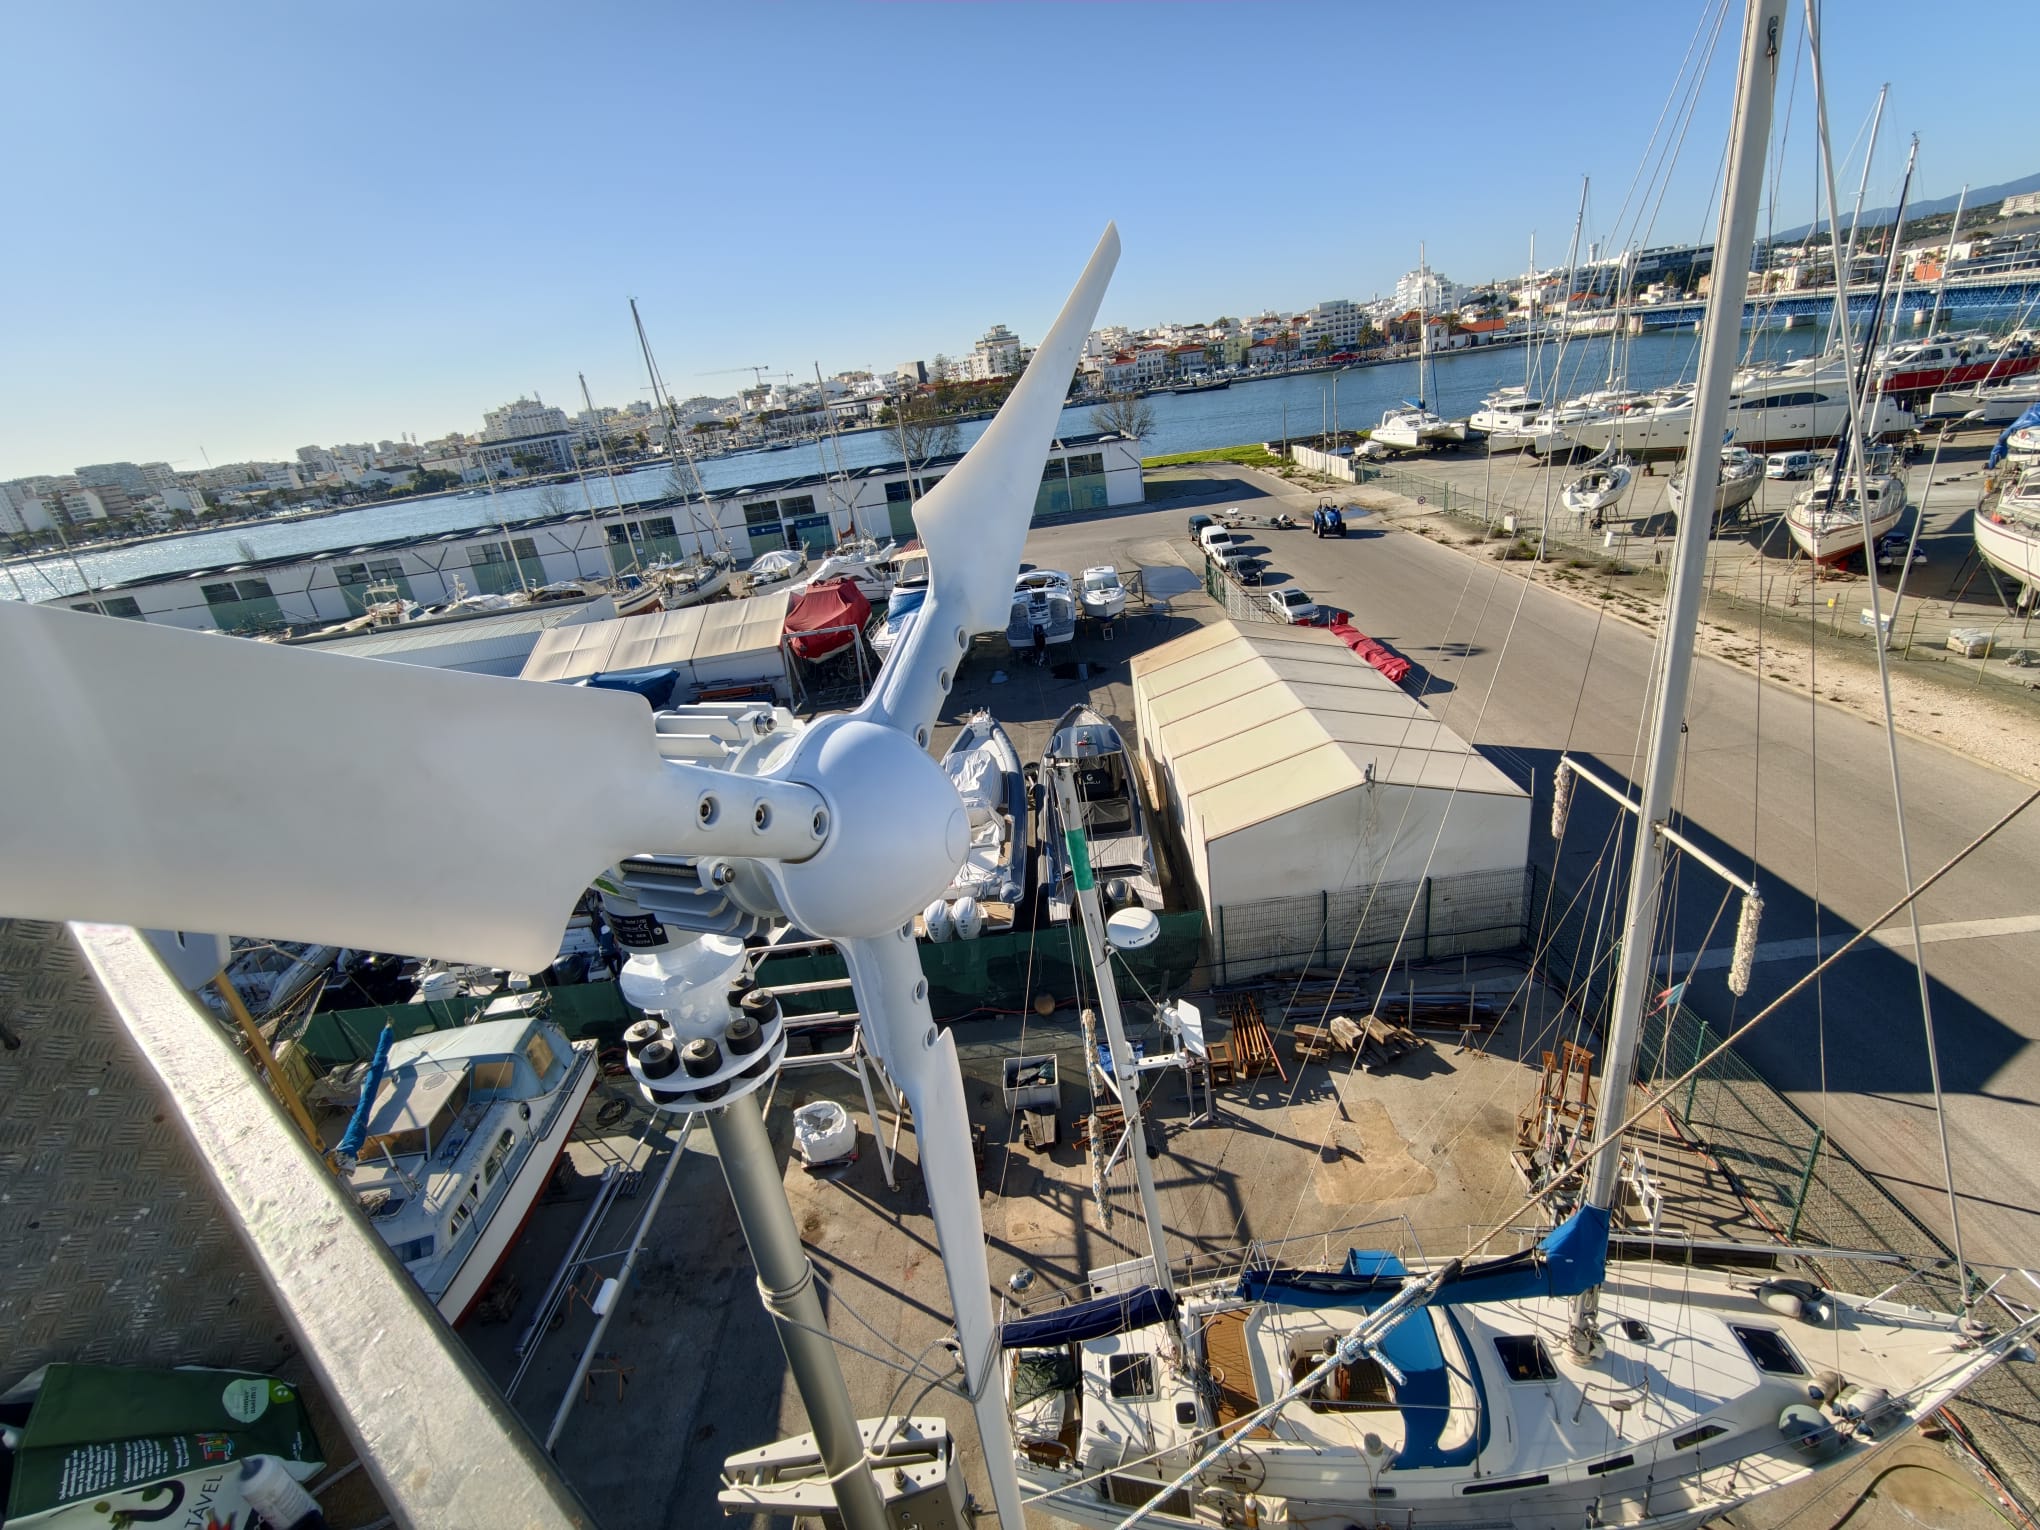
Time to mount the new wind generator! We’ve booked the Manitou lift again. It’s a beautiful day with only a very light breeze so, a good opportunity to put the new wind generator on the mast.
We have prepared every detail. Painted and prepared all parts, all tools needed, all materials.
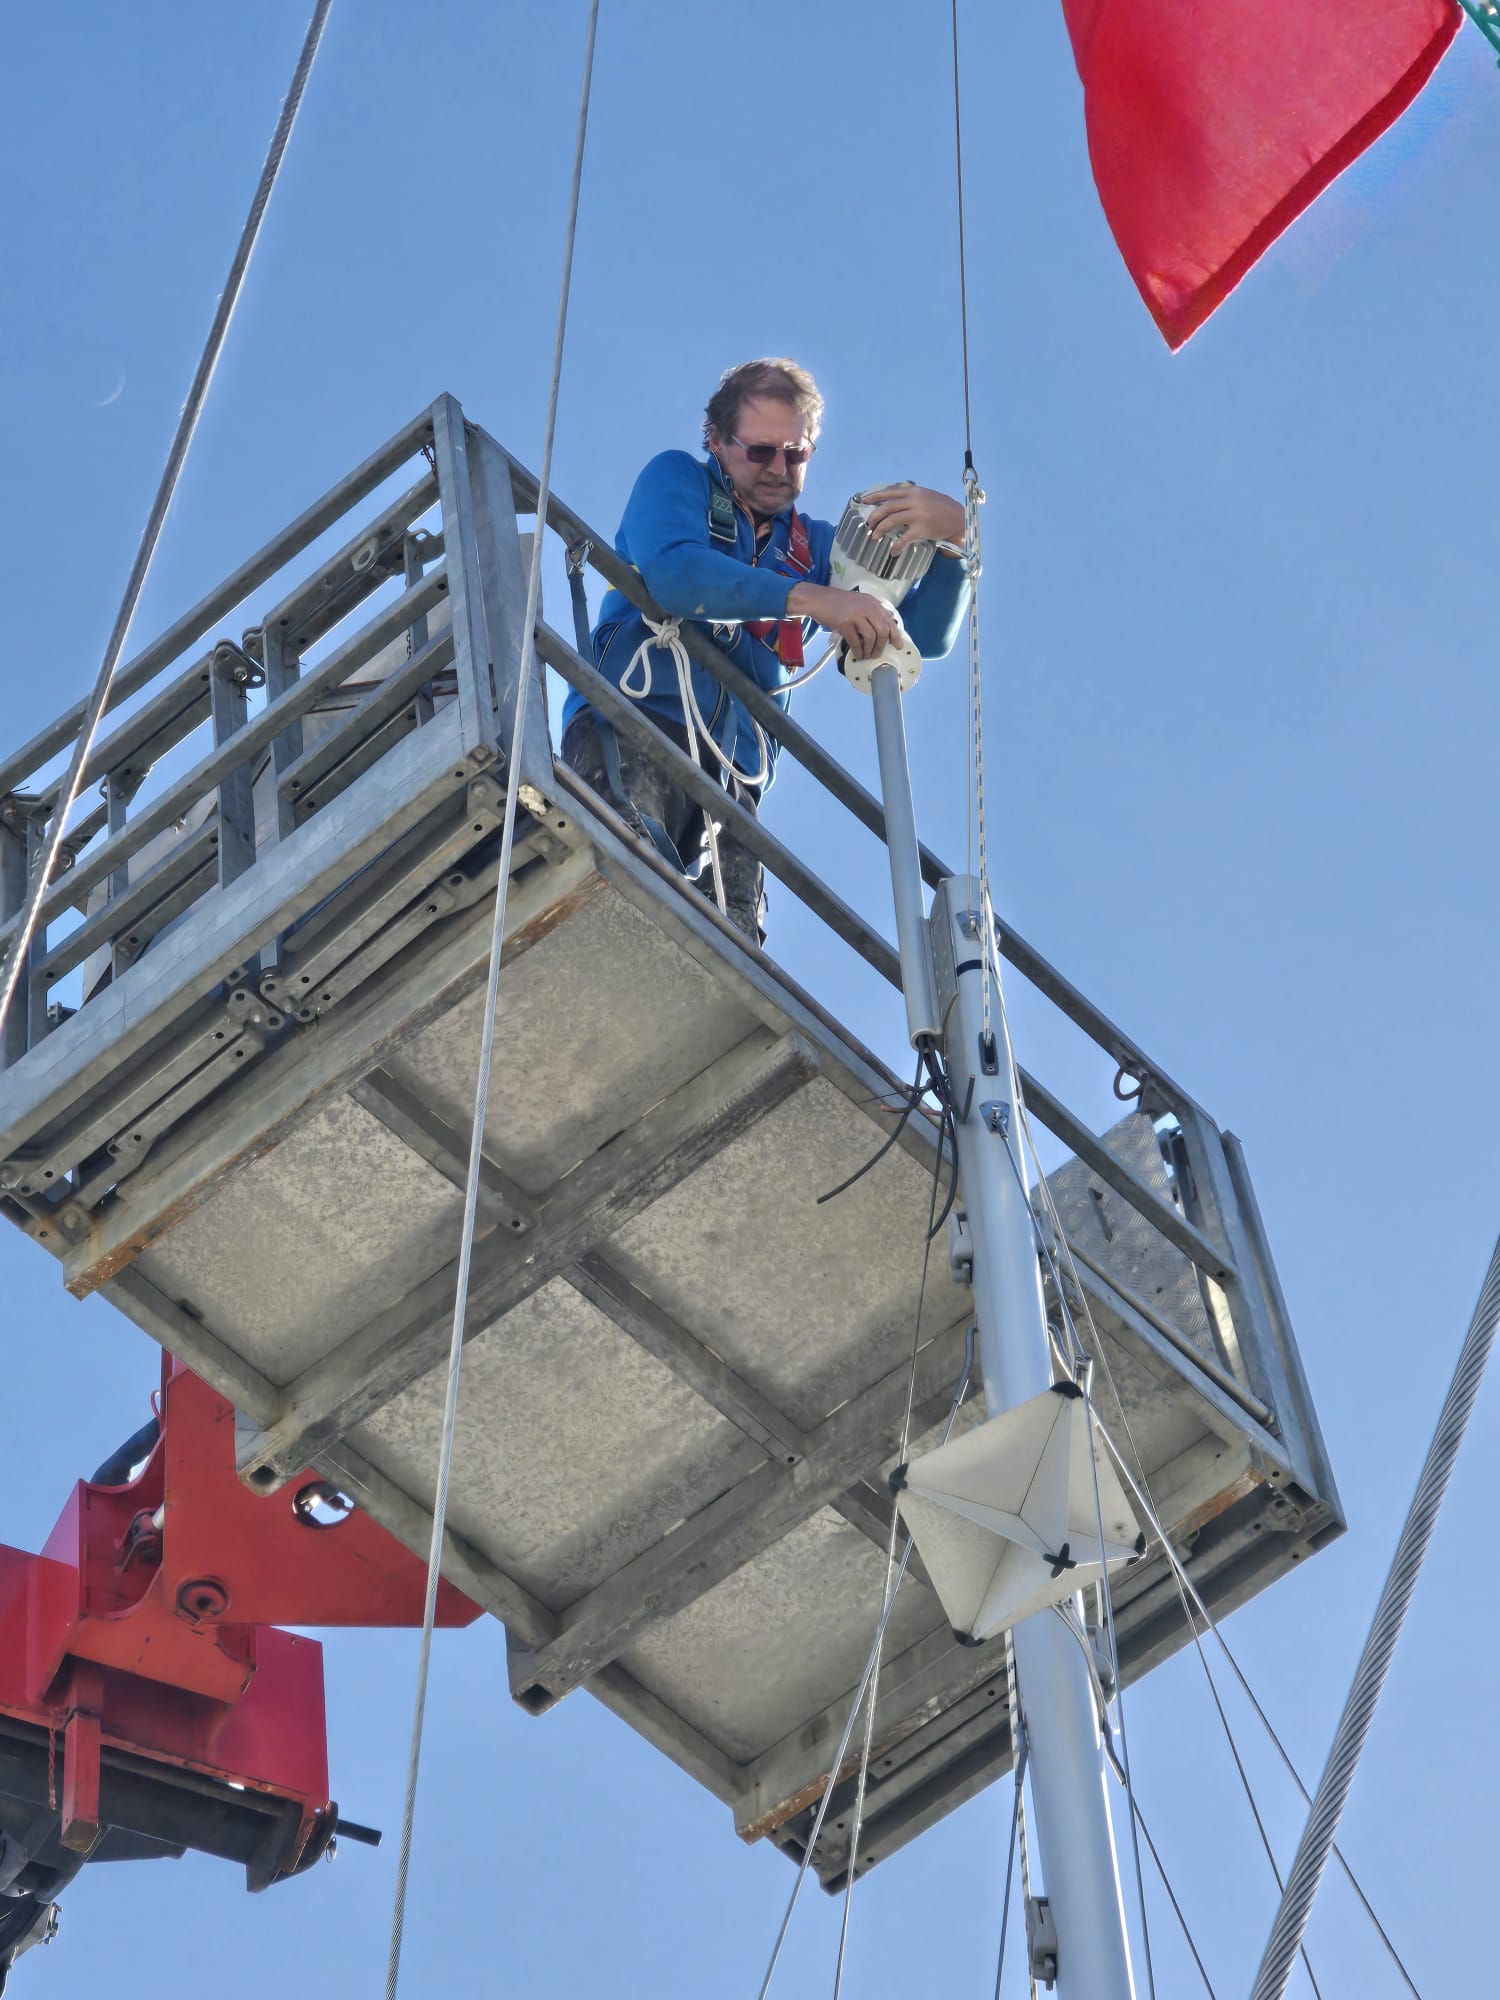
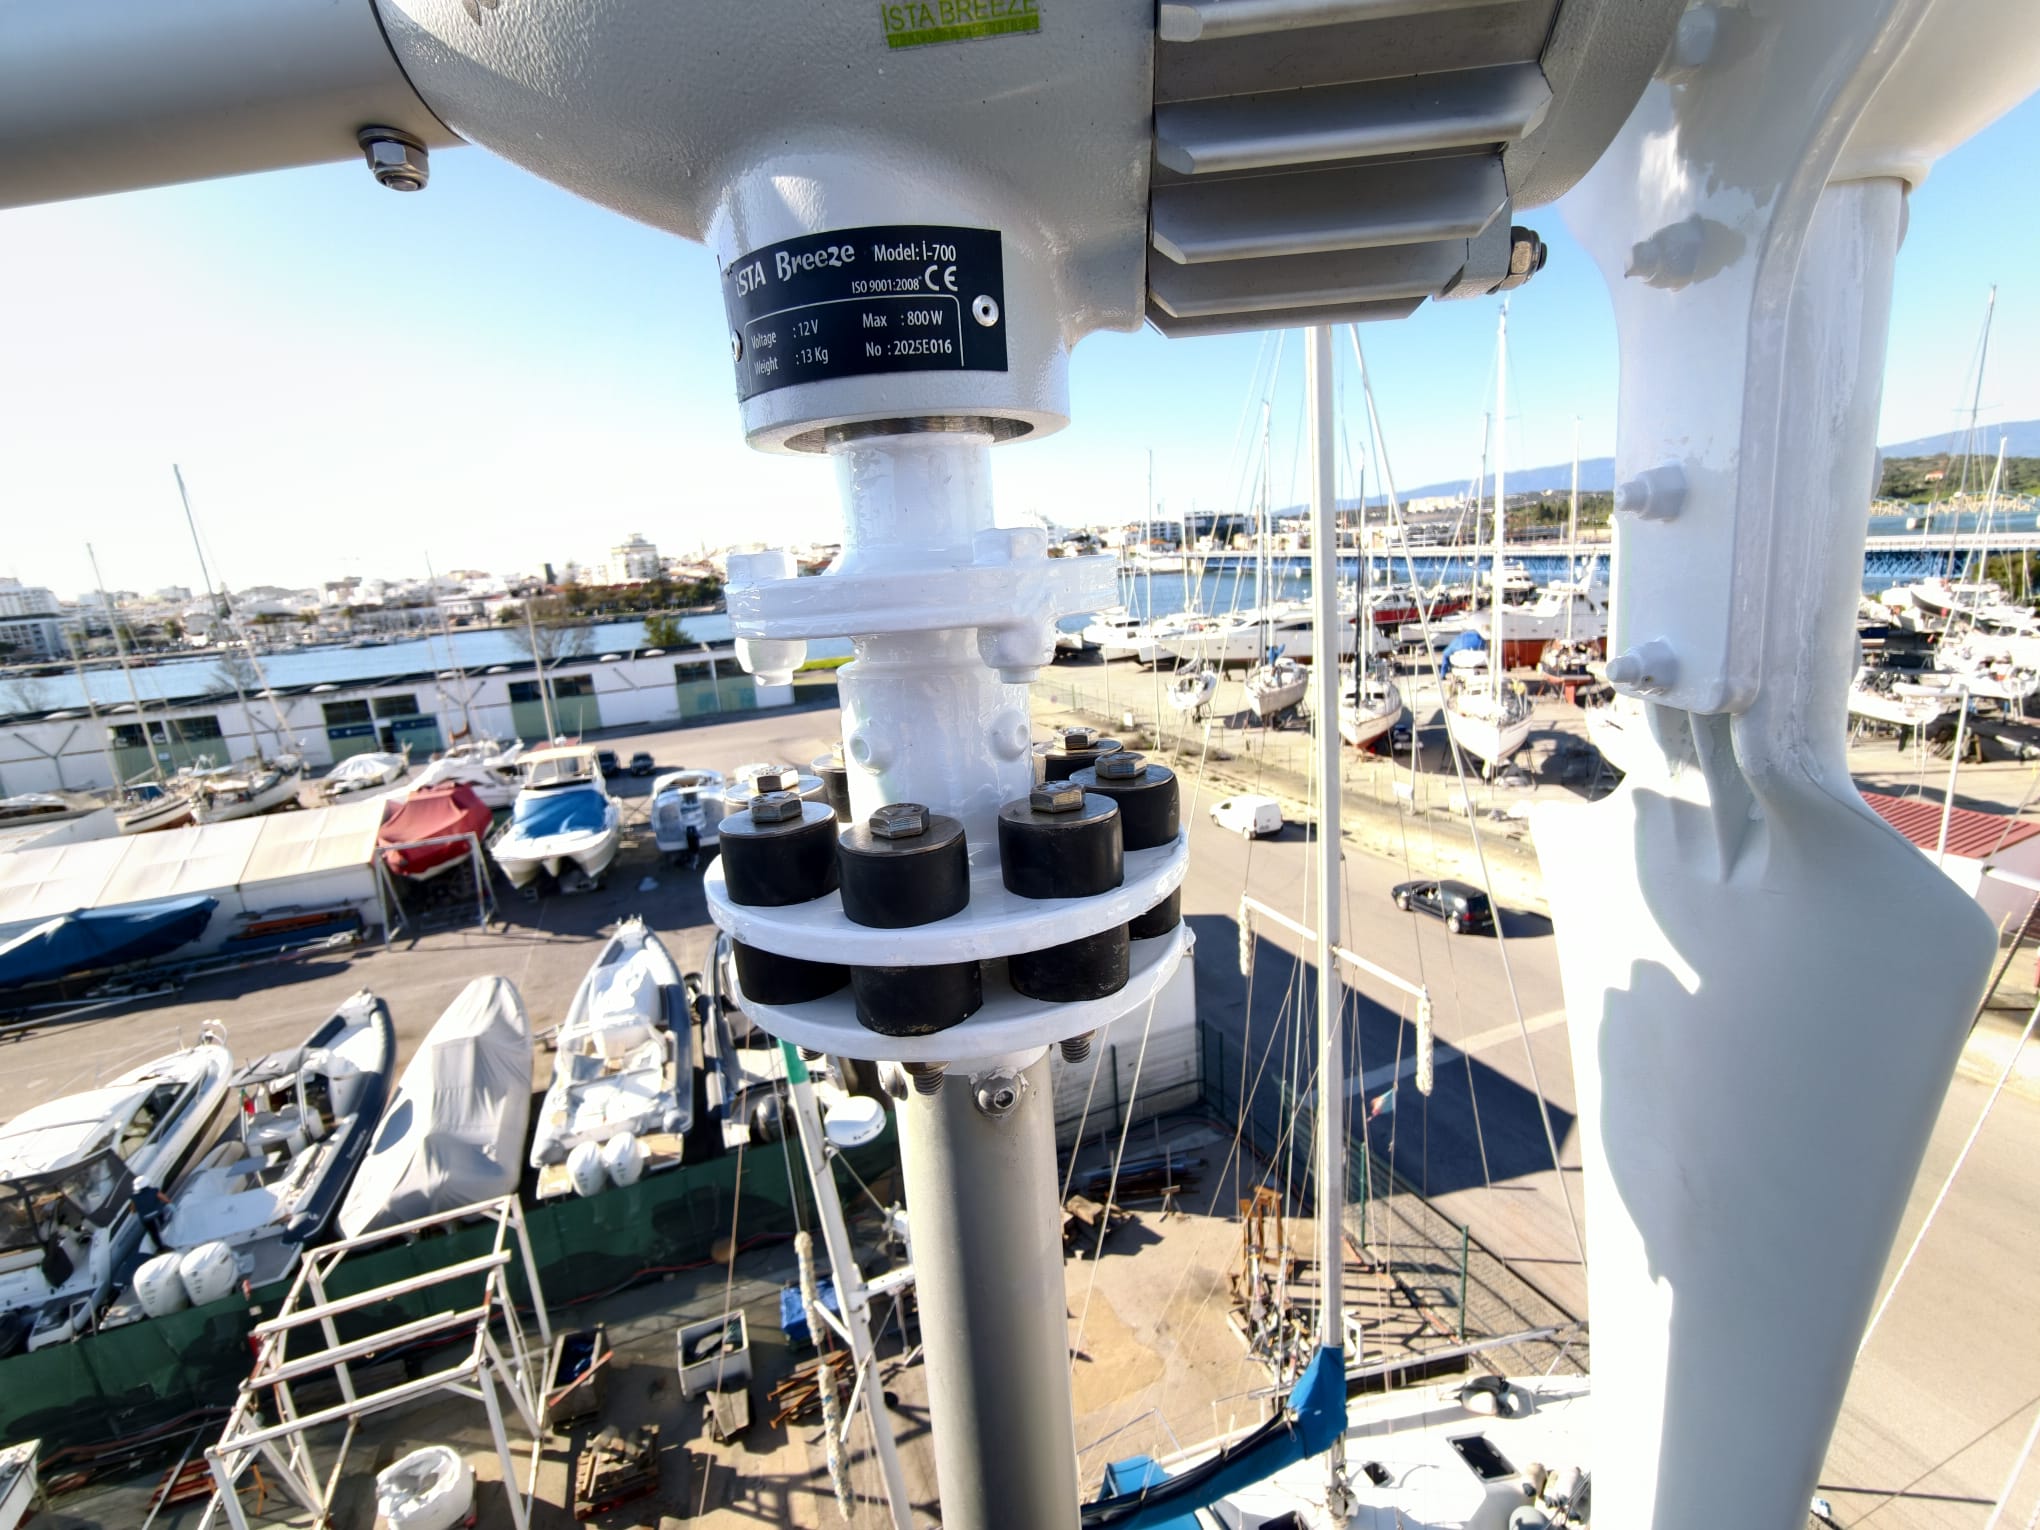
The first thing is to feed the 3 wires through the mast and put the generator head on the mount. Wim has the first 2 bolts and nuts in his pocket . He will need to hold the generator until the first 2 bolts are in. It’s not balanced without the tail and it weighs 13kg so he really has to hold it in place.
Oh no! While he’s trying to put the first bolt into the rubber he drops it! It falls down on the cockpit sun shade and bounces on the ground. The Manitou operator sees it happening and picks up the bolt… now what?
…Wim can’t bend down to pick a new bolt because he has to hold the generator. Okay, he has secured the generator with a rope but still: we don’t want it to be hanging there on a rope! Now what?
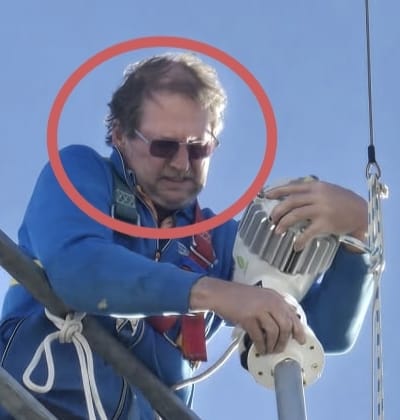
Look at his face! 😅 He decides to put the other bolt in at the opposite side of the weight and then, release the generator and bend down to pick up a new bolt. Now, do NOT drop this bolt!
It goes well. The first bolt and nut are in place and the generator stays in place. Quickly, he picks up a new bolt (of 8) and puts that in place. The generator is now secure. Down below, Sher has found the big washer on the sun shade and she picks up the bolt from the Manitou operator. Wim lowers the bucket and hoists the lost bolt back up. Whew, all bolts in place!
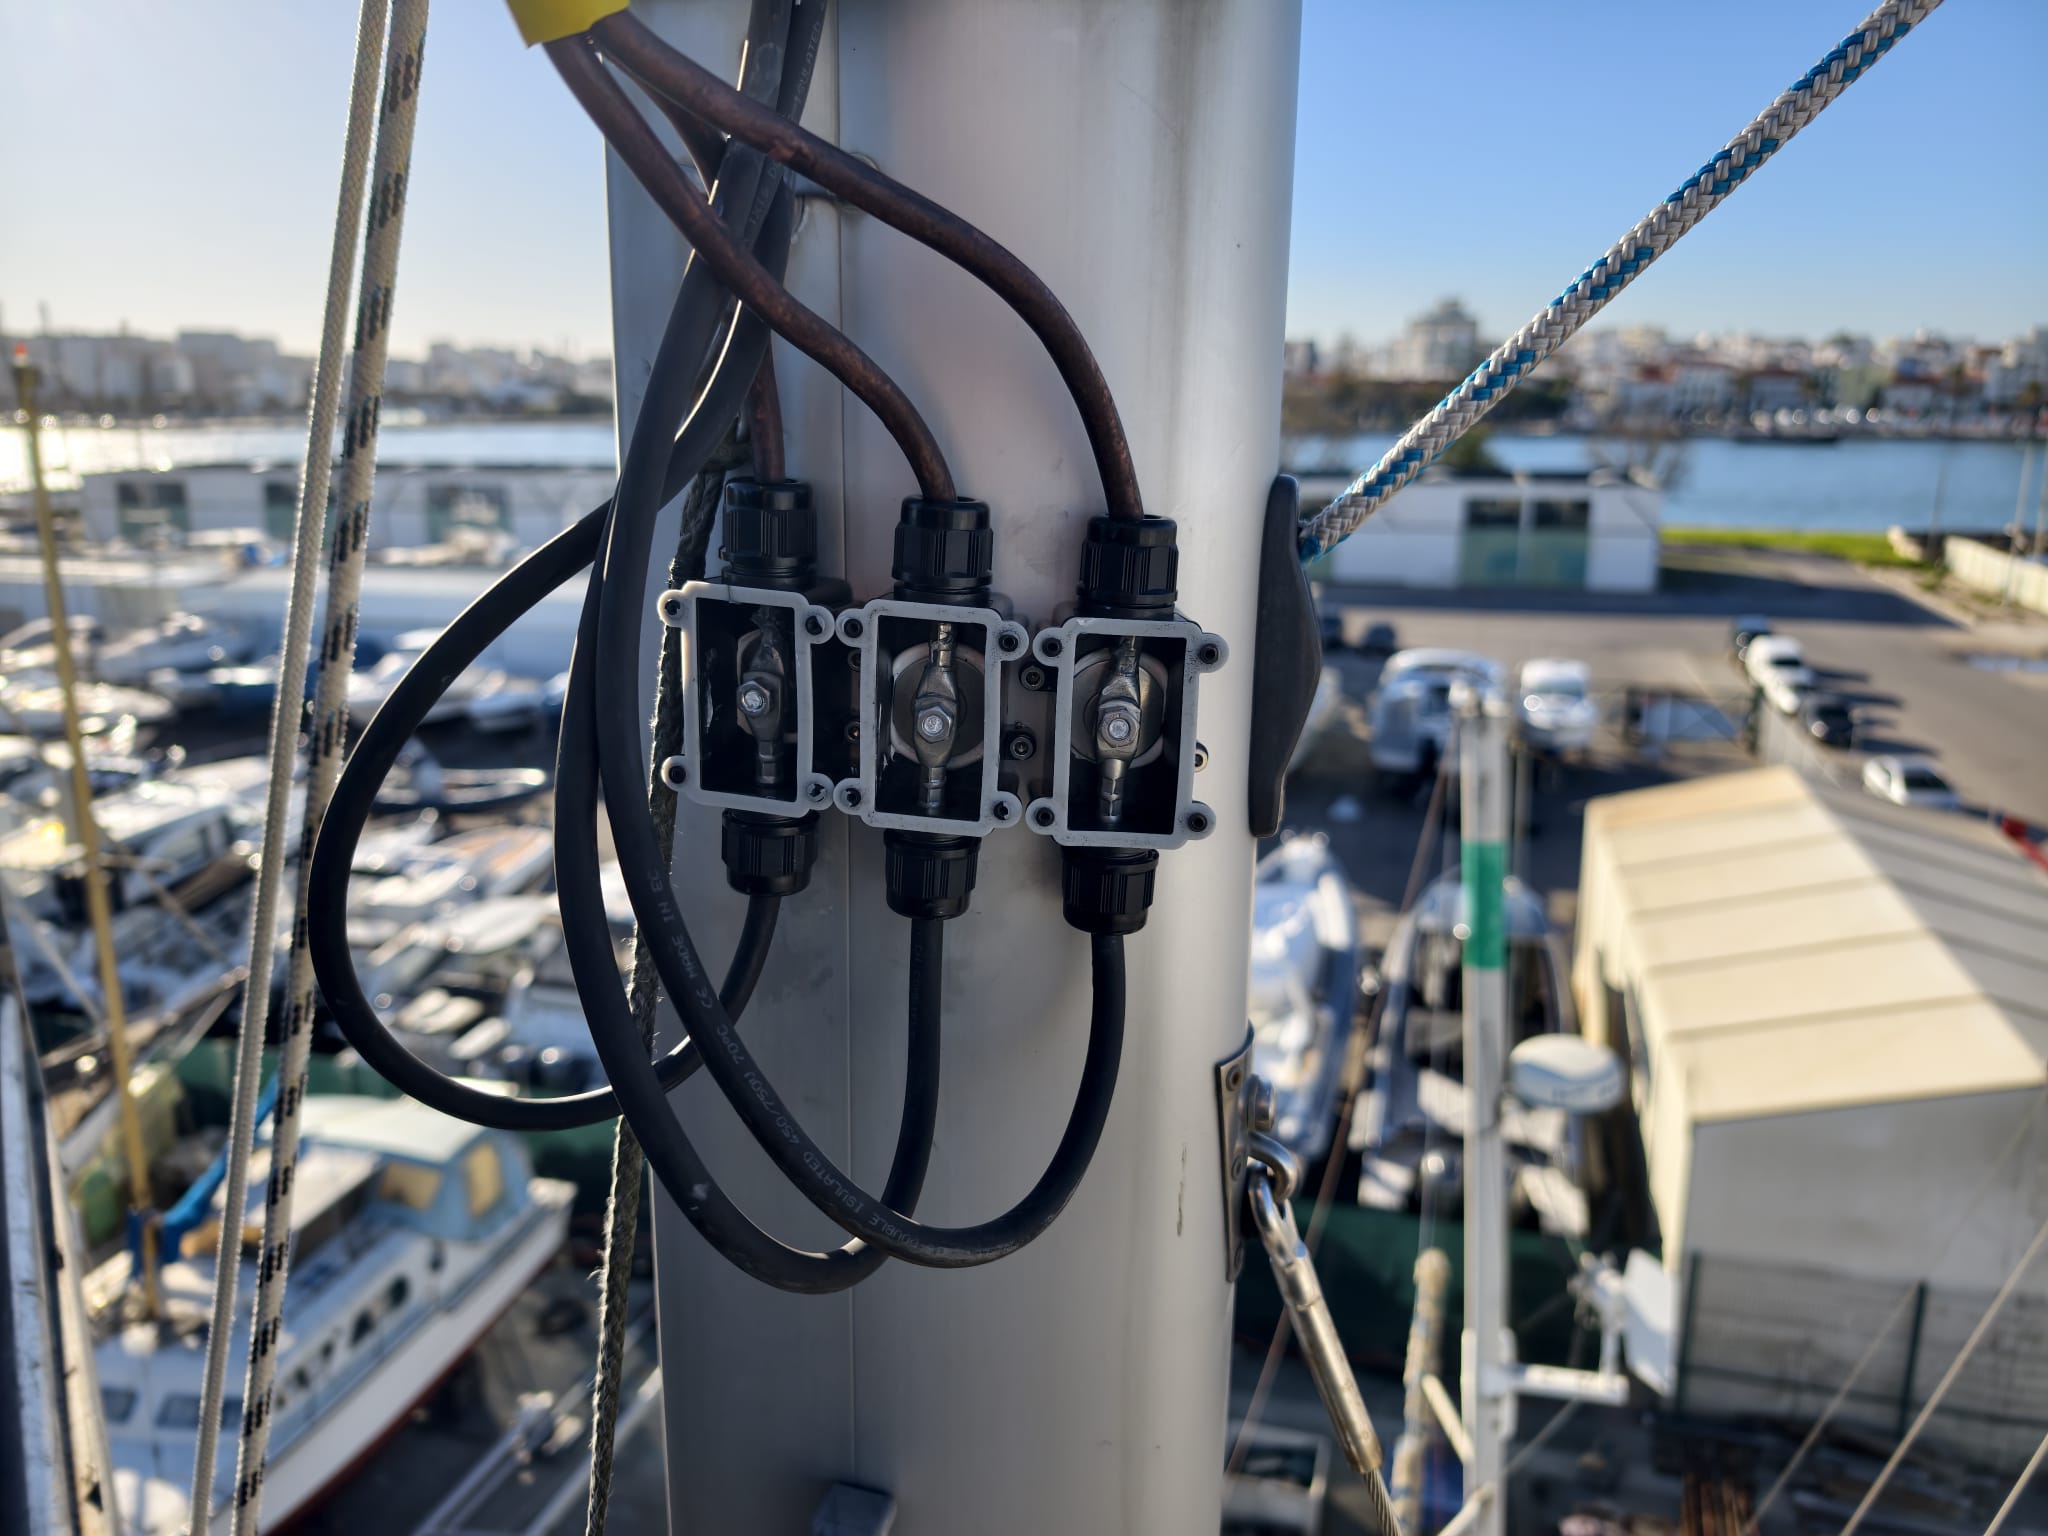
Wim has to drill and tap the junction boxes to the mast and crimp cable lugs on to the cables. He then needs to feed the wires inside the mast. Eventually, 65 minutes later (we booked the Manitou for one hour), it’s done!
Now, let’s try it! Release the brake. There’s only 5-7 knots of wind but it spins beautifully! And it’s extremely silent. The noise you hear in the video is background noise from all the machines on the boatyard.
It doesn’t yield any power in this light breeze. We’ll have to see that later…
All spots on the hull (inside and outside) get layers of primer (International Inerprotect). 3 layers per day, in 3 hour intervals.

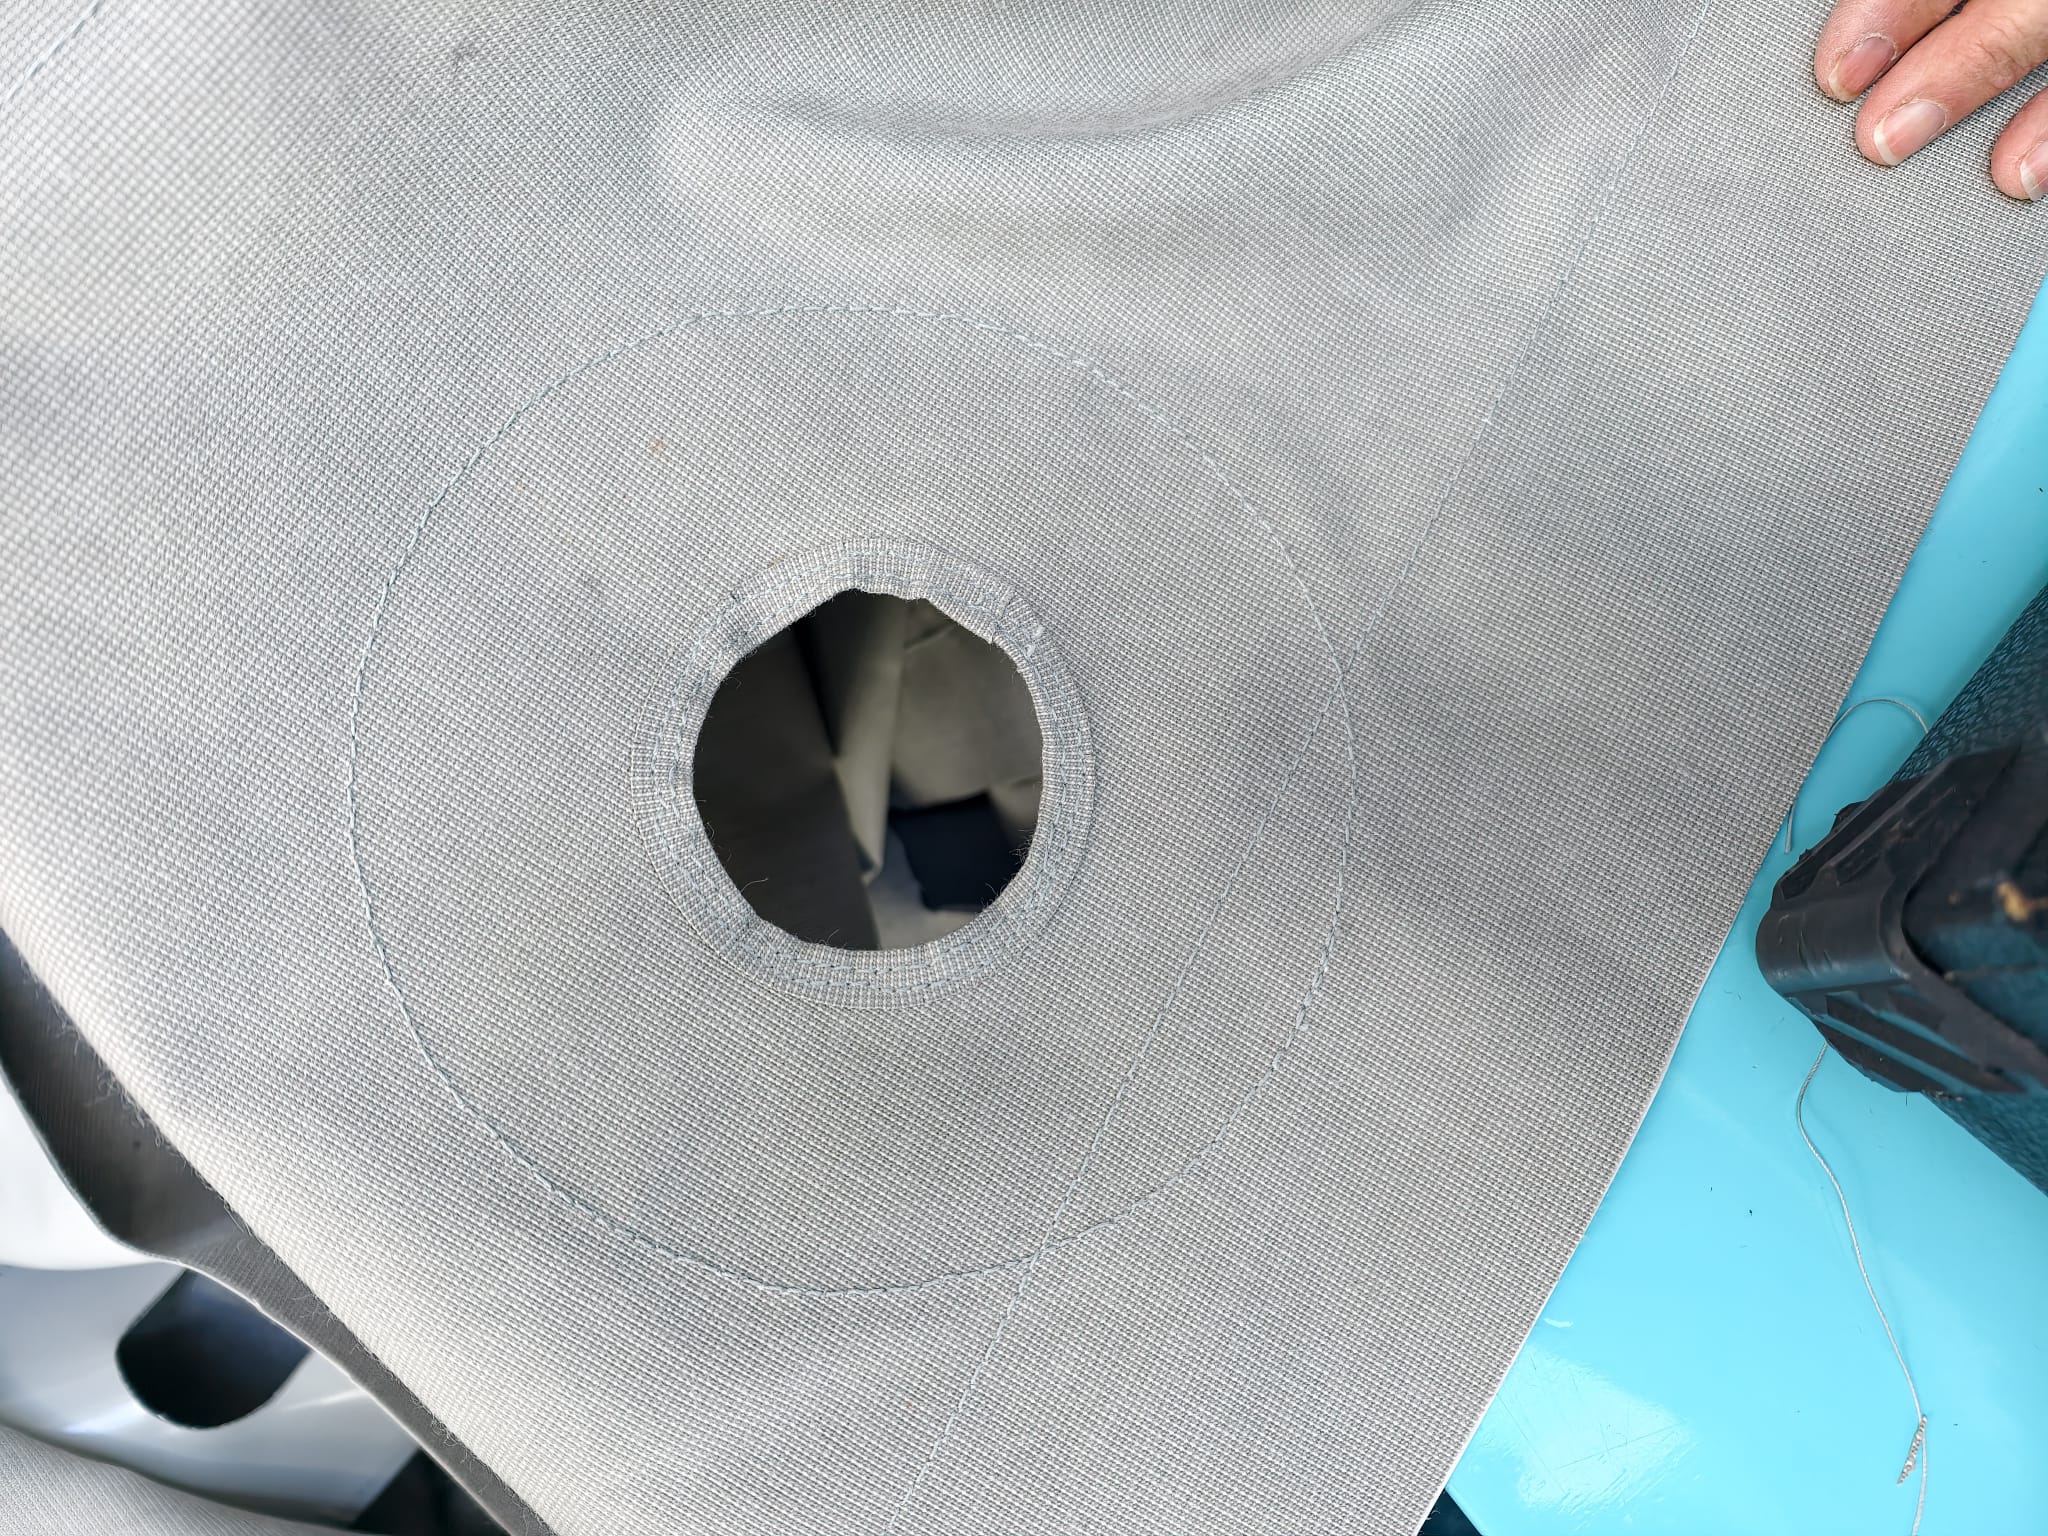
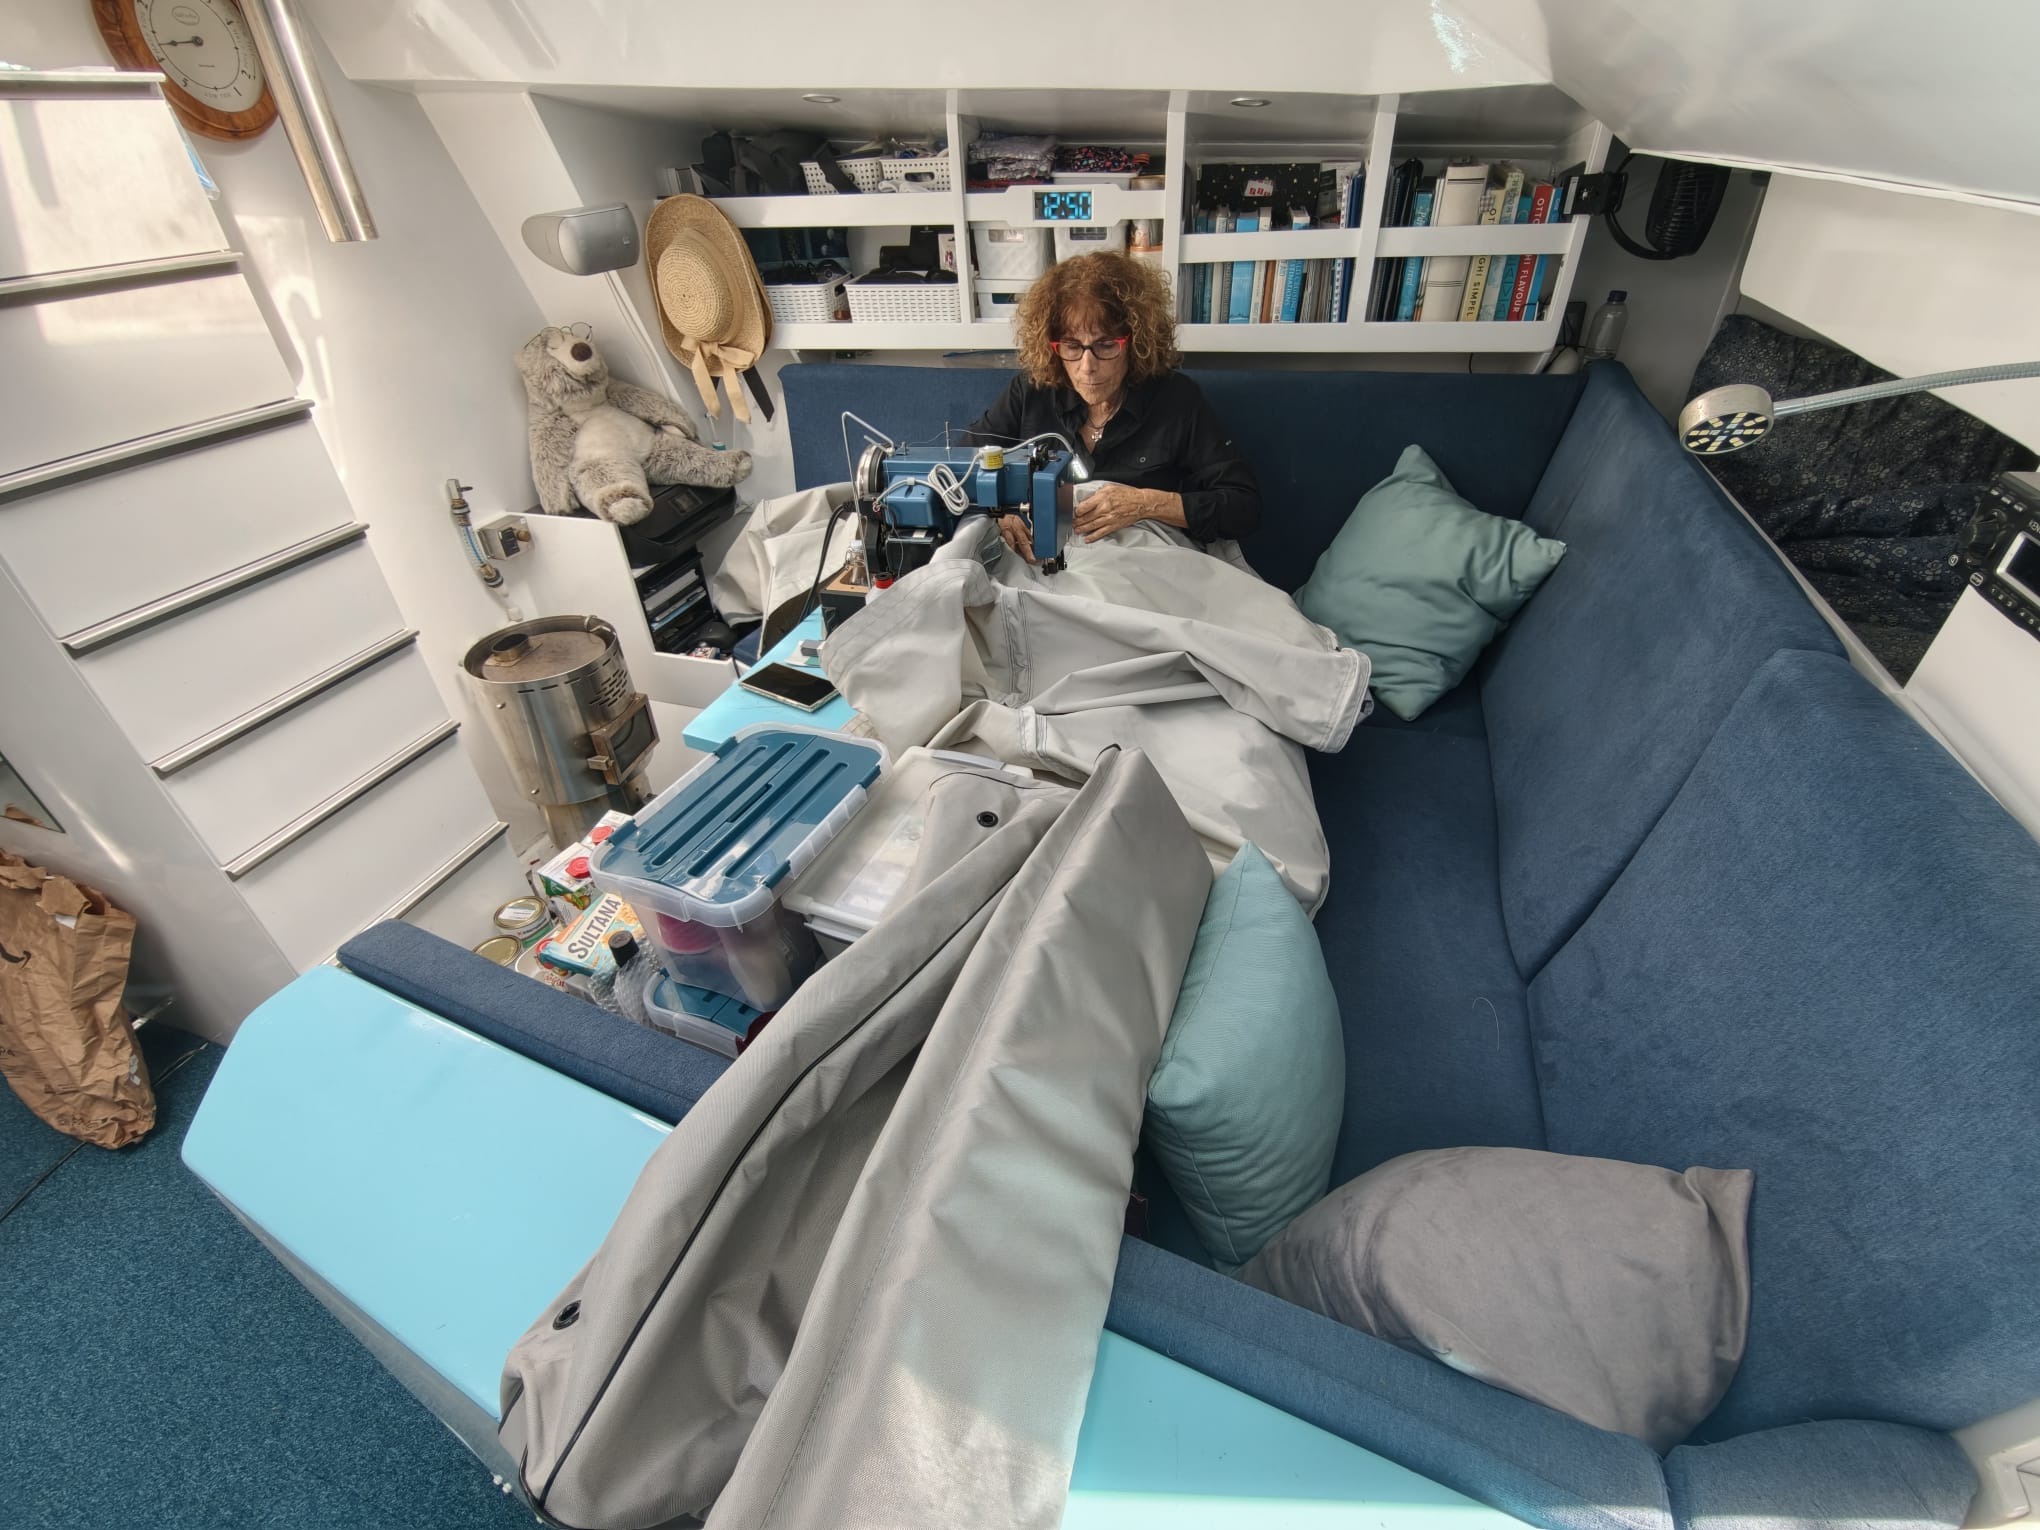
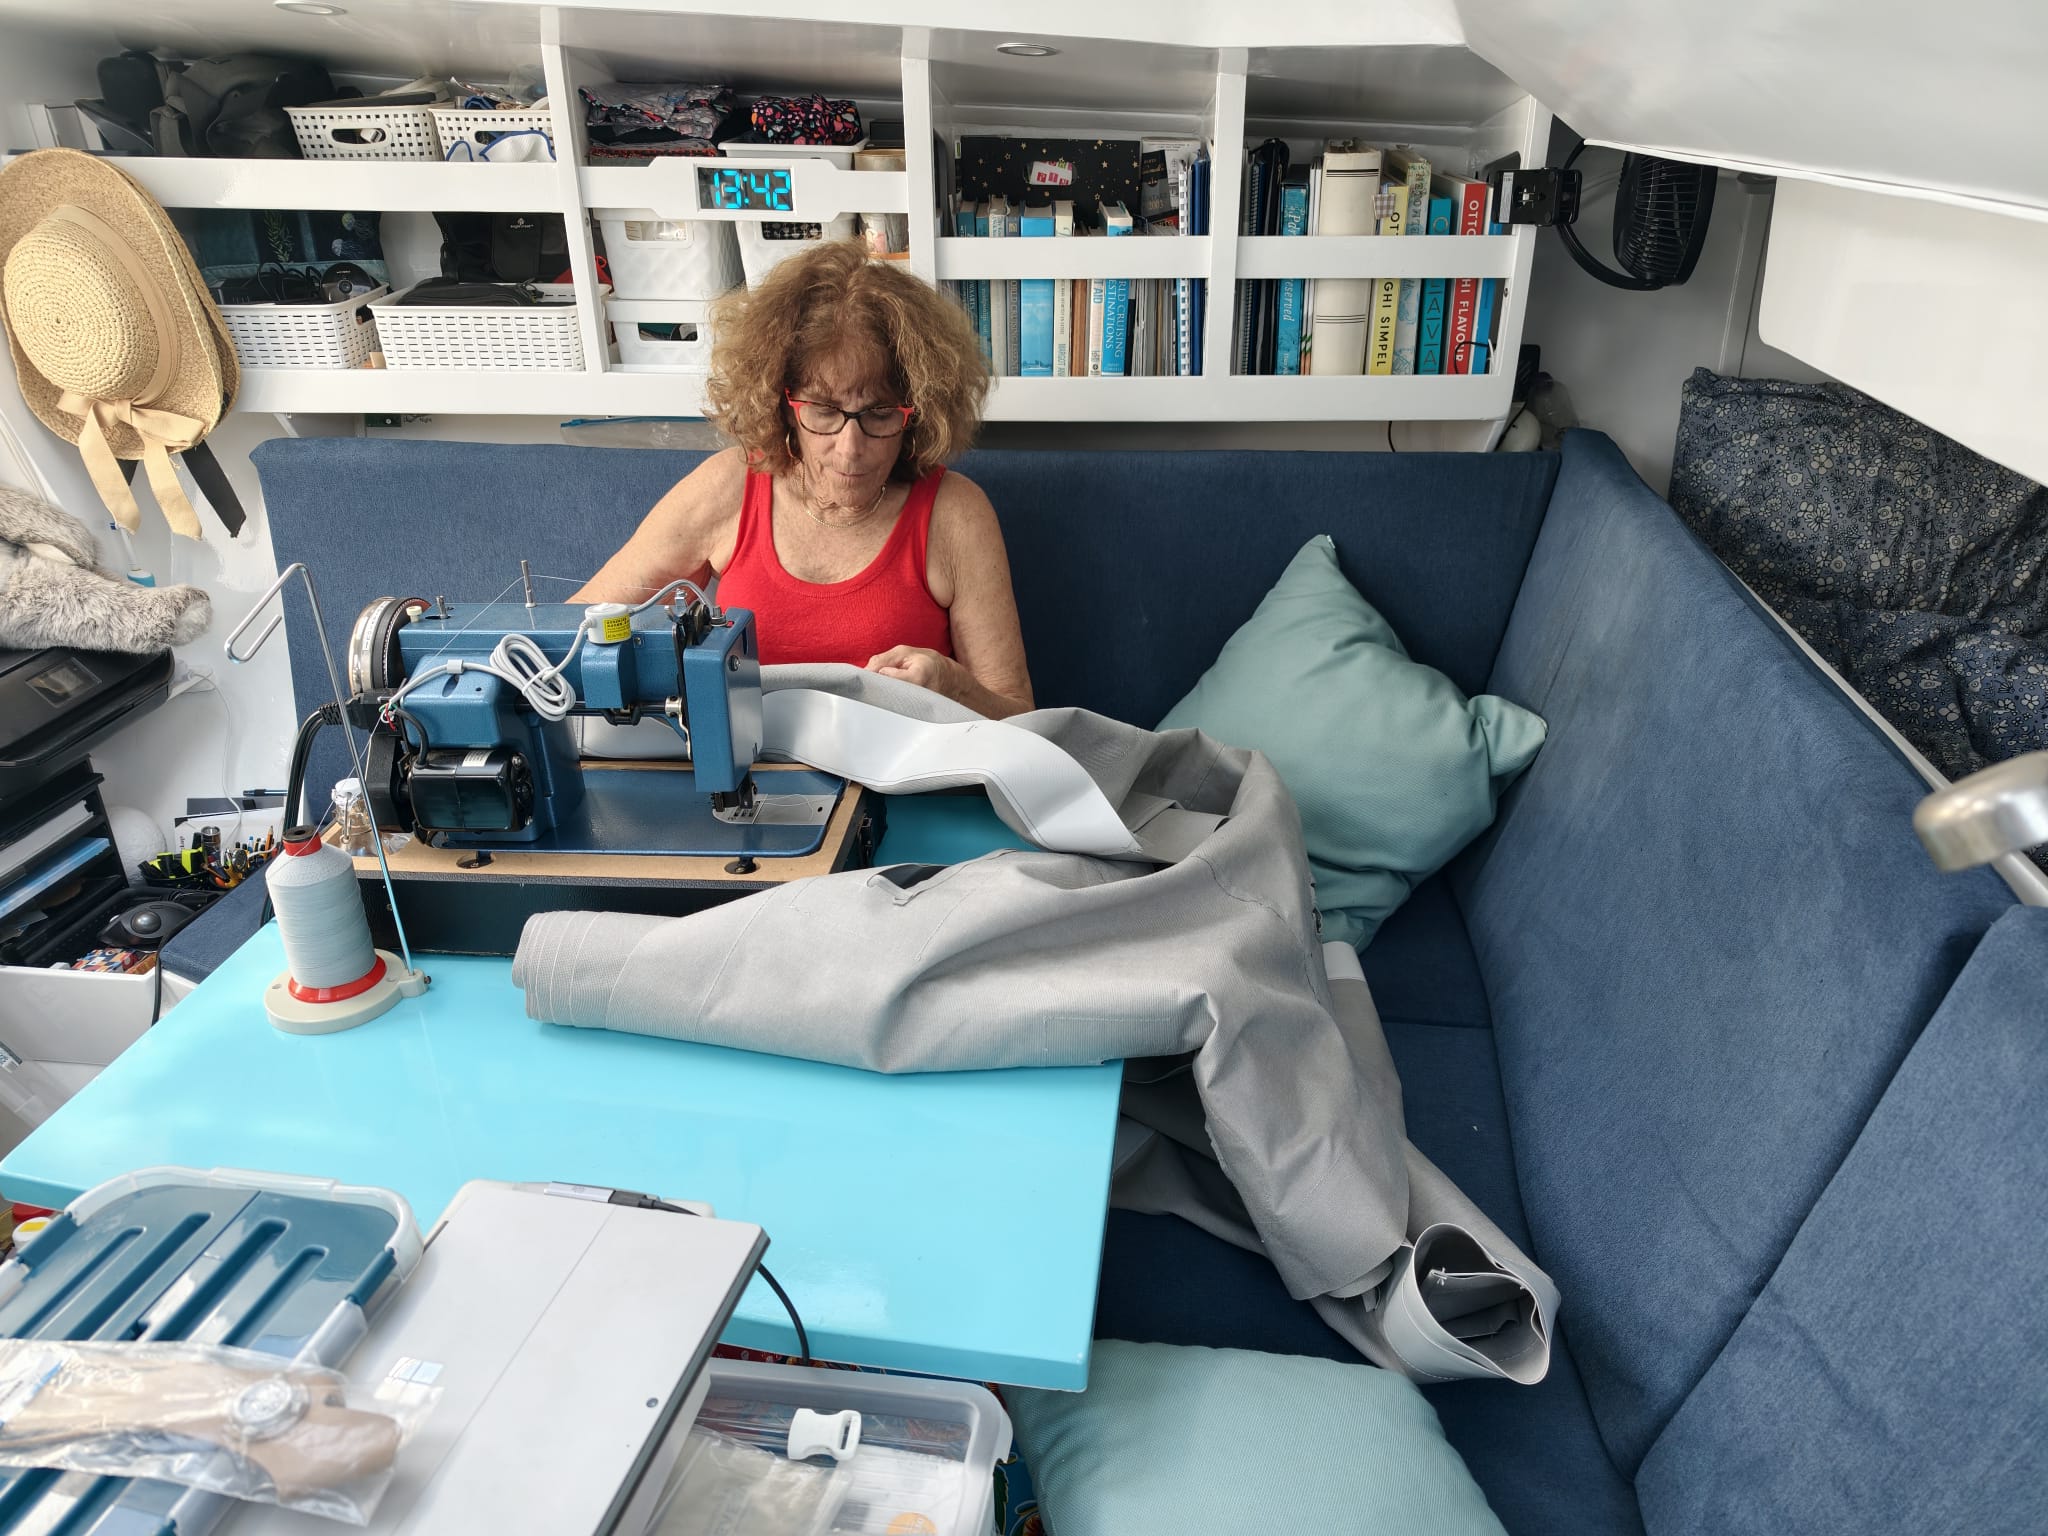
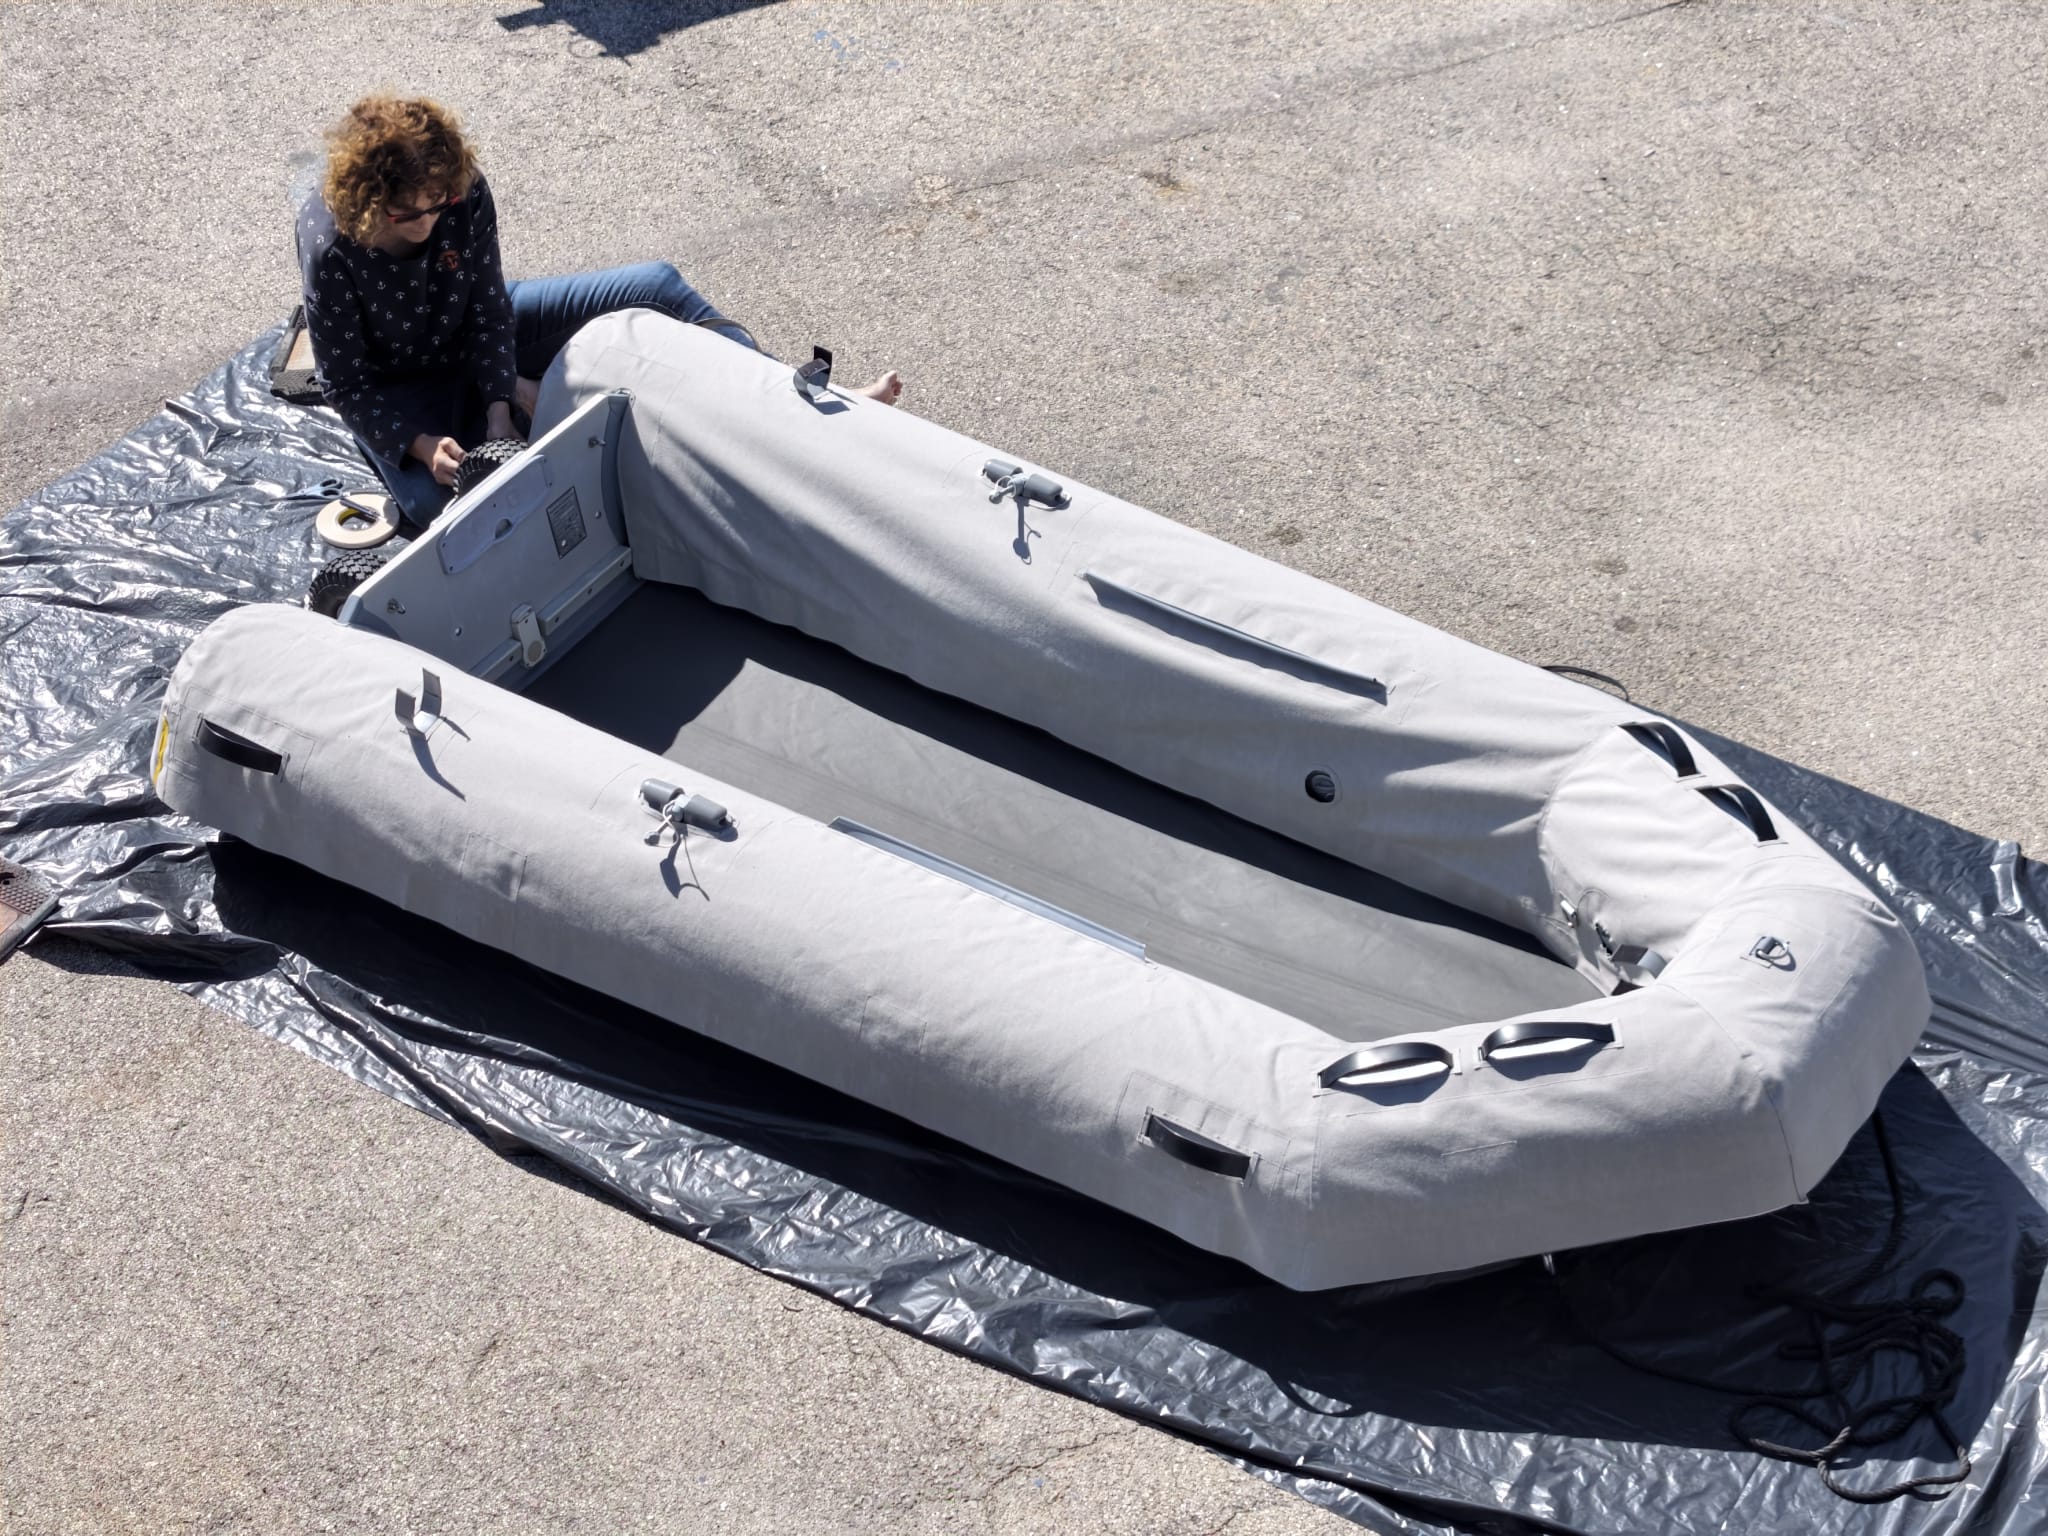
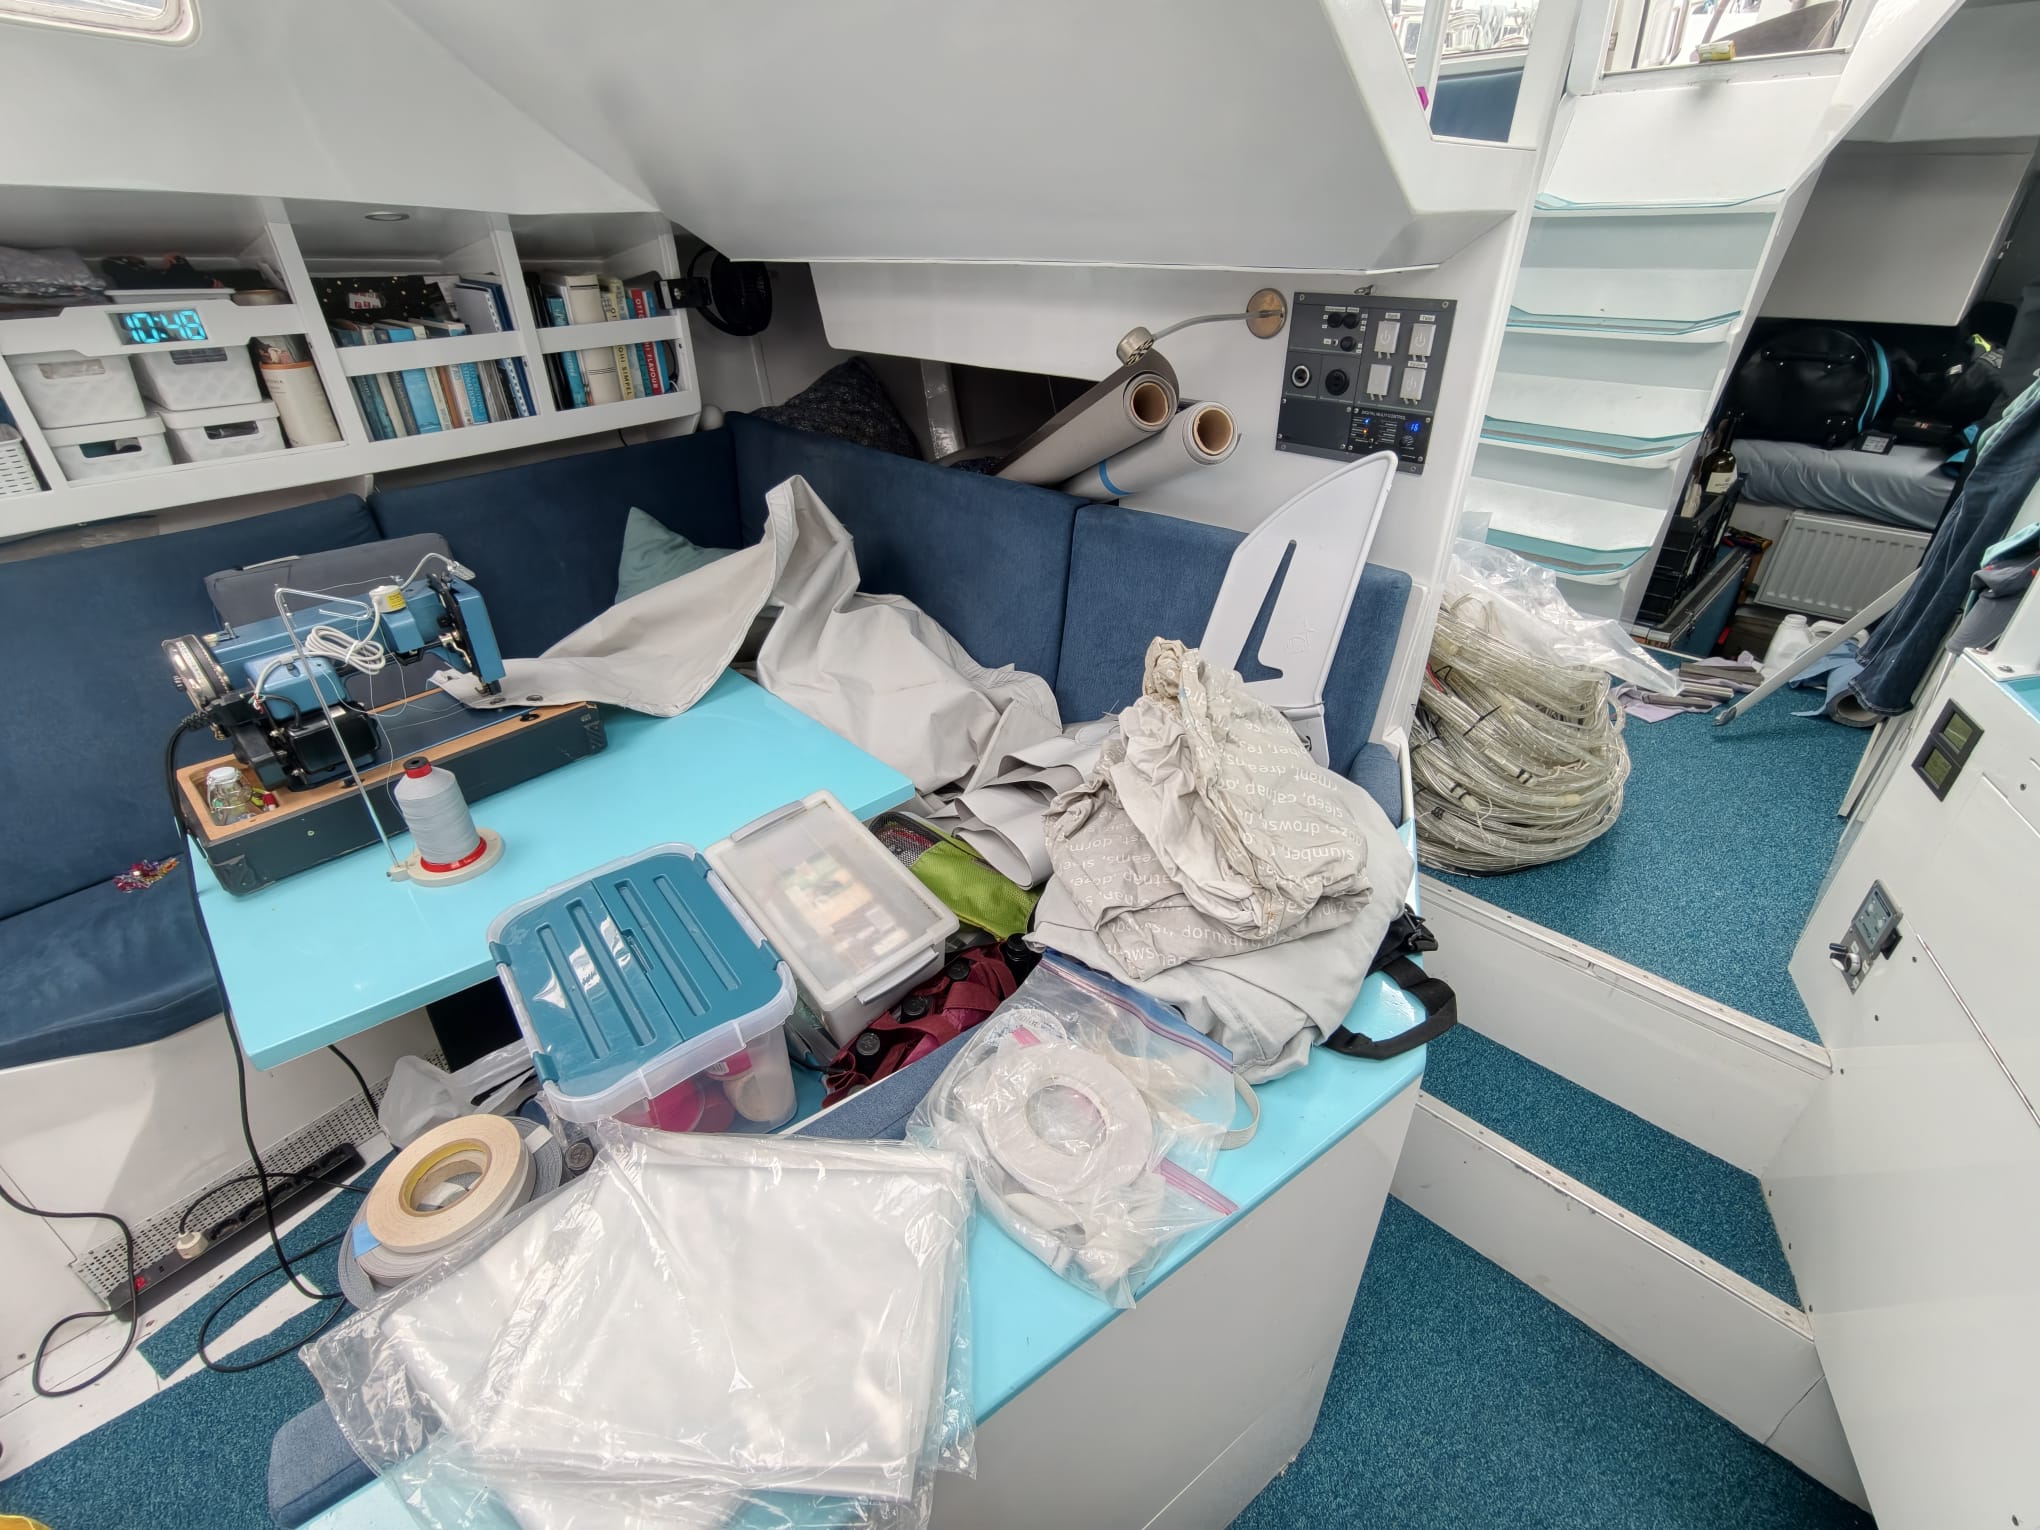
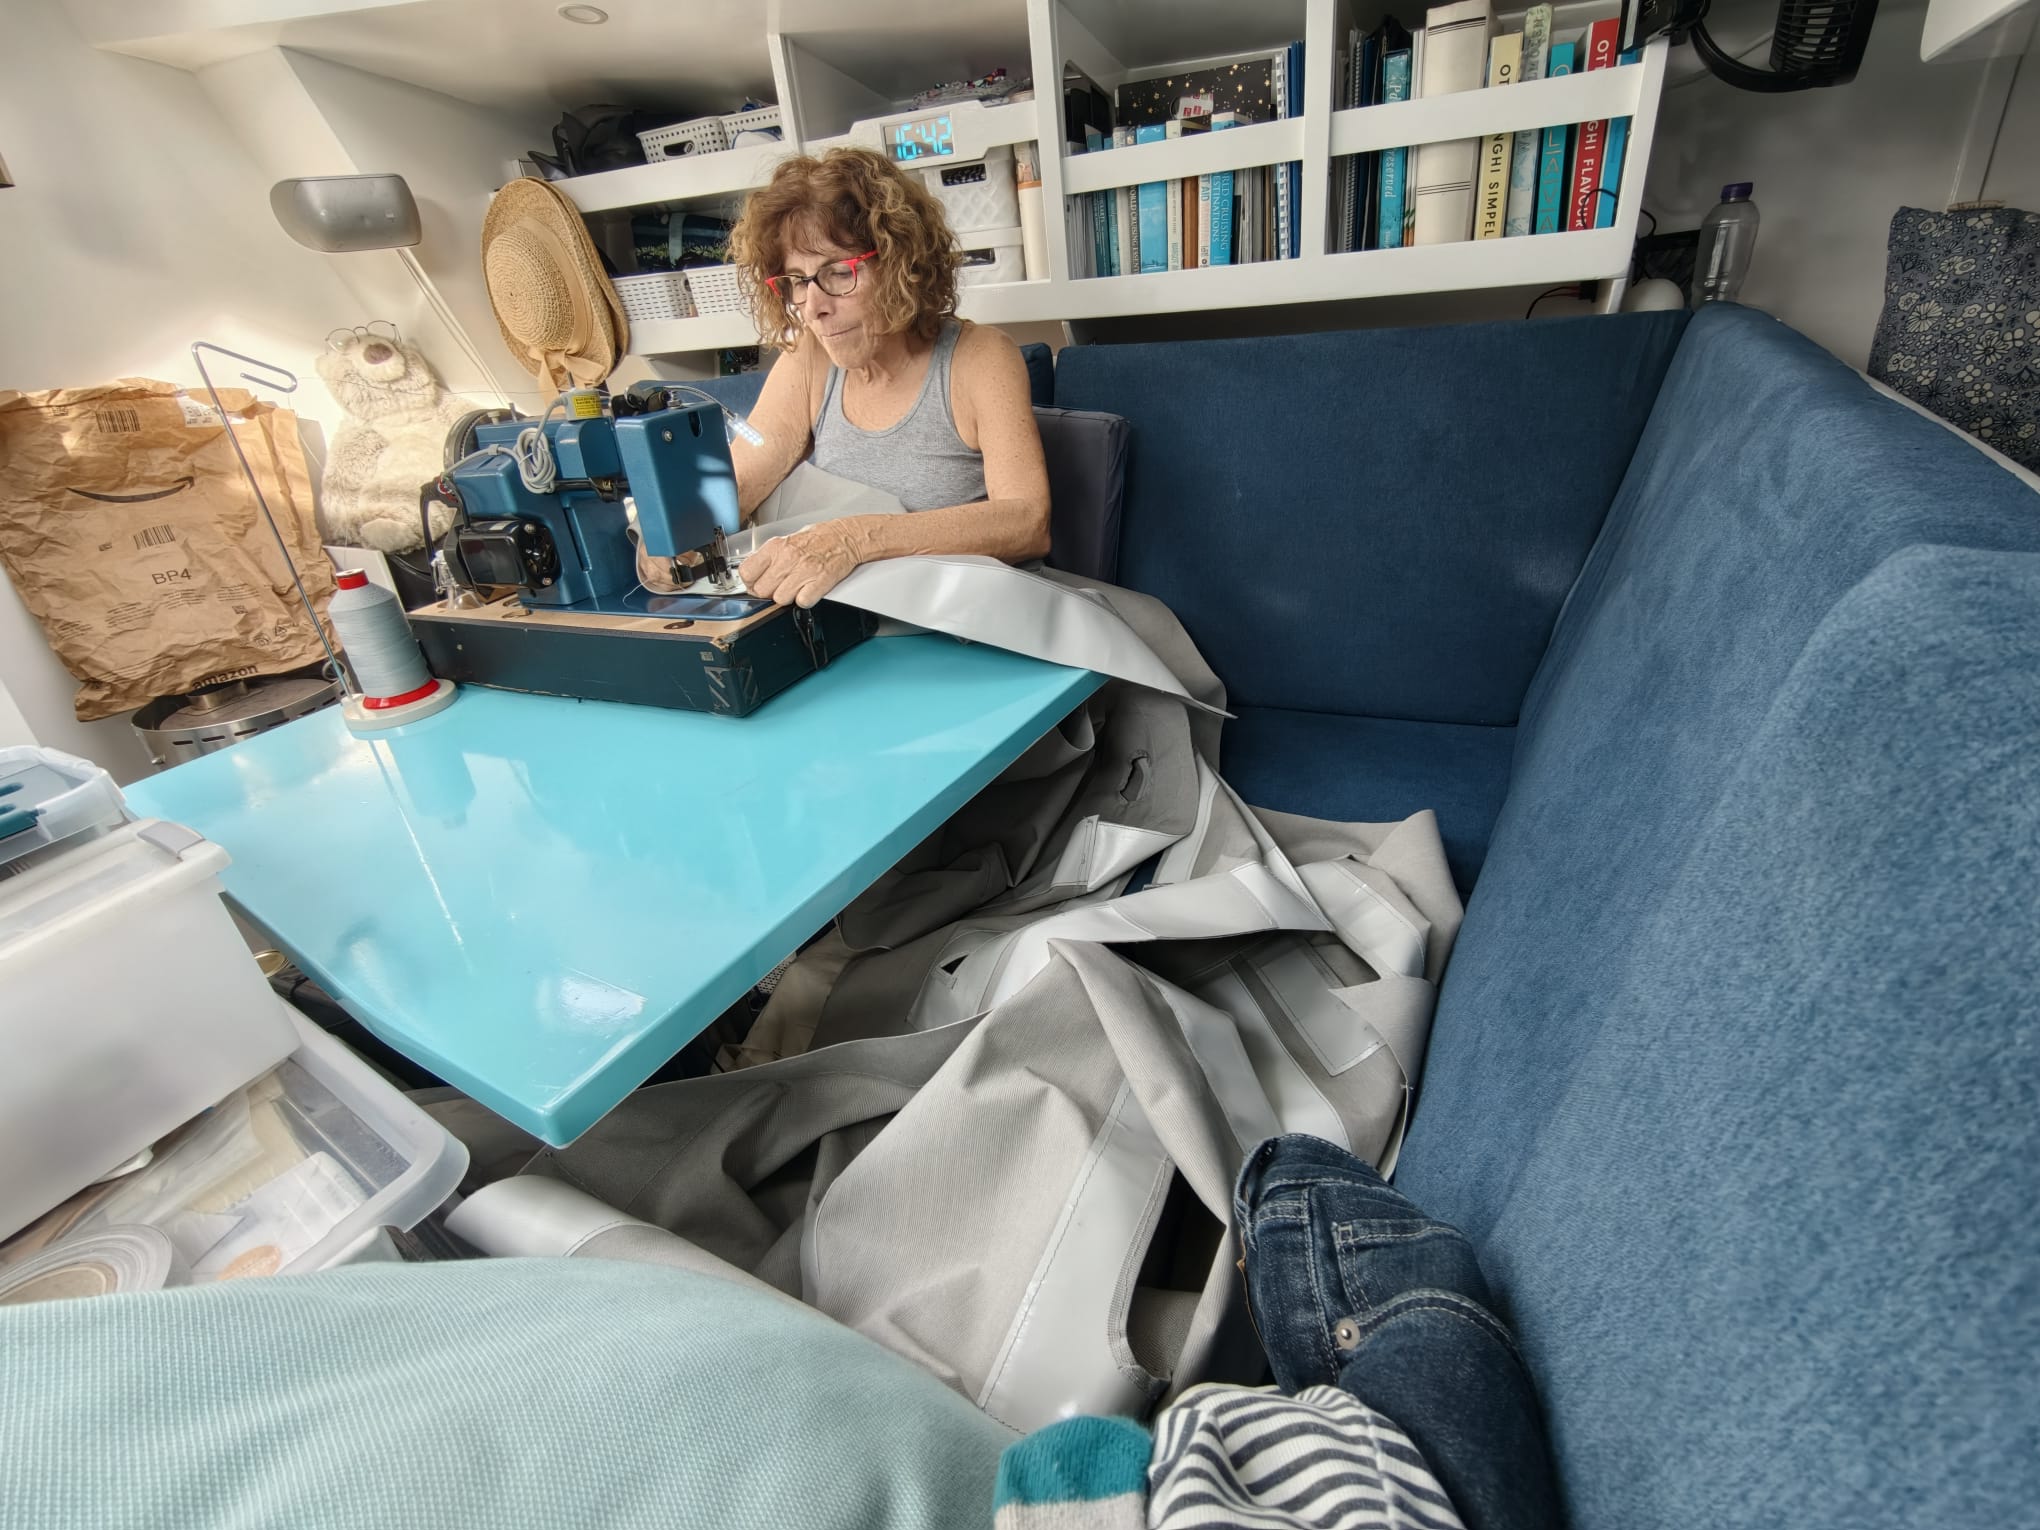
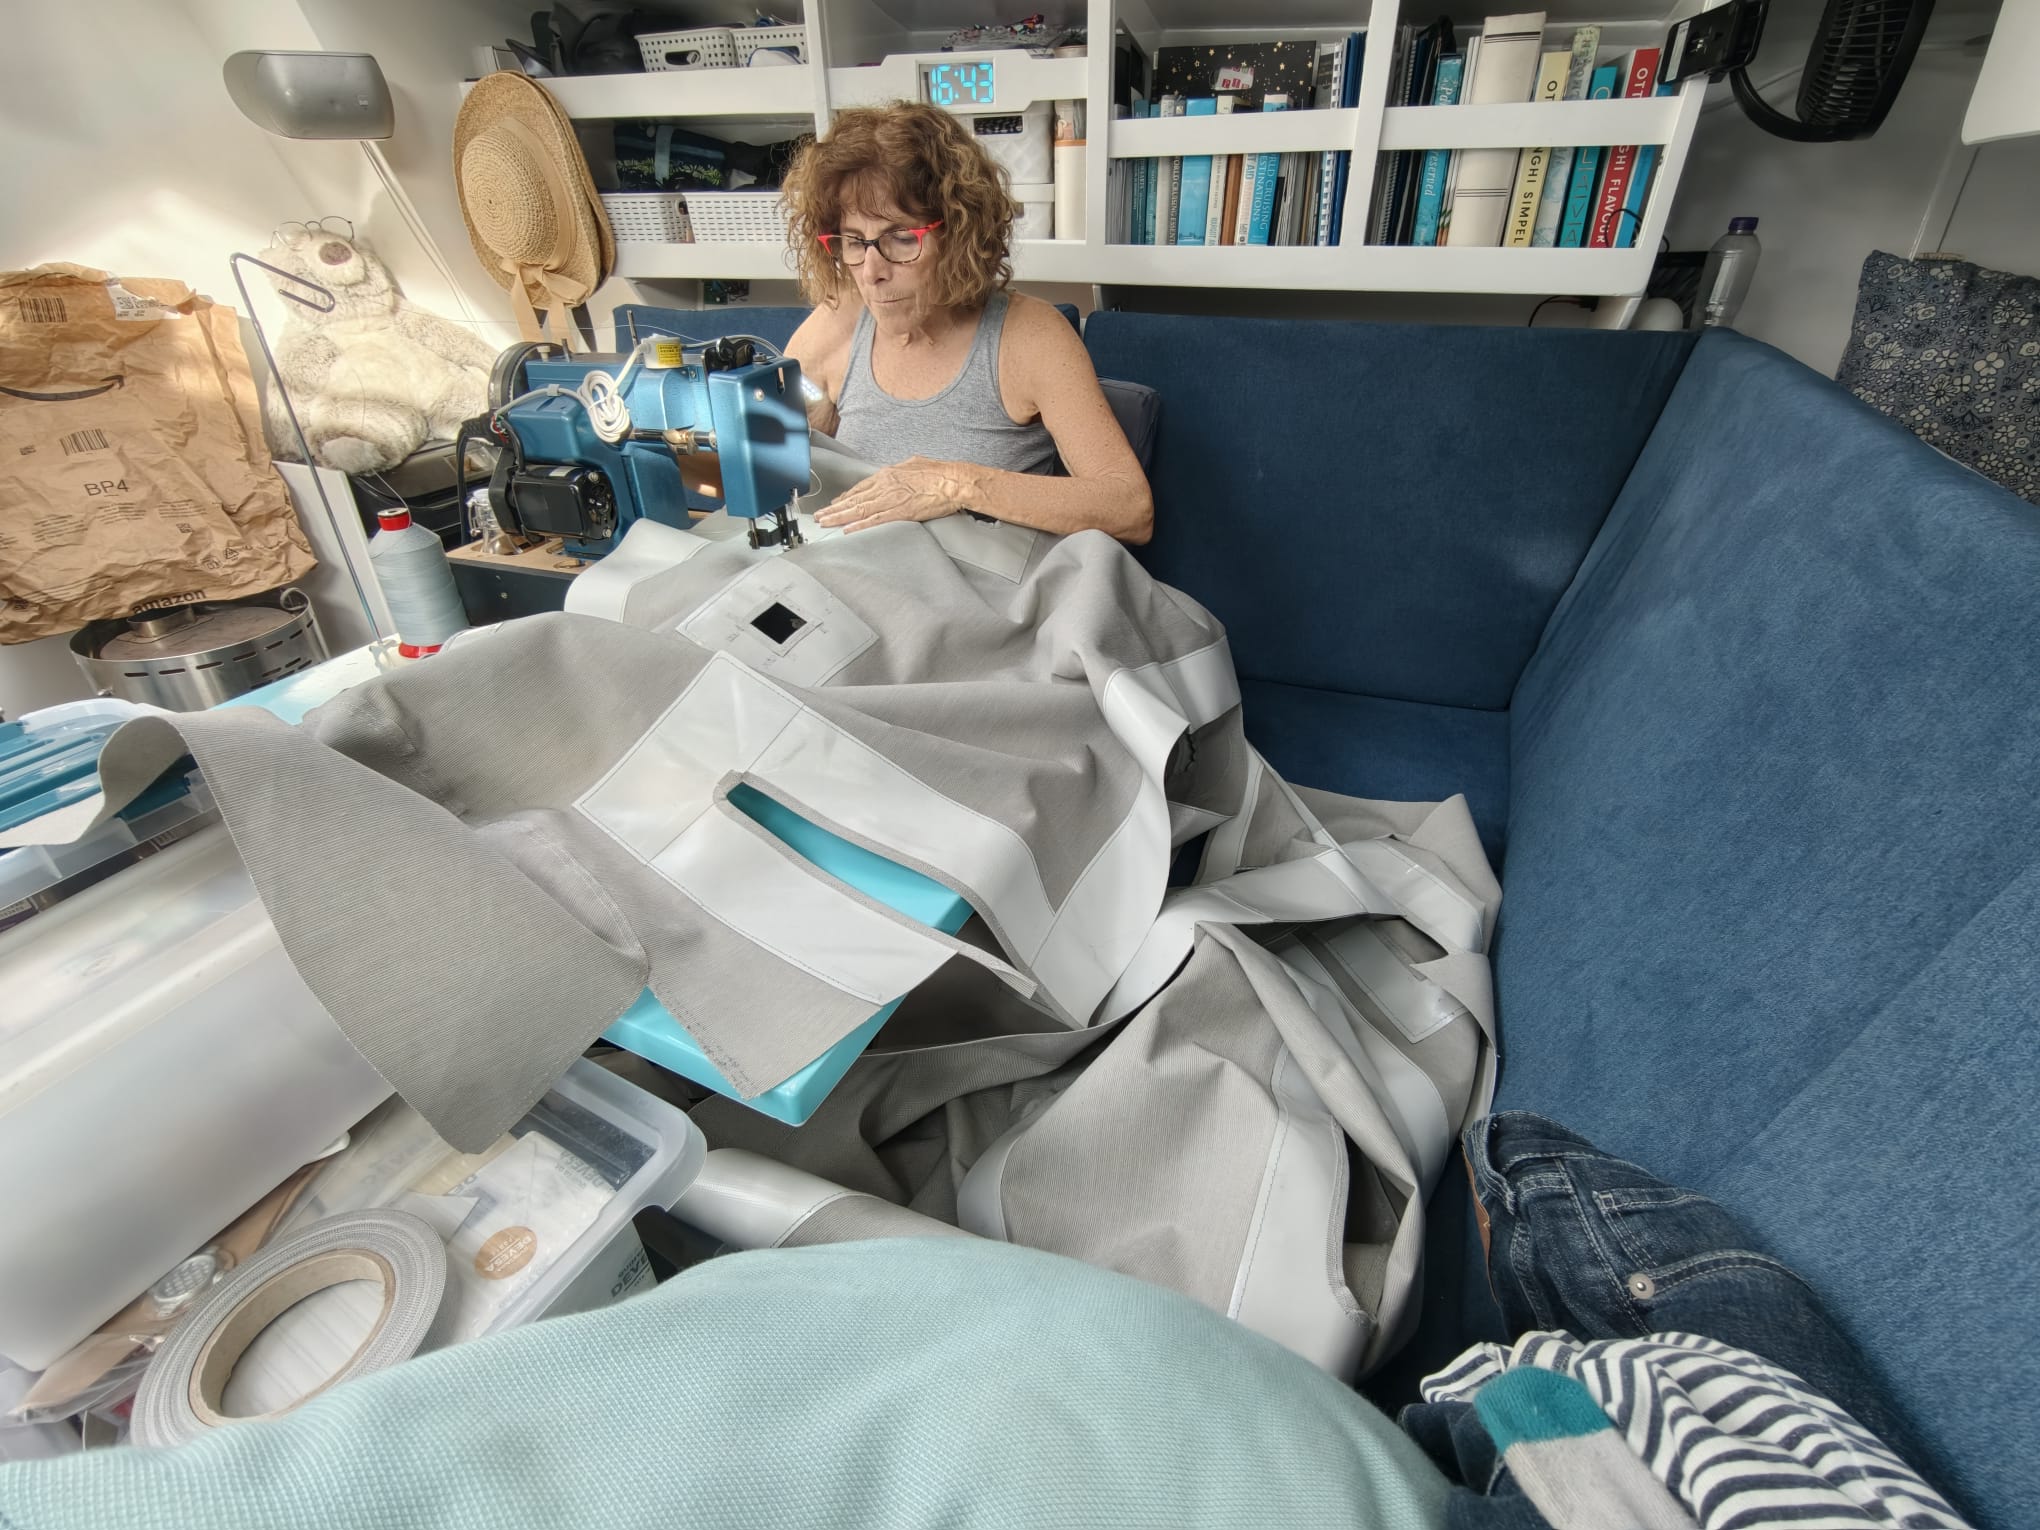
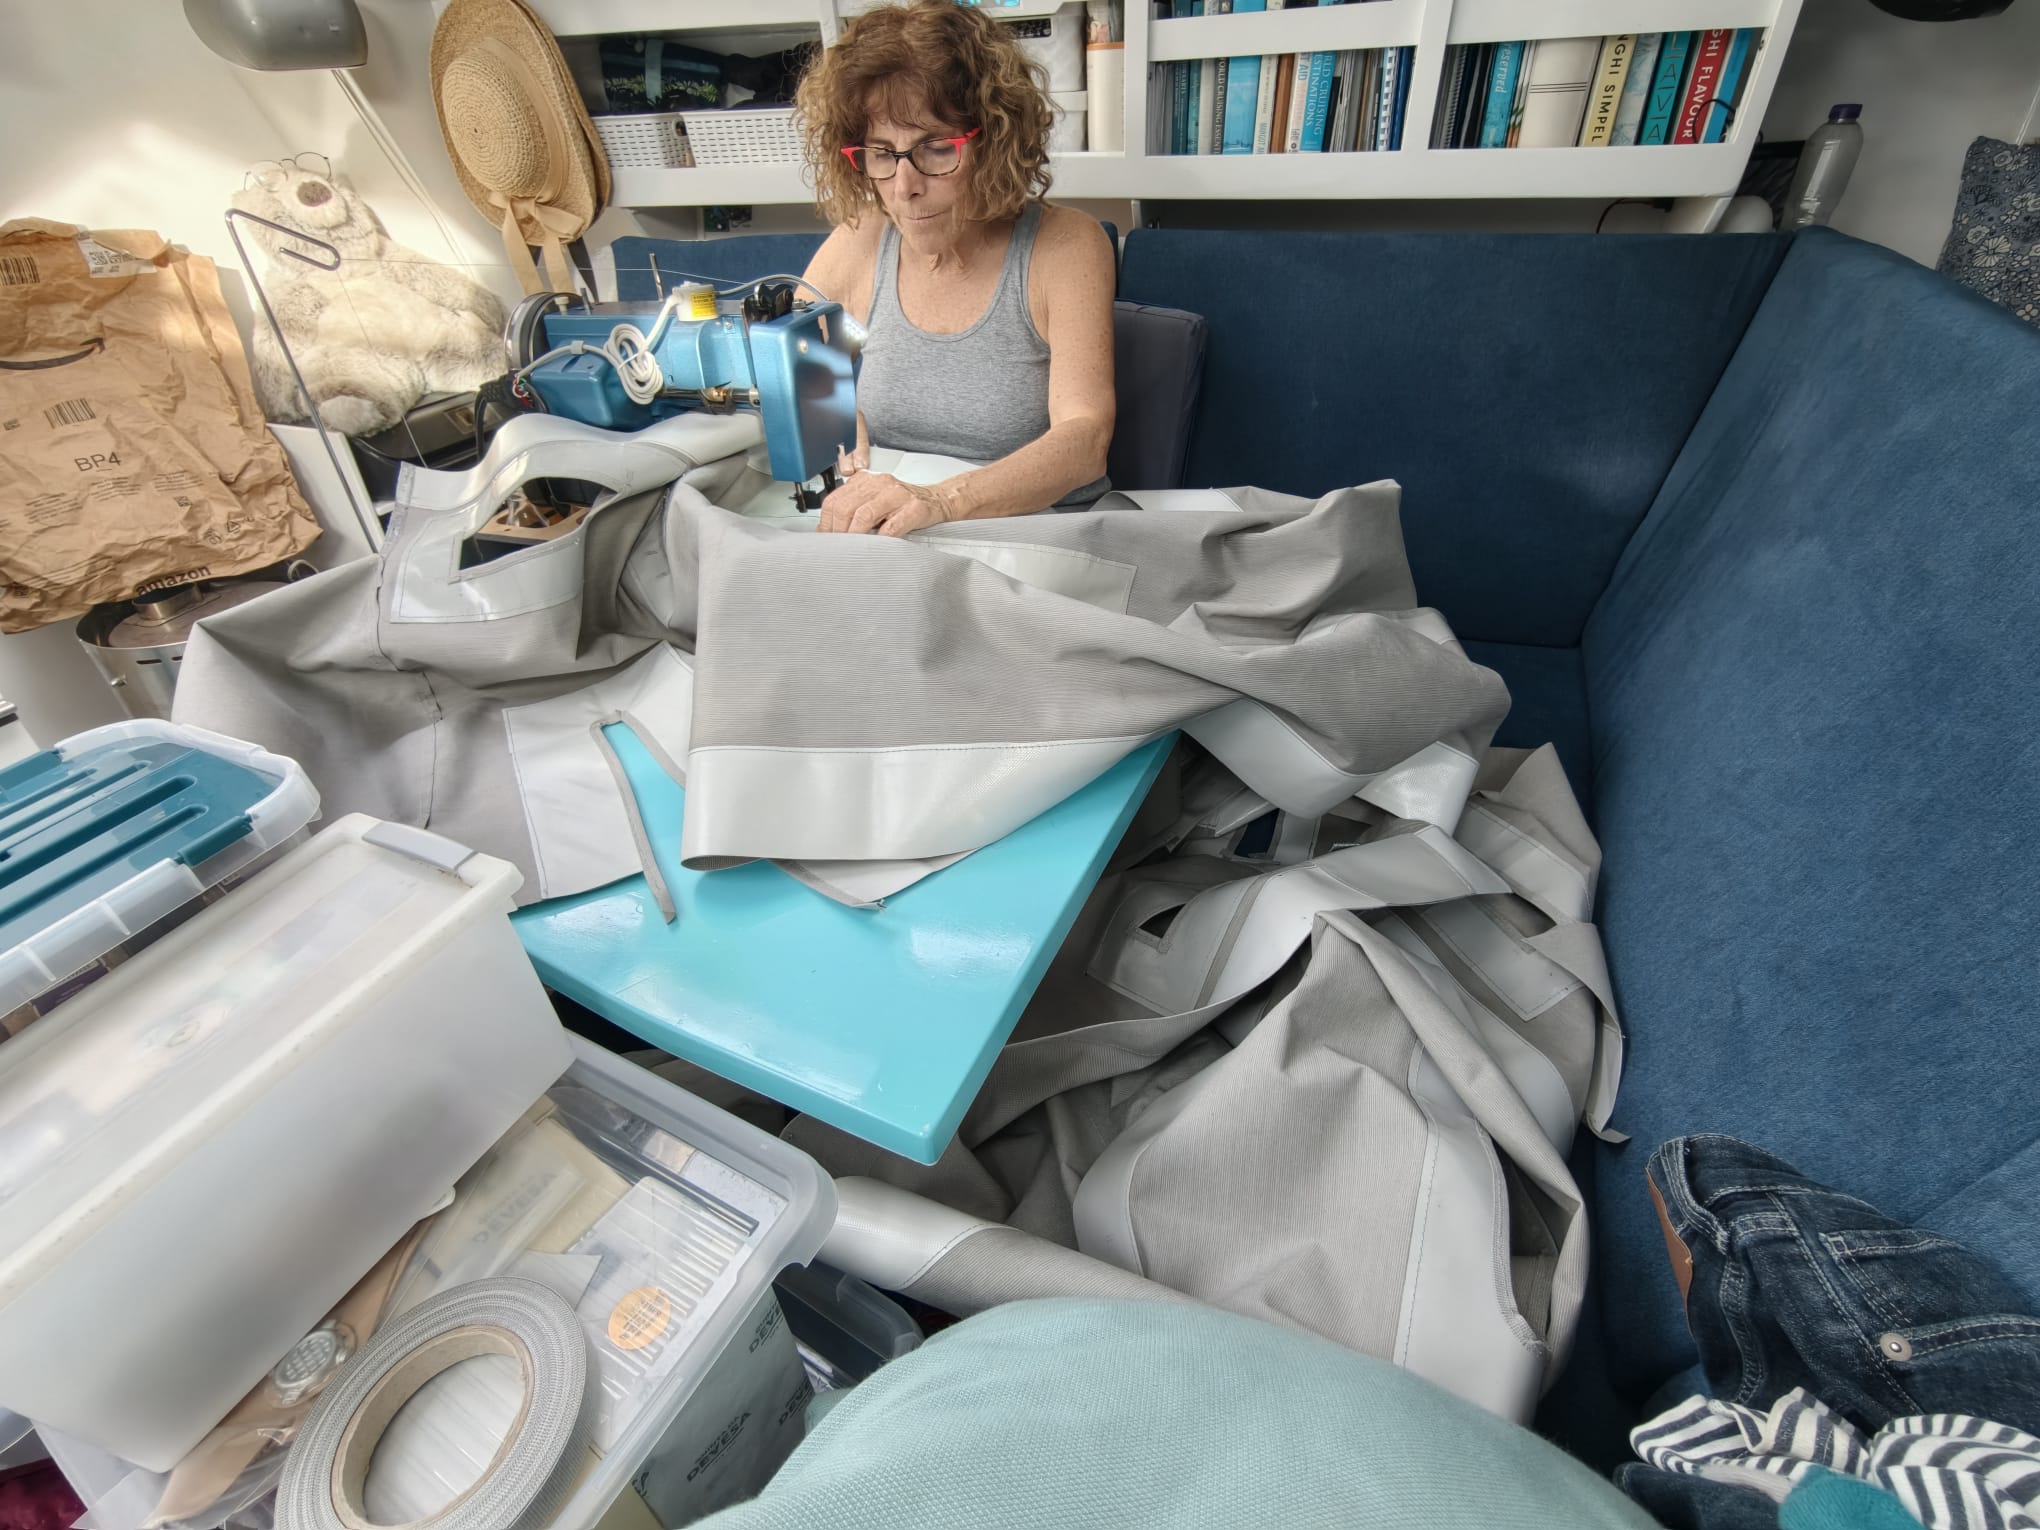
Sher continues working on the dinghy cover. Sewing the binding on the round holes is a tough job. The entire cover has to be pushed under the arm of the Sailrite to circle around the hole!
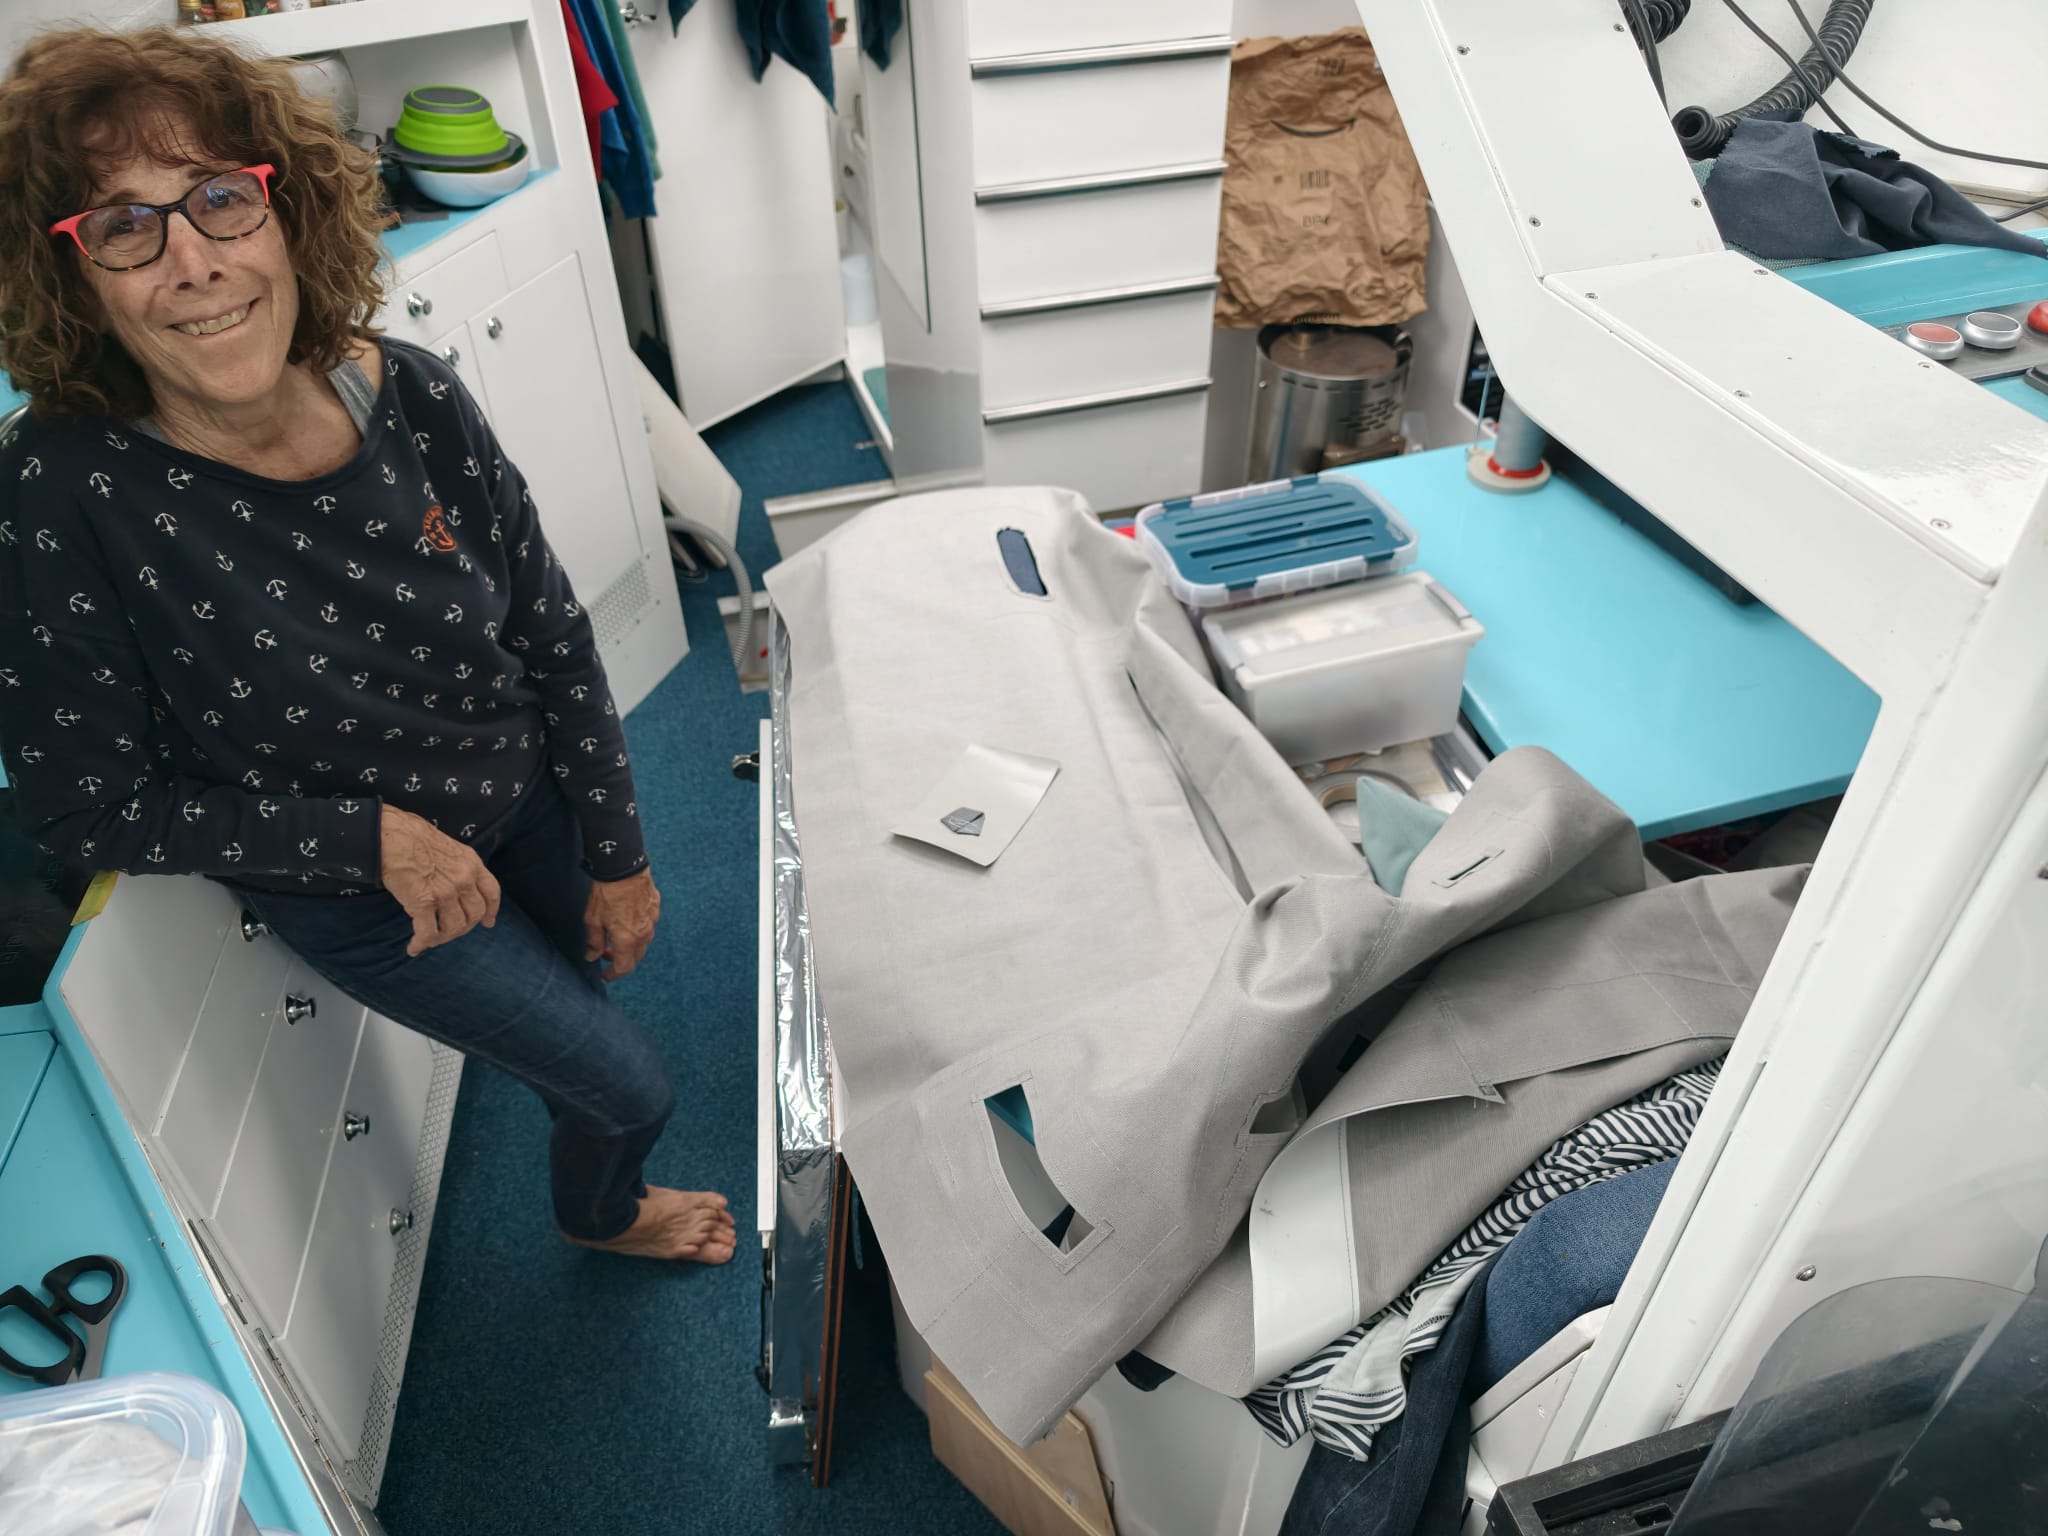
Yay, success! Proud!
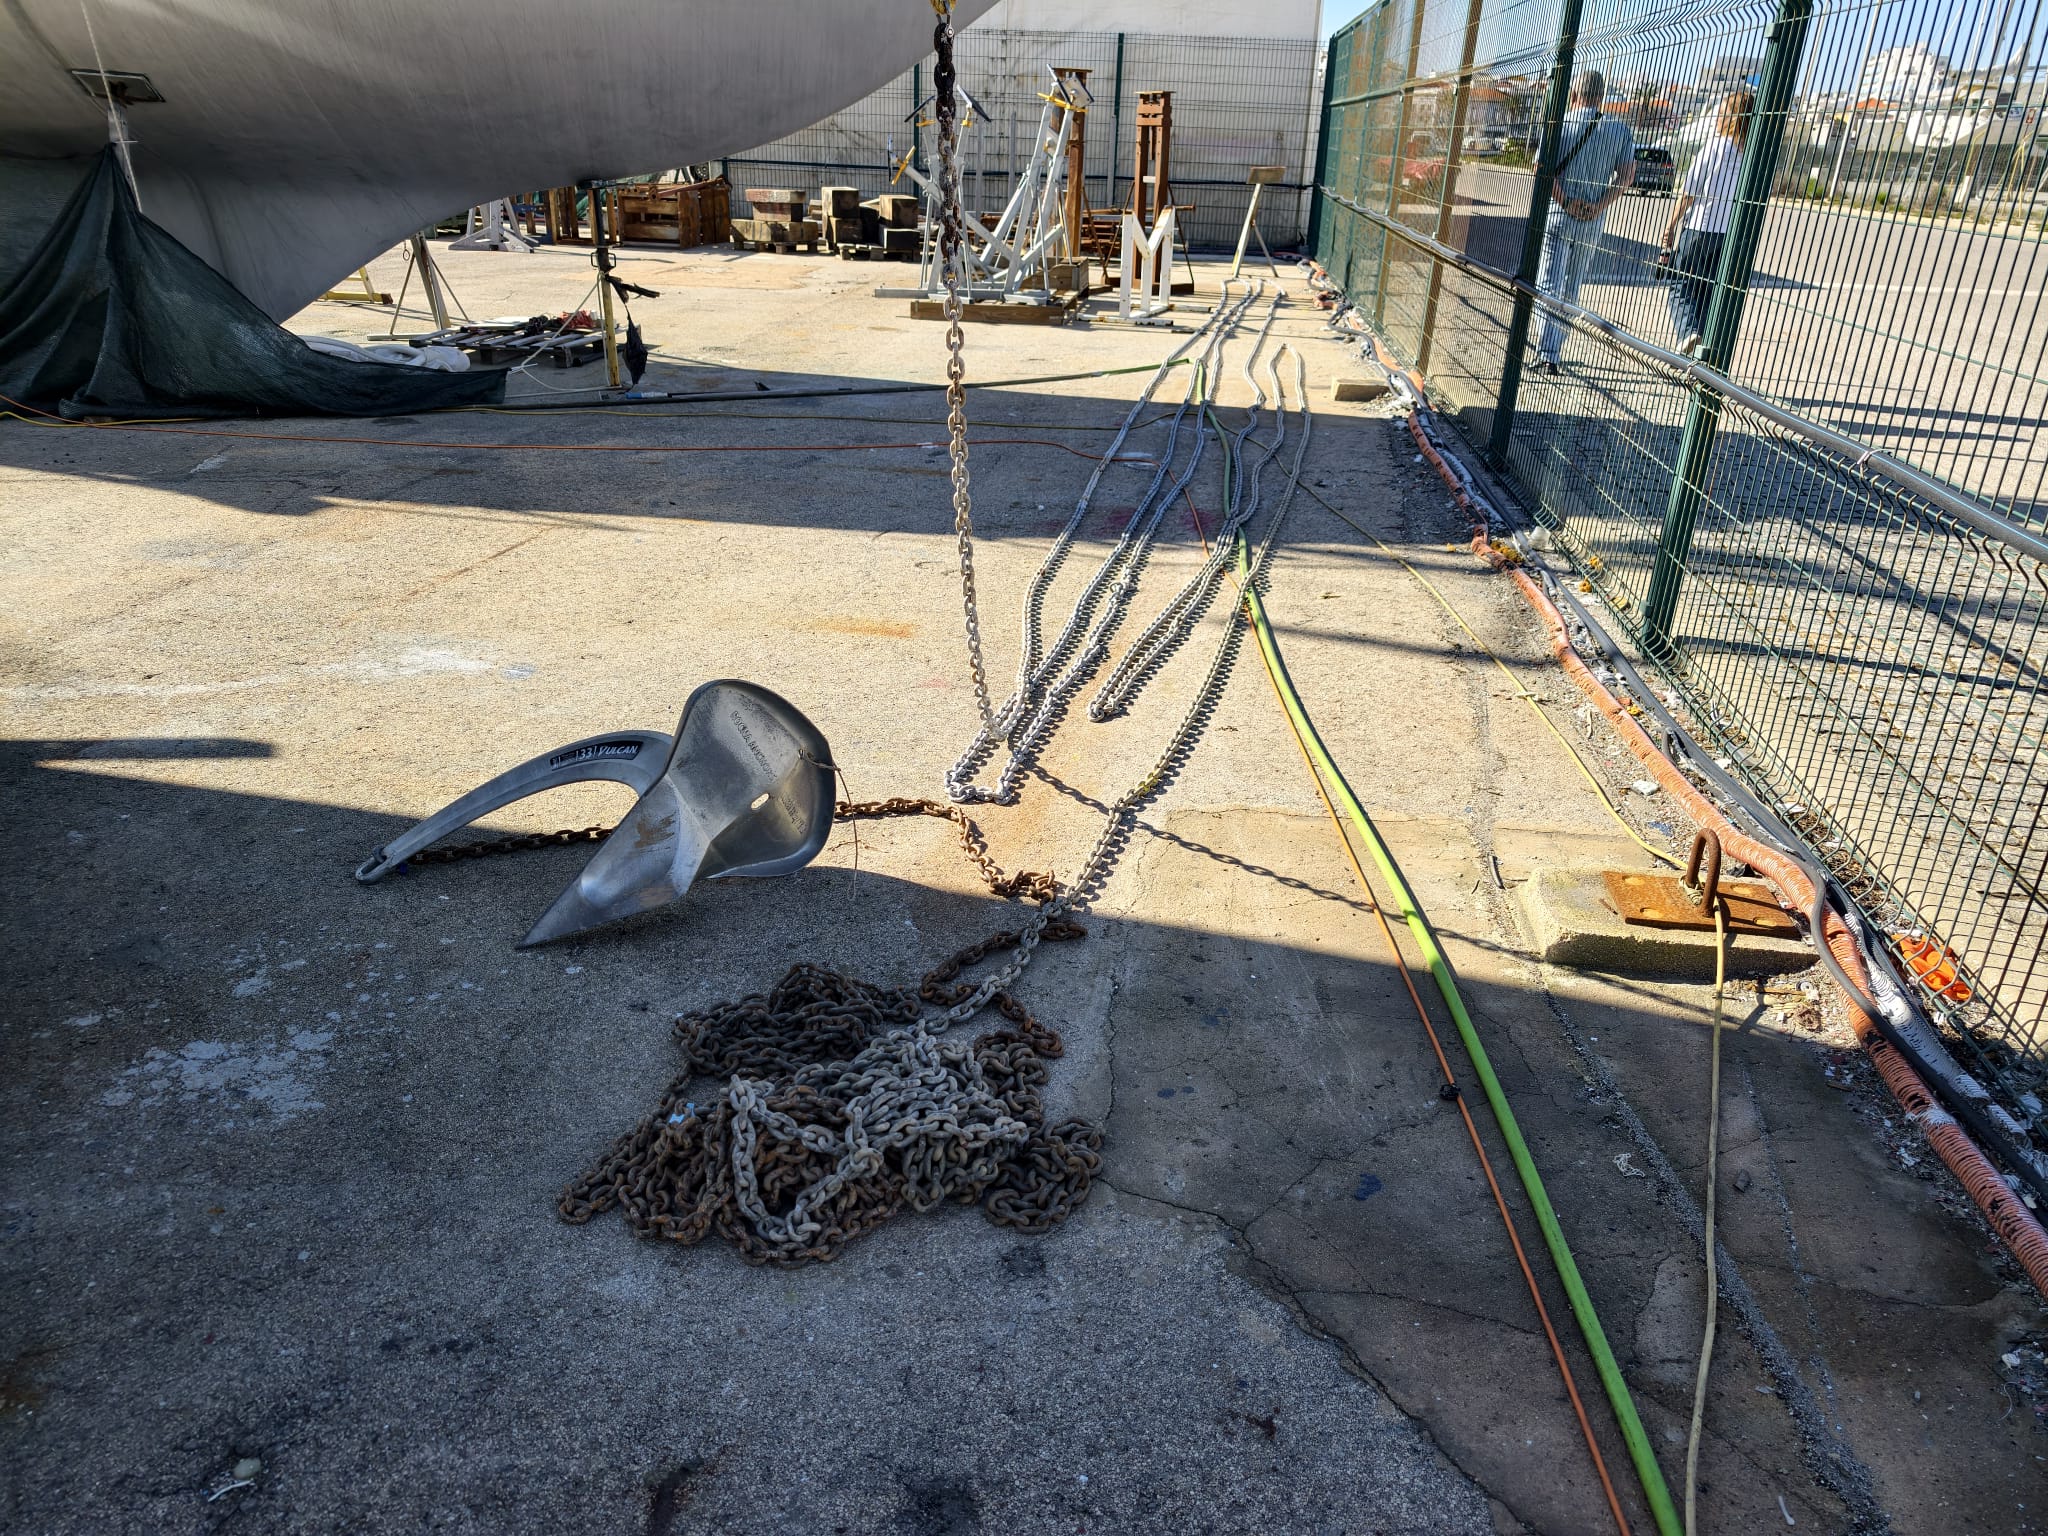
While the primer dries, Wim rolls out the entire anchor chain for inspection and marking. He cleans the chain locker and checks the state of the end-rope. Looks perfect. But the end piece of the chain is very rusty. This is the part which is always in the water on the bottom of the chain locker. Wim cuts this bad piece off and re-attaches the shackle and the rope.
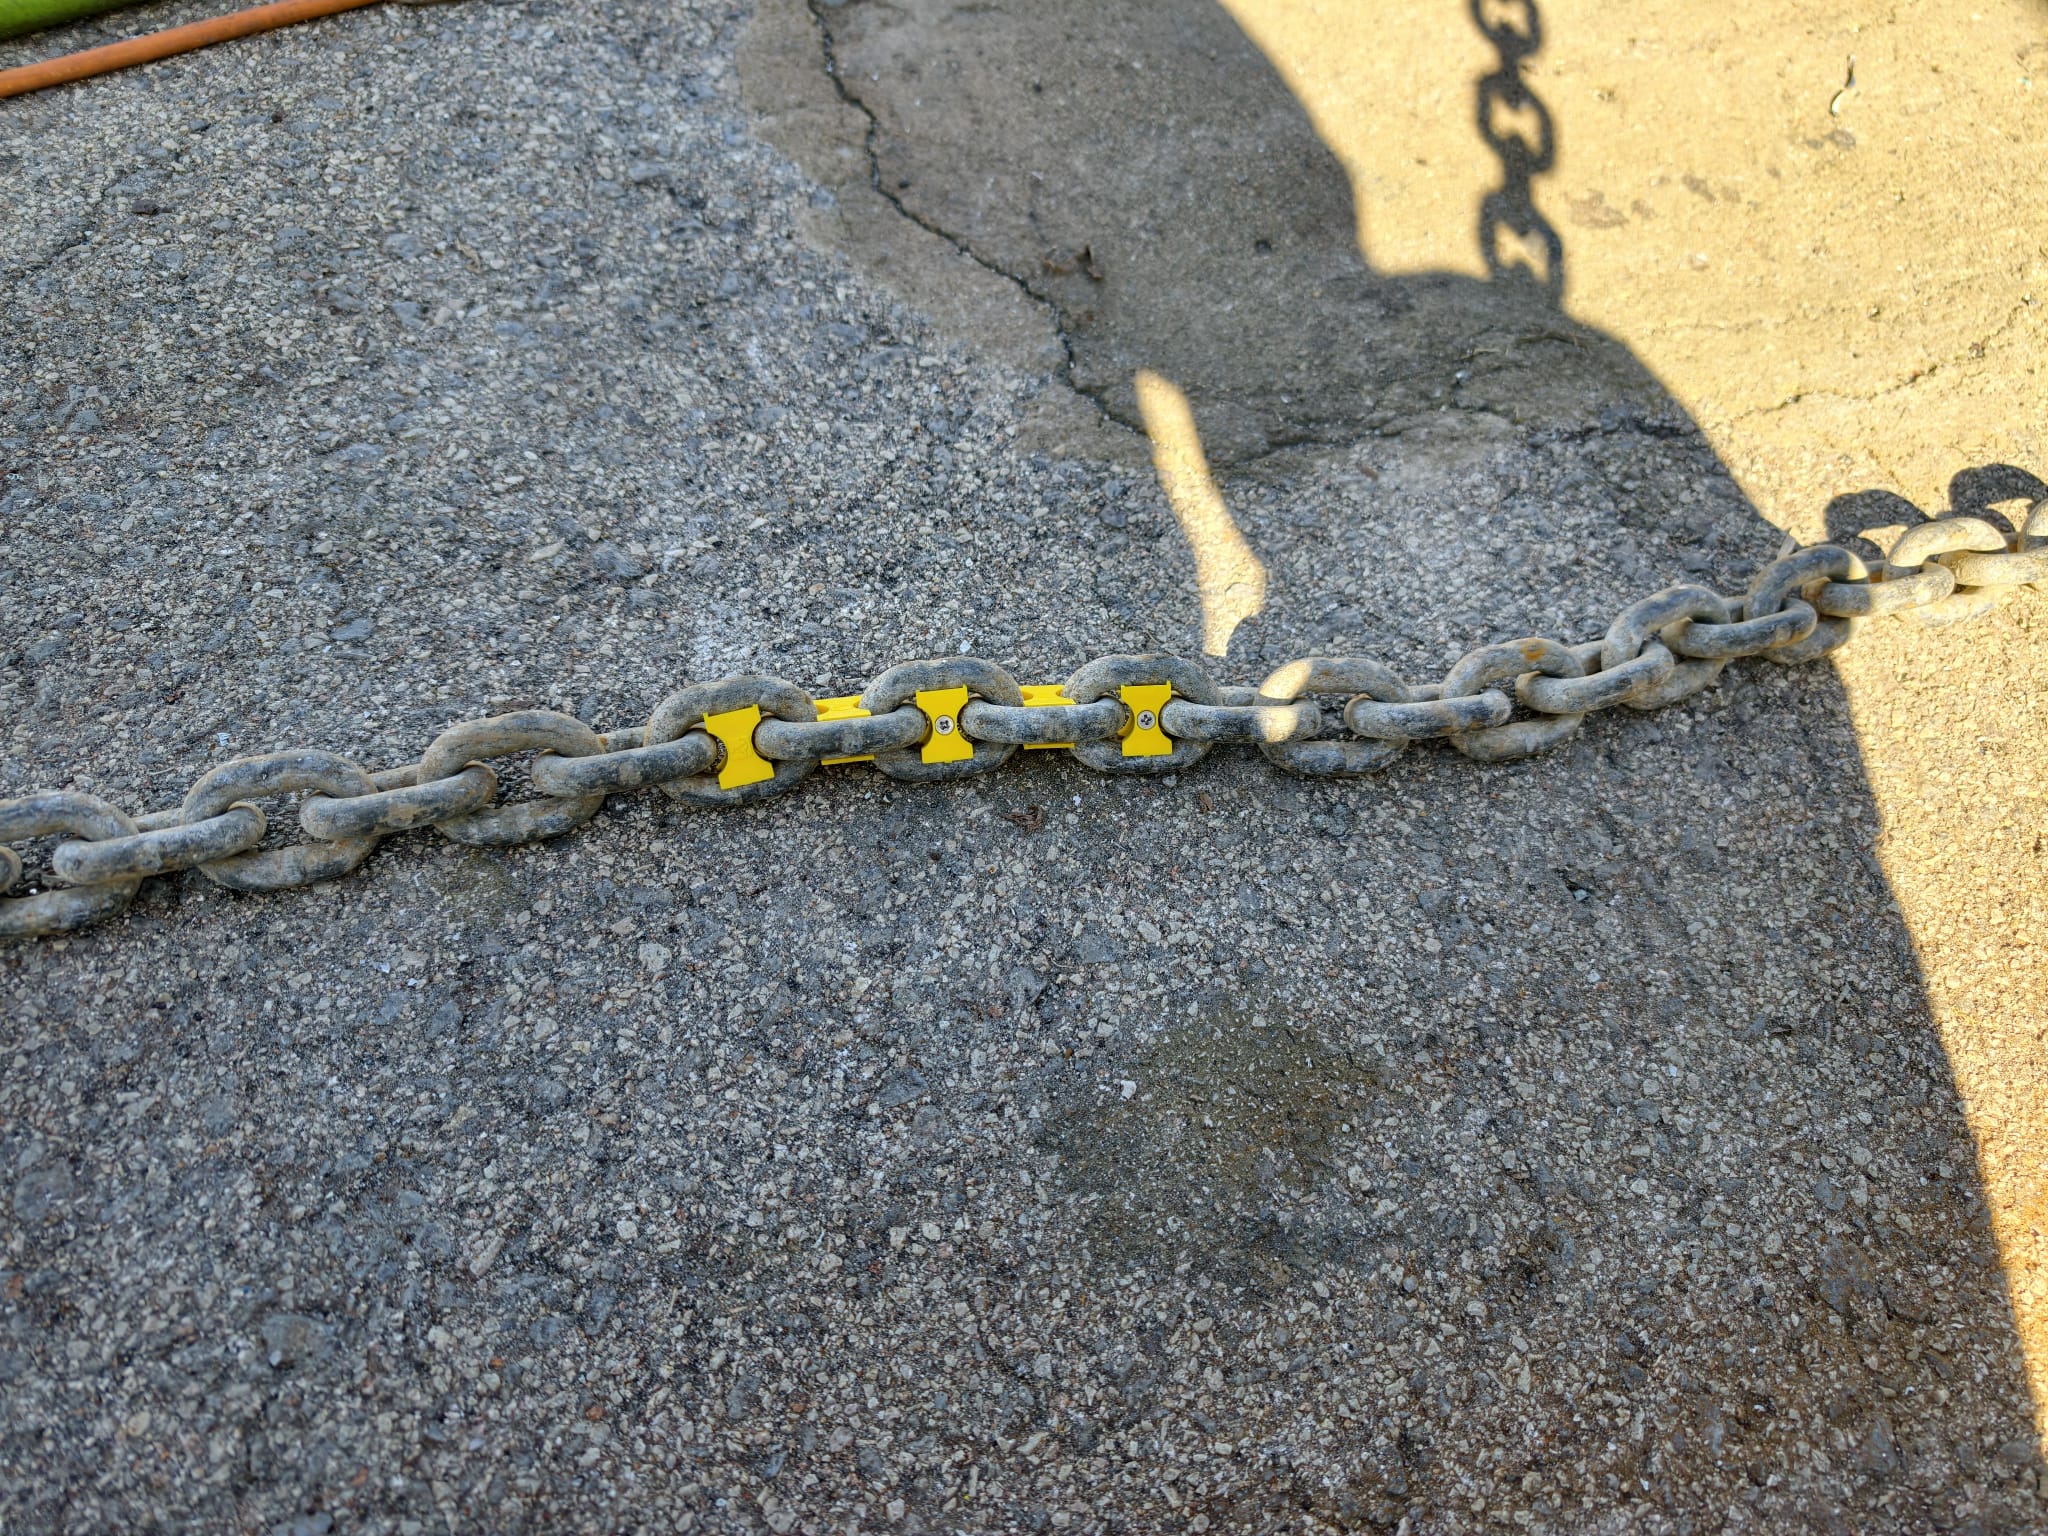
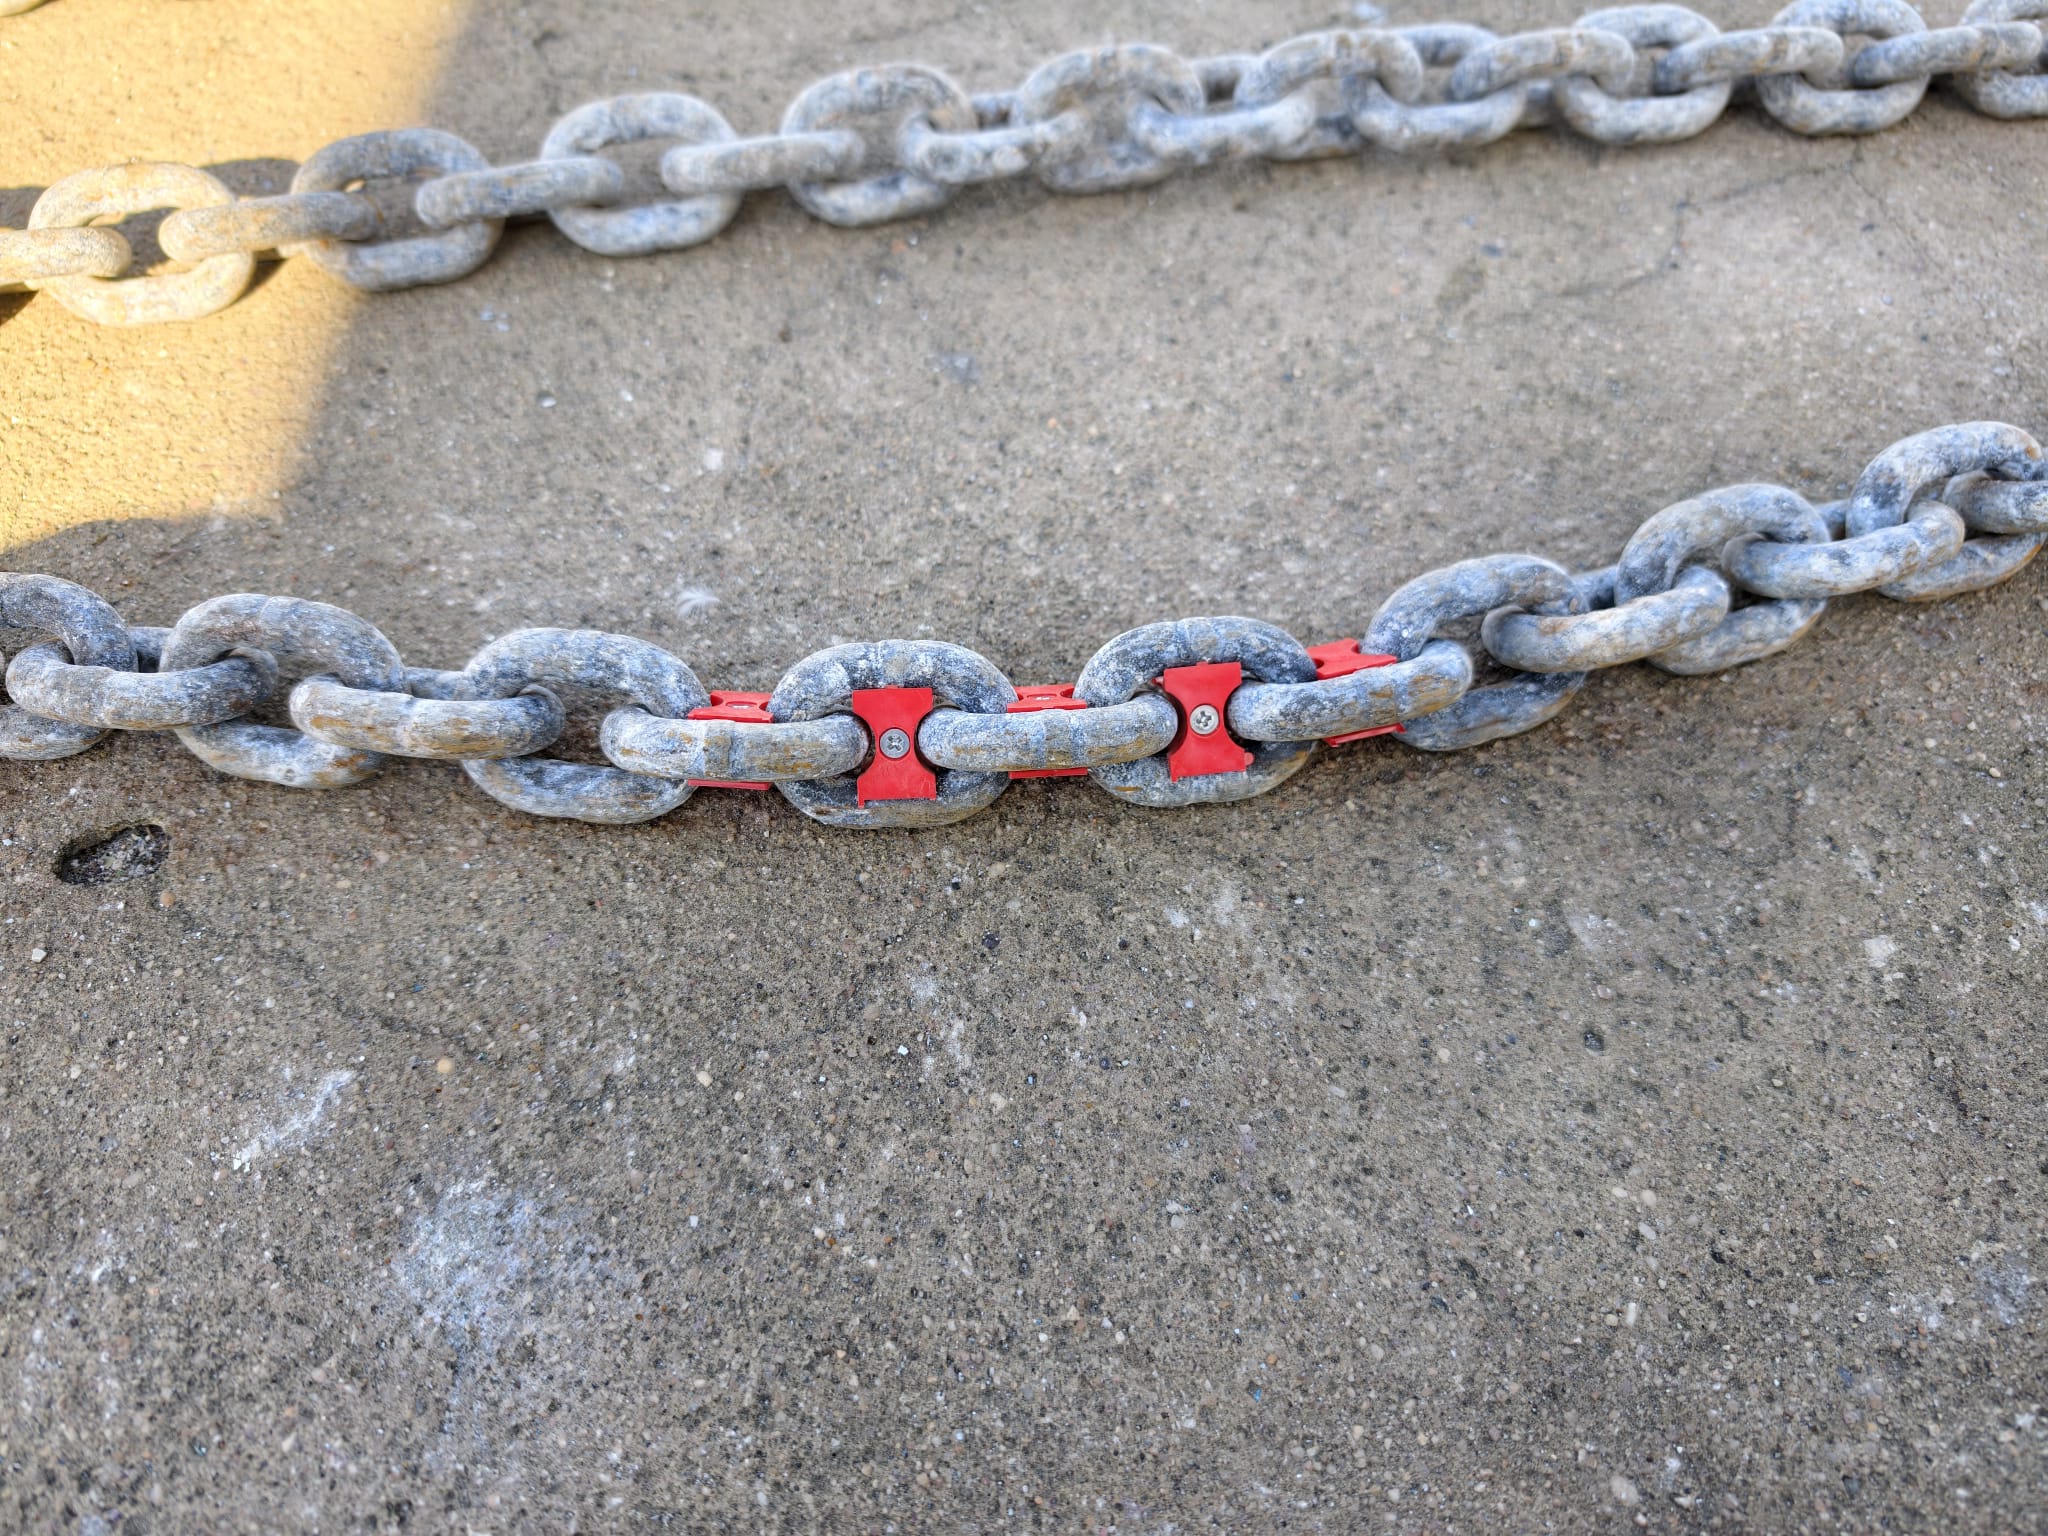
We buy chain markers at the Sopromar chandler and mark 10m (blue), 20m (green), 30m (yellow) and 50m (red). 4 red TyRaps mark the last 3m.
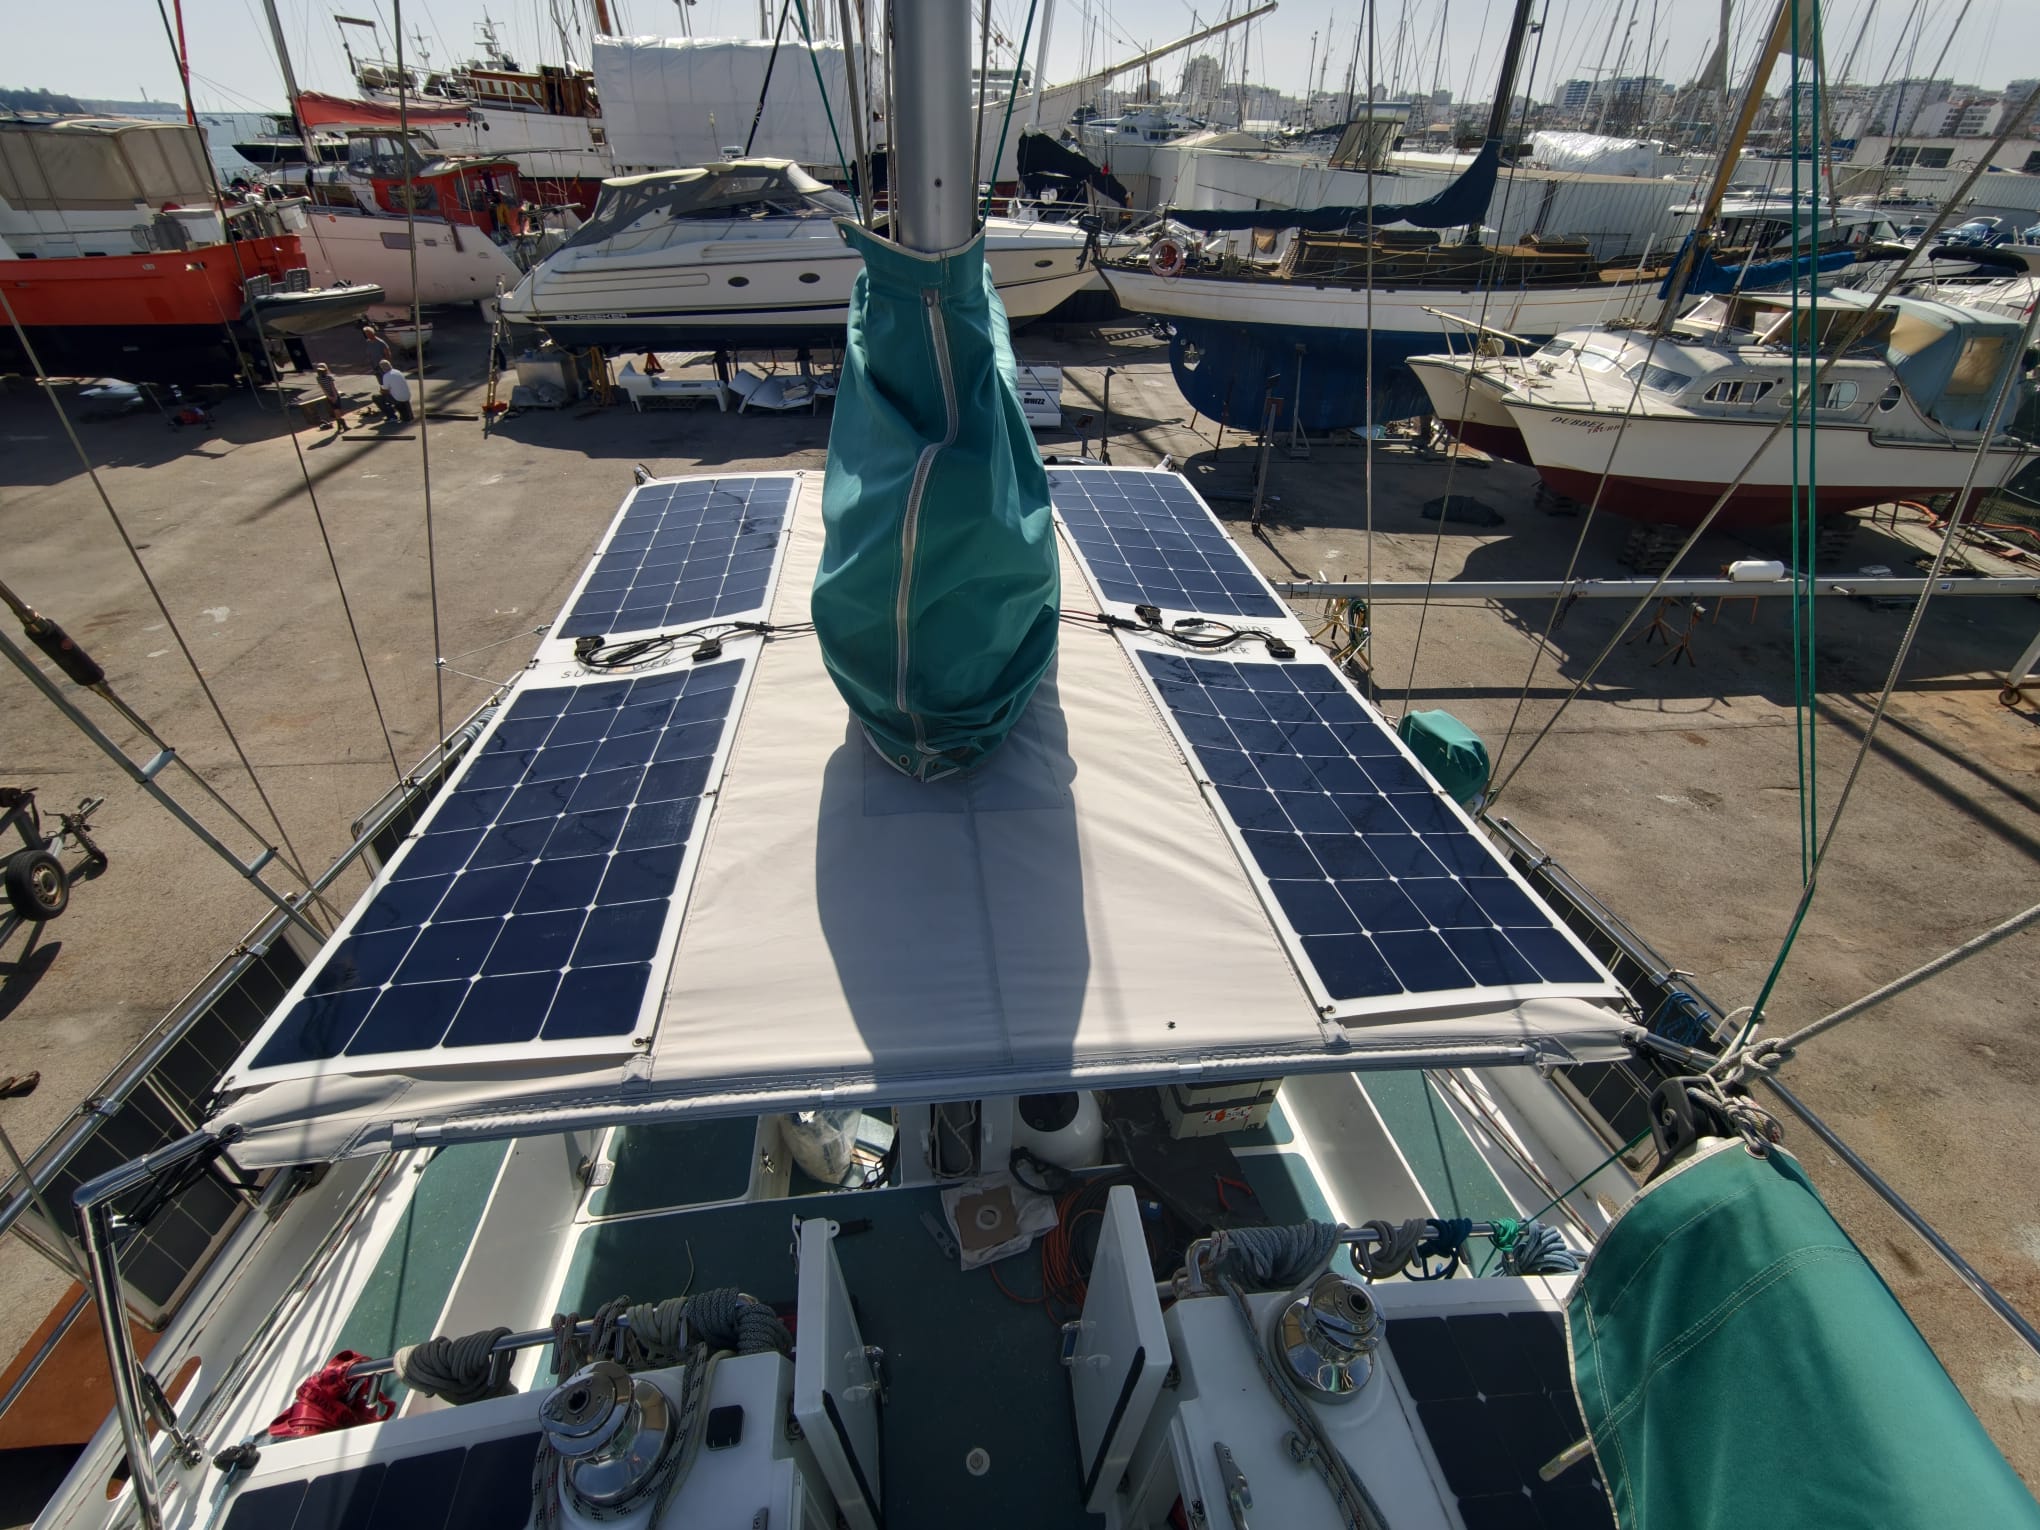
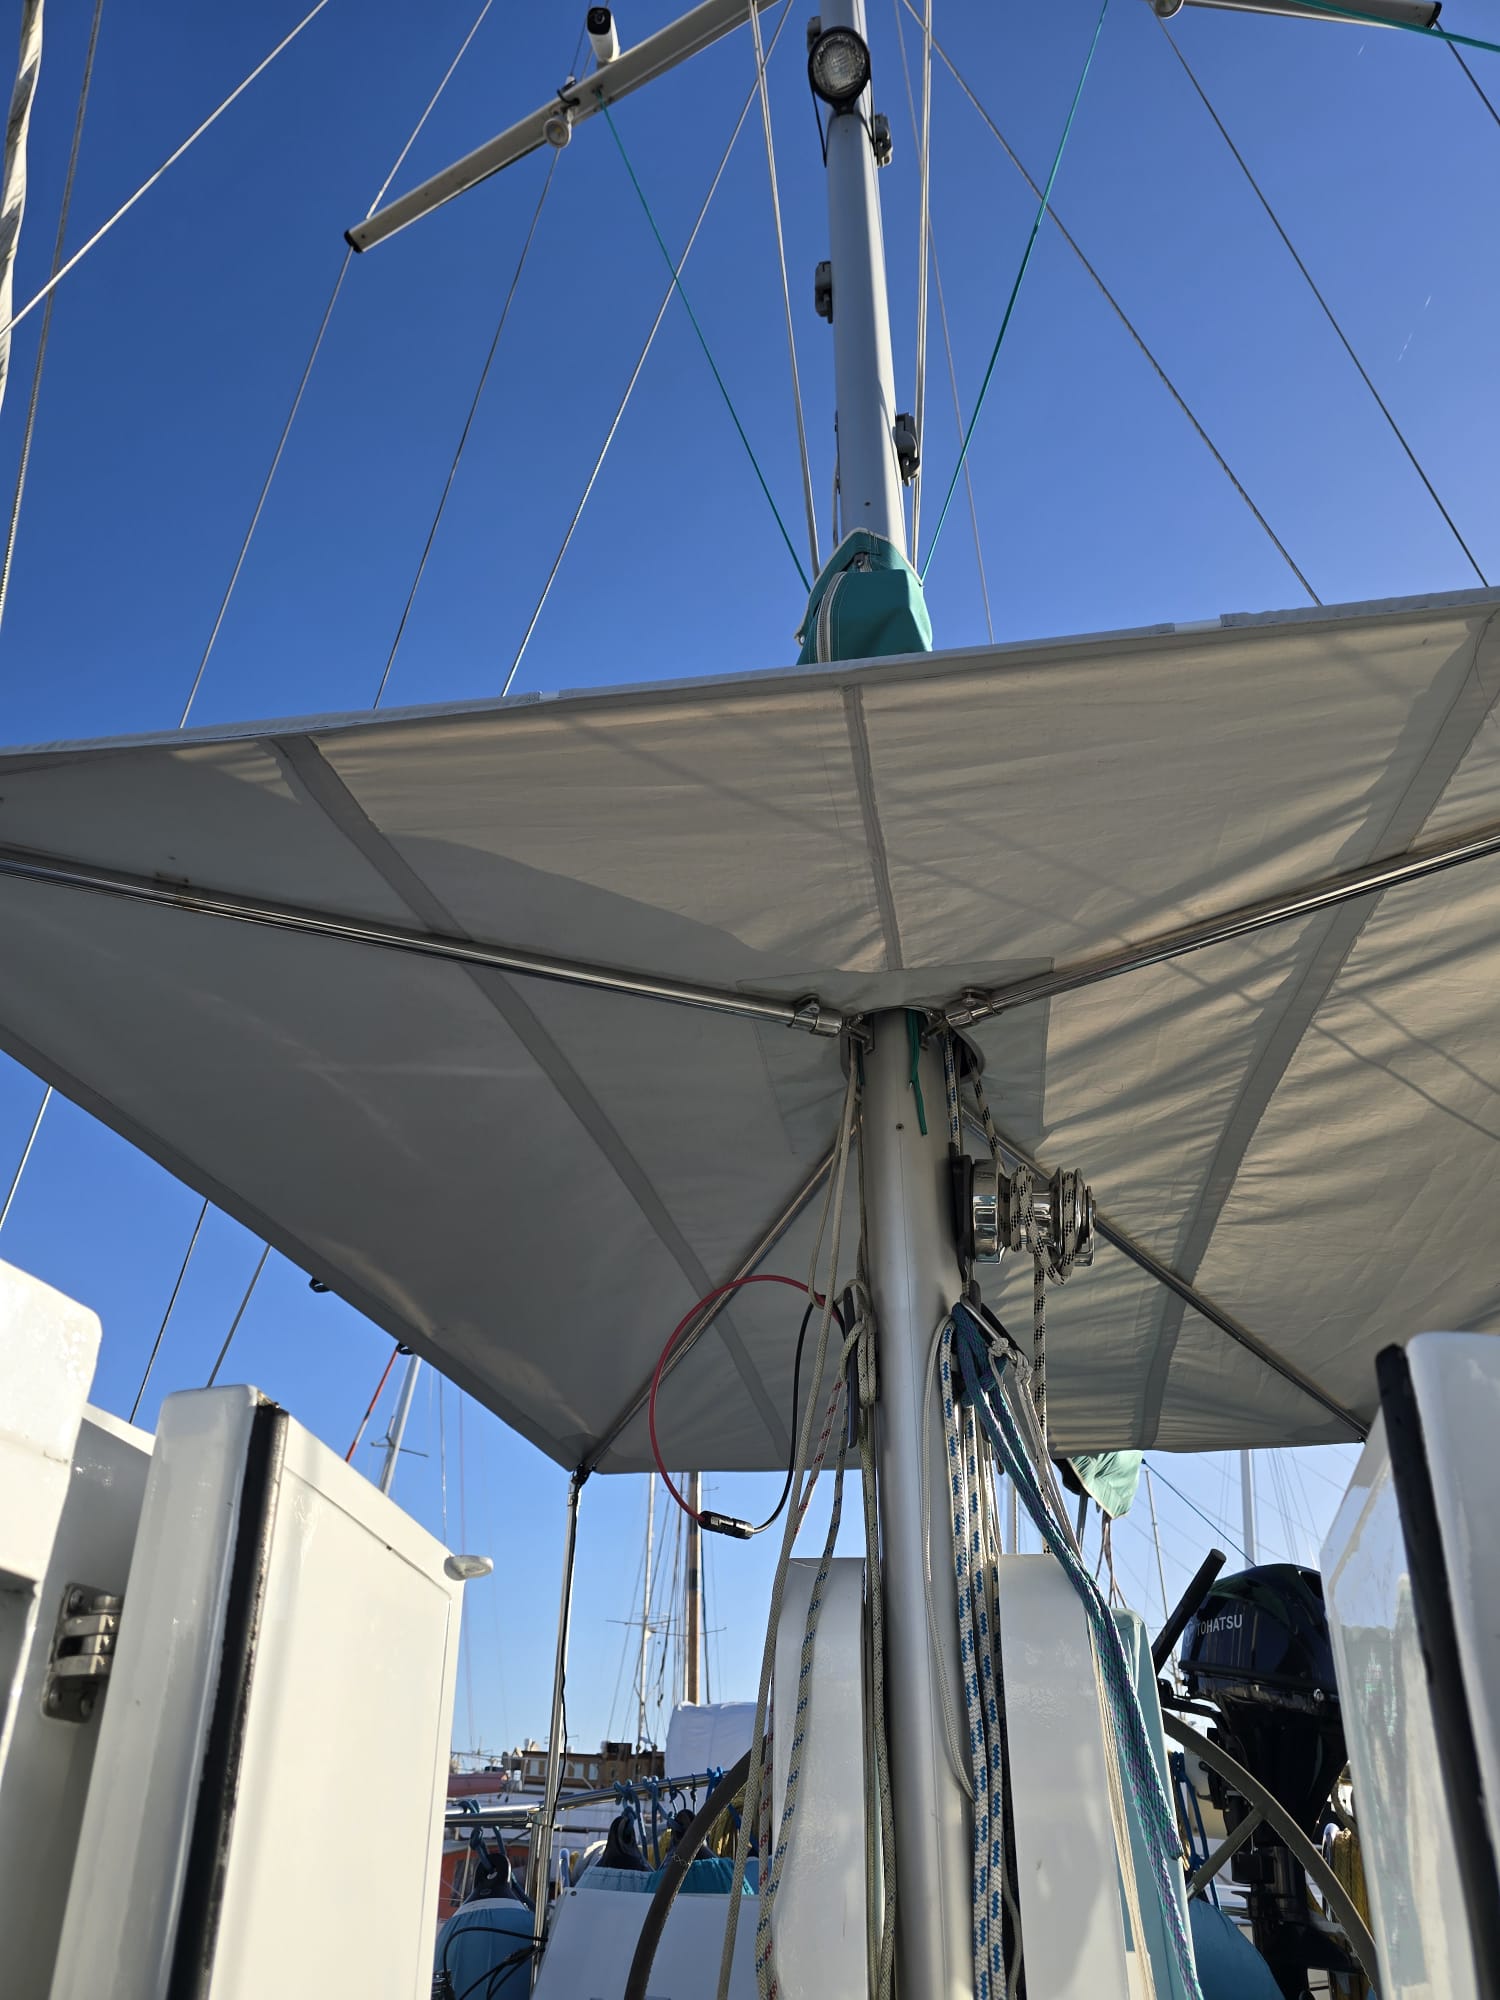
Wim puts the solar panels on the cockpit sun shade back in place. Everything fits nice. This is a nice improvement. Much stronger and tidier. The sun shade survived already 40-50 knots of wind, let’s see if we can break this record now!
Sher continues on the dinghy cover.
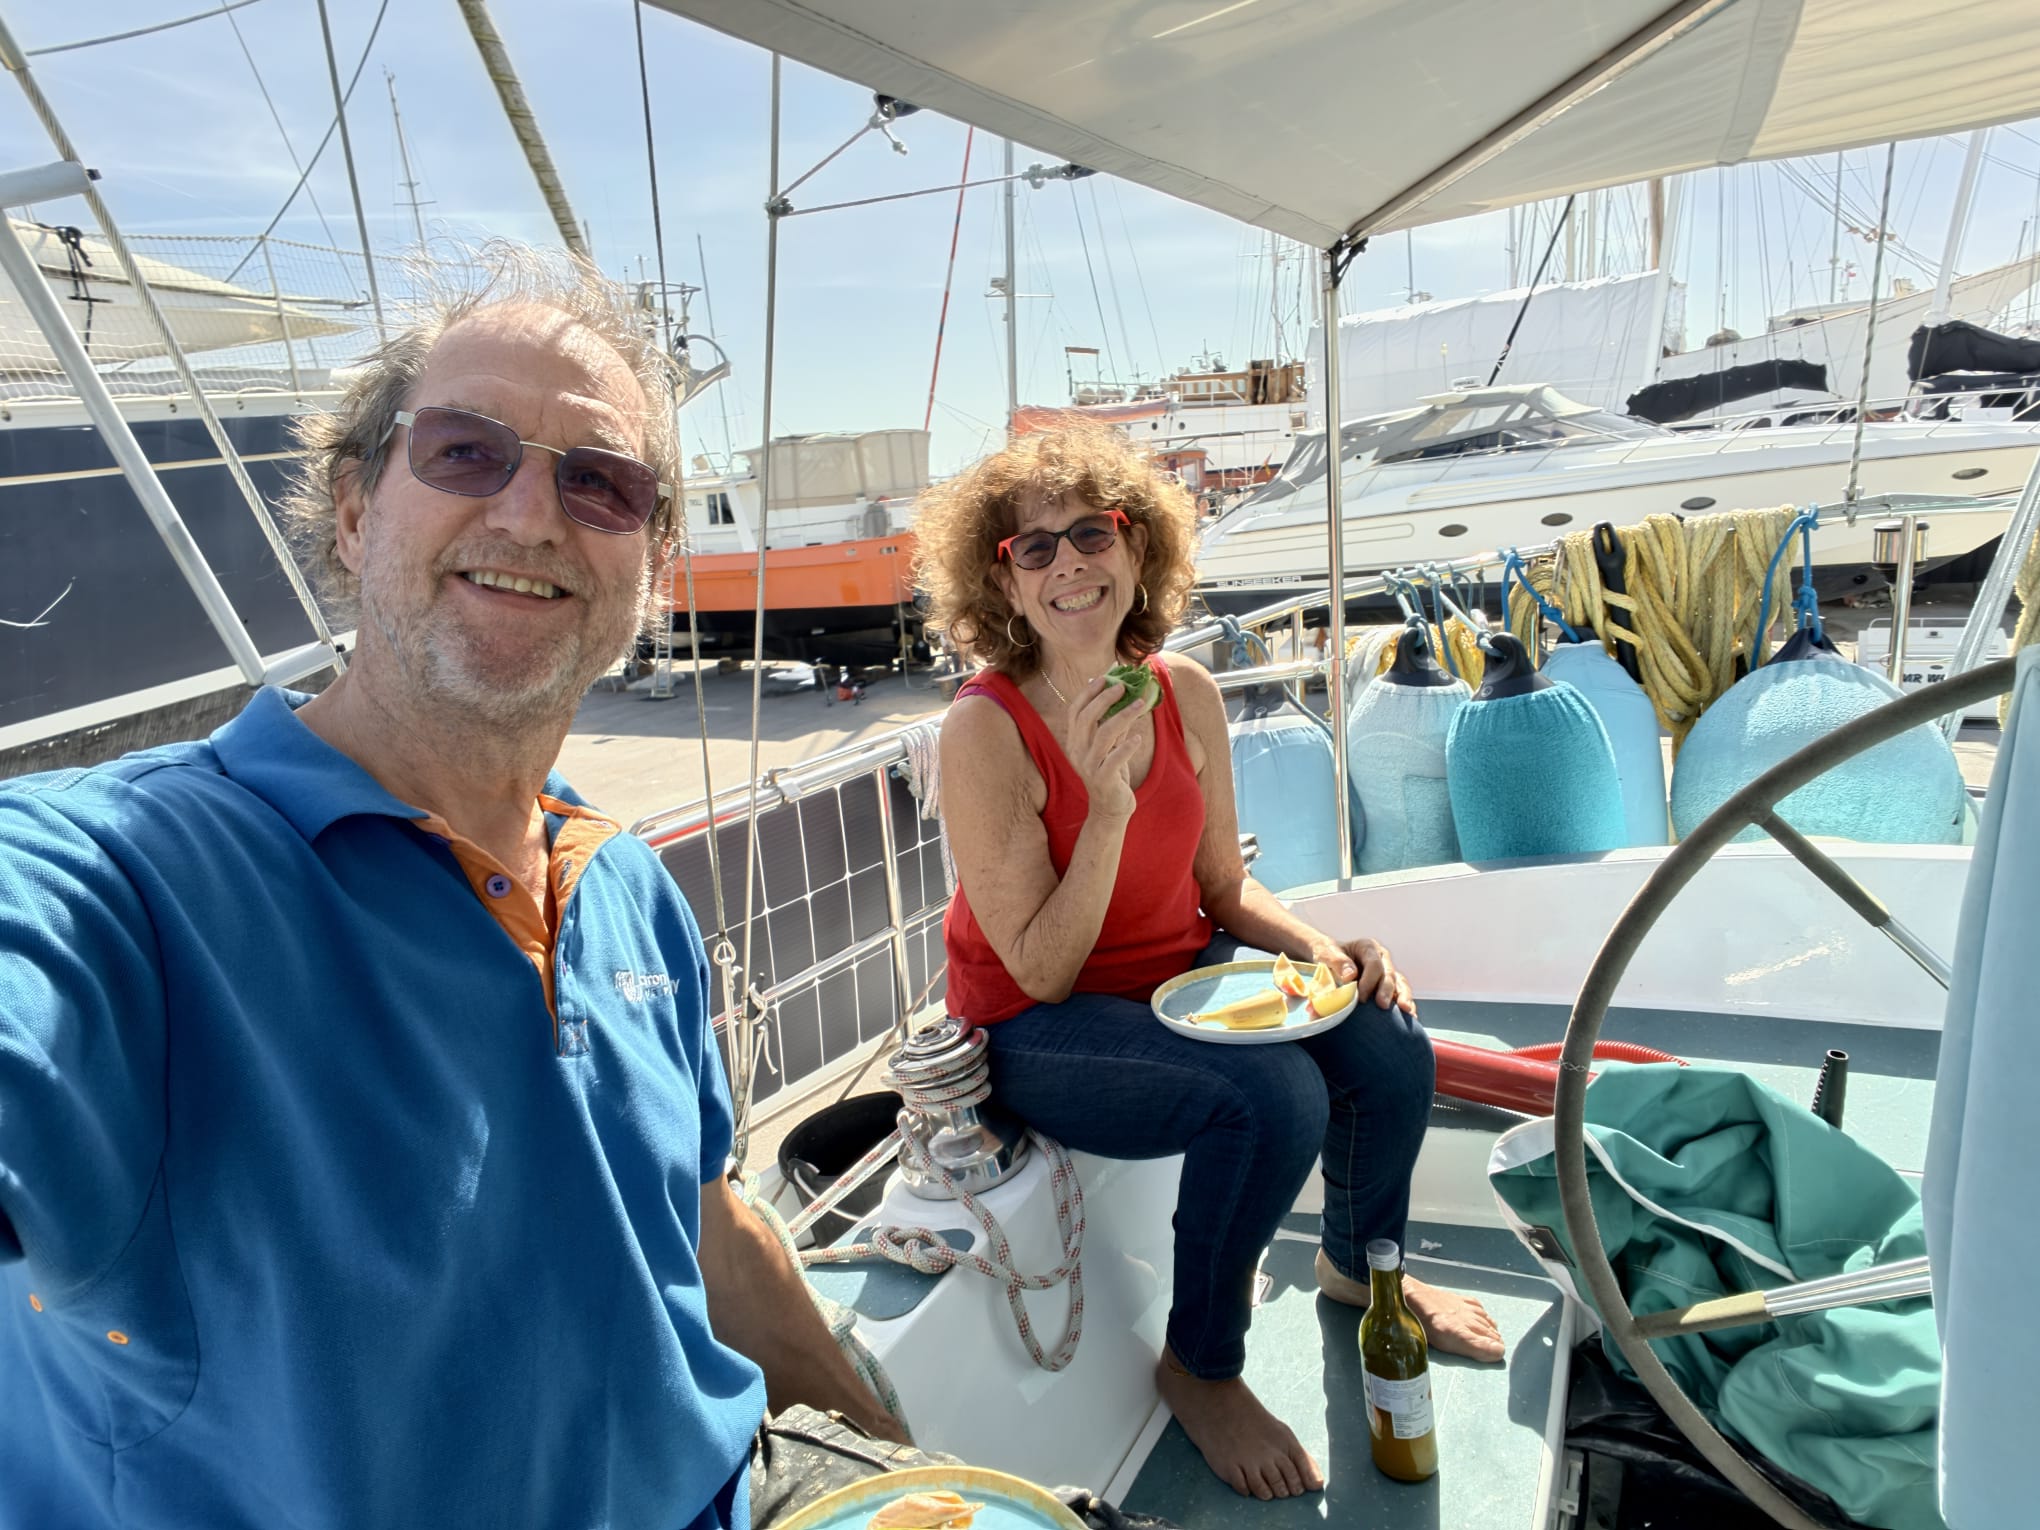
Lunchtime! Our first lunch in the cockpit, this year ☀️
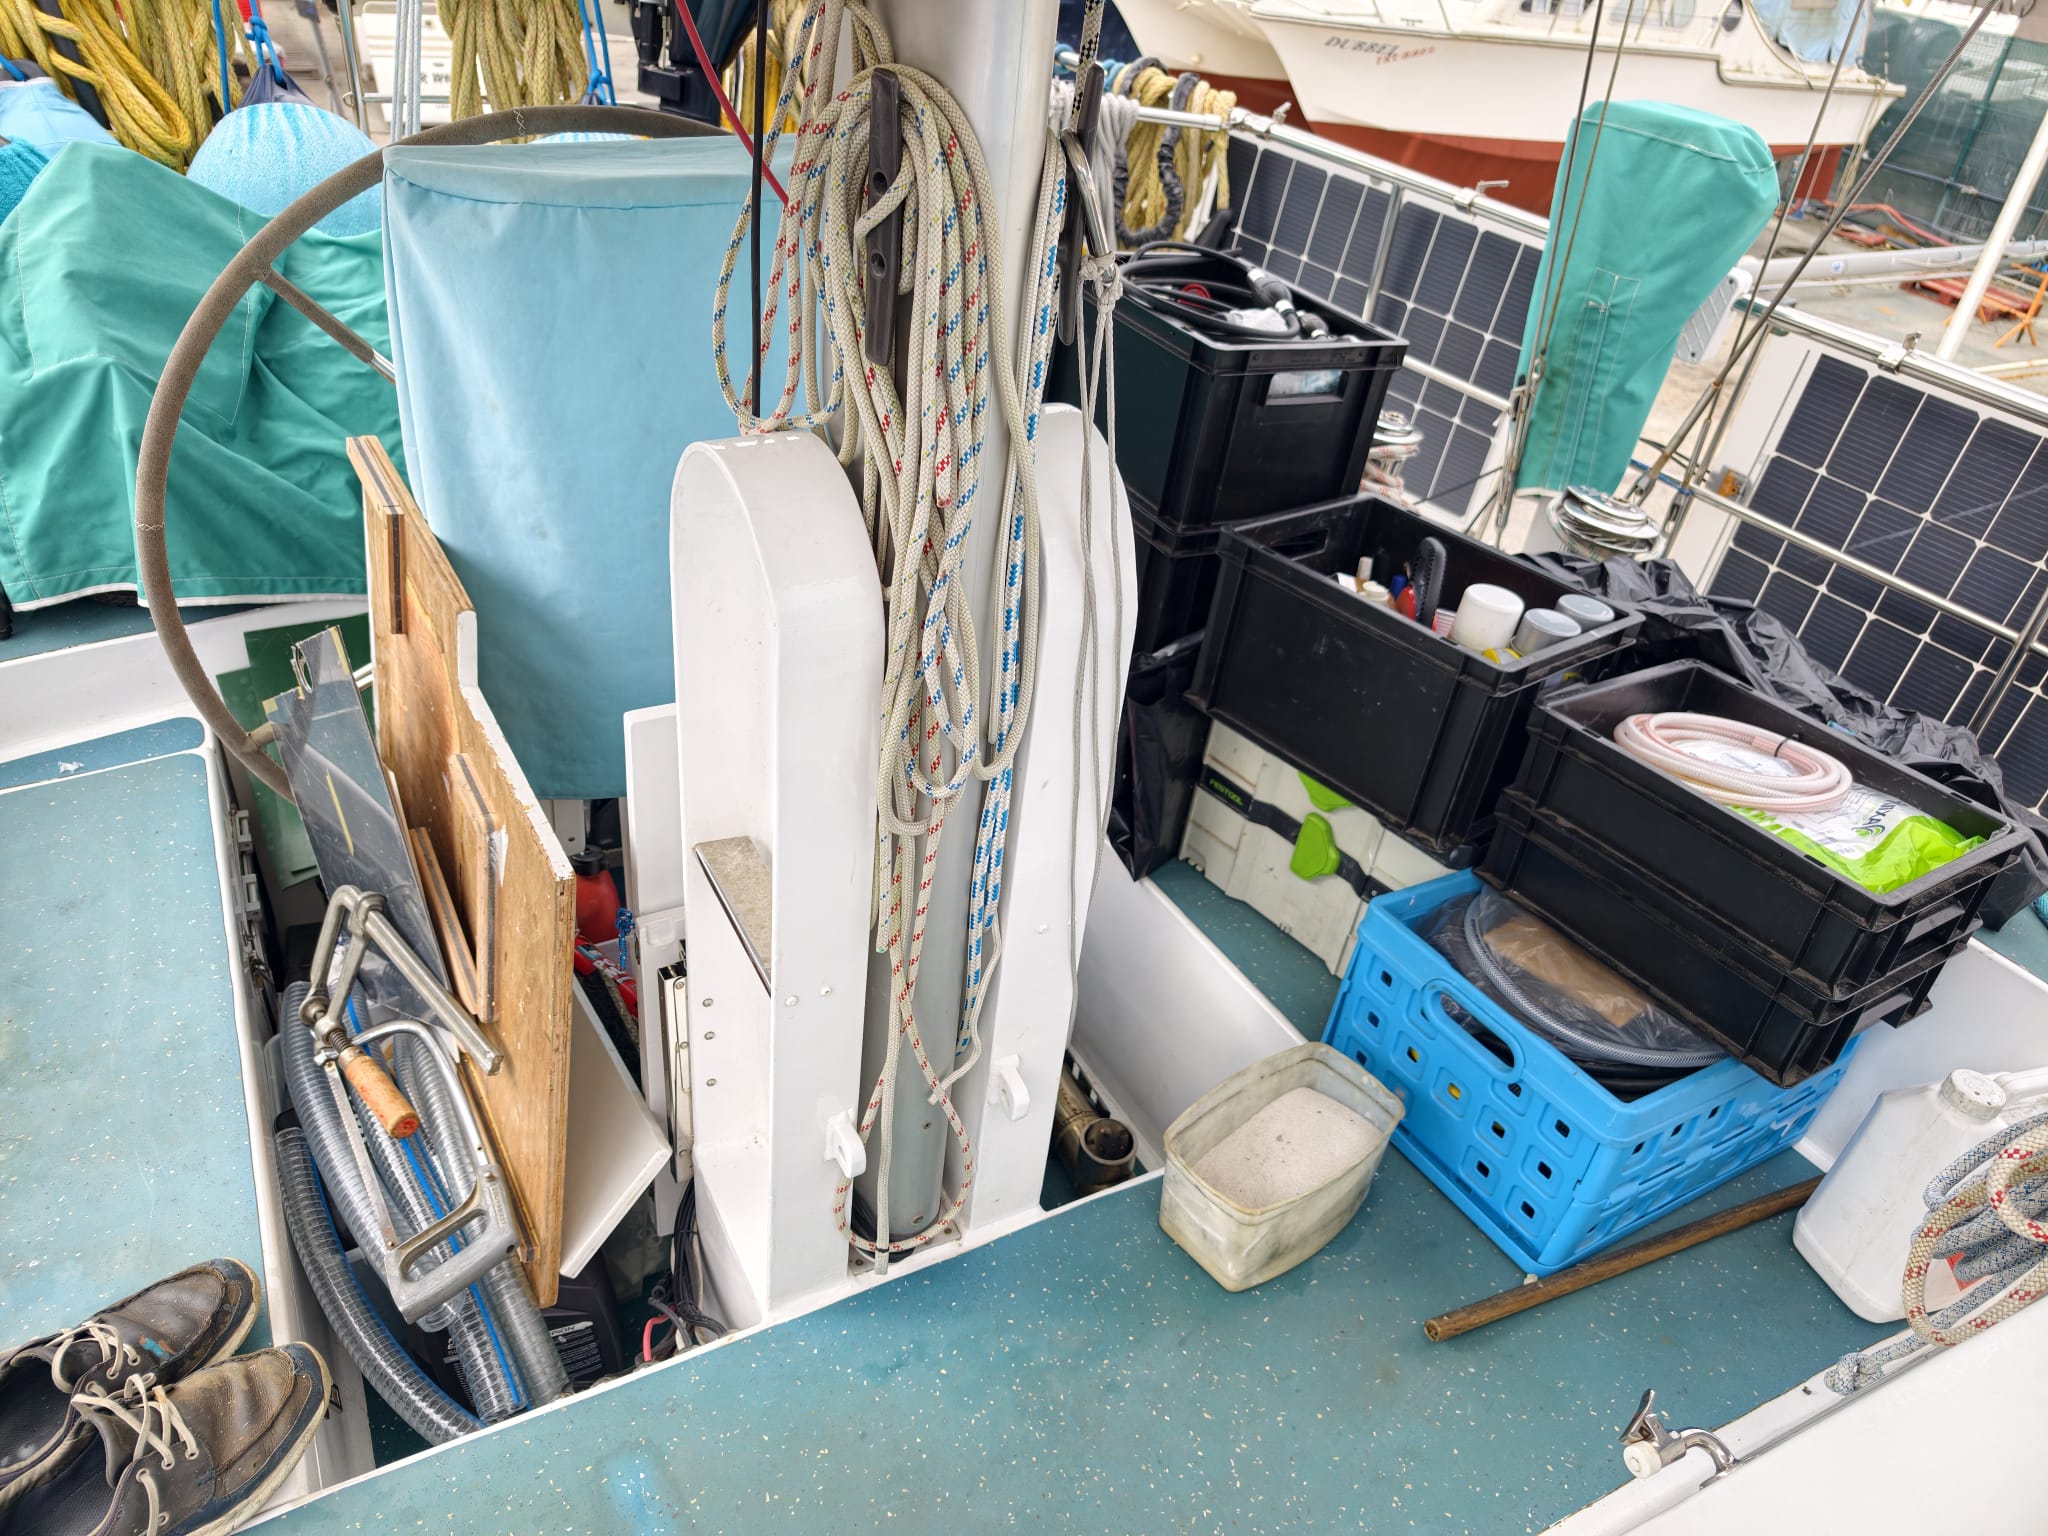
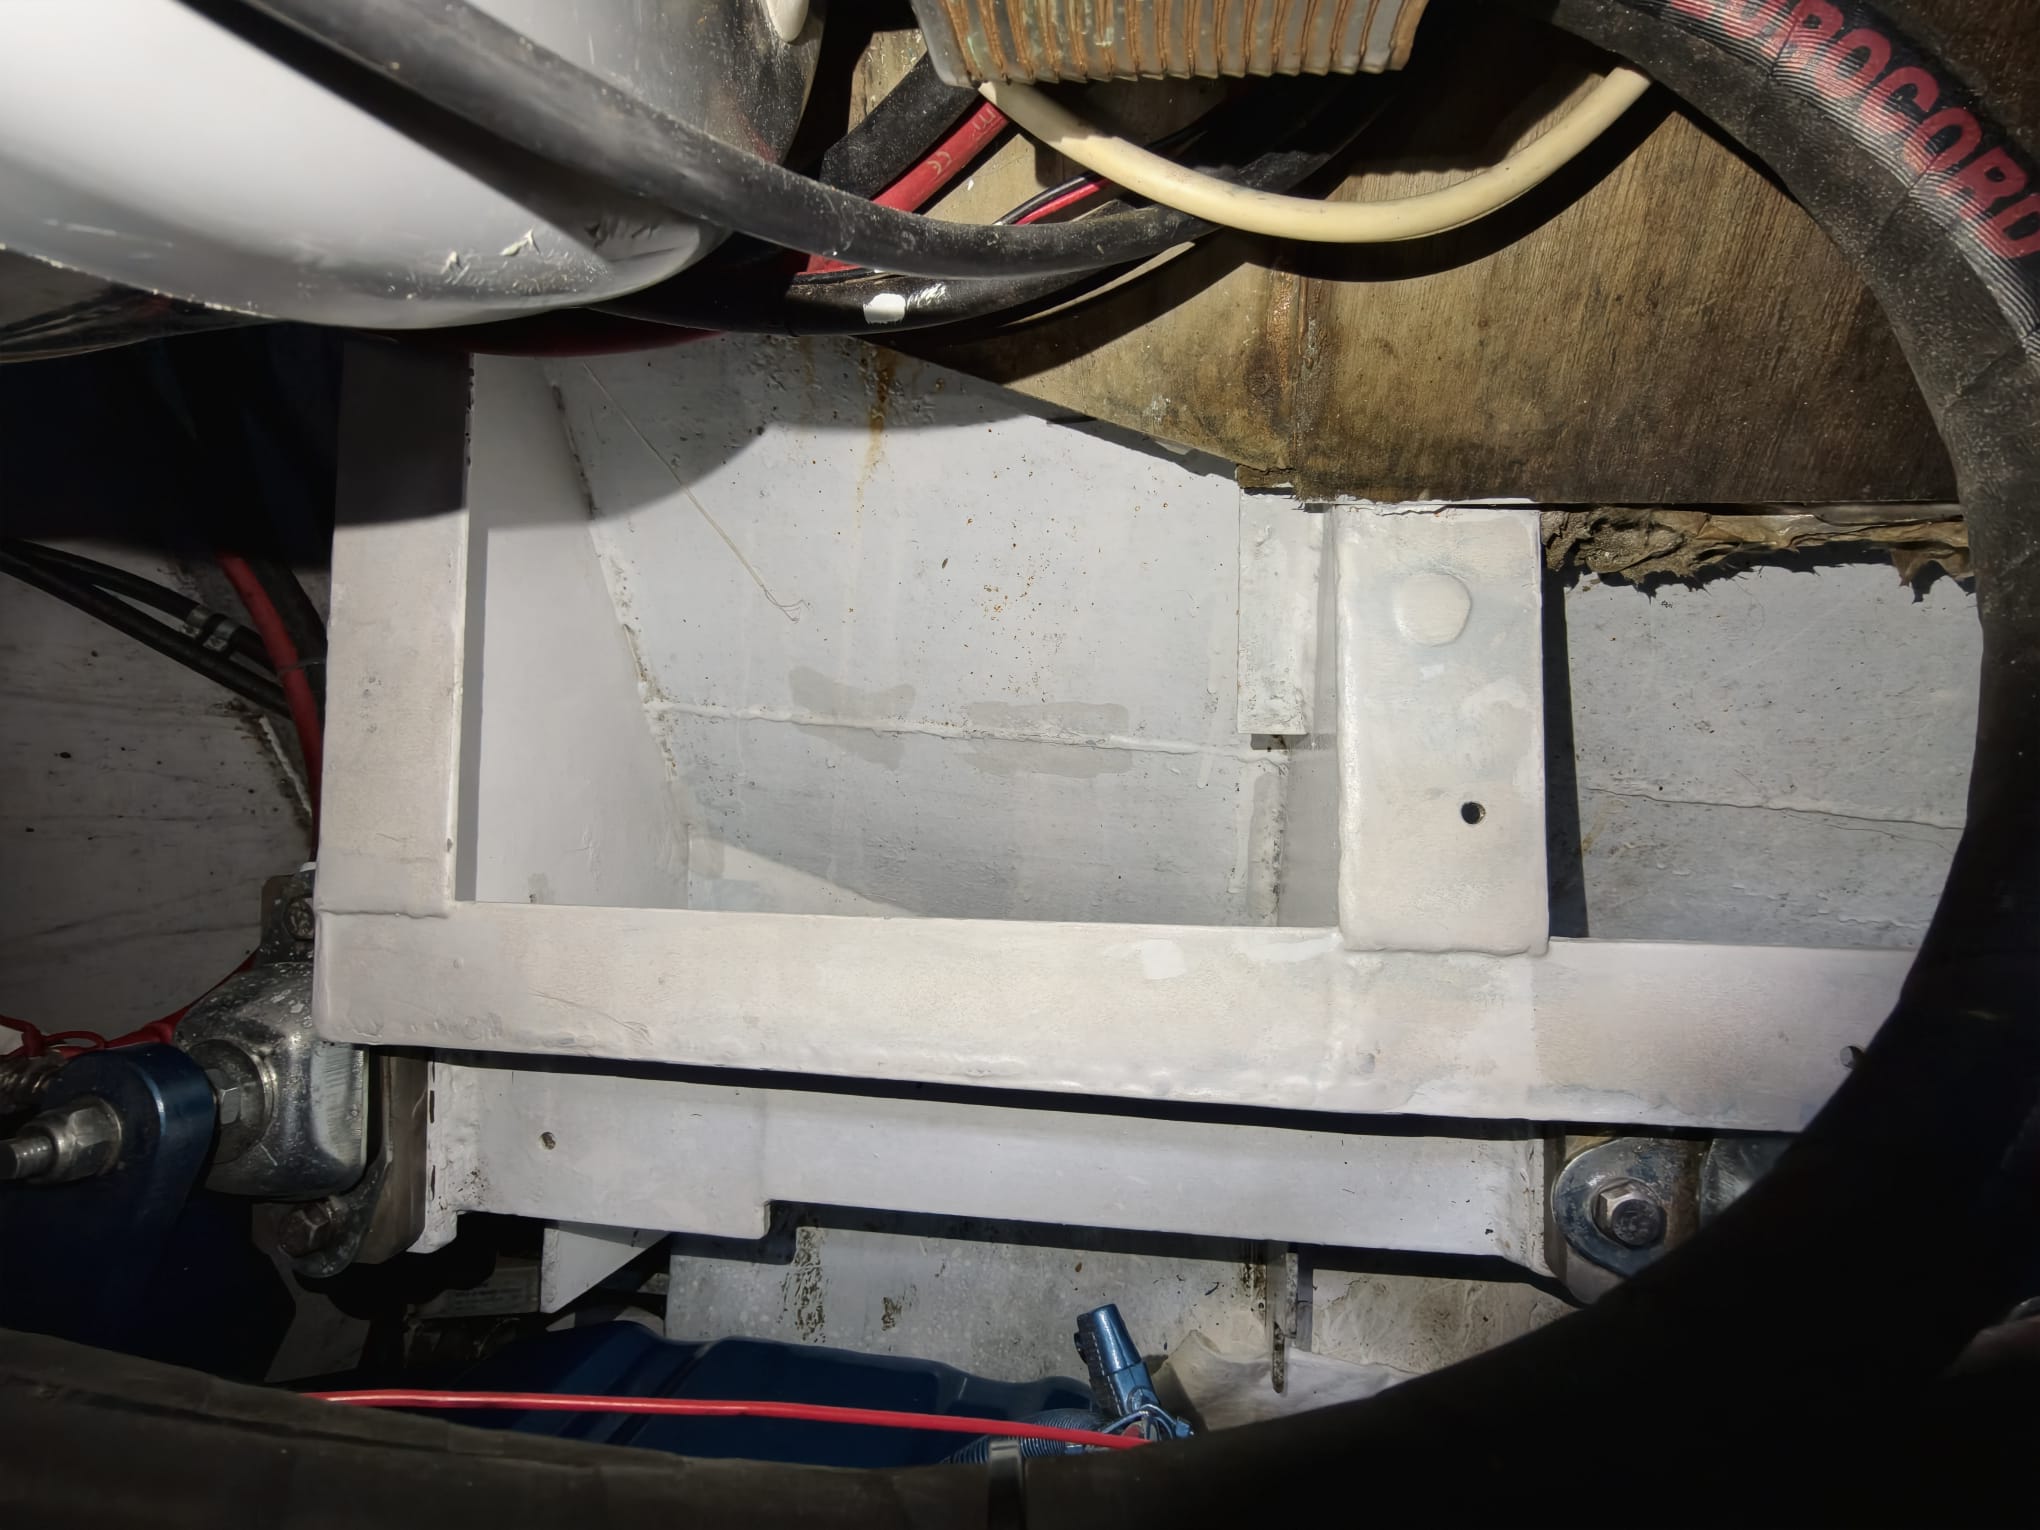
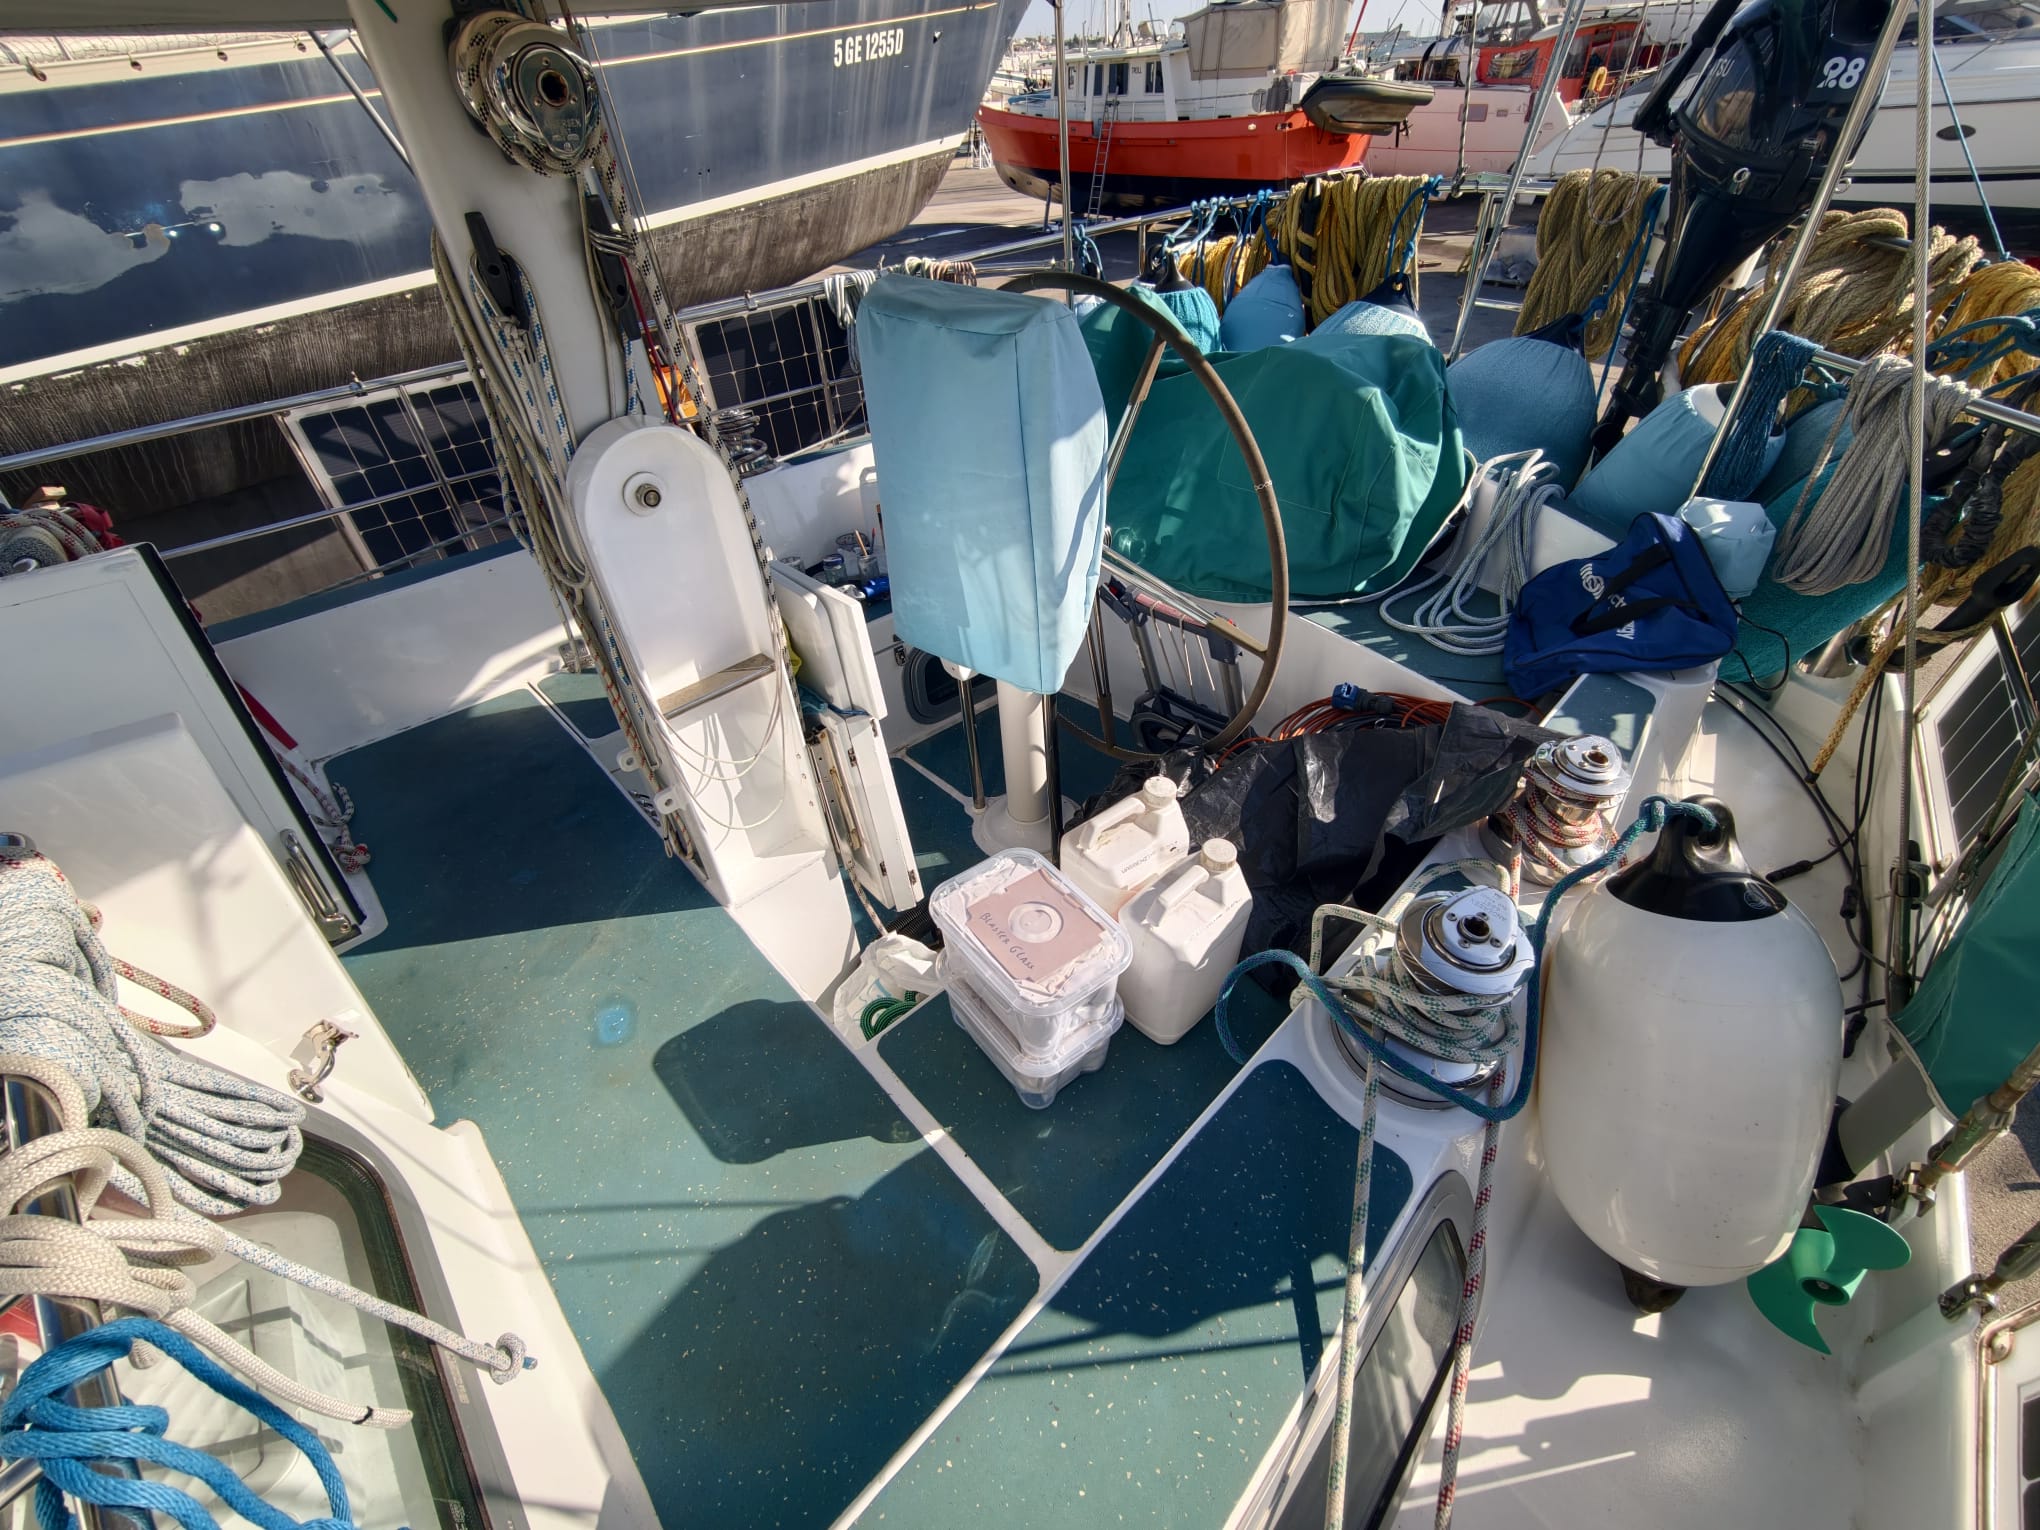
In the afternoon, we empty the entire lazarette. The cockpit full of stuff 😅
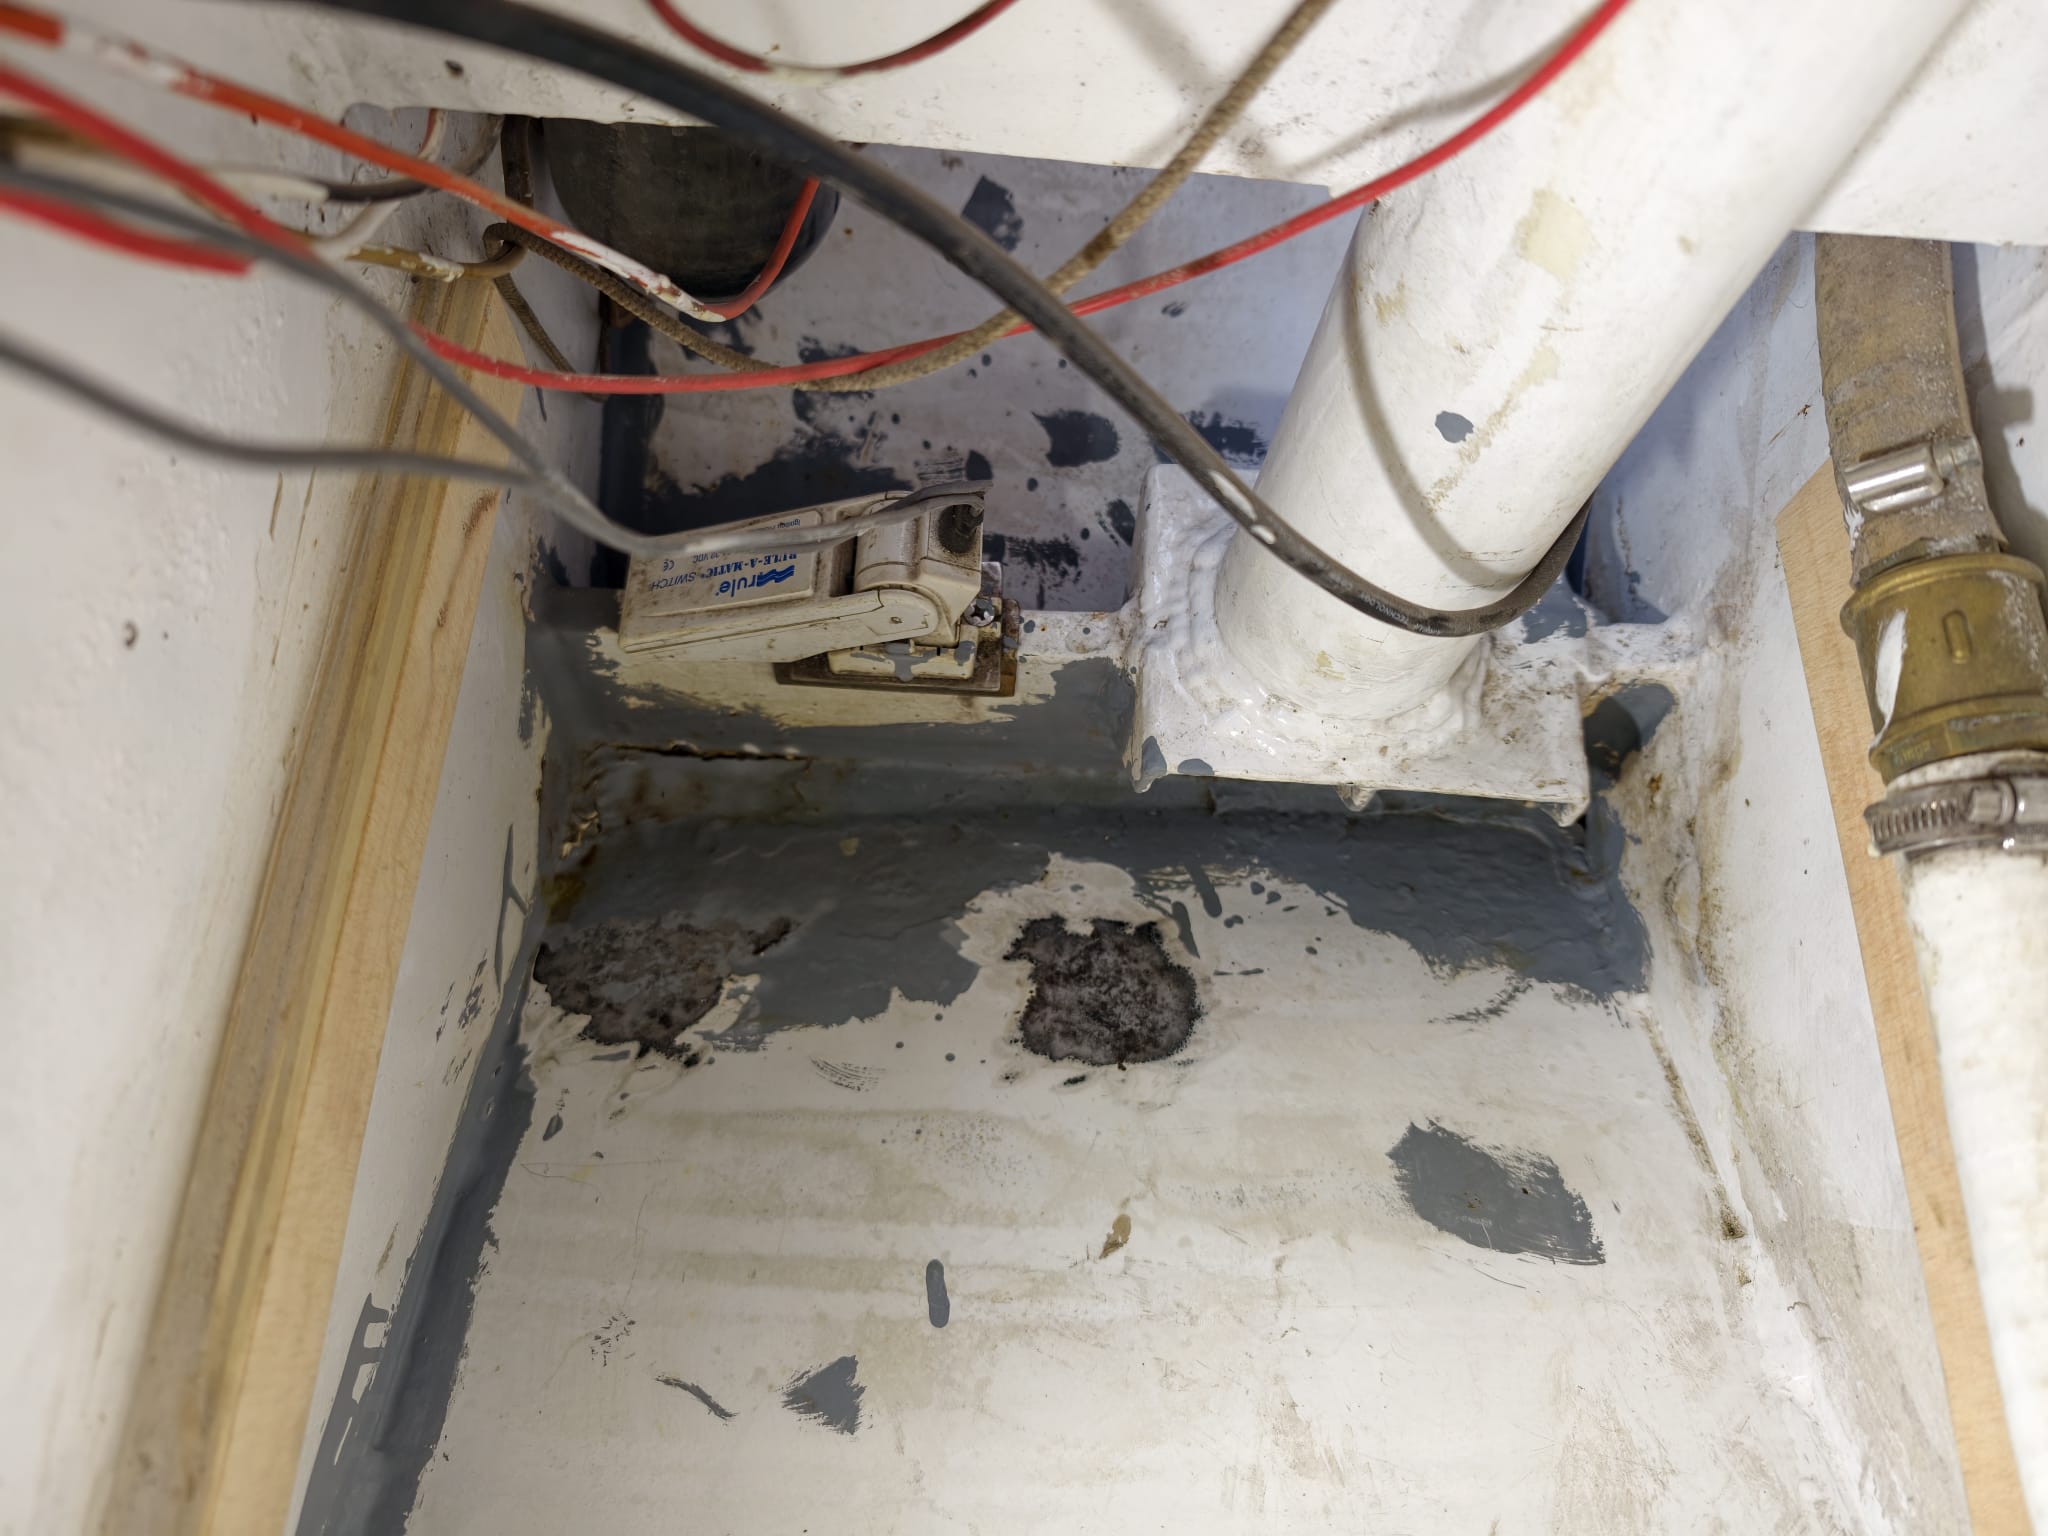
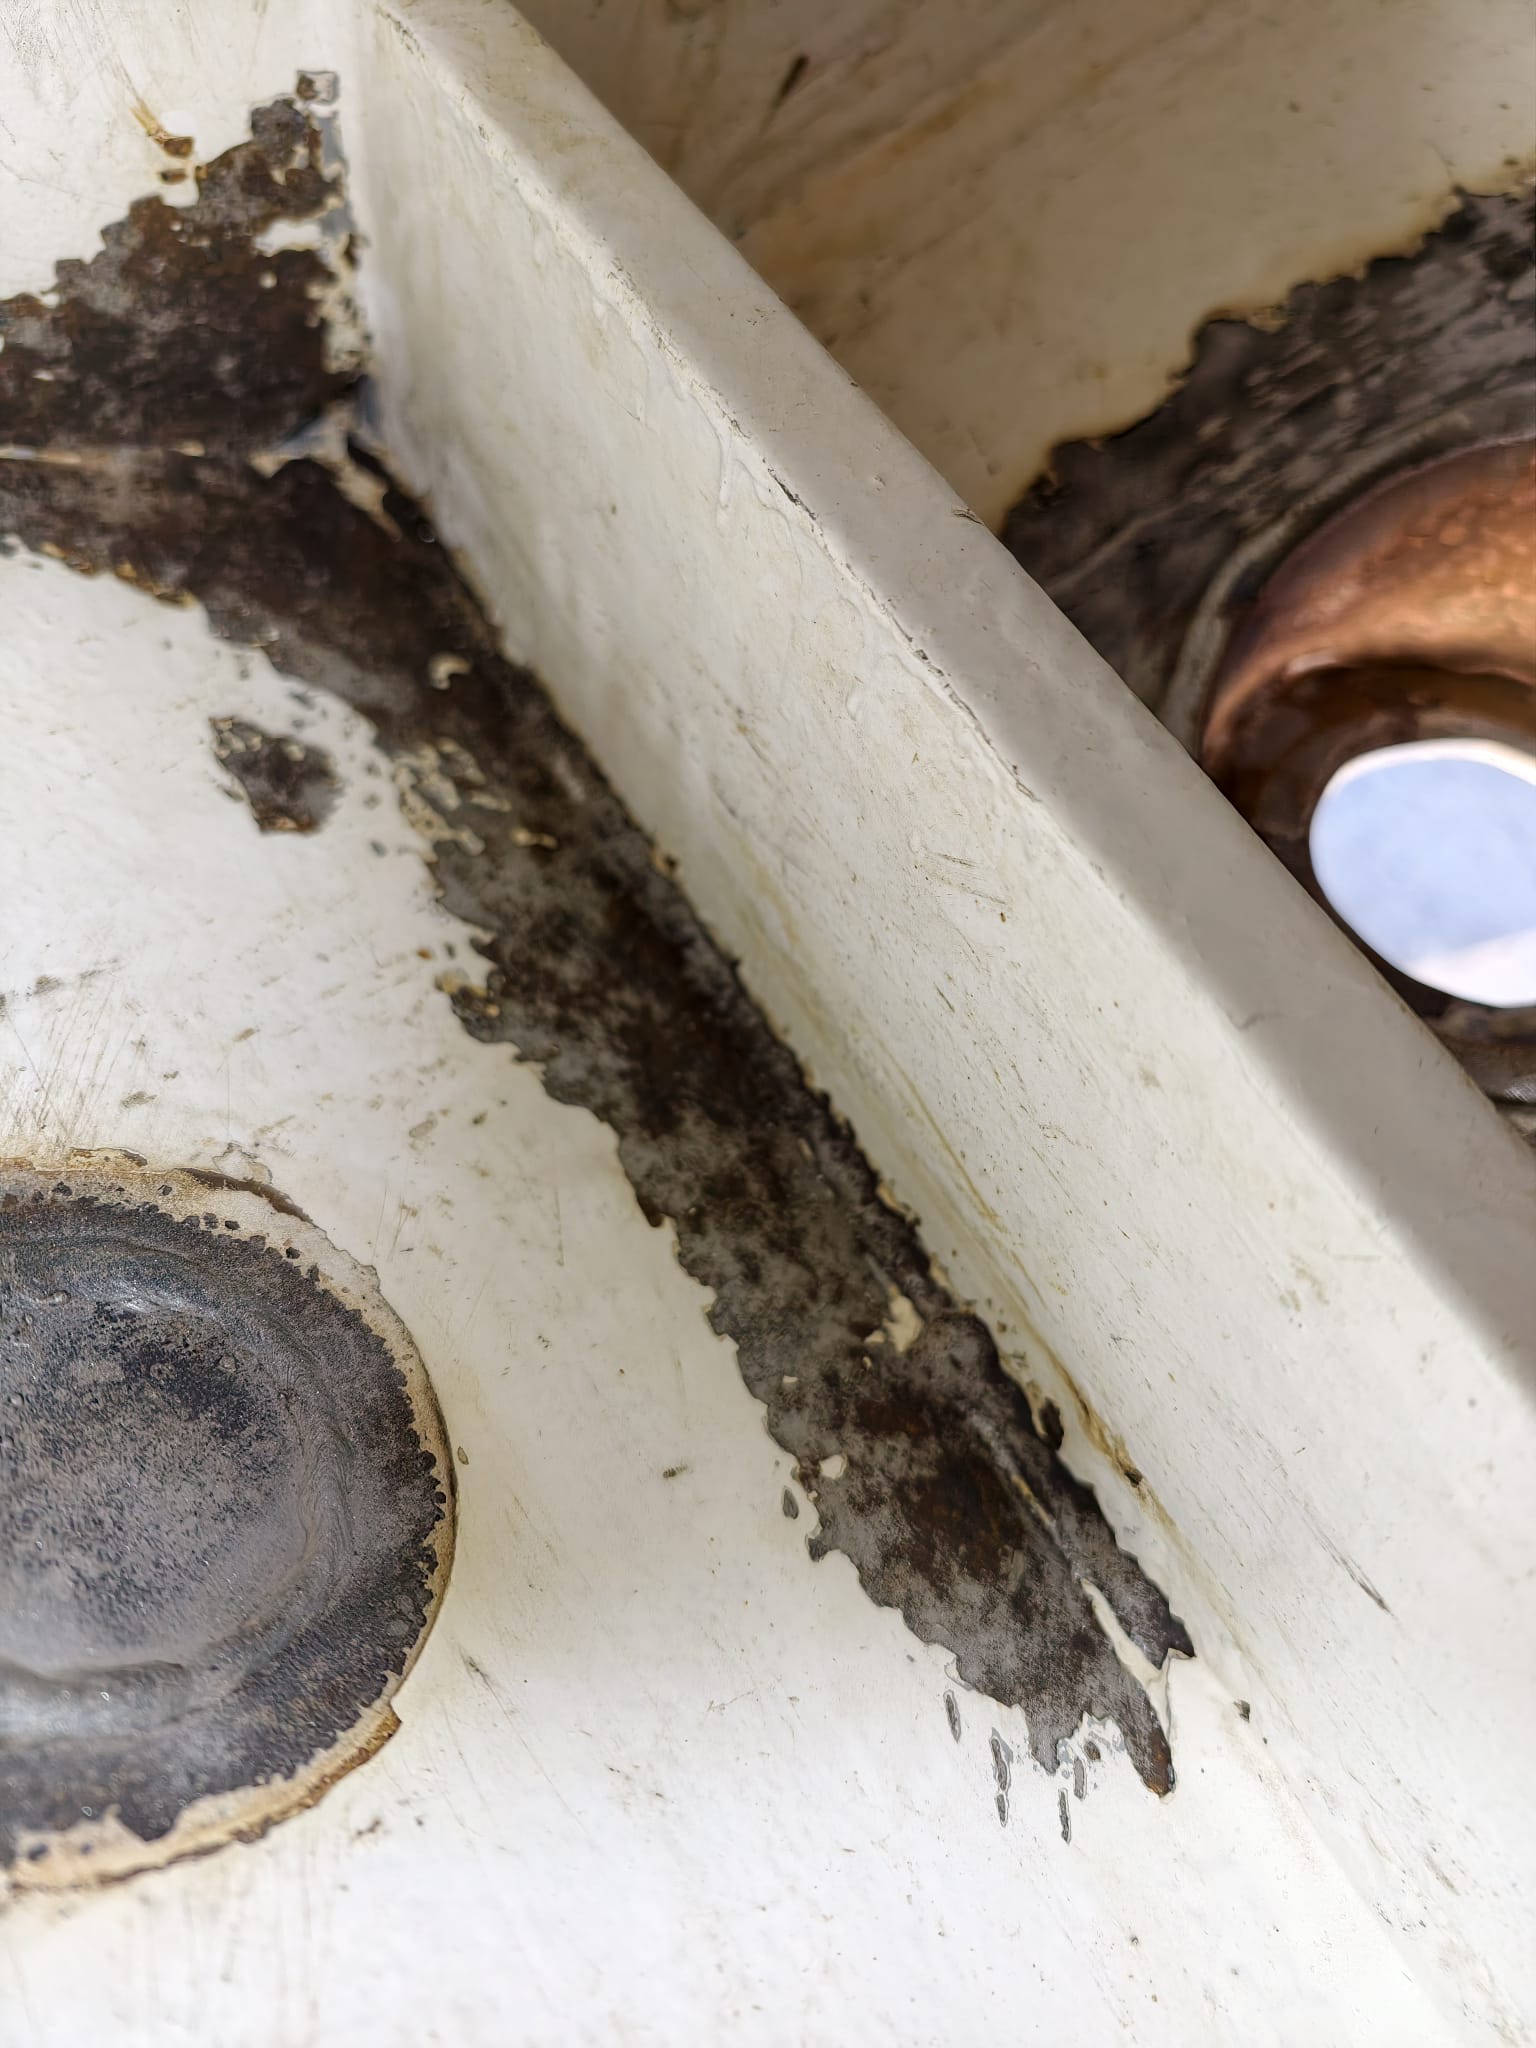
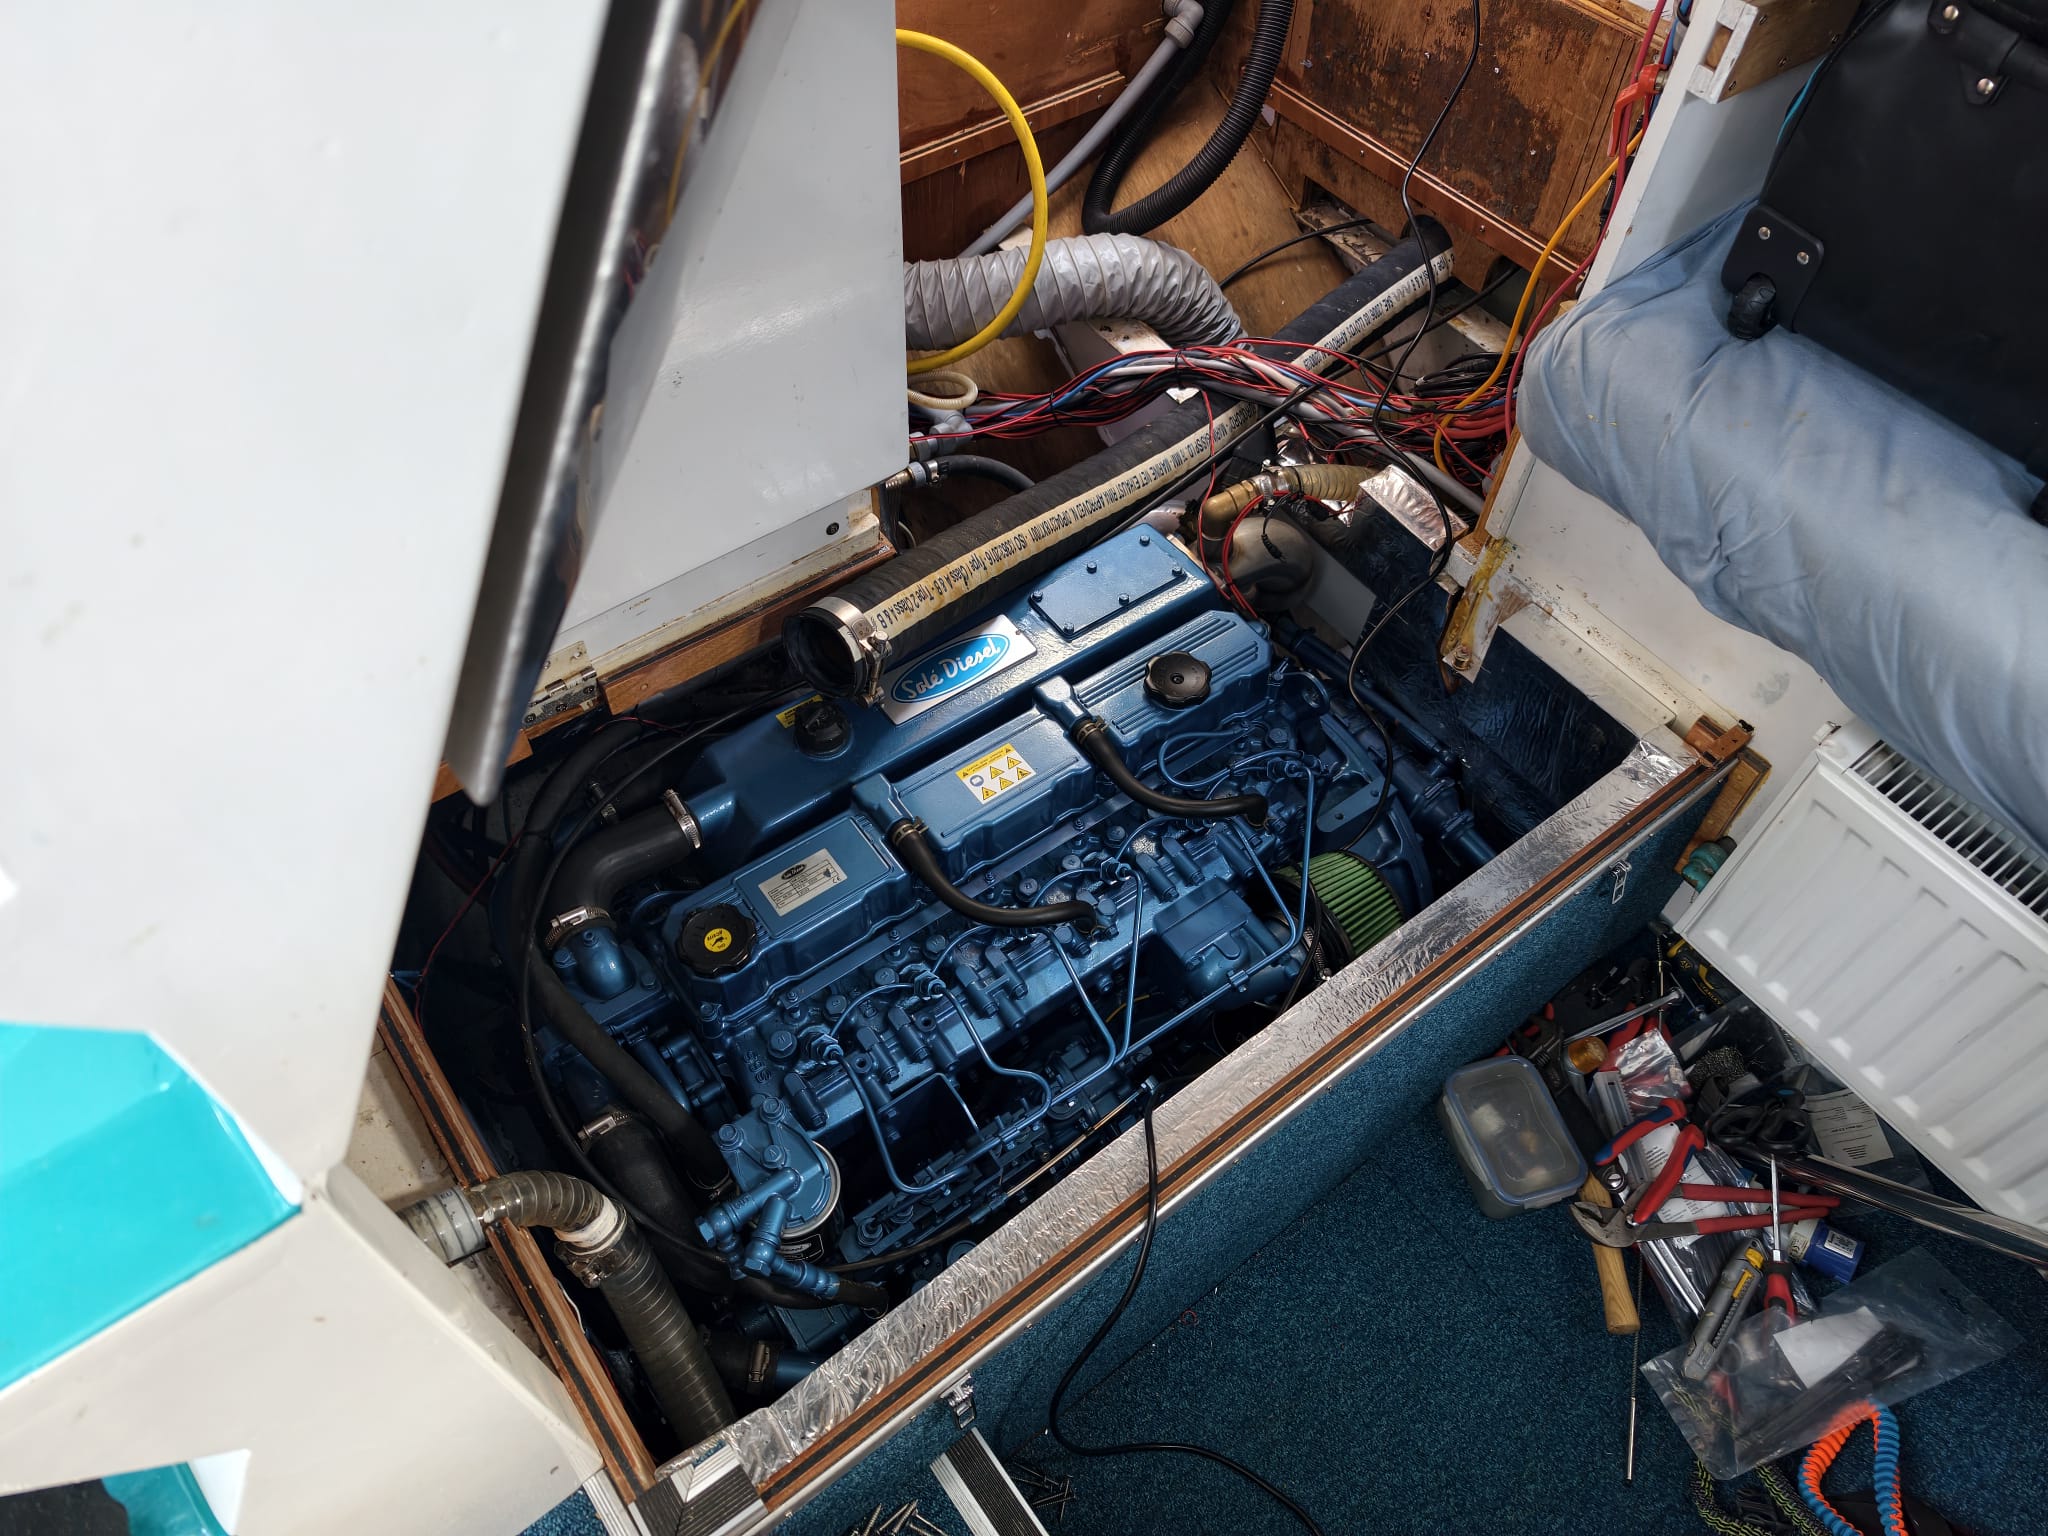
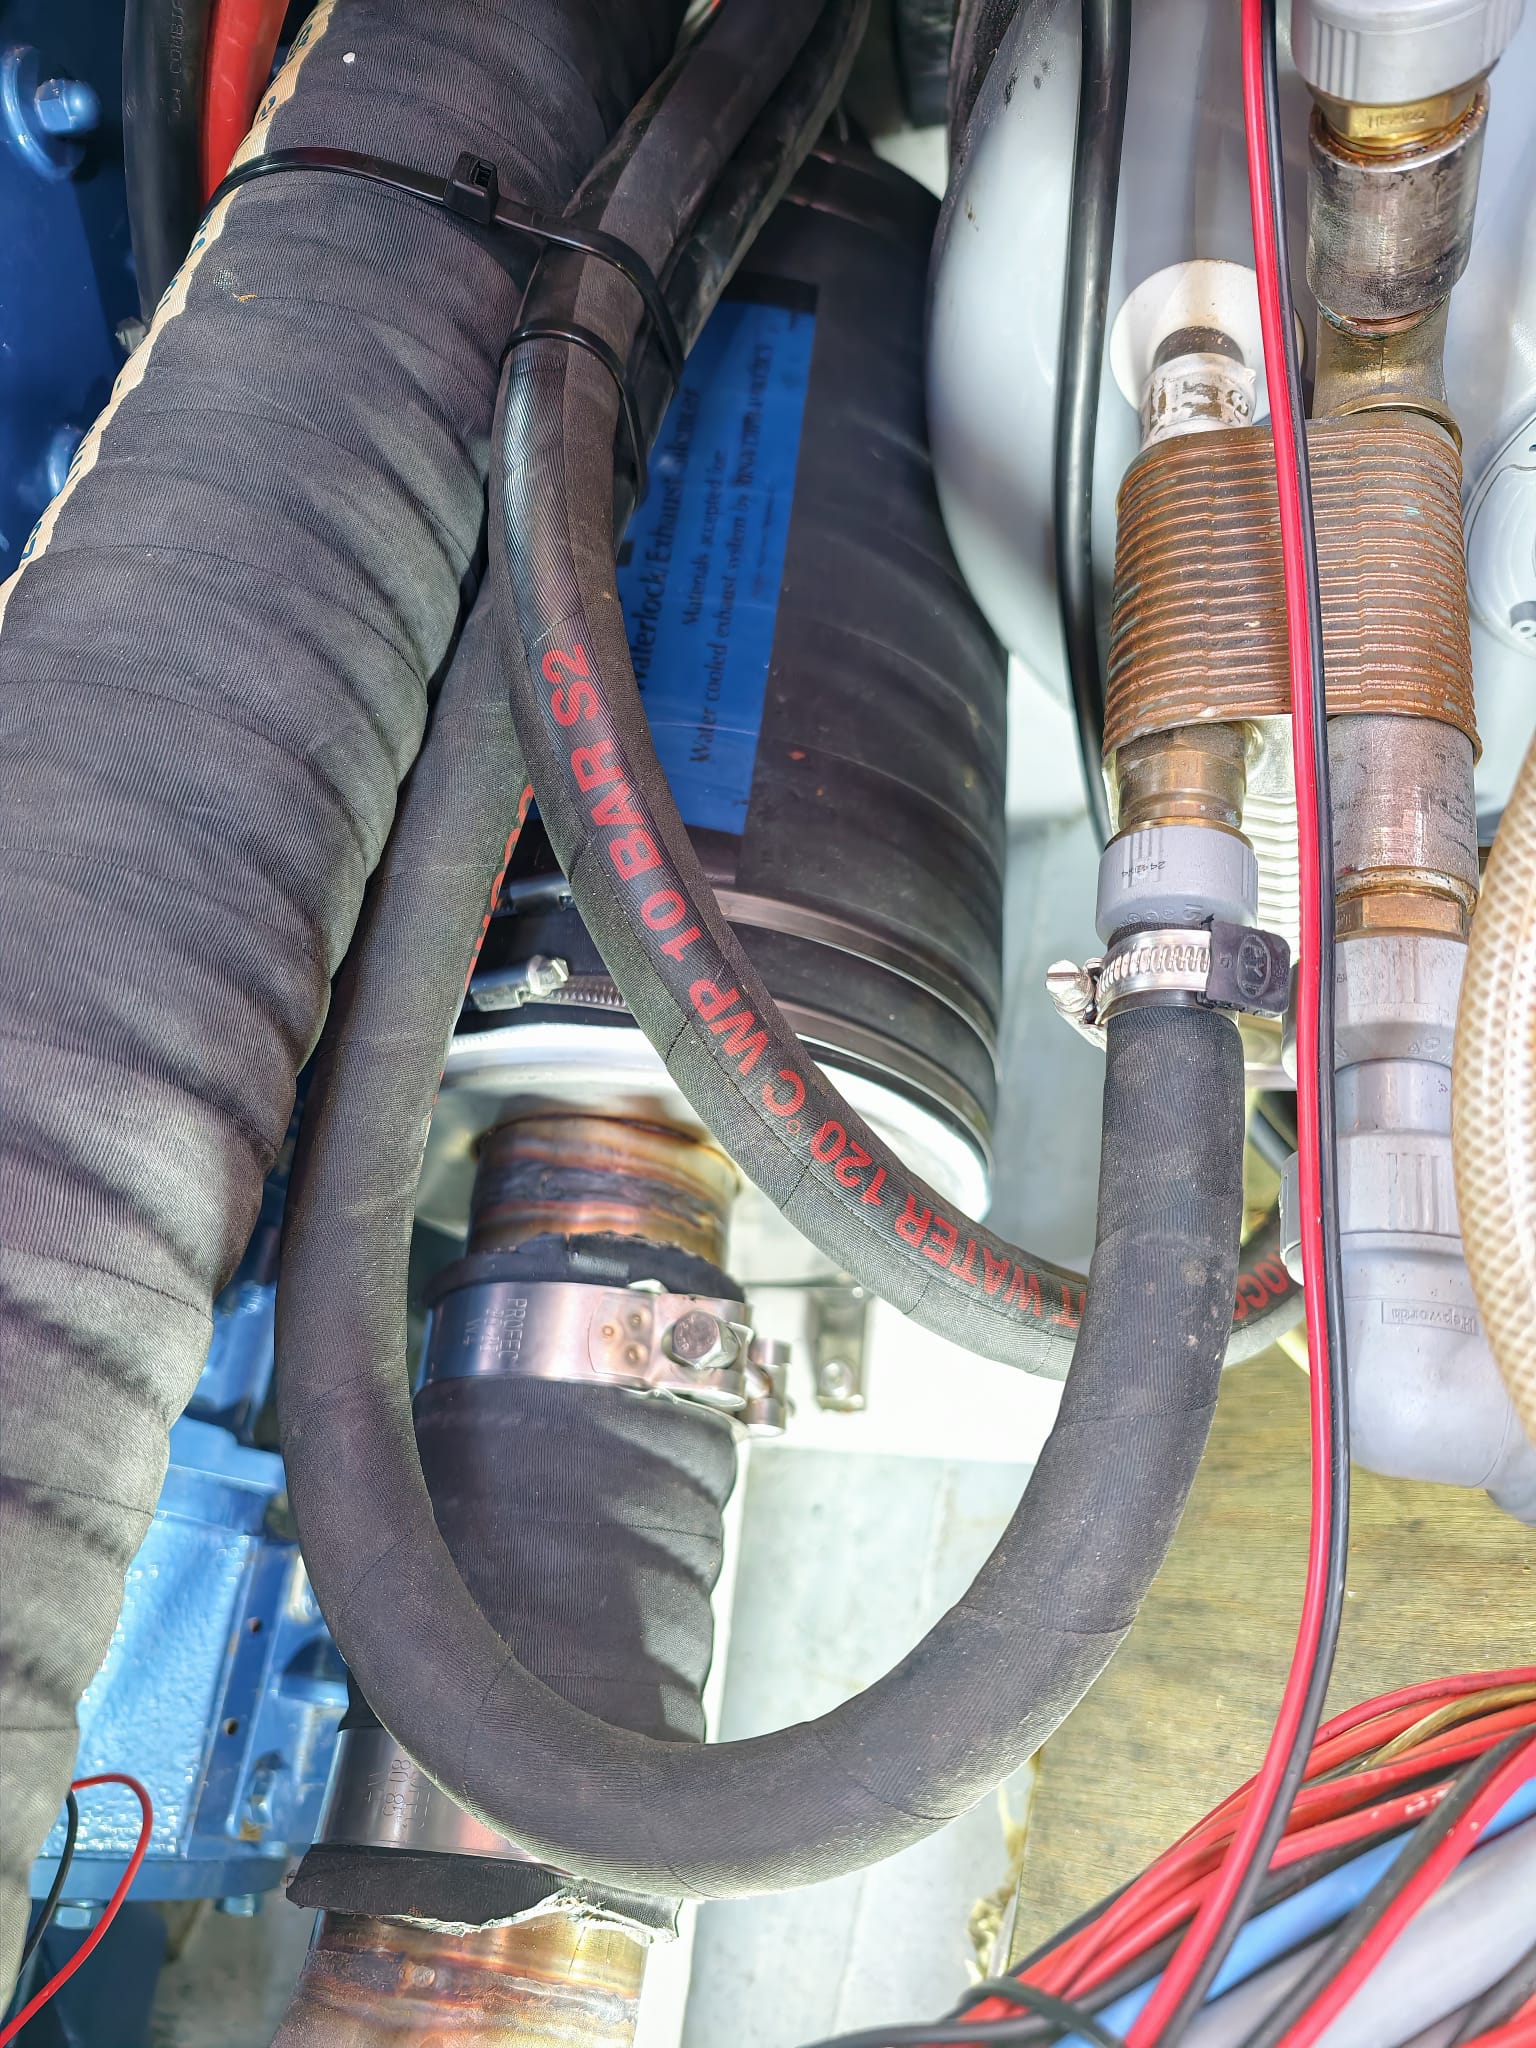
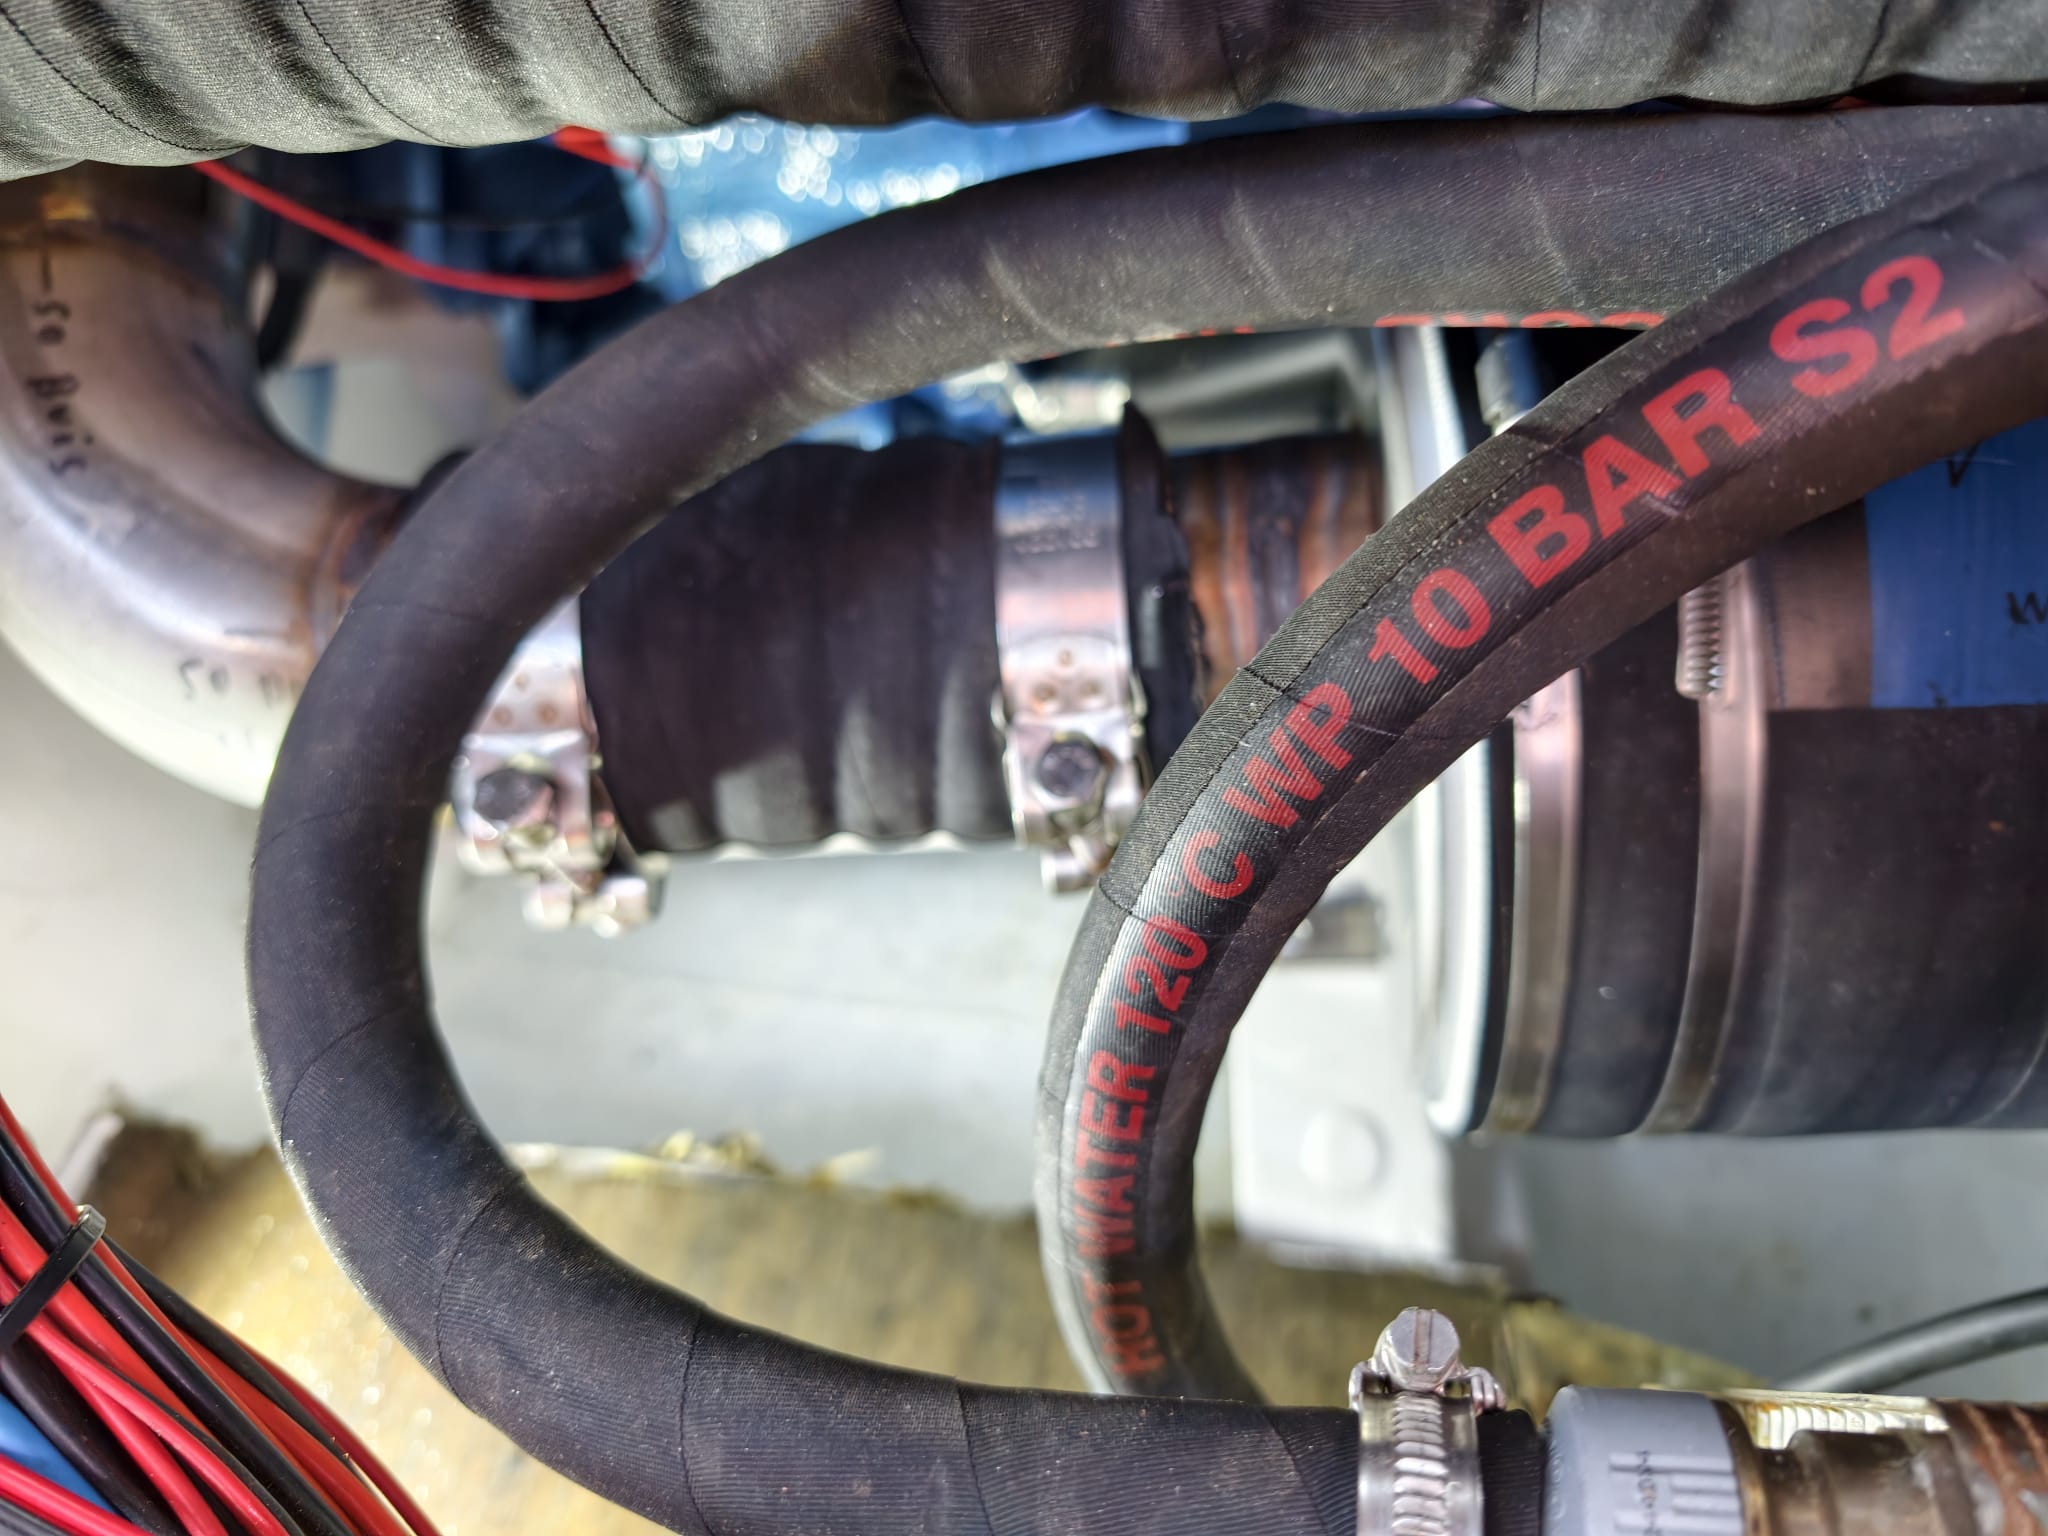
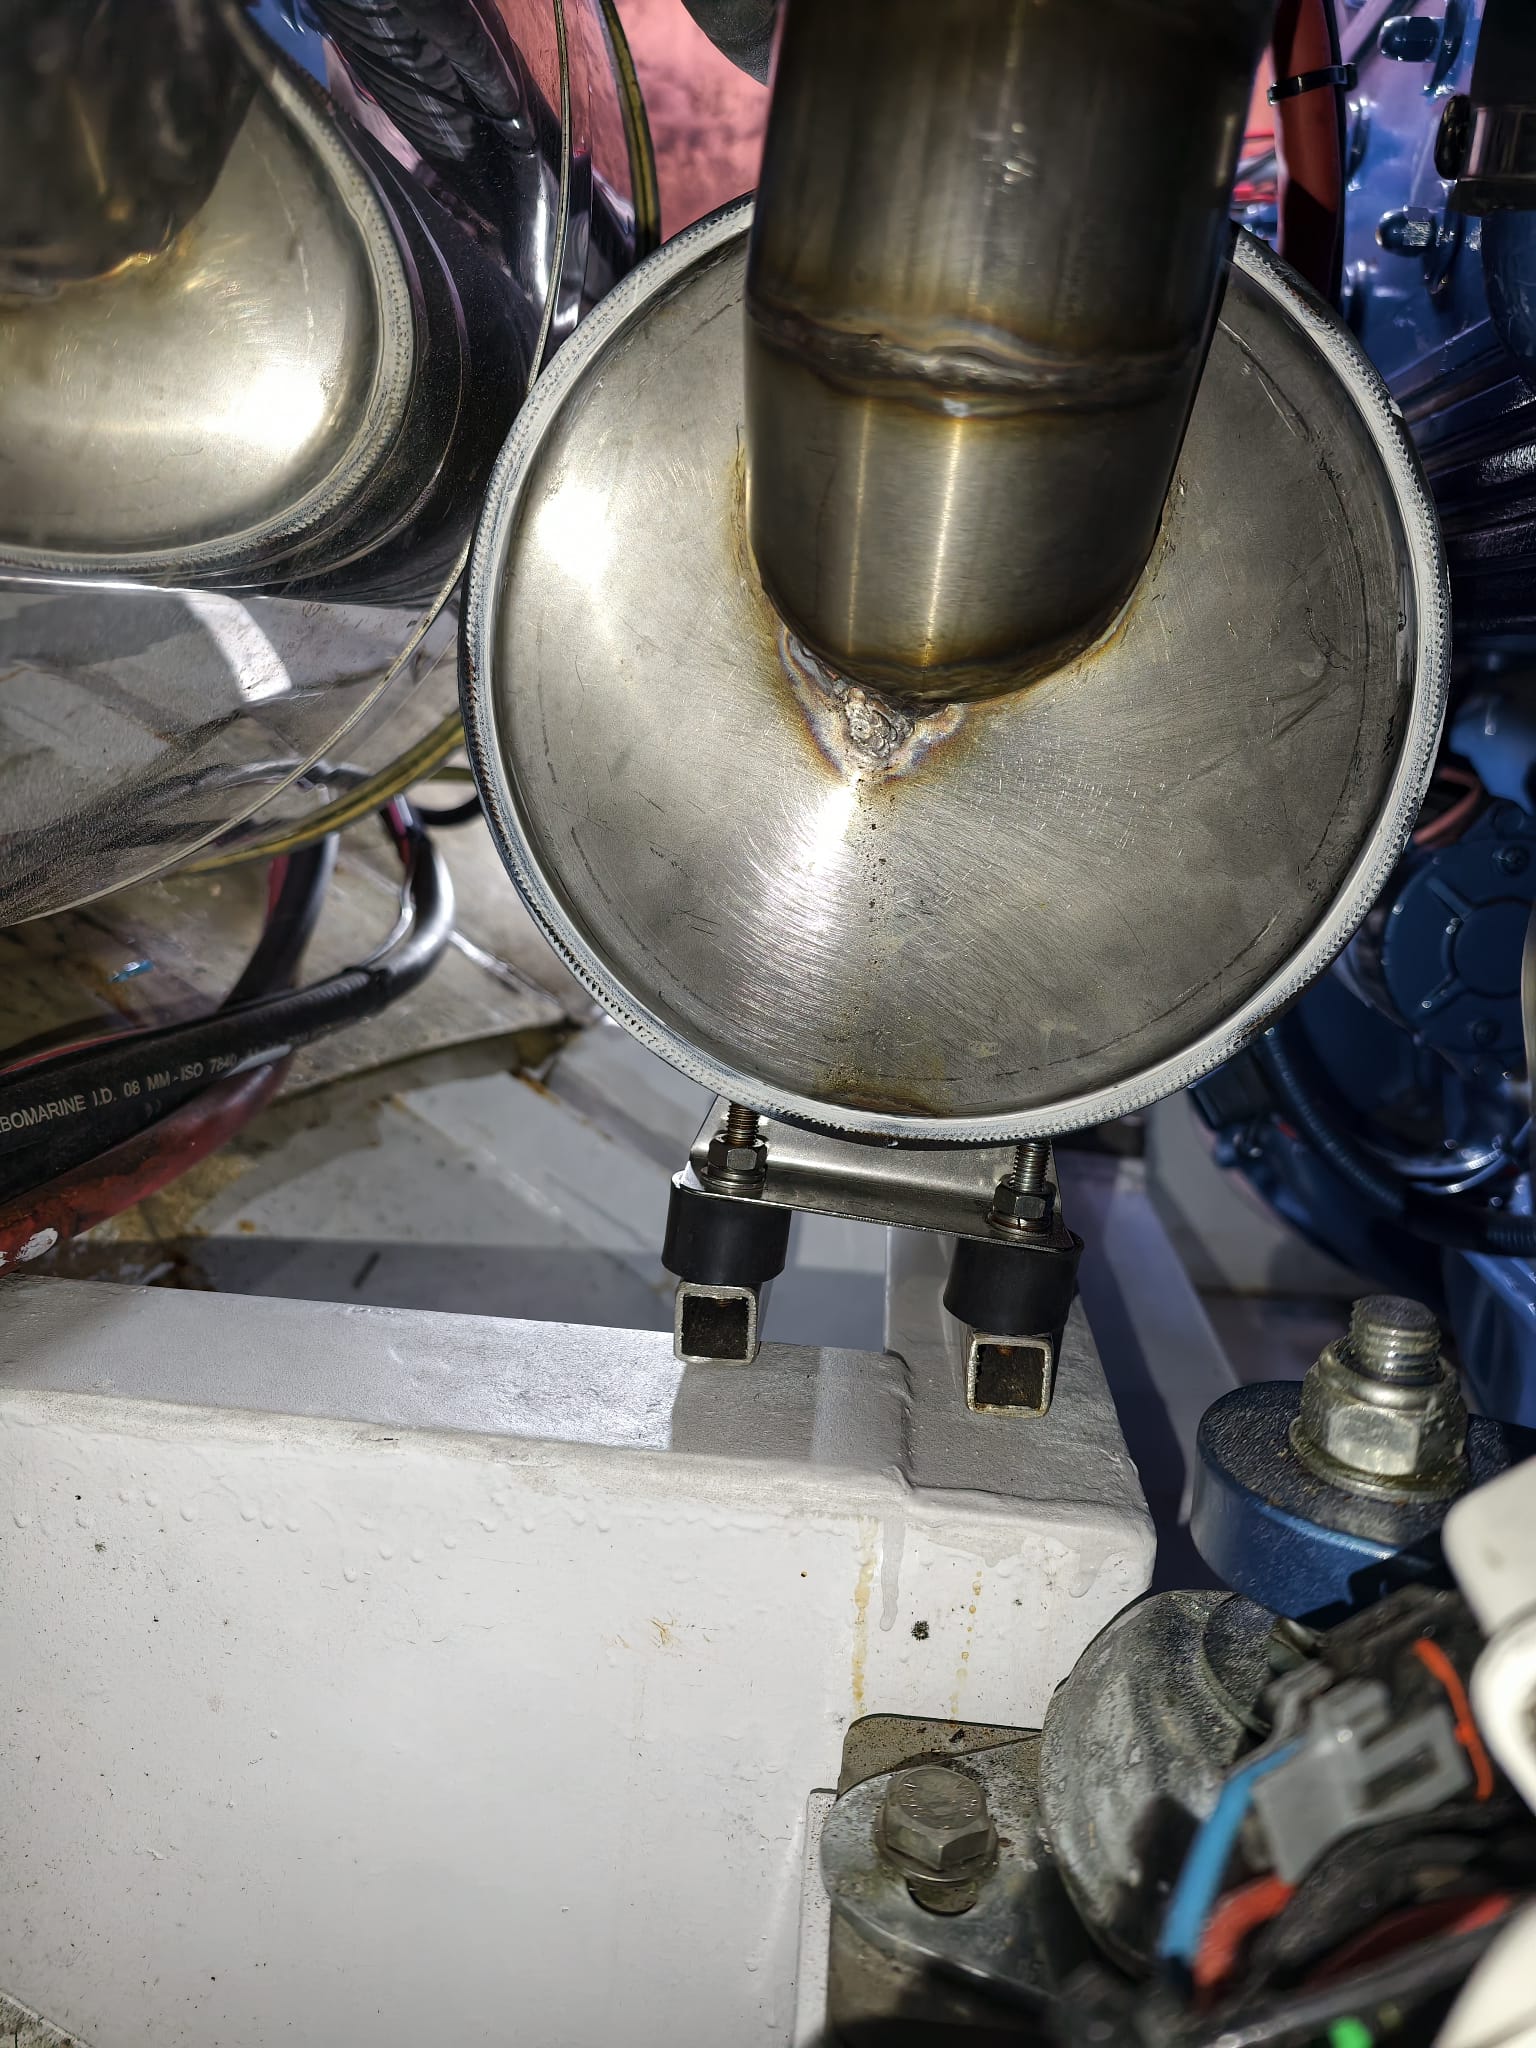
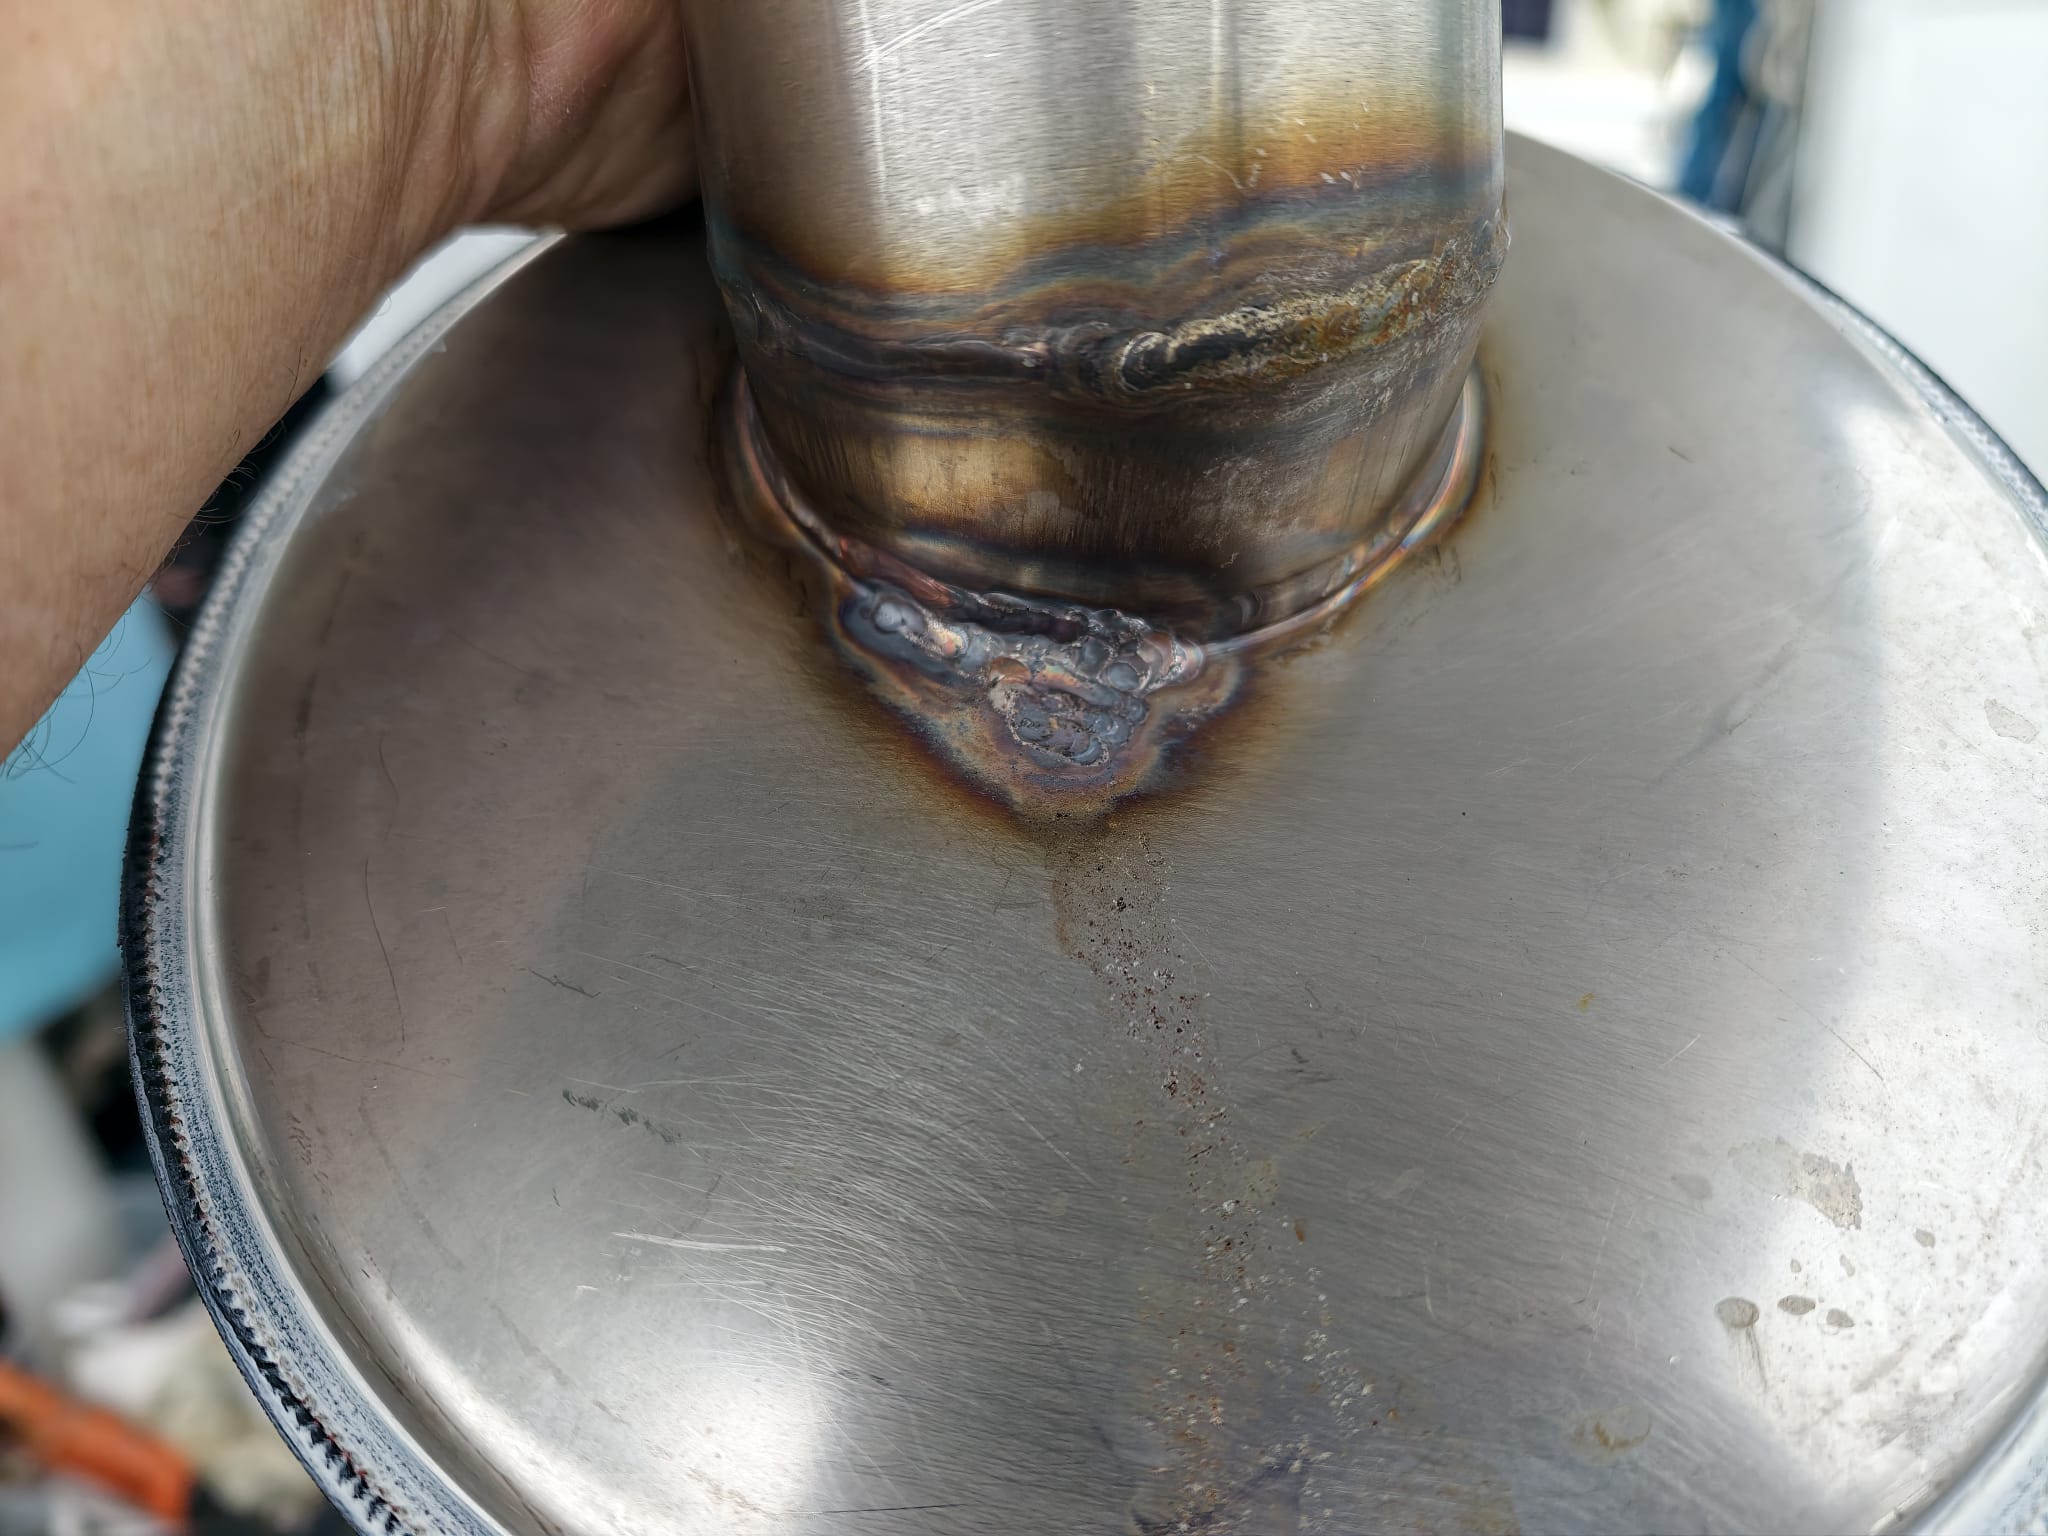
Then, Wim disassembles part of the floor of the lazarette to reach the engine exhaust water-lock. It’s a pain in the ass to get it out! Better said: a pain in the back. Wim has a sore muscle in his lower back. But he gets it out and finds the bad weld causing some rusting. This has to be fixed before it gets worse.
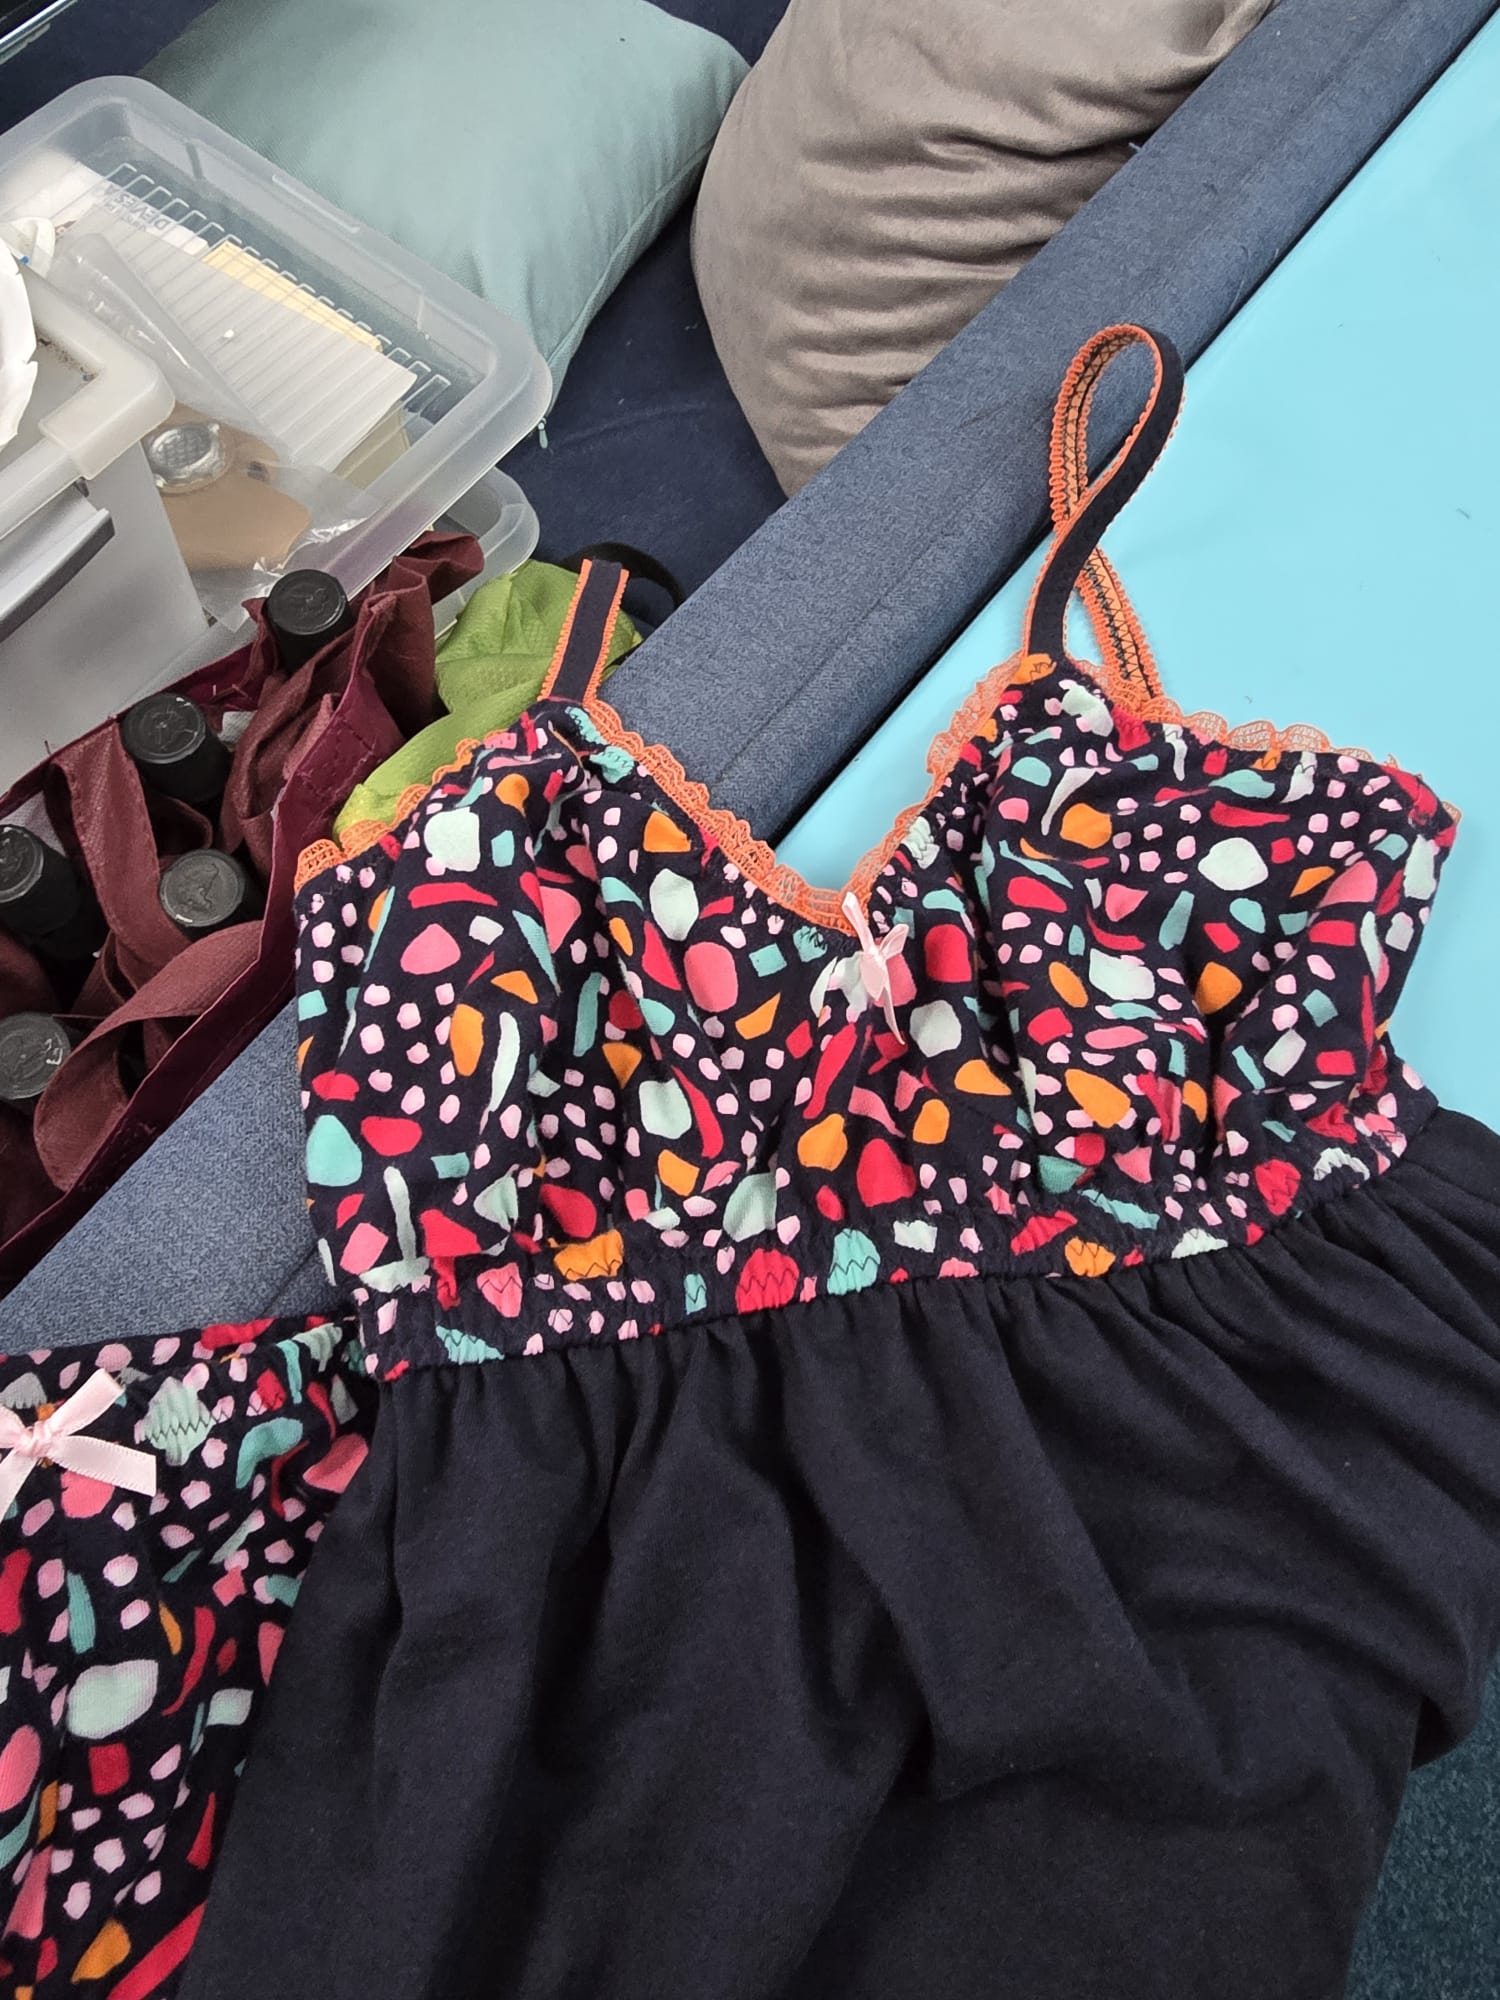
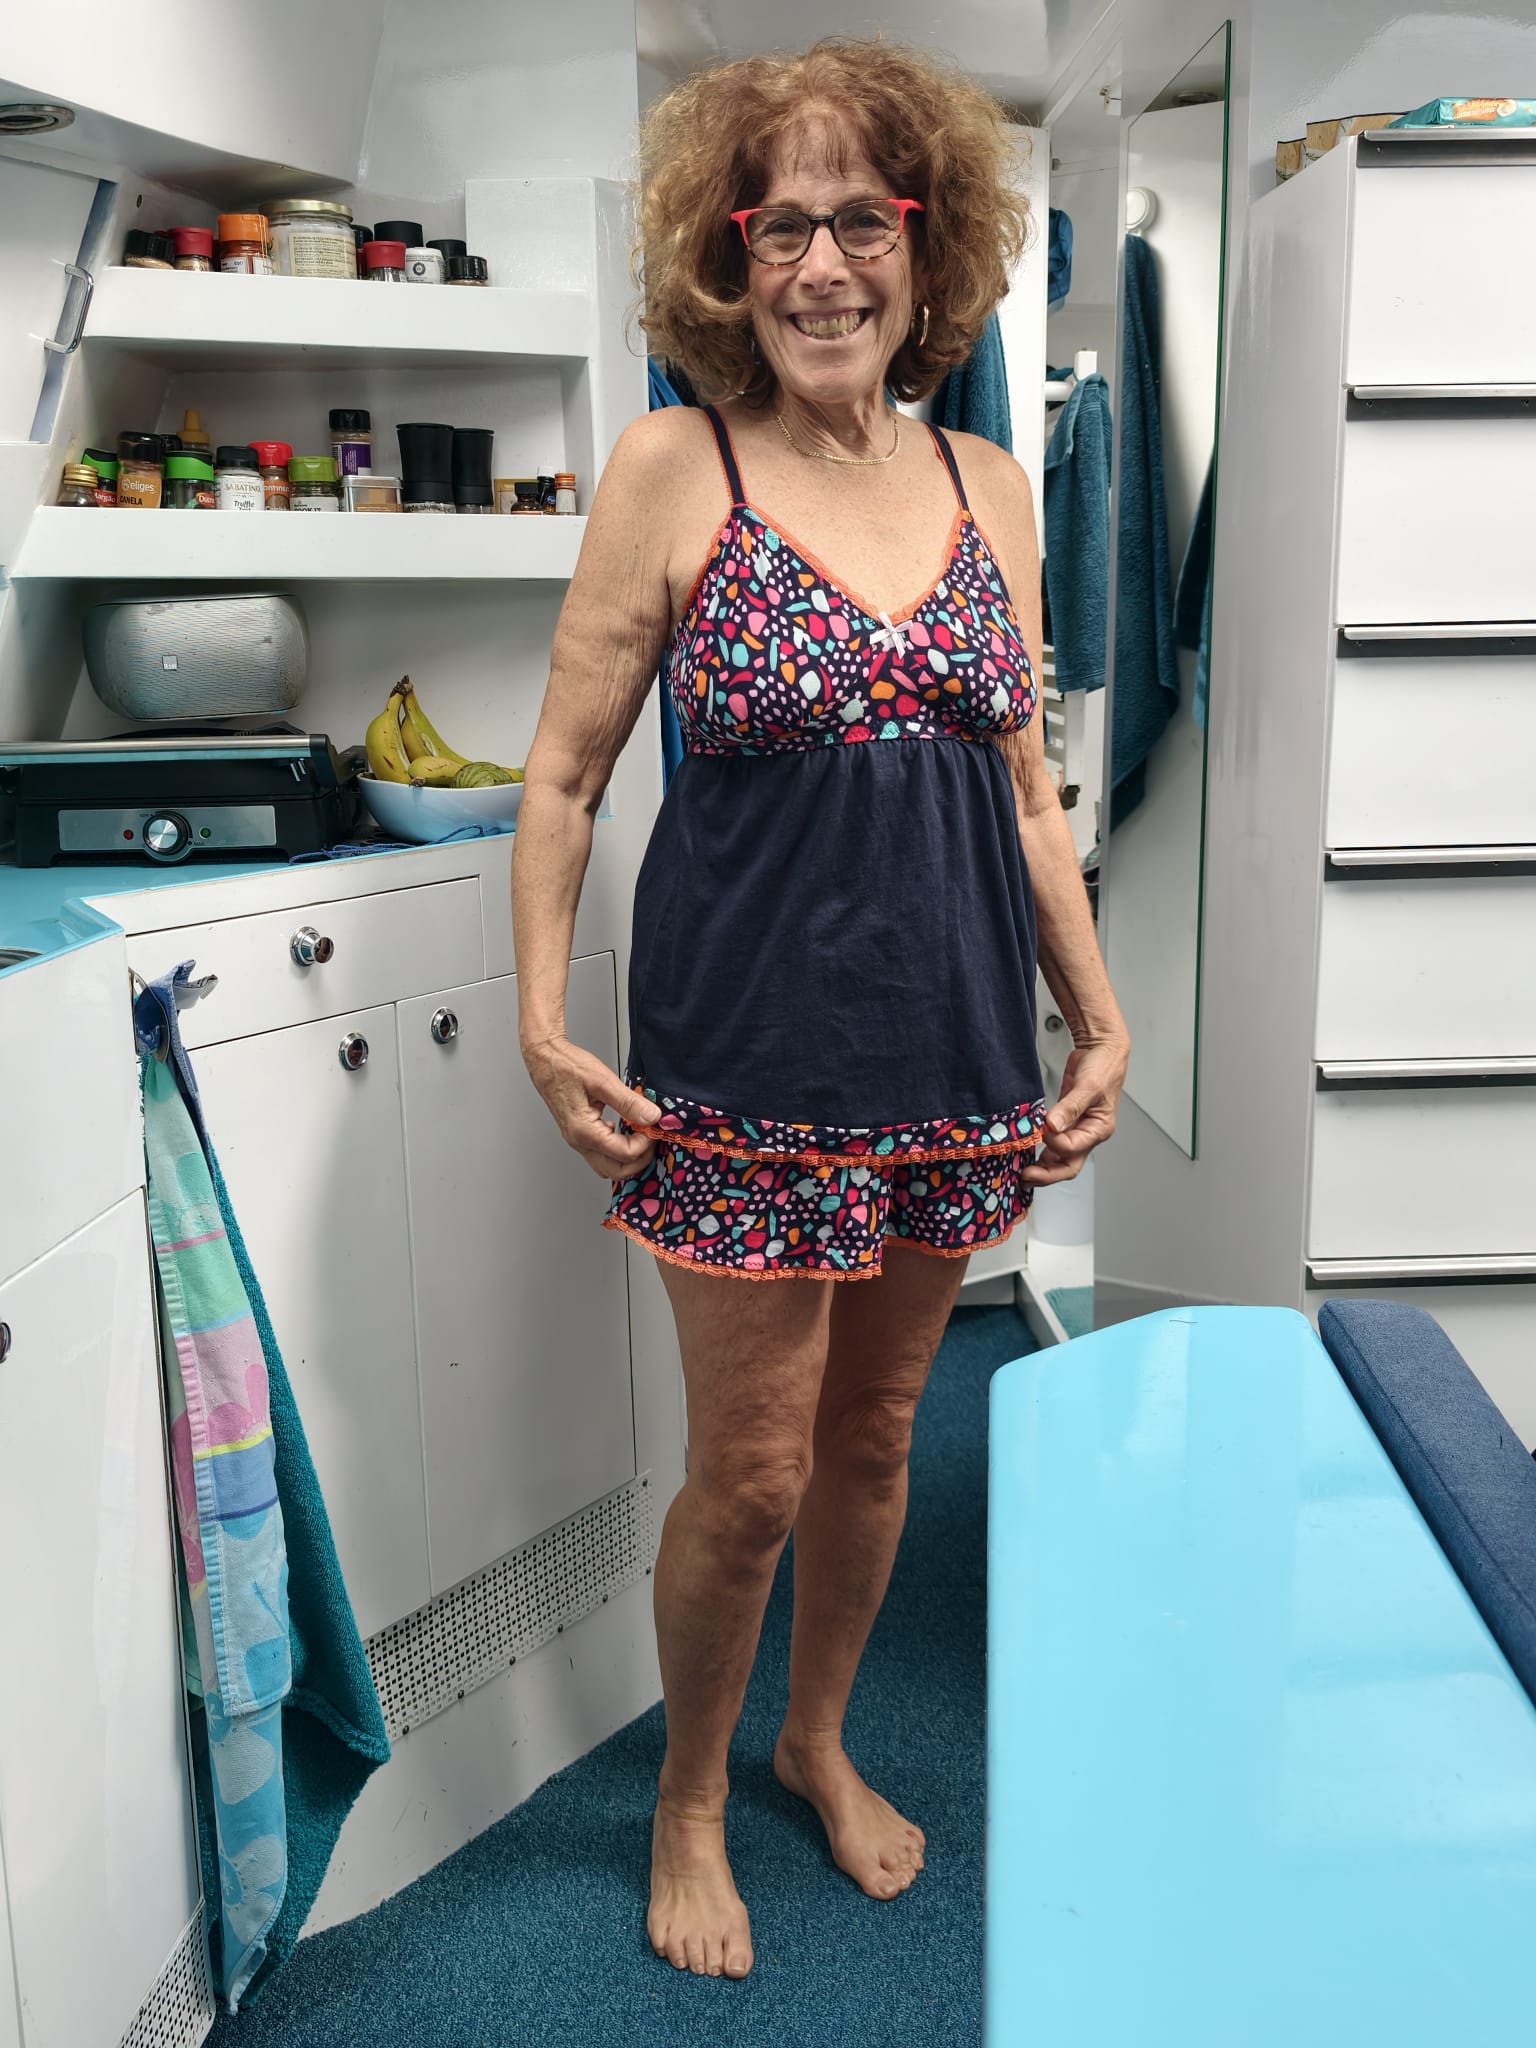
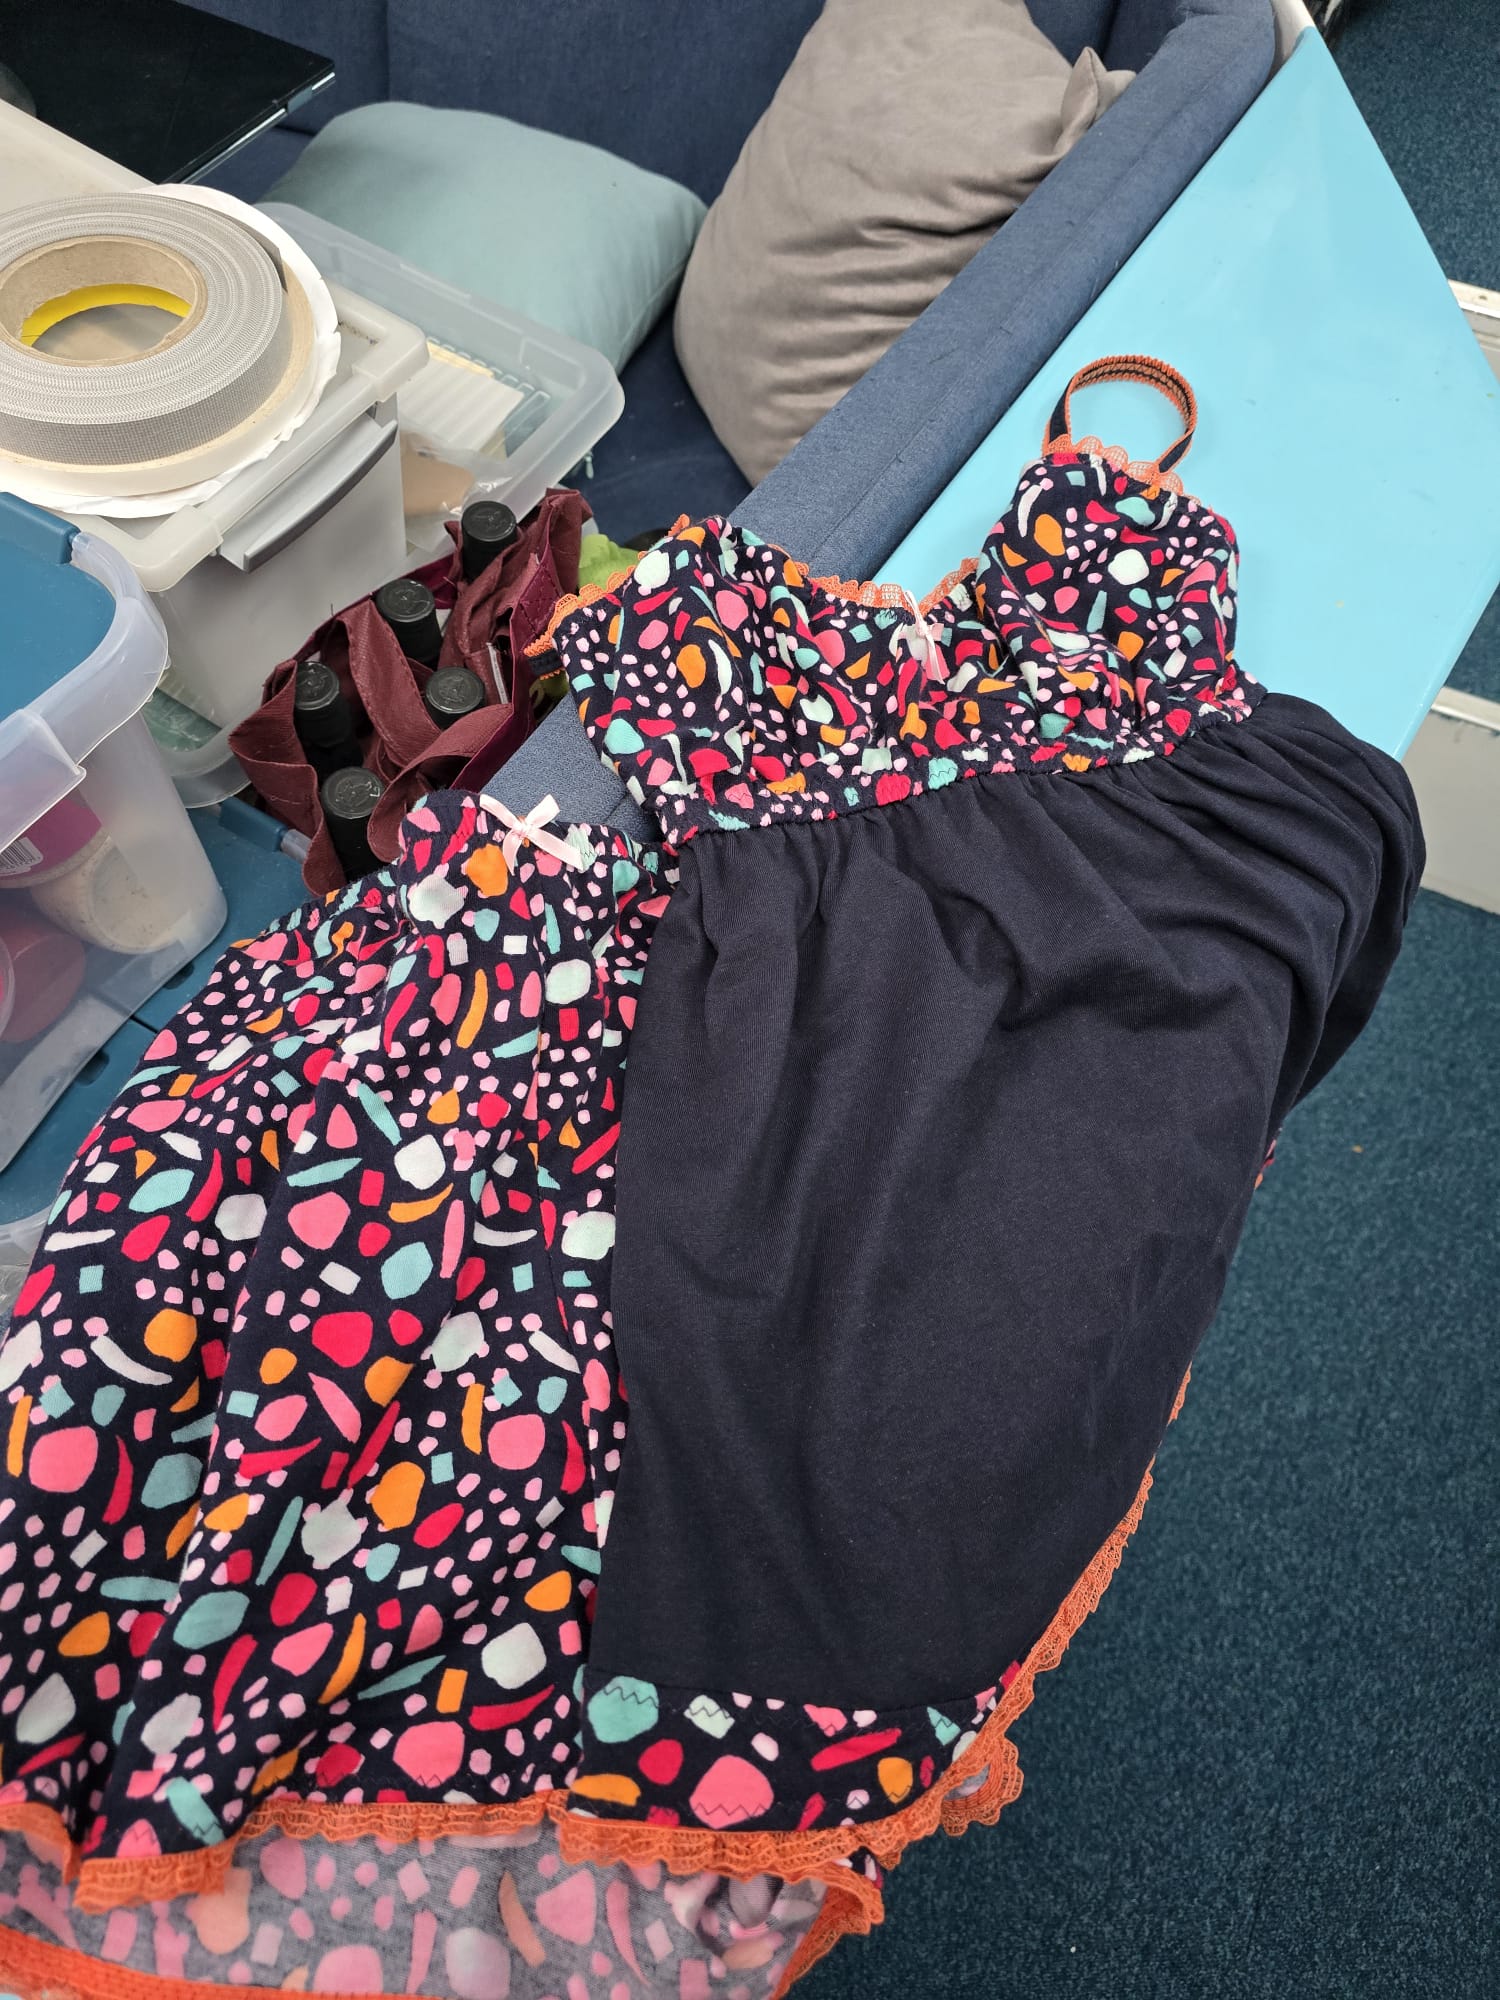
Sher makes pajamas for boat fender covers, for the dinghy, for the dinghy floor, for the electric outboard motor, for the instrument pod, for the outdoor VHF speaker, for the dinghy battery pack, pajamas for everything!
And: for herself! 😄
We fit the dinghy cover on the fore deck. Everything’s still looking good! A few more days of sewing to go…
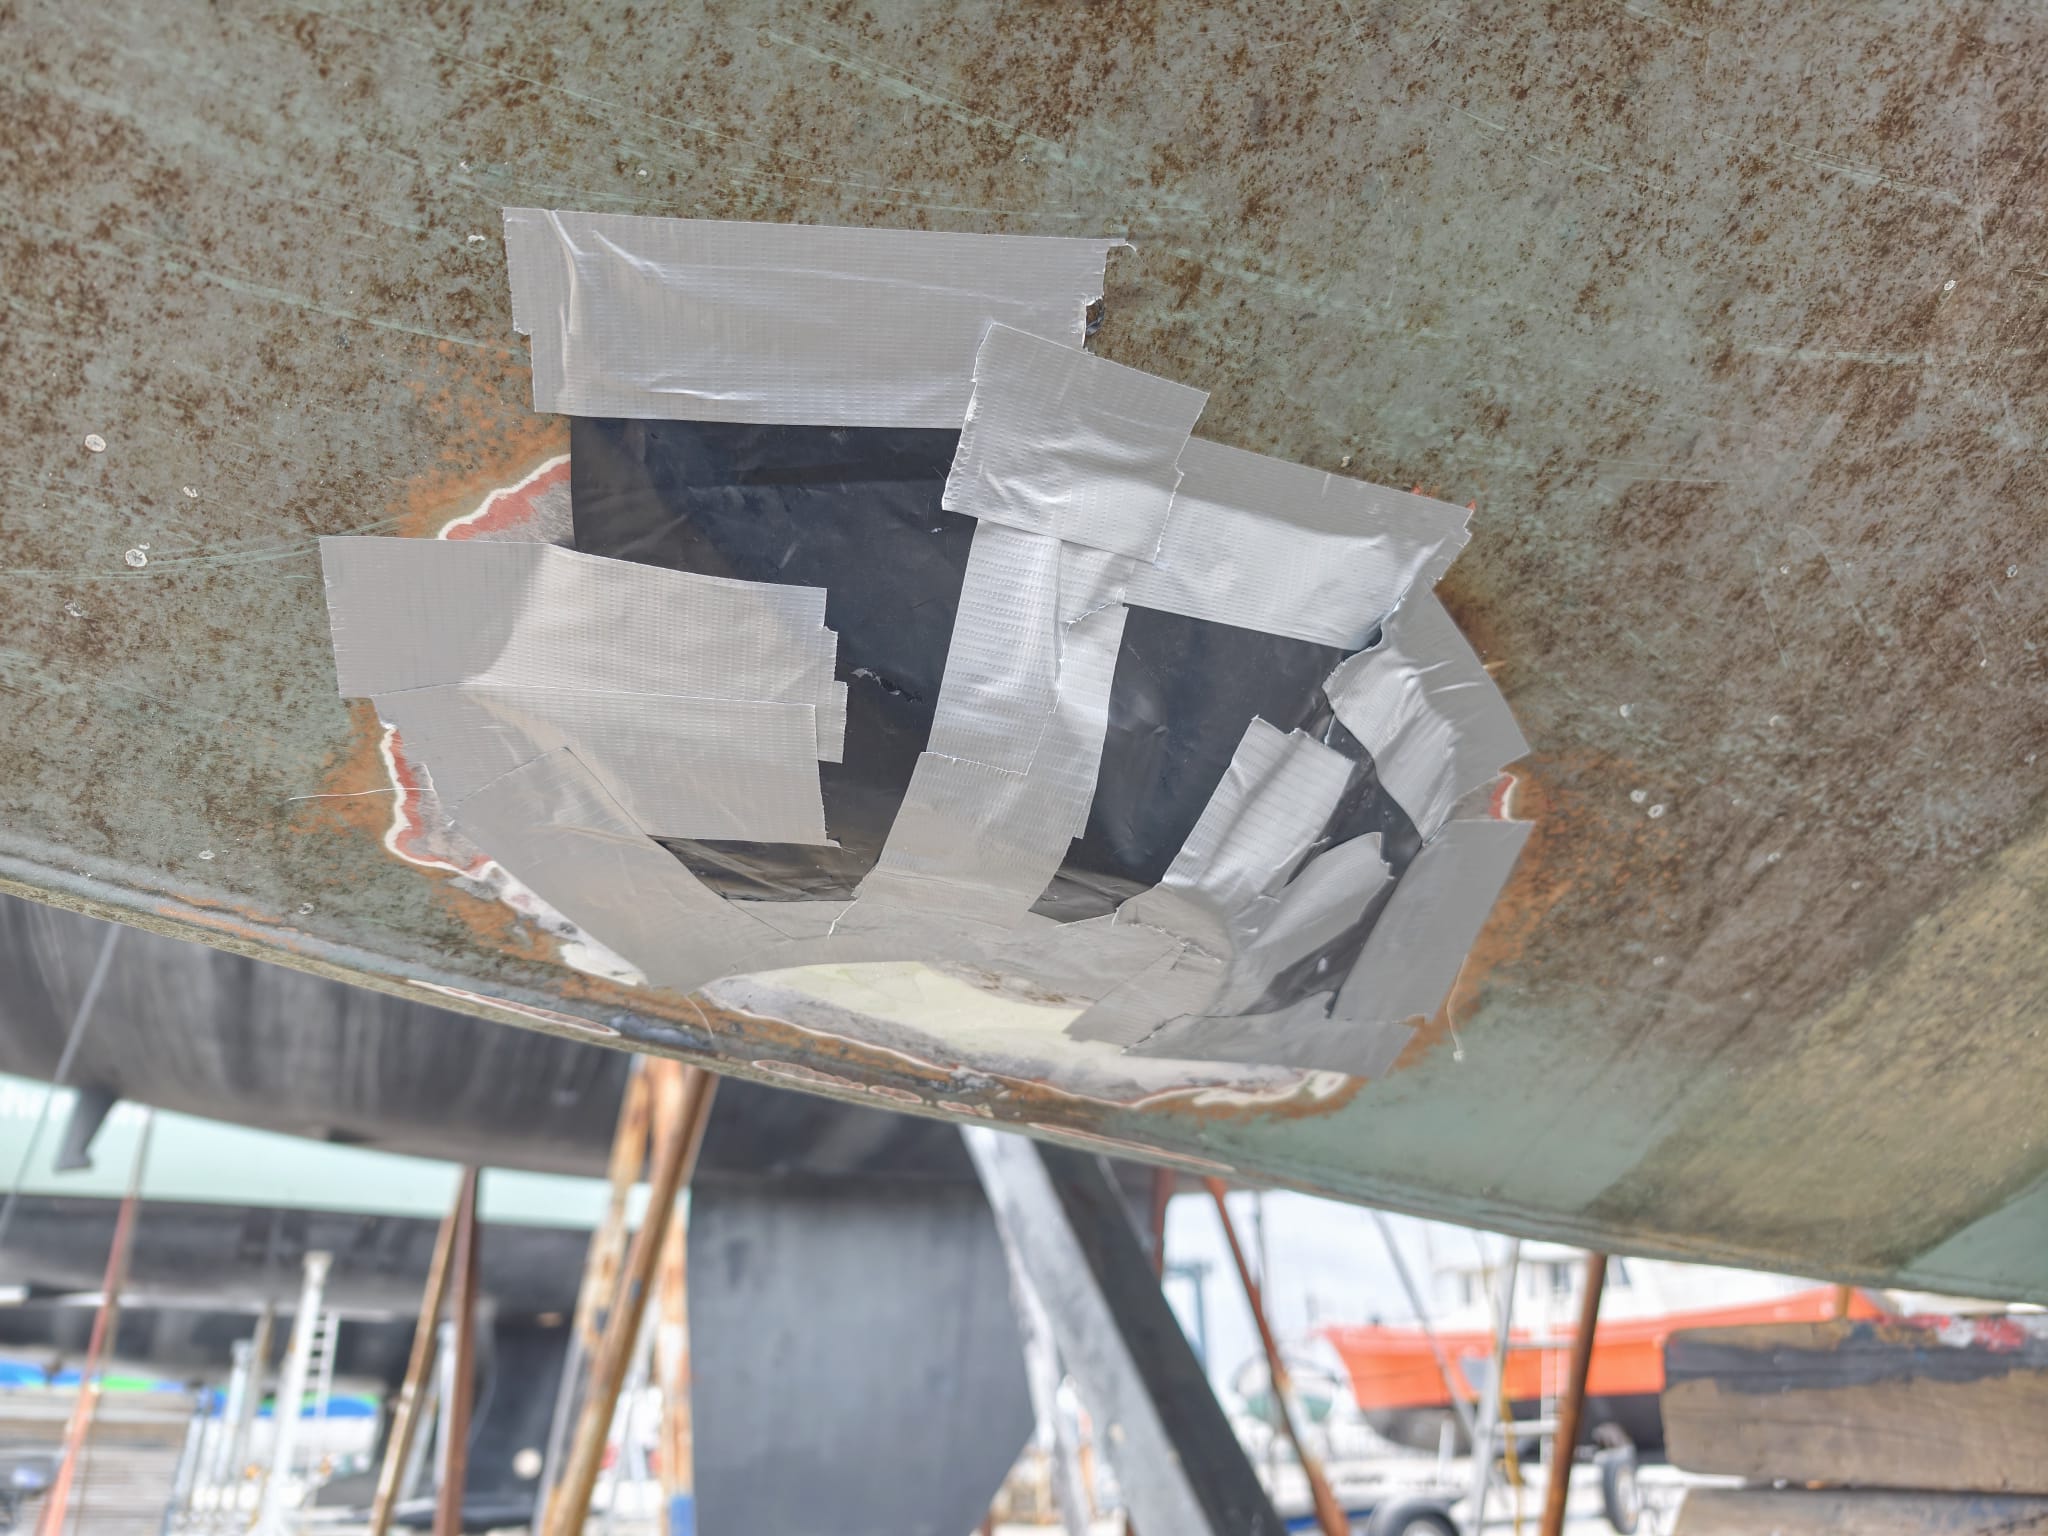
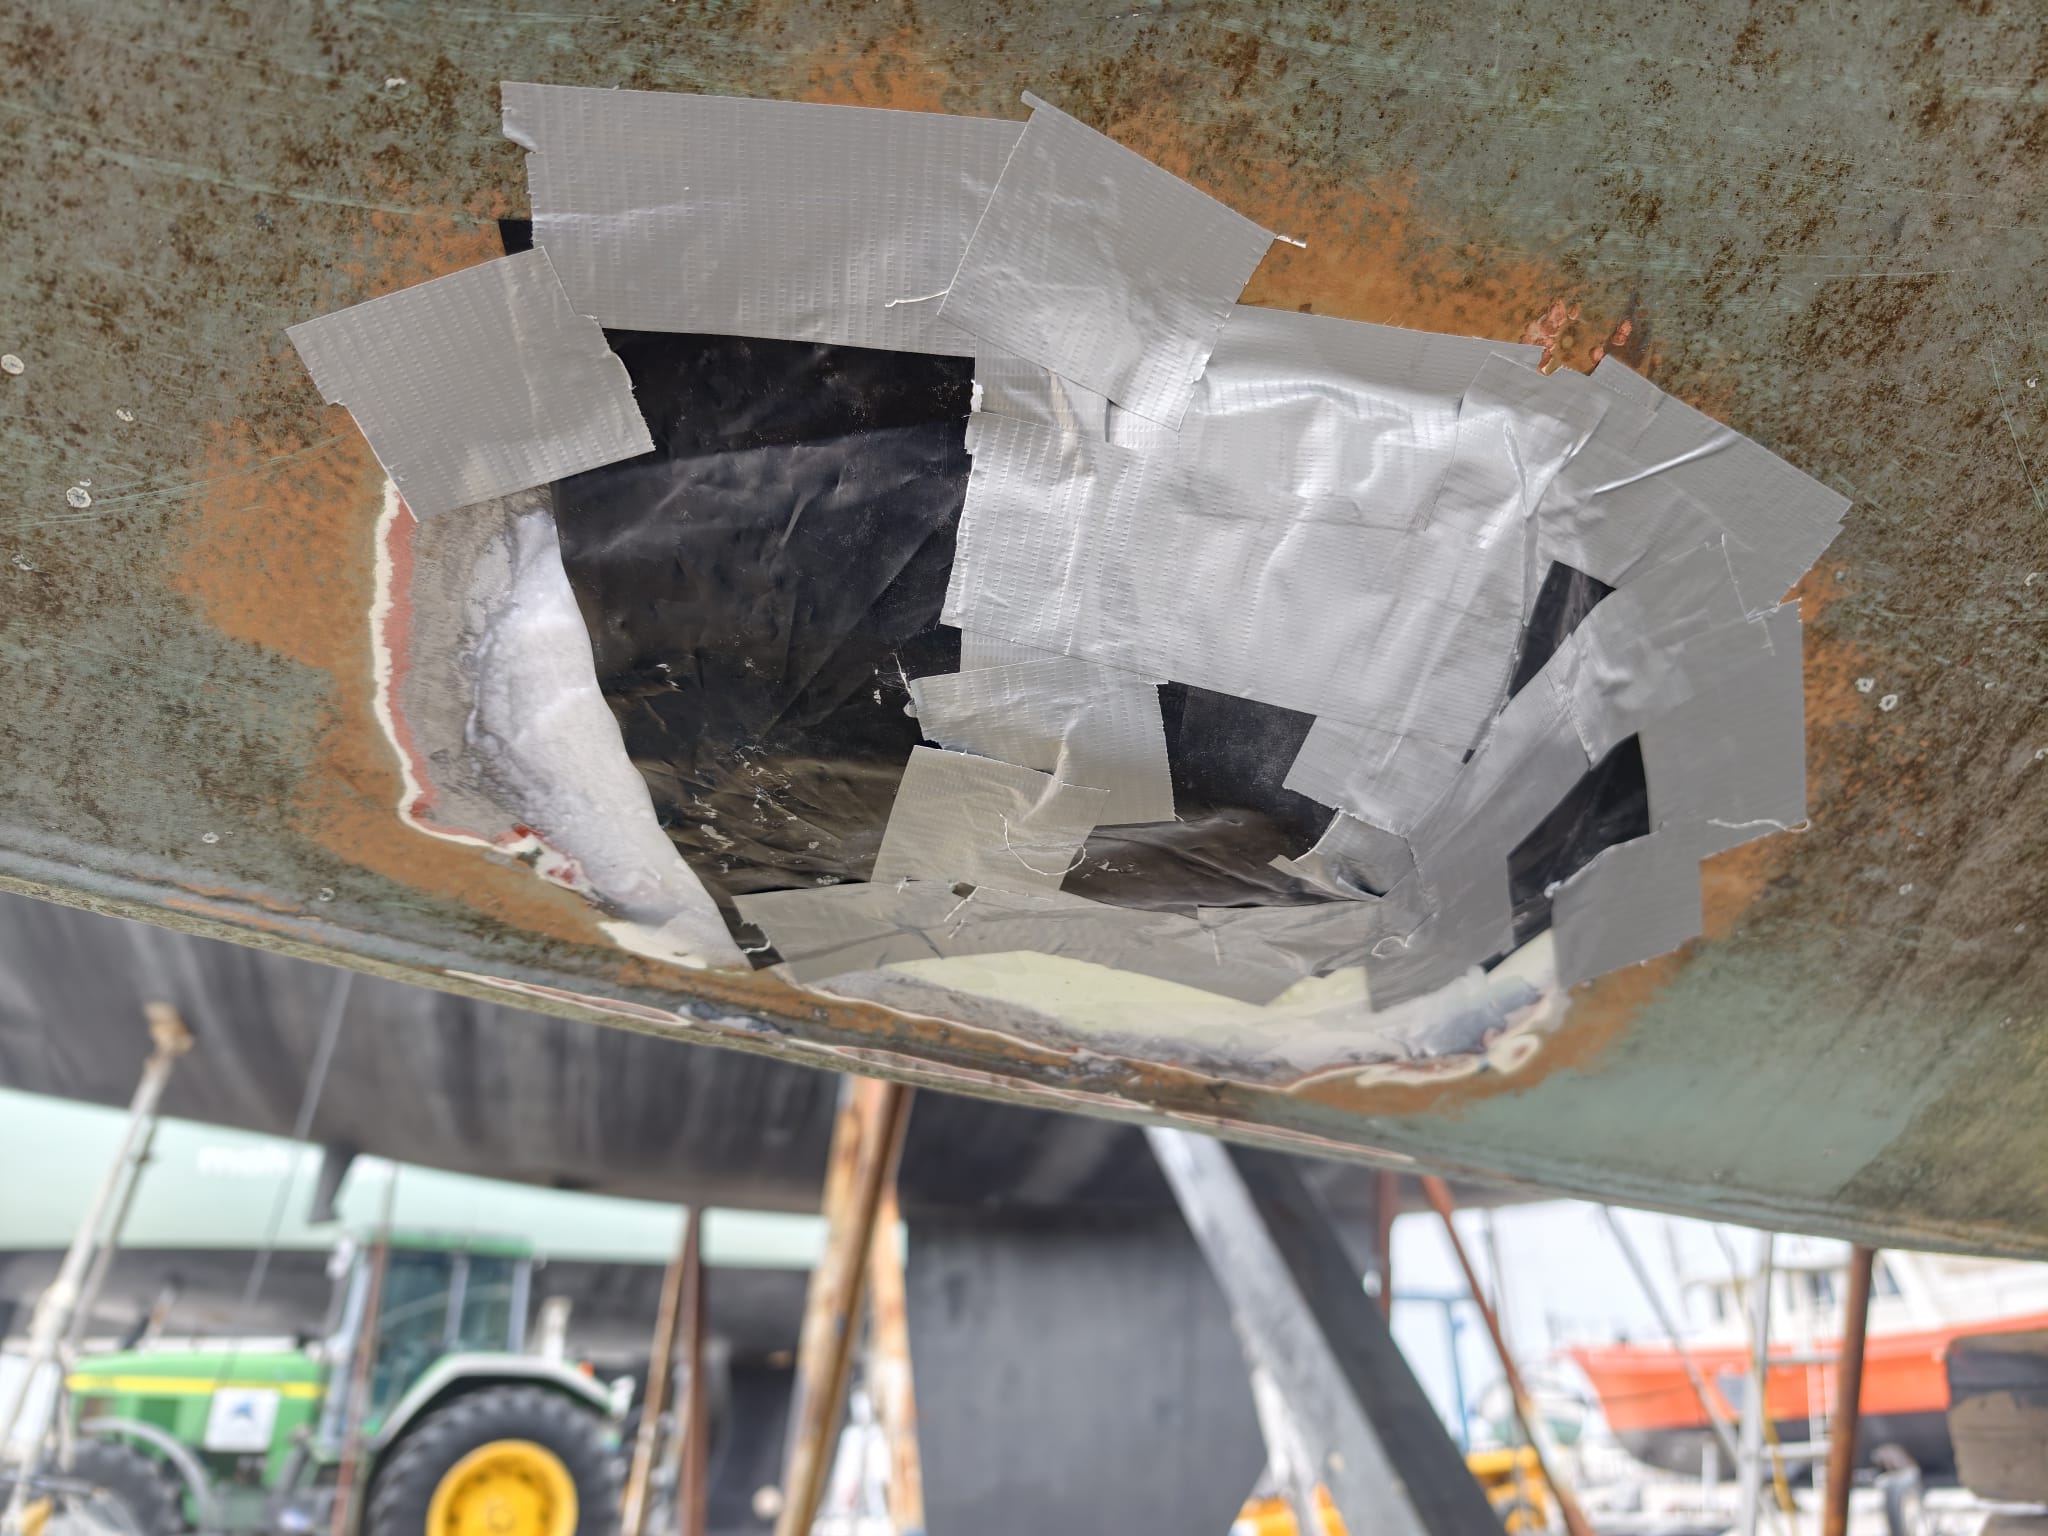
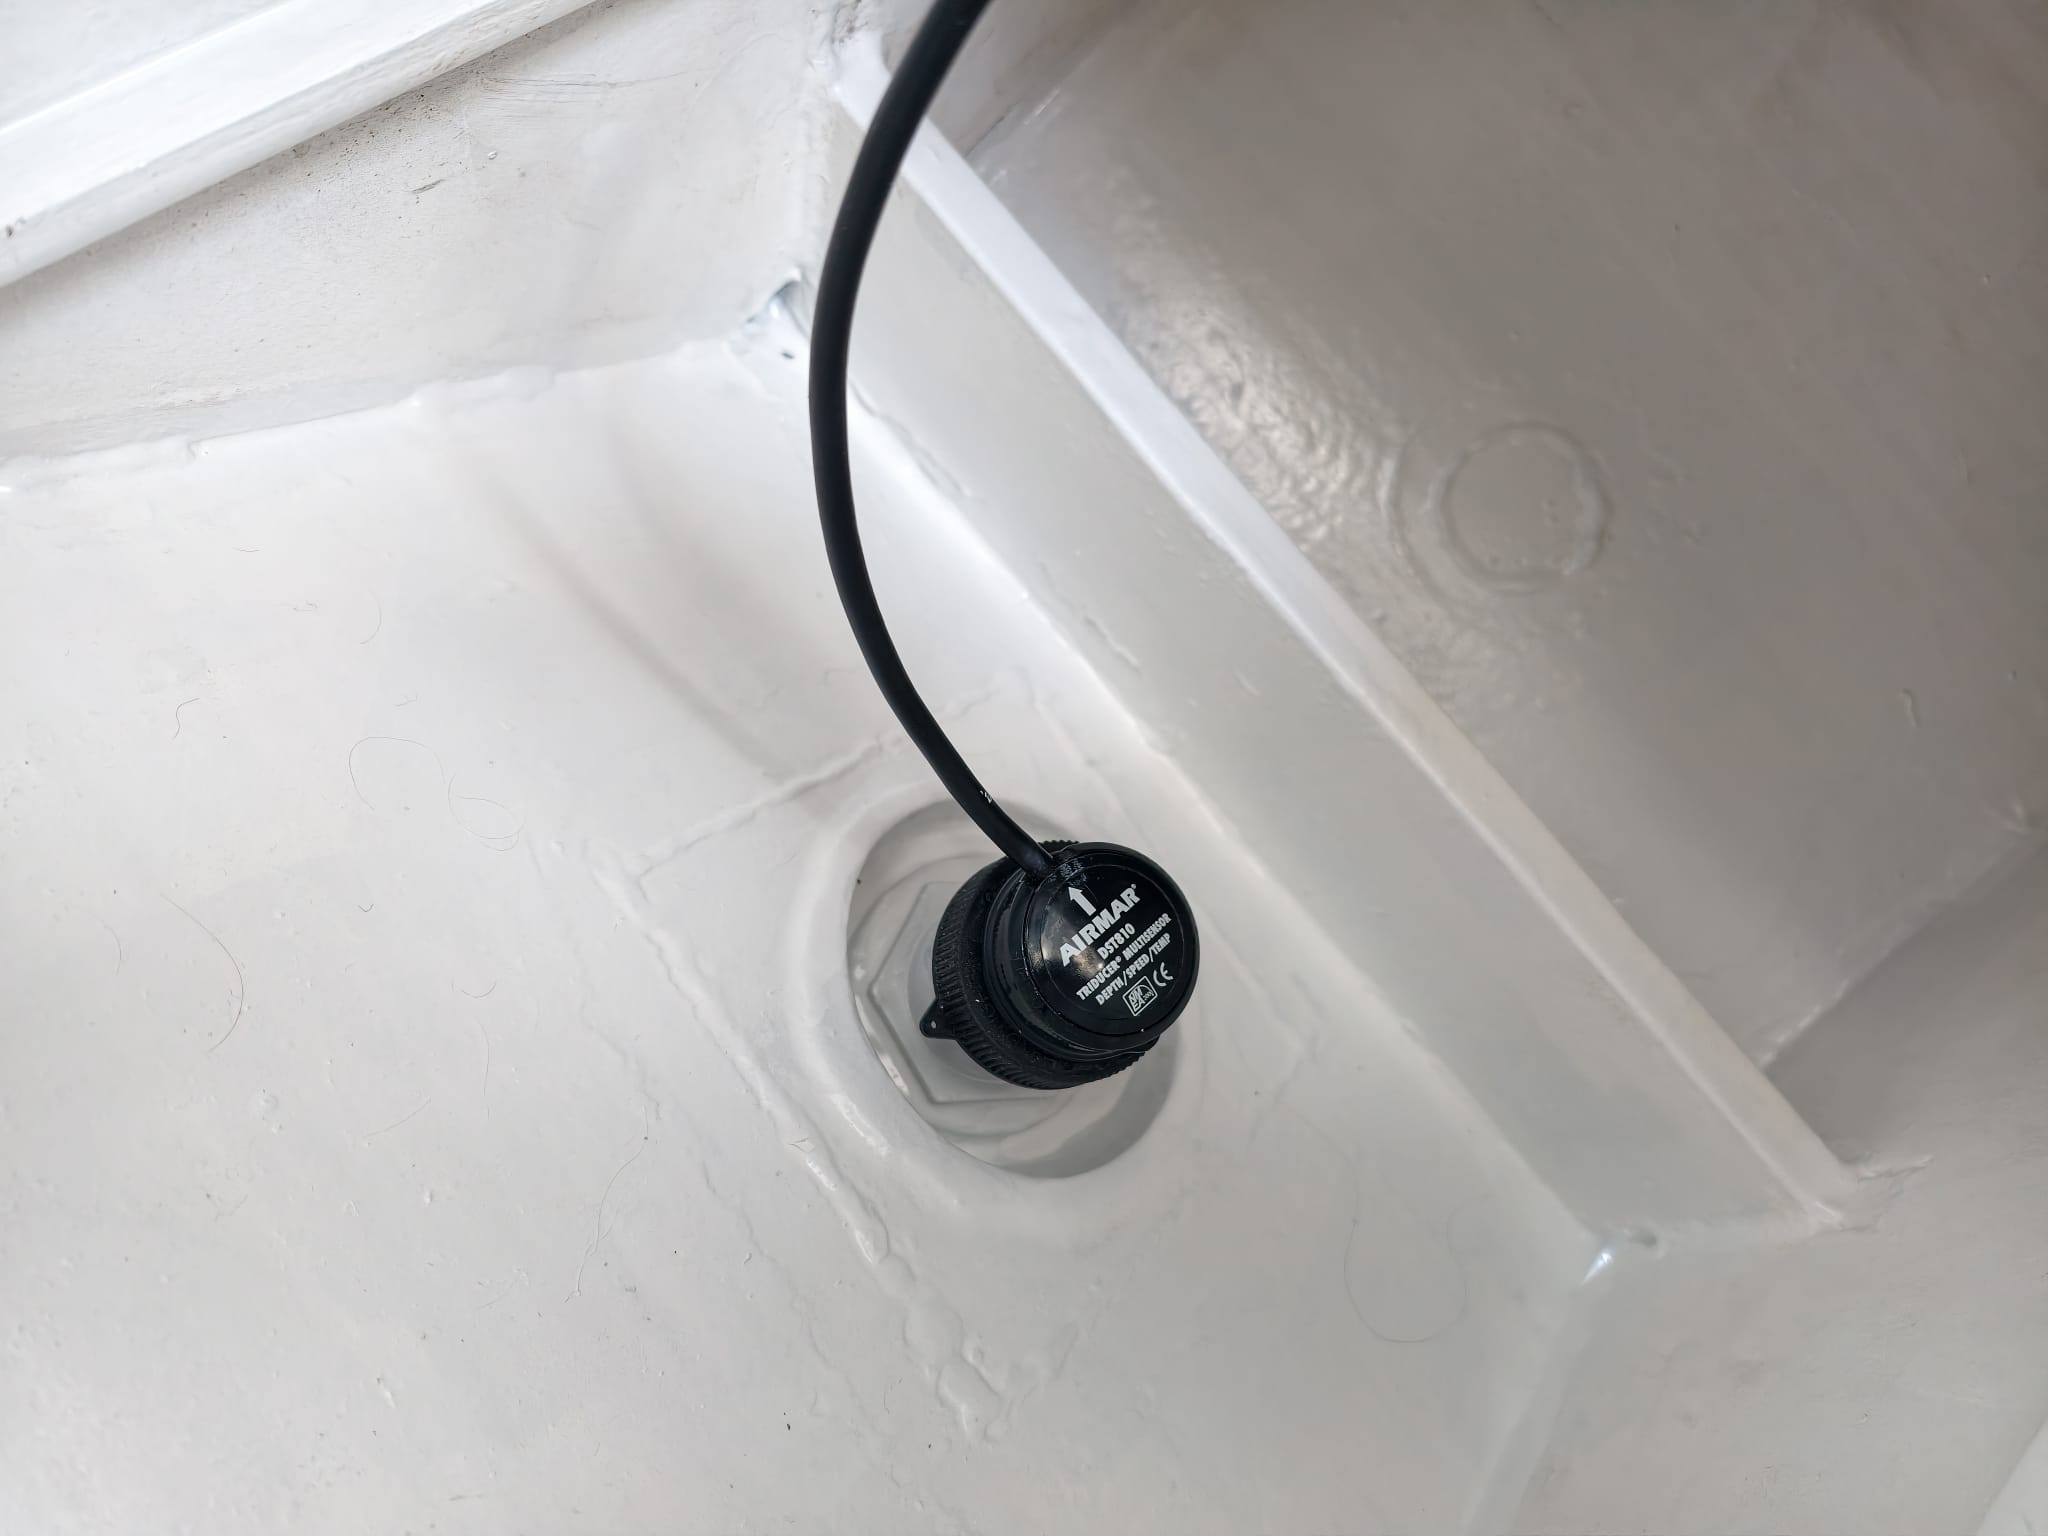
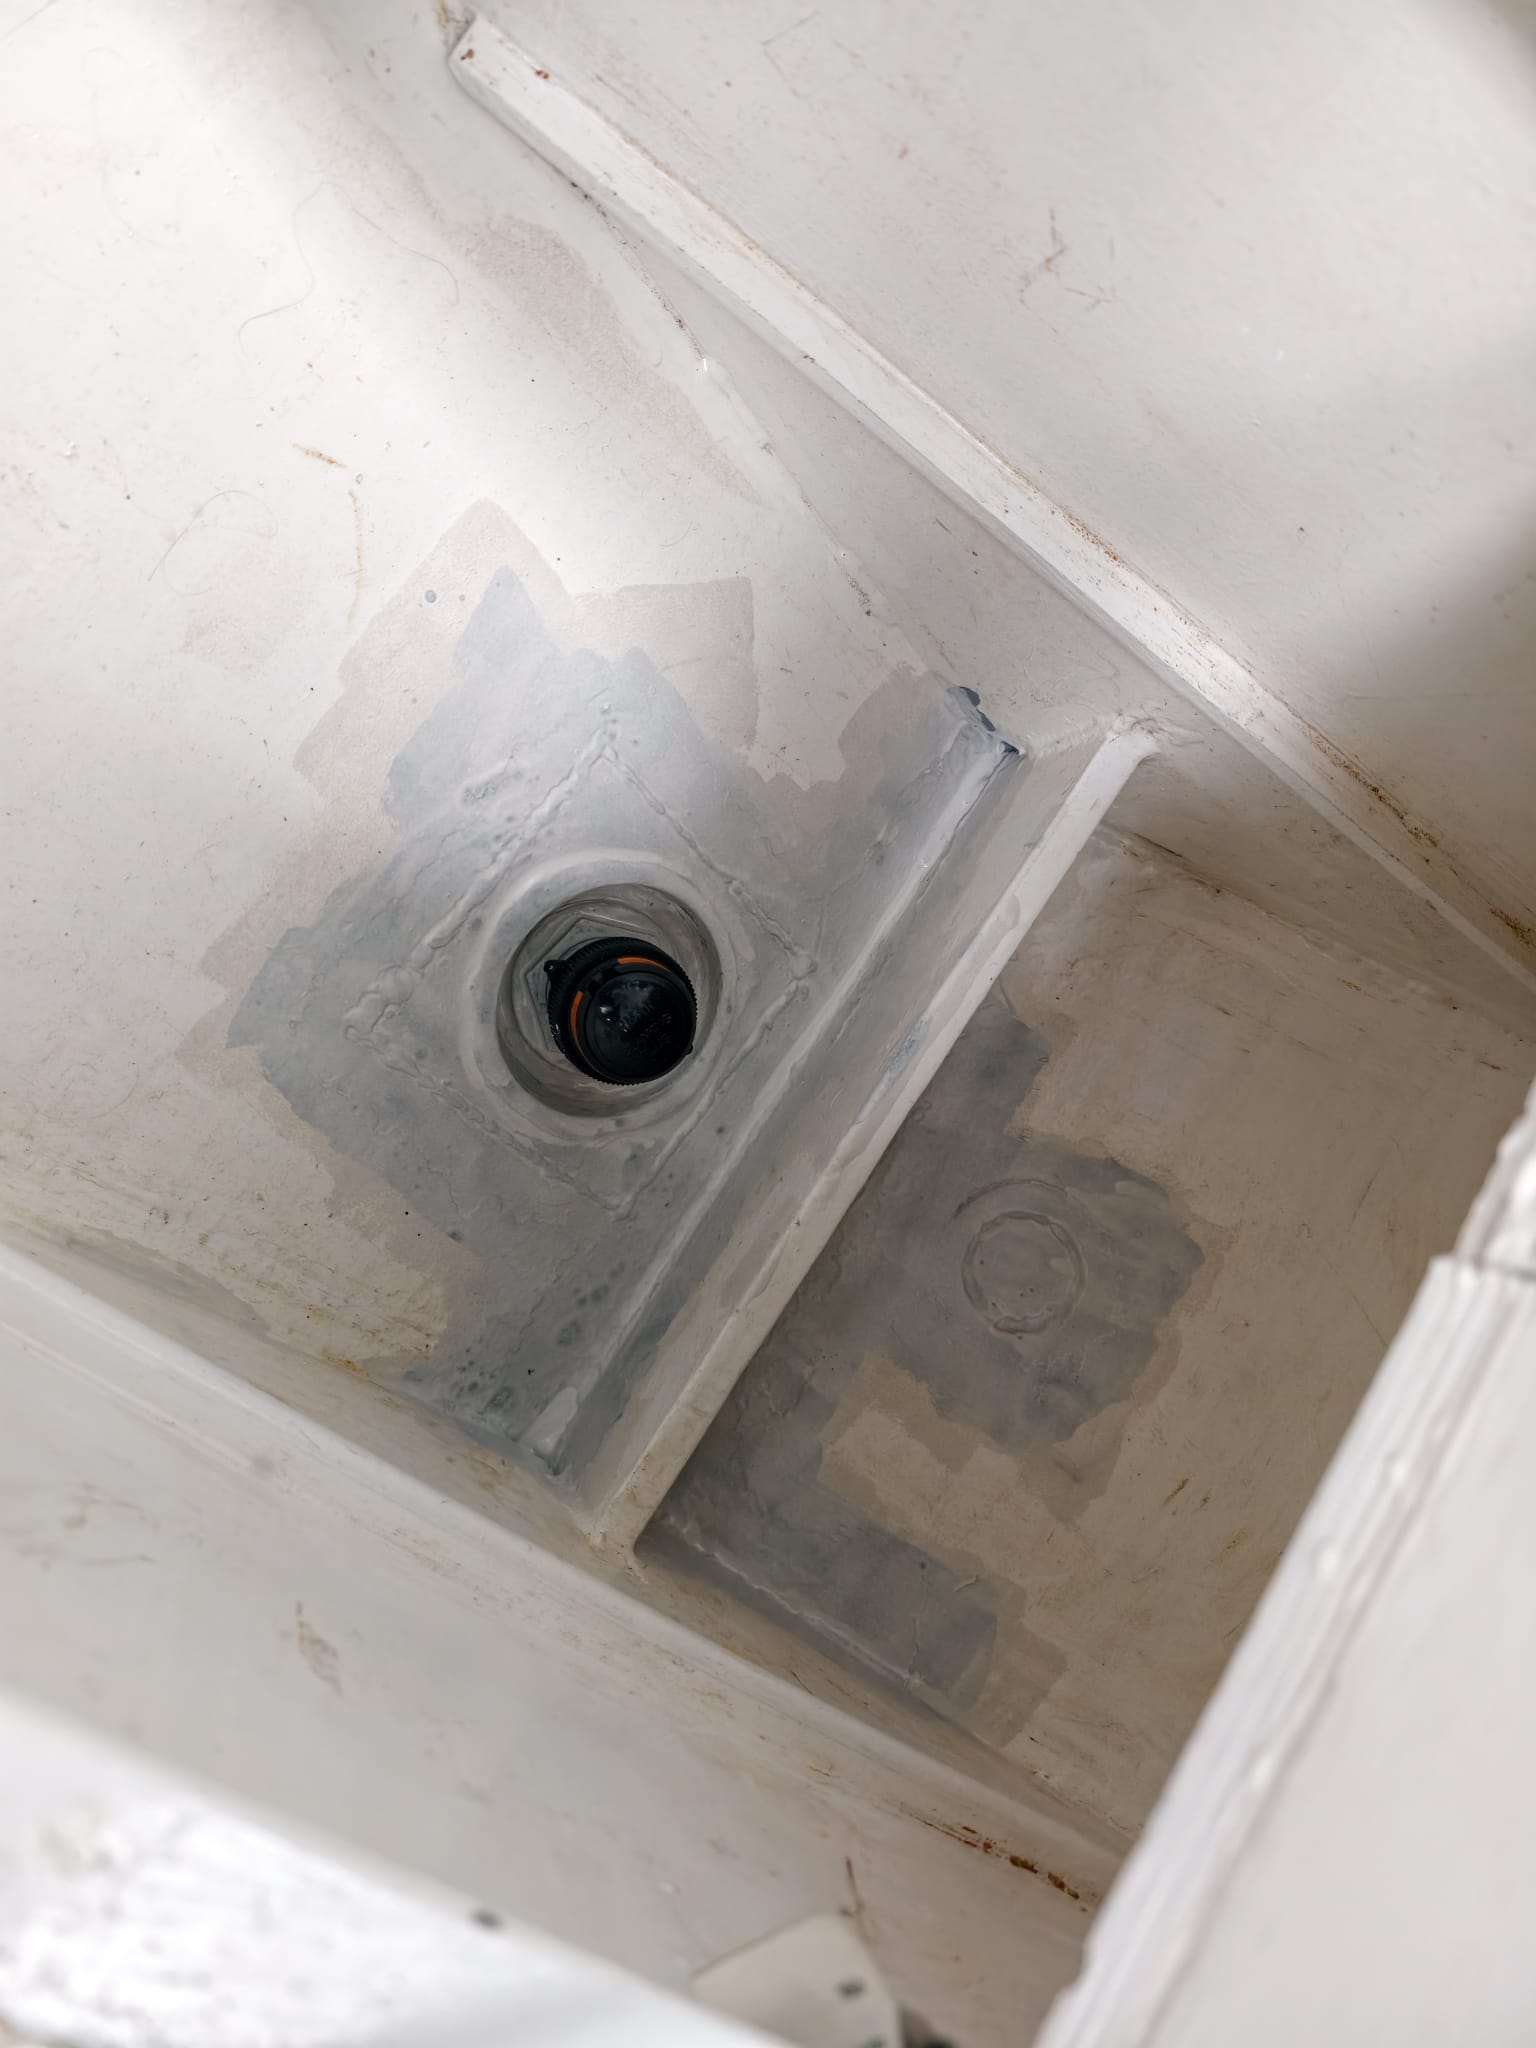
The primer has cured so far so that we can mount the transducer housing….

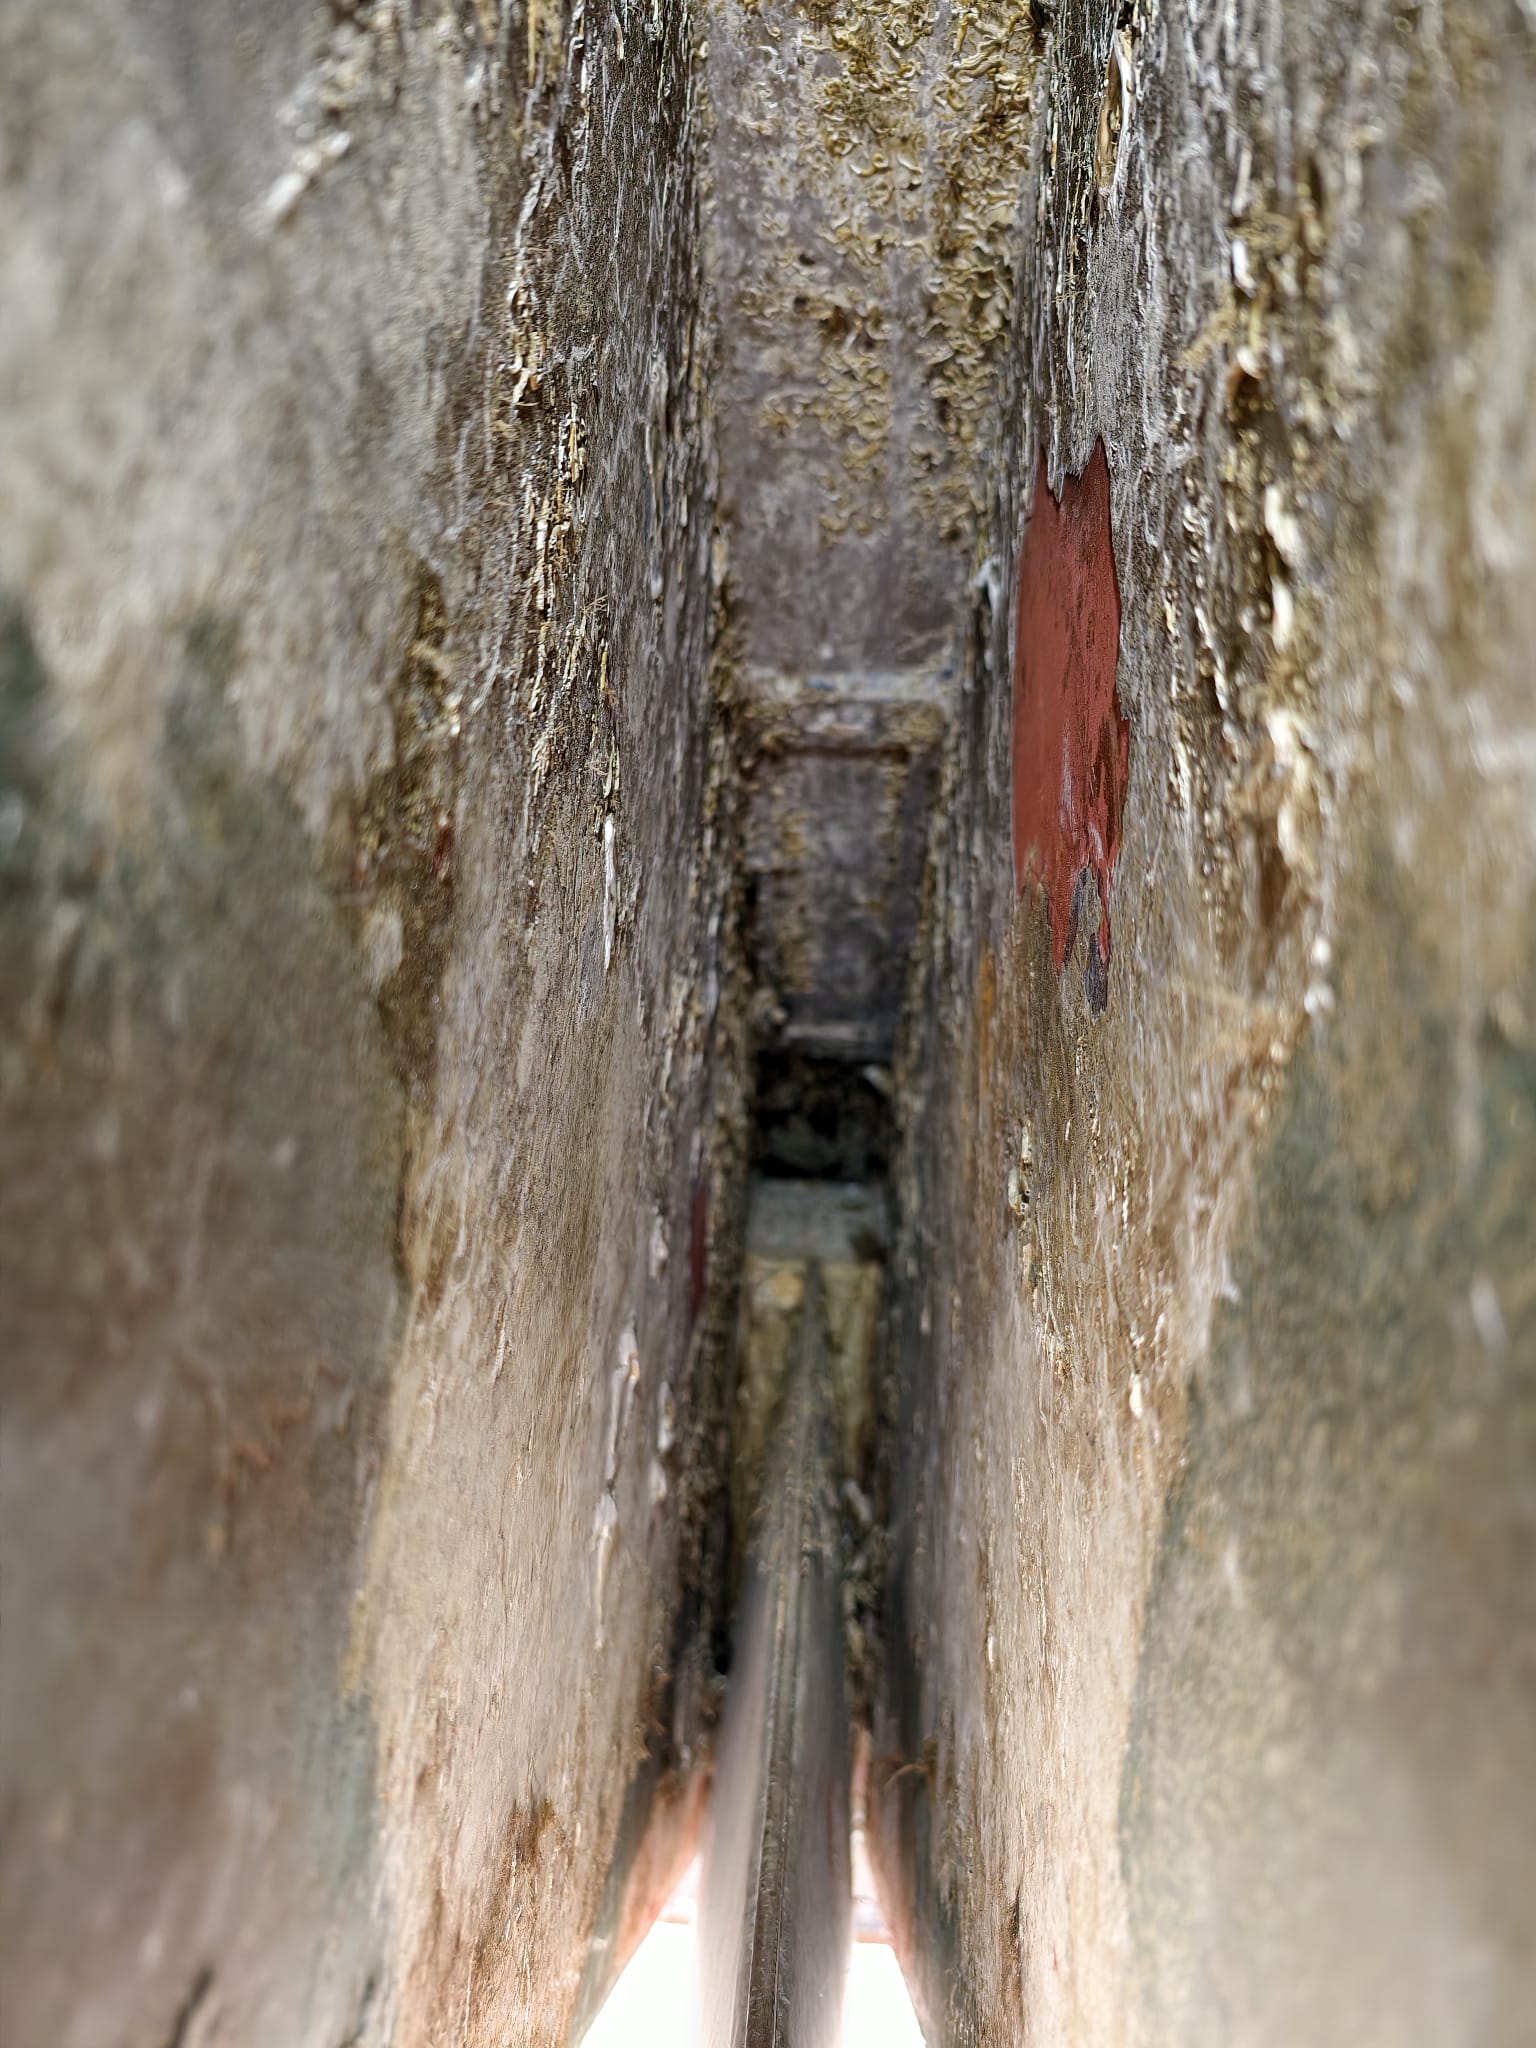
While Wim is waiting for the Coppercoat to dry, he sicks a putty knife in the centerboard case. Although there’s nothing to see on the outside, he feels some hard stuff deeper in the case. Perhaps some mussels? He scratches it with the putty knife and a large oyster fells down! Oops, he can feel many more! These must have grown in the Spanish Ria’s, especially Ria de Arousa.
We lower the centerboard to be able to reach them better but Wim can’t reach deep enough to scrape them all off. He gets creative and makes an extension for the putty knife so he can dig the rest of the oysters out of the centerboard case.
After that, the centerboard case is reasonably clean. Well, it’s not getting any better than this…
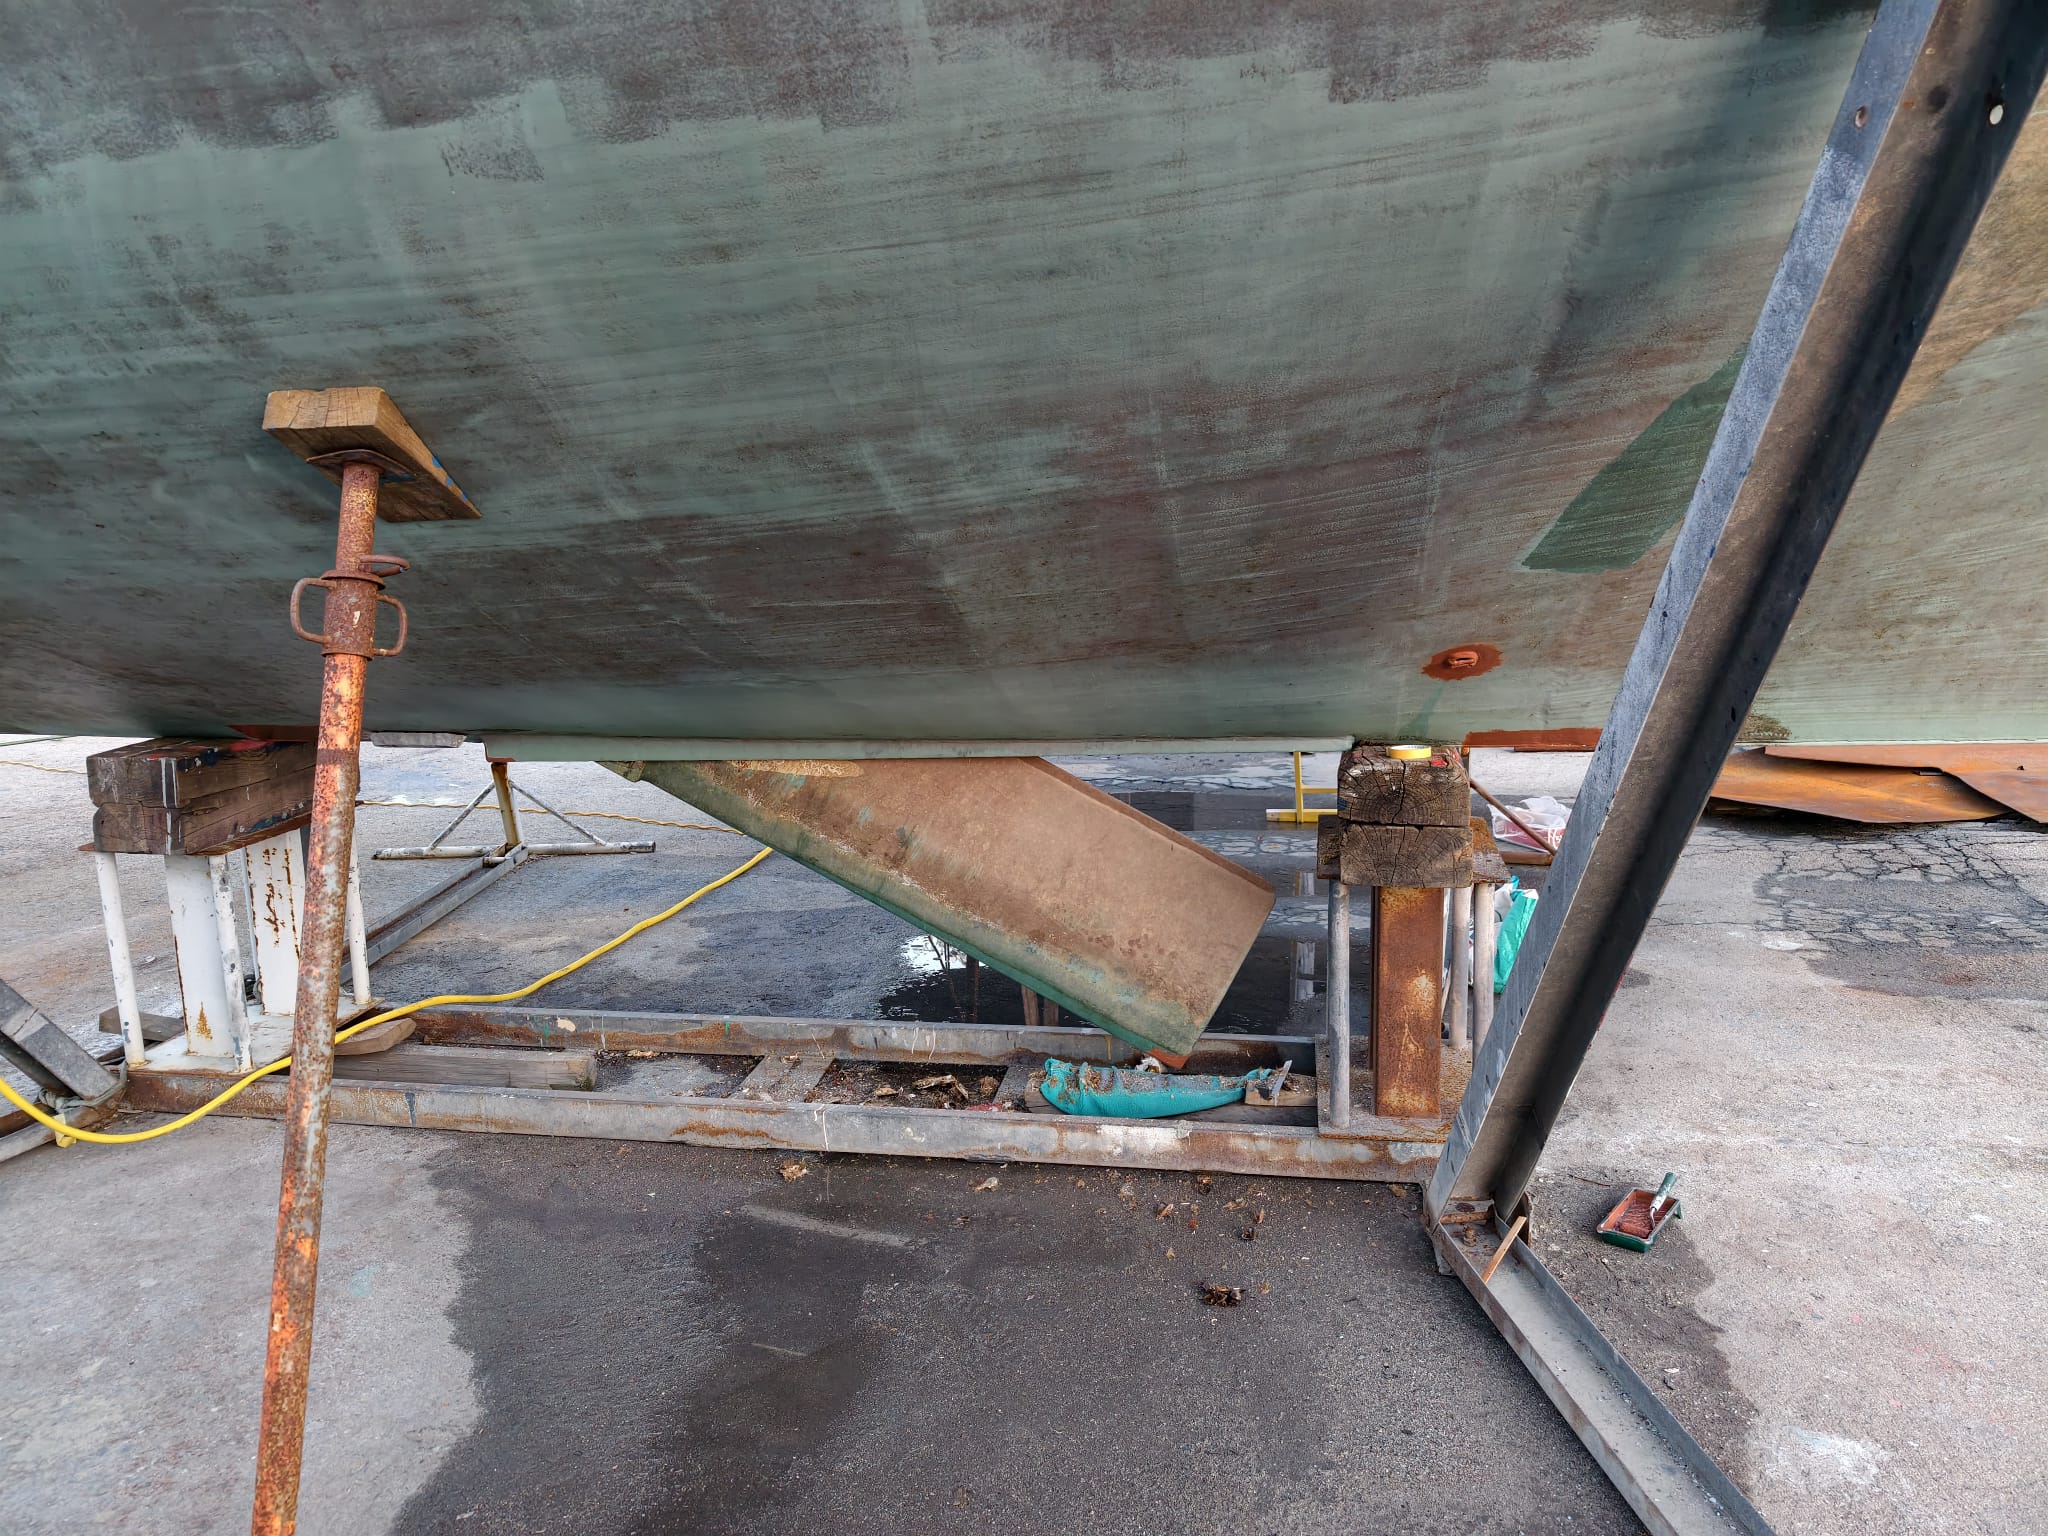
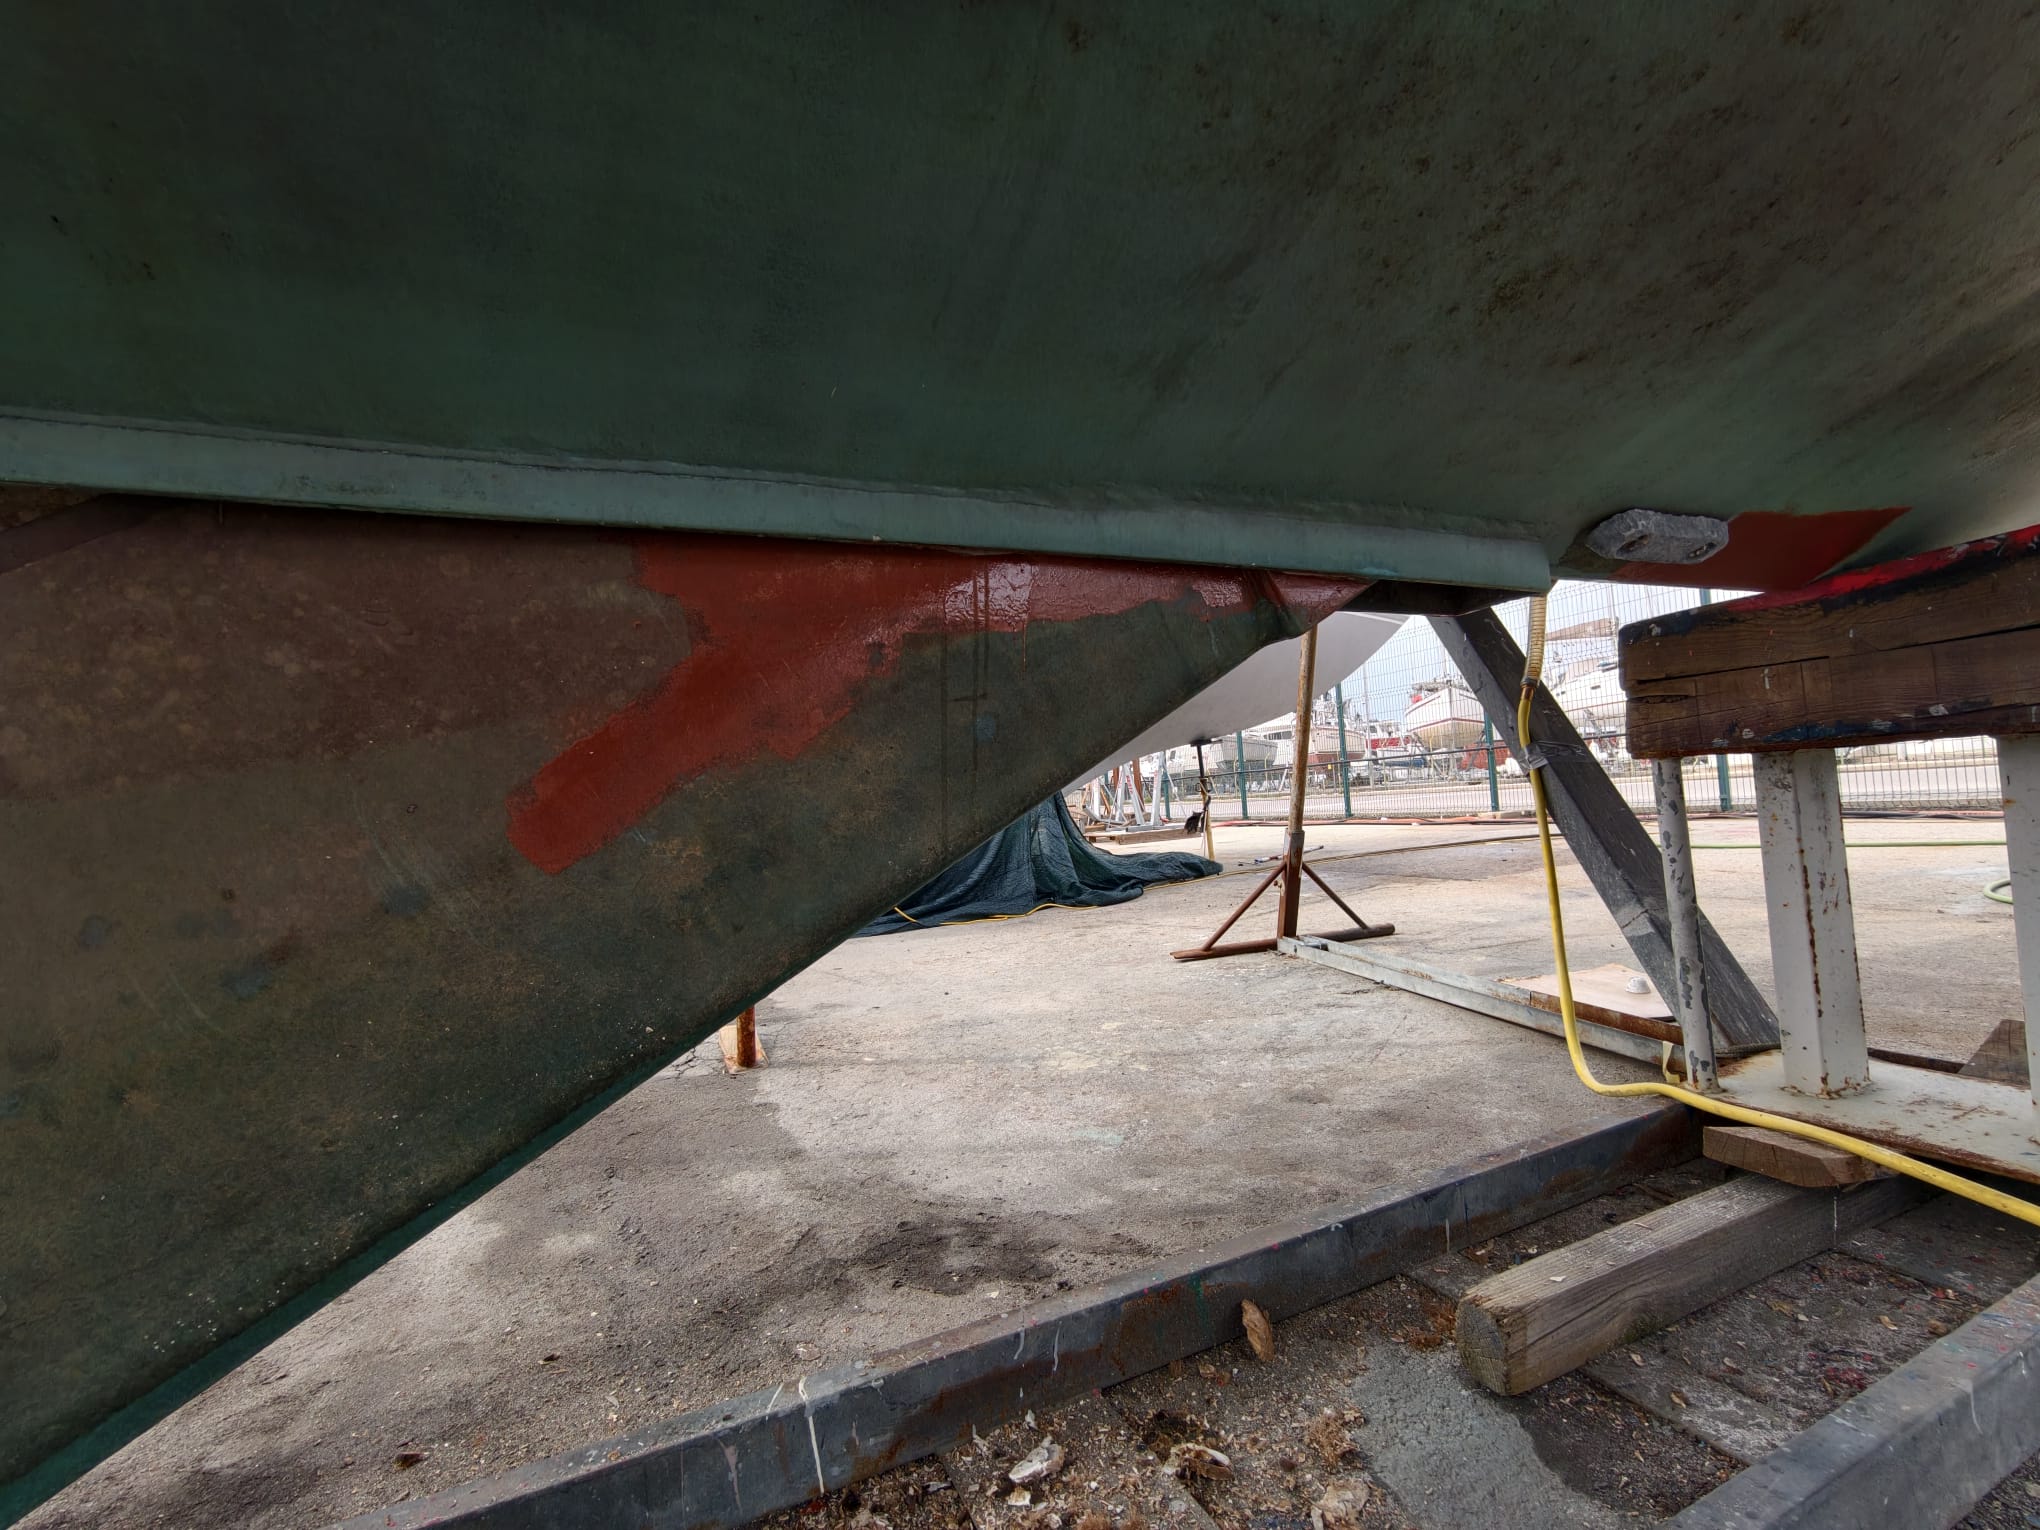
When we built this case, we realized that it would be impossible to sandblast and paint it. That’s why we used 12mm thick steel. In case it would get rusty it will survive many, many years. But it doesn’t get rusty at all. Because there’s no oxygen under water. The red/brown spot is where an oyster was attached and a layer of growth came off. The red/brown is the red oxide primer with which the steel plate was painted. Not a trace of rust.
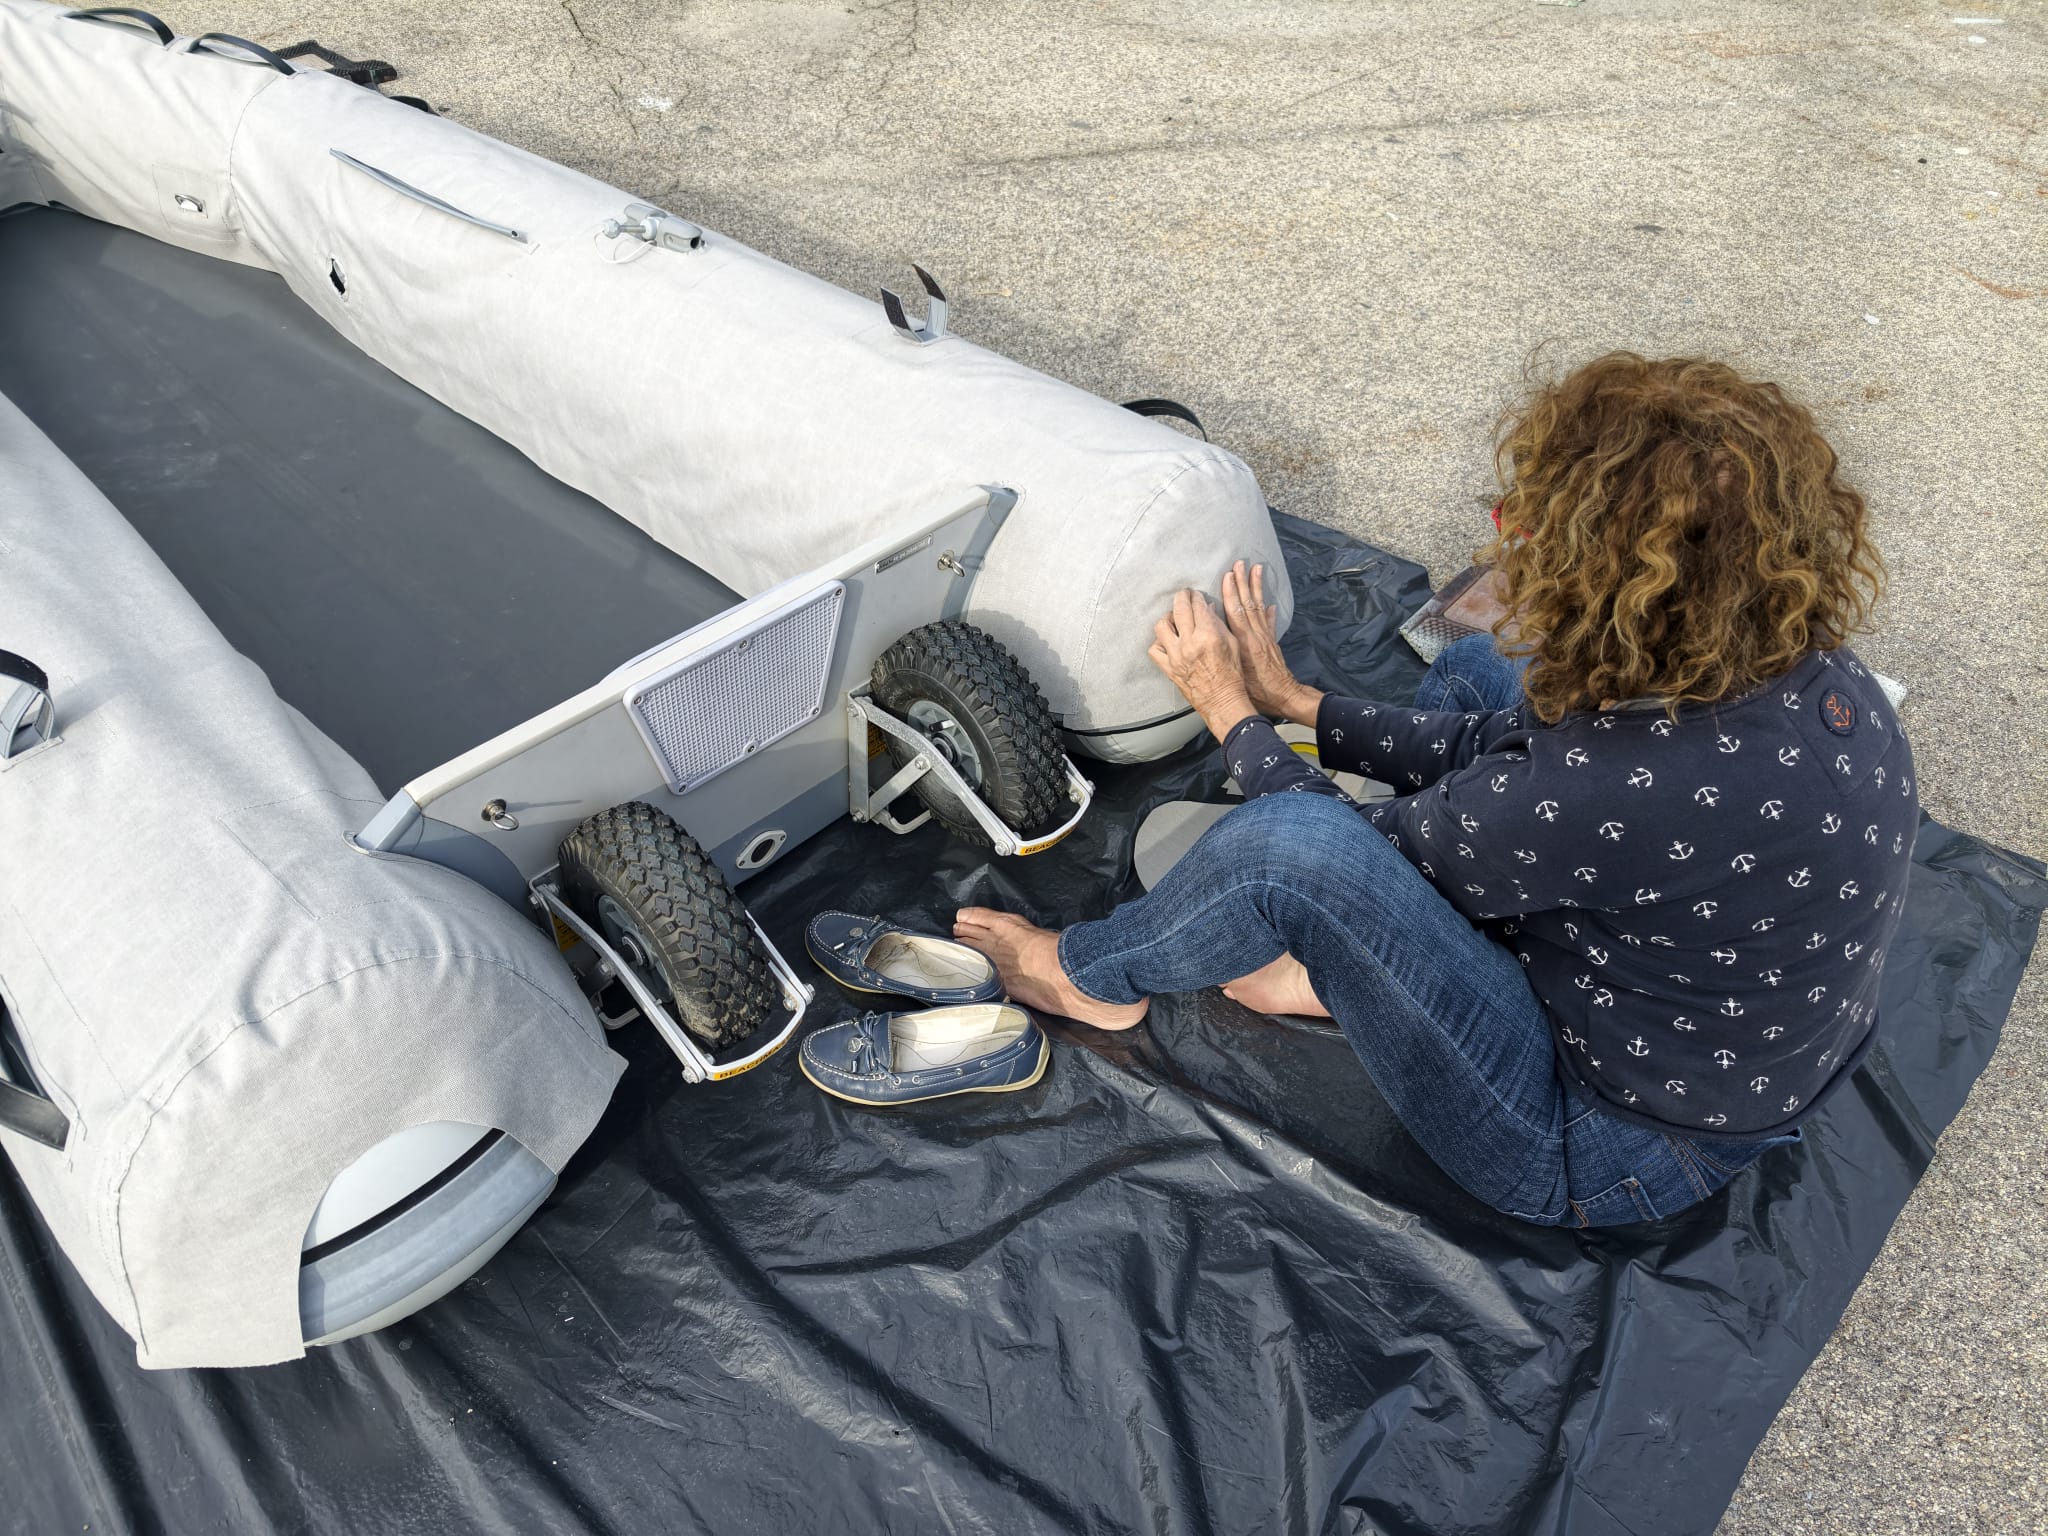
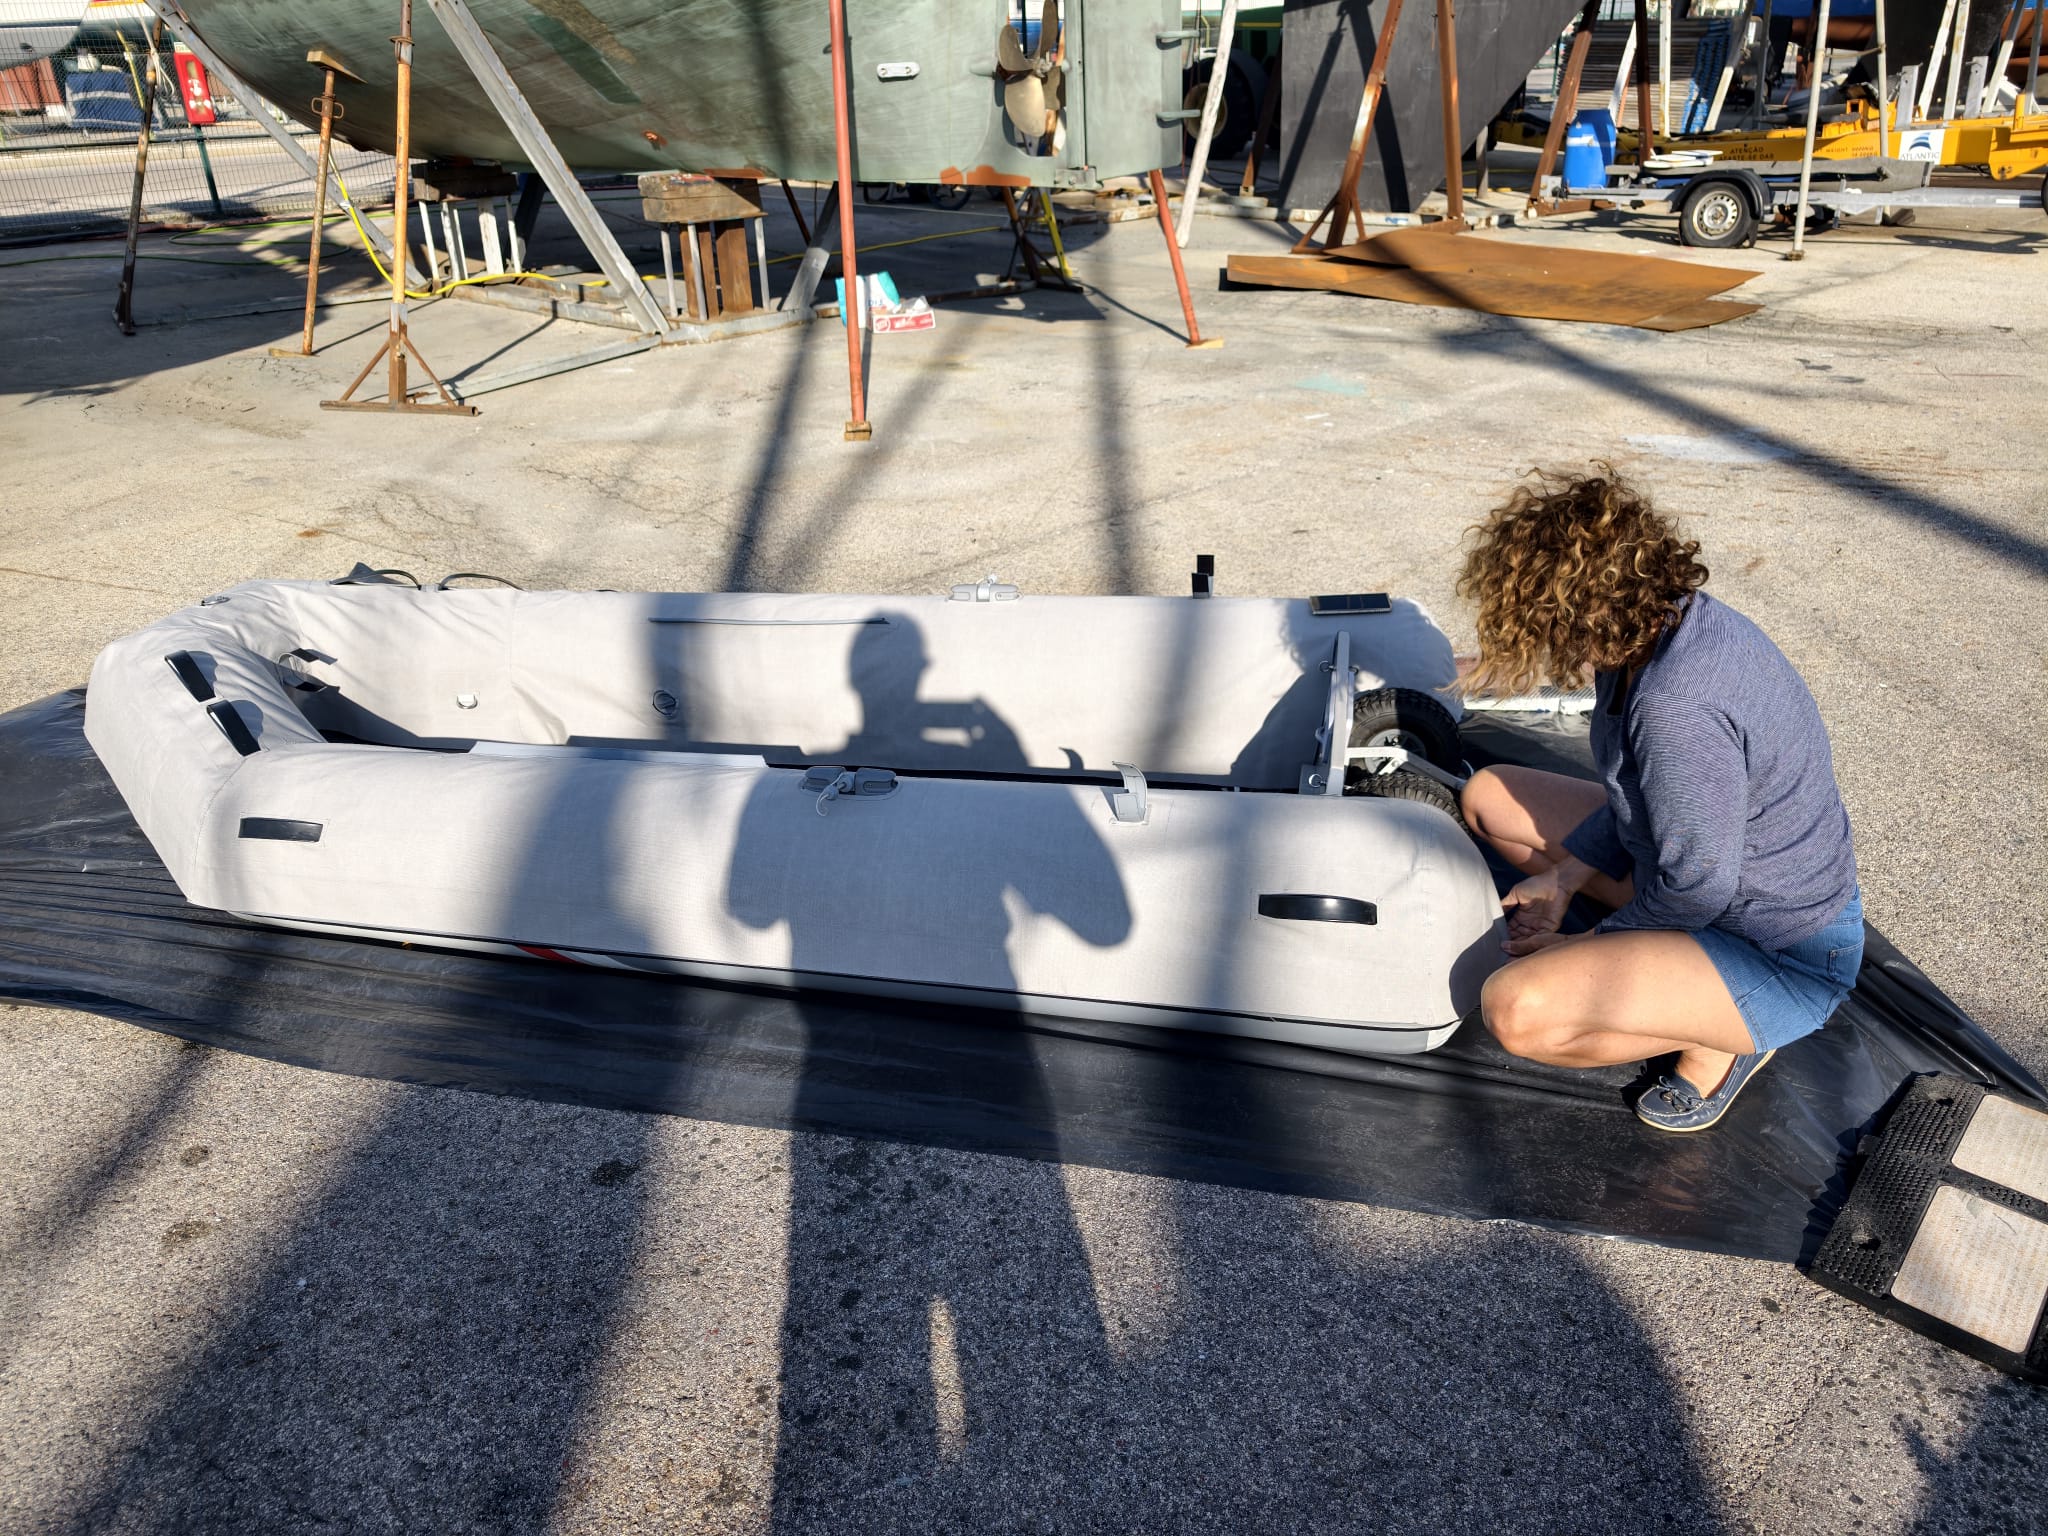
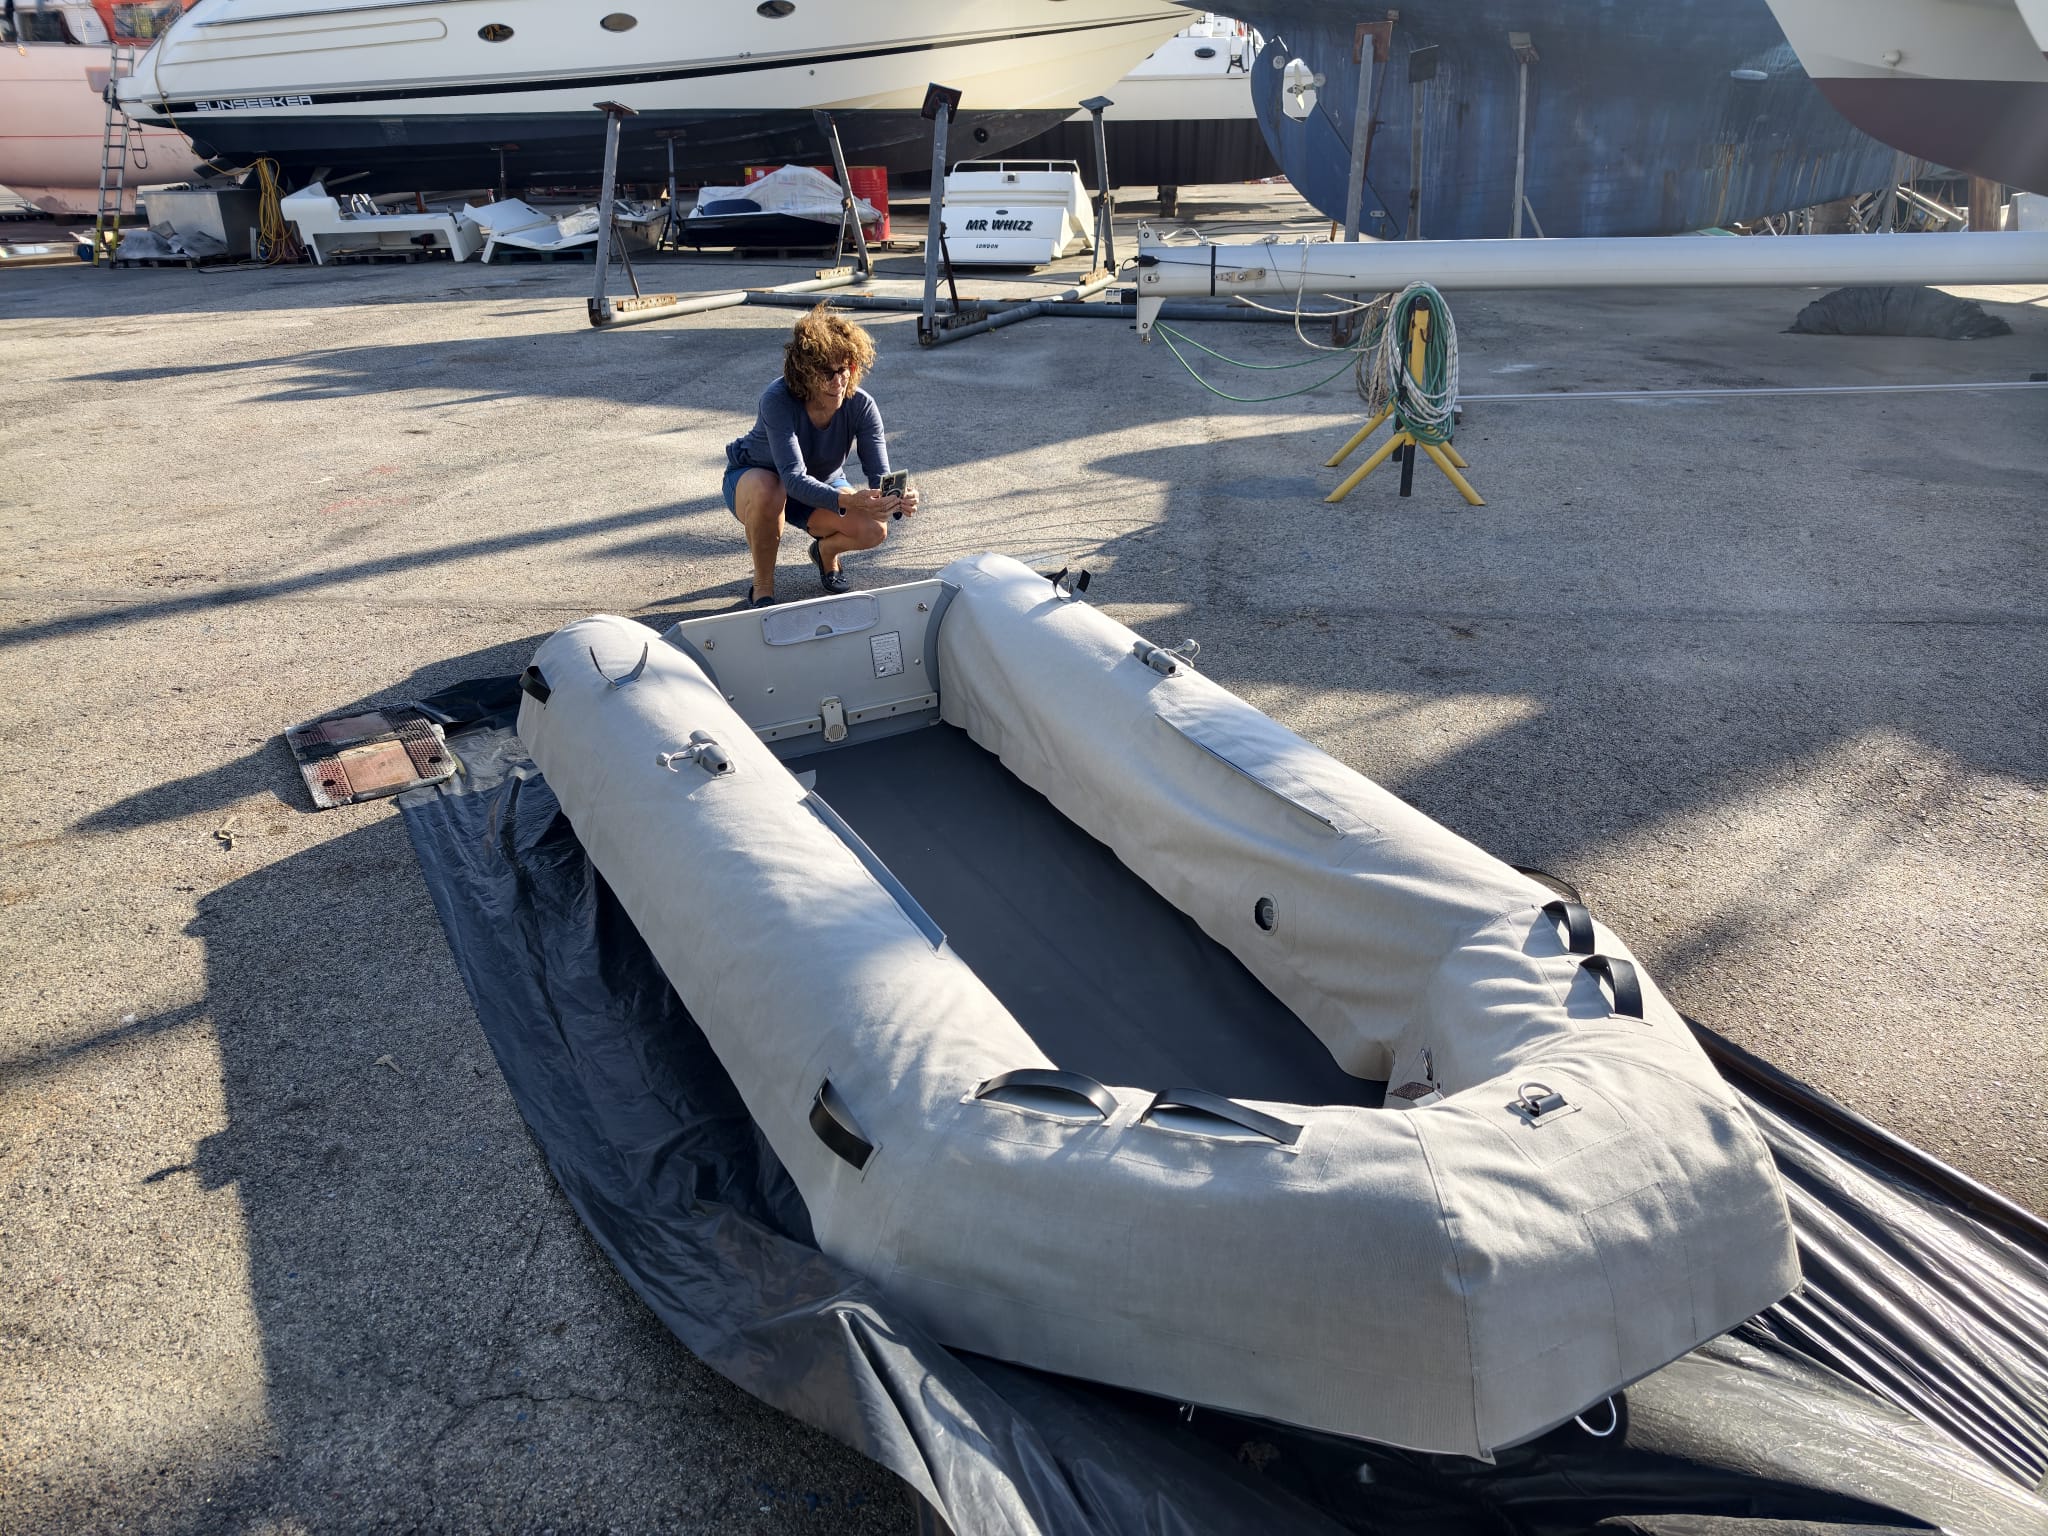
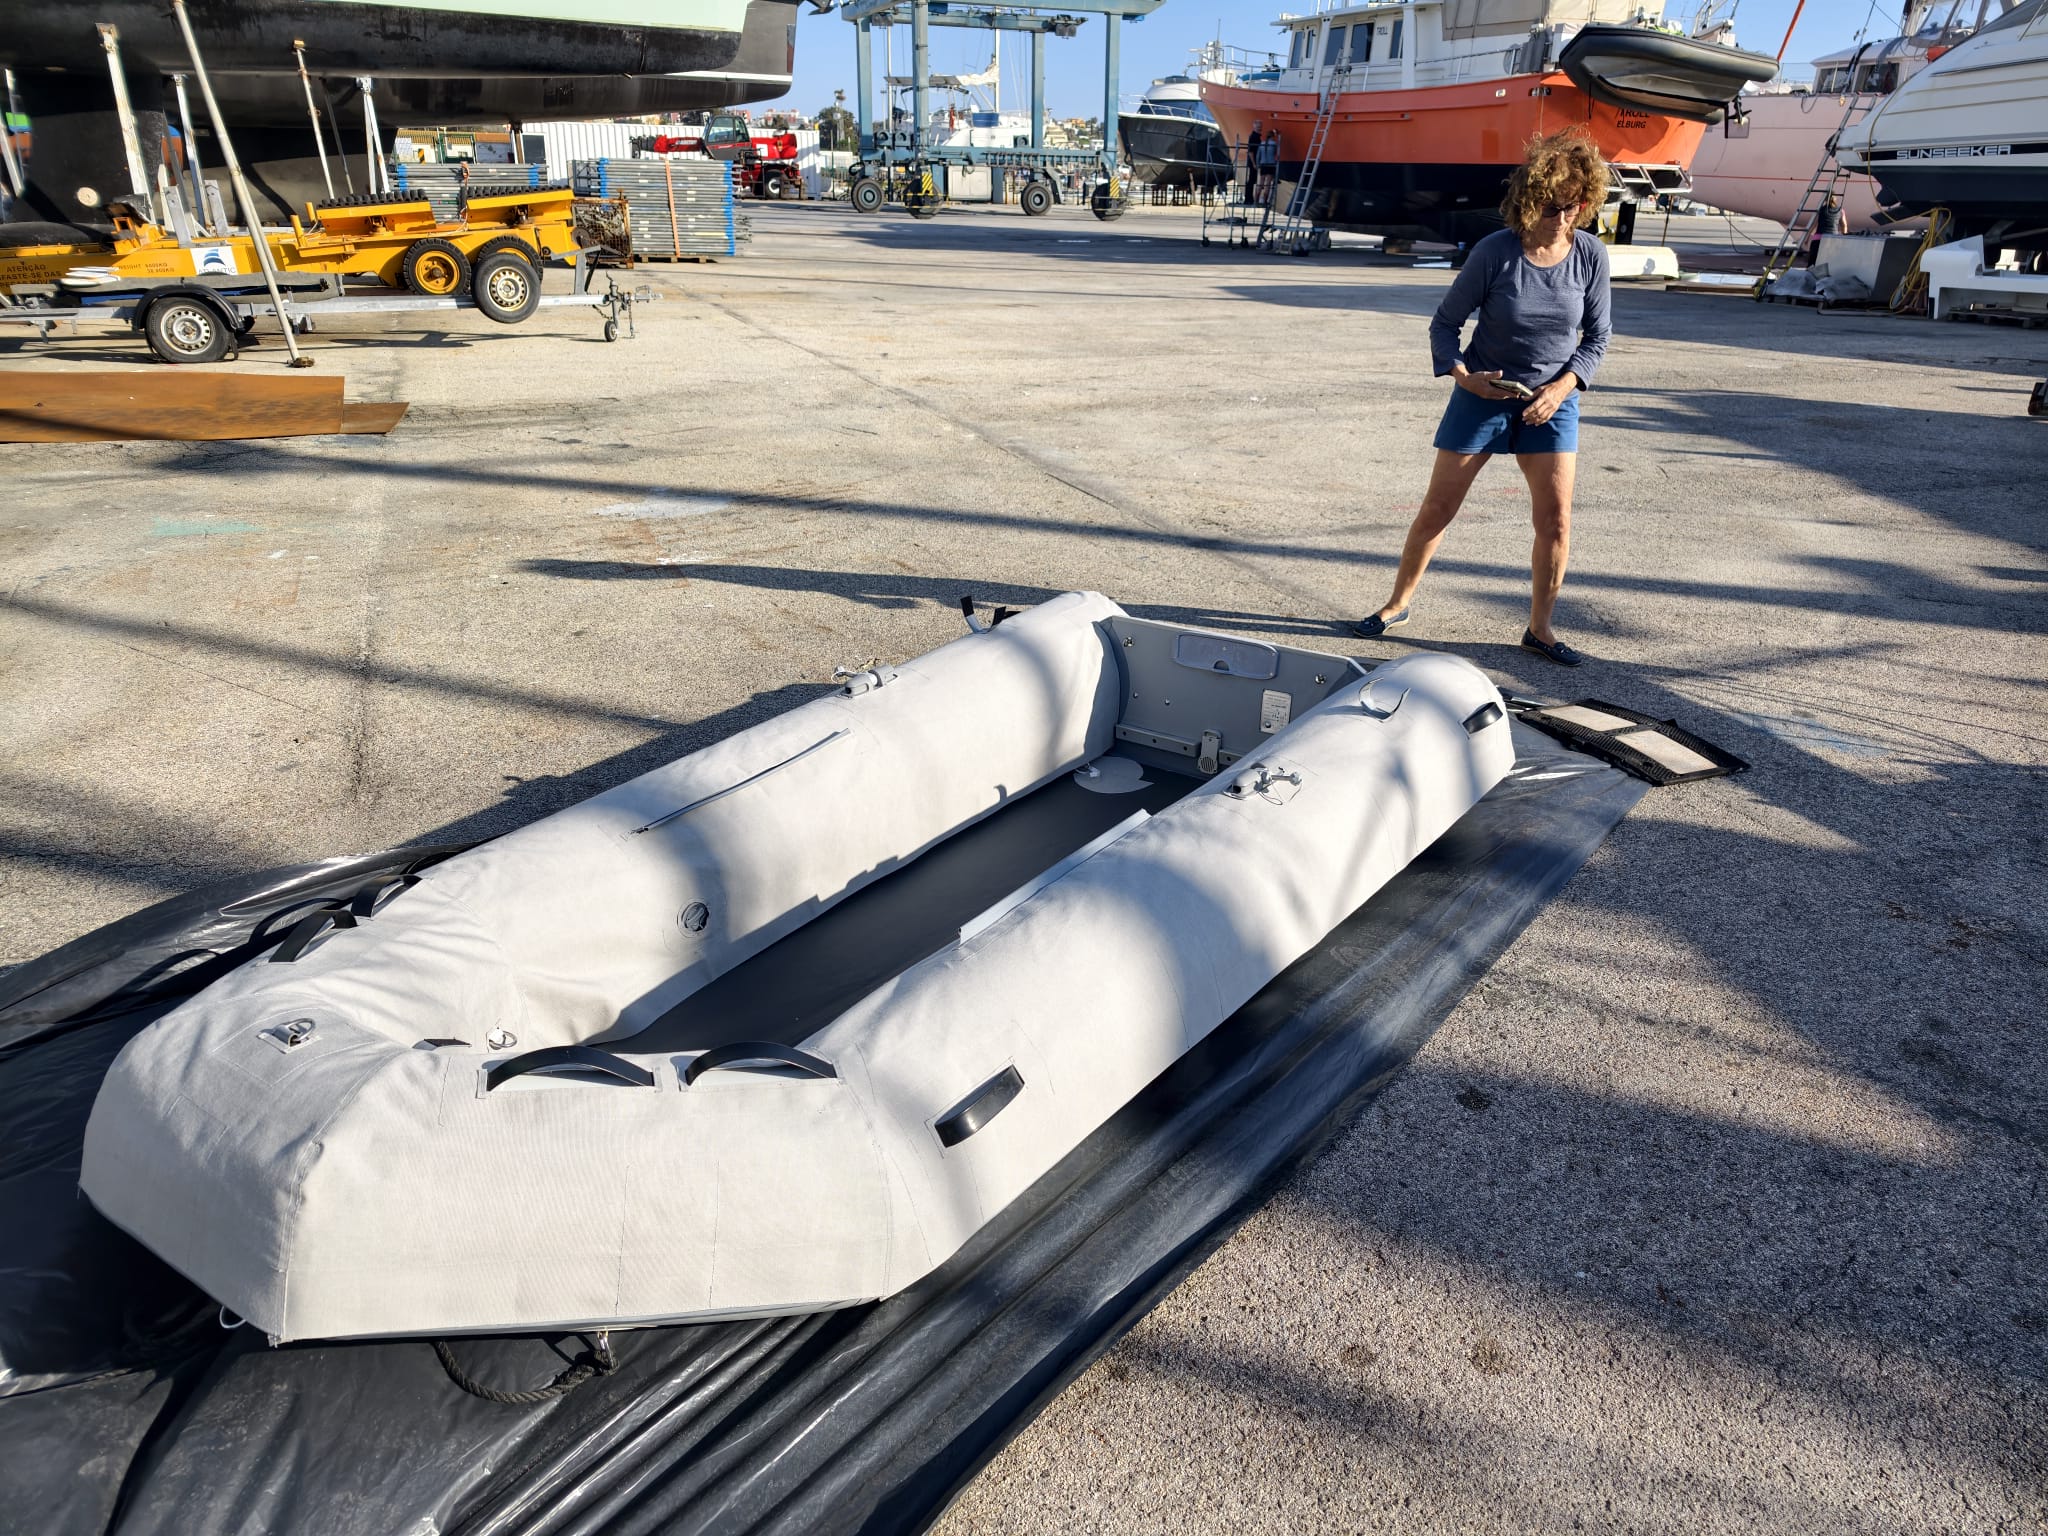
We hoist the dinghy down so Sher can do another fitting of the cover. She decides to improve the shape of the round back ends.

Meanwhile, Wim re-installs the engine exhaust water lock.

When things do not go right at the Sailrite sewing machine, and your “Honey Bunny” still wants to take photos for the website post! ….😅
But in the end, the dinghy cover fits perfectly! 🥳
And finally!!!!… depth & speed transducer installed! Job well done!
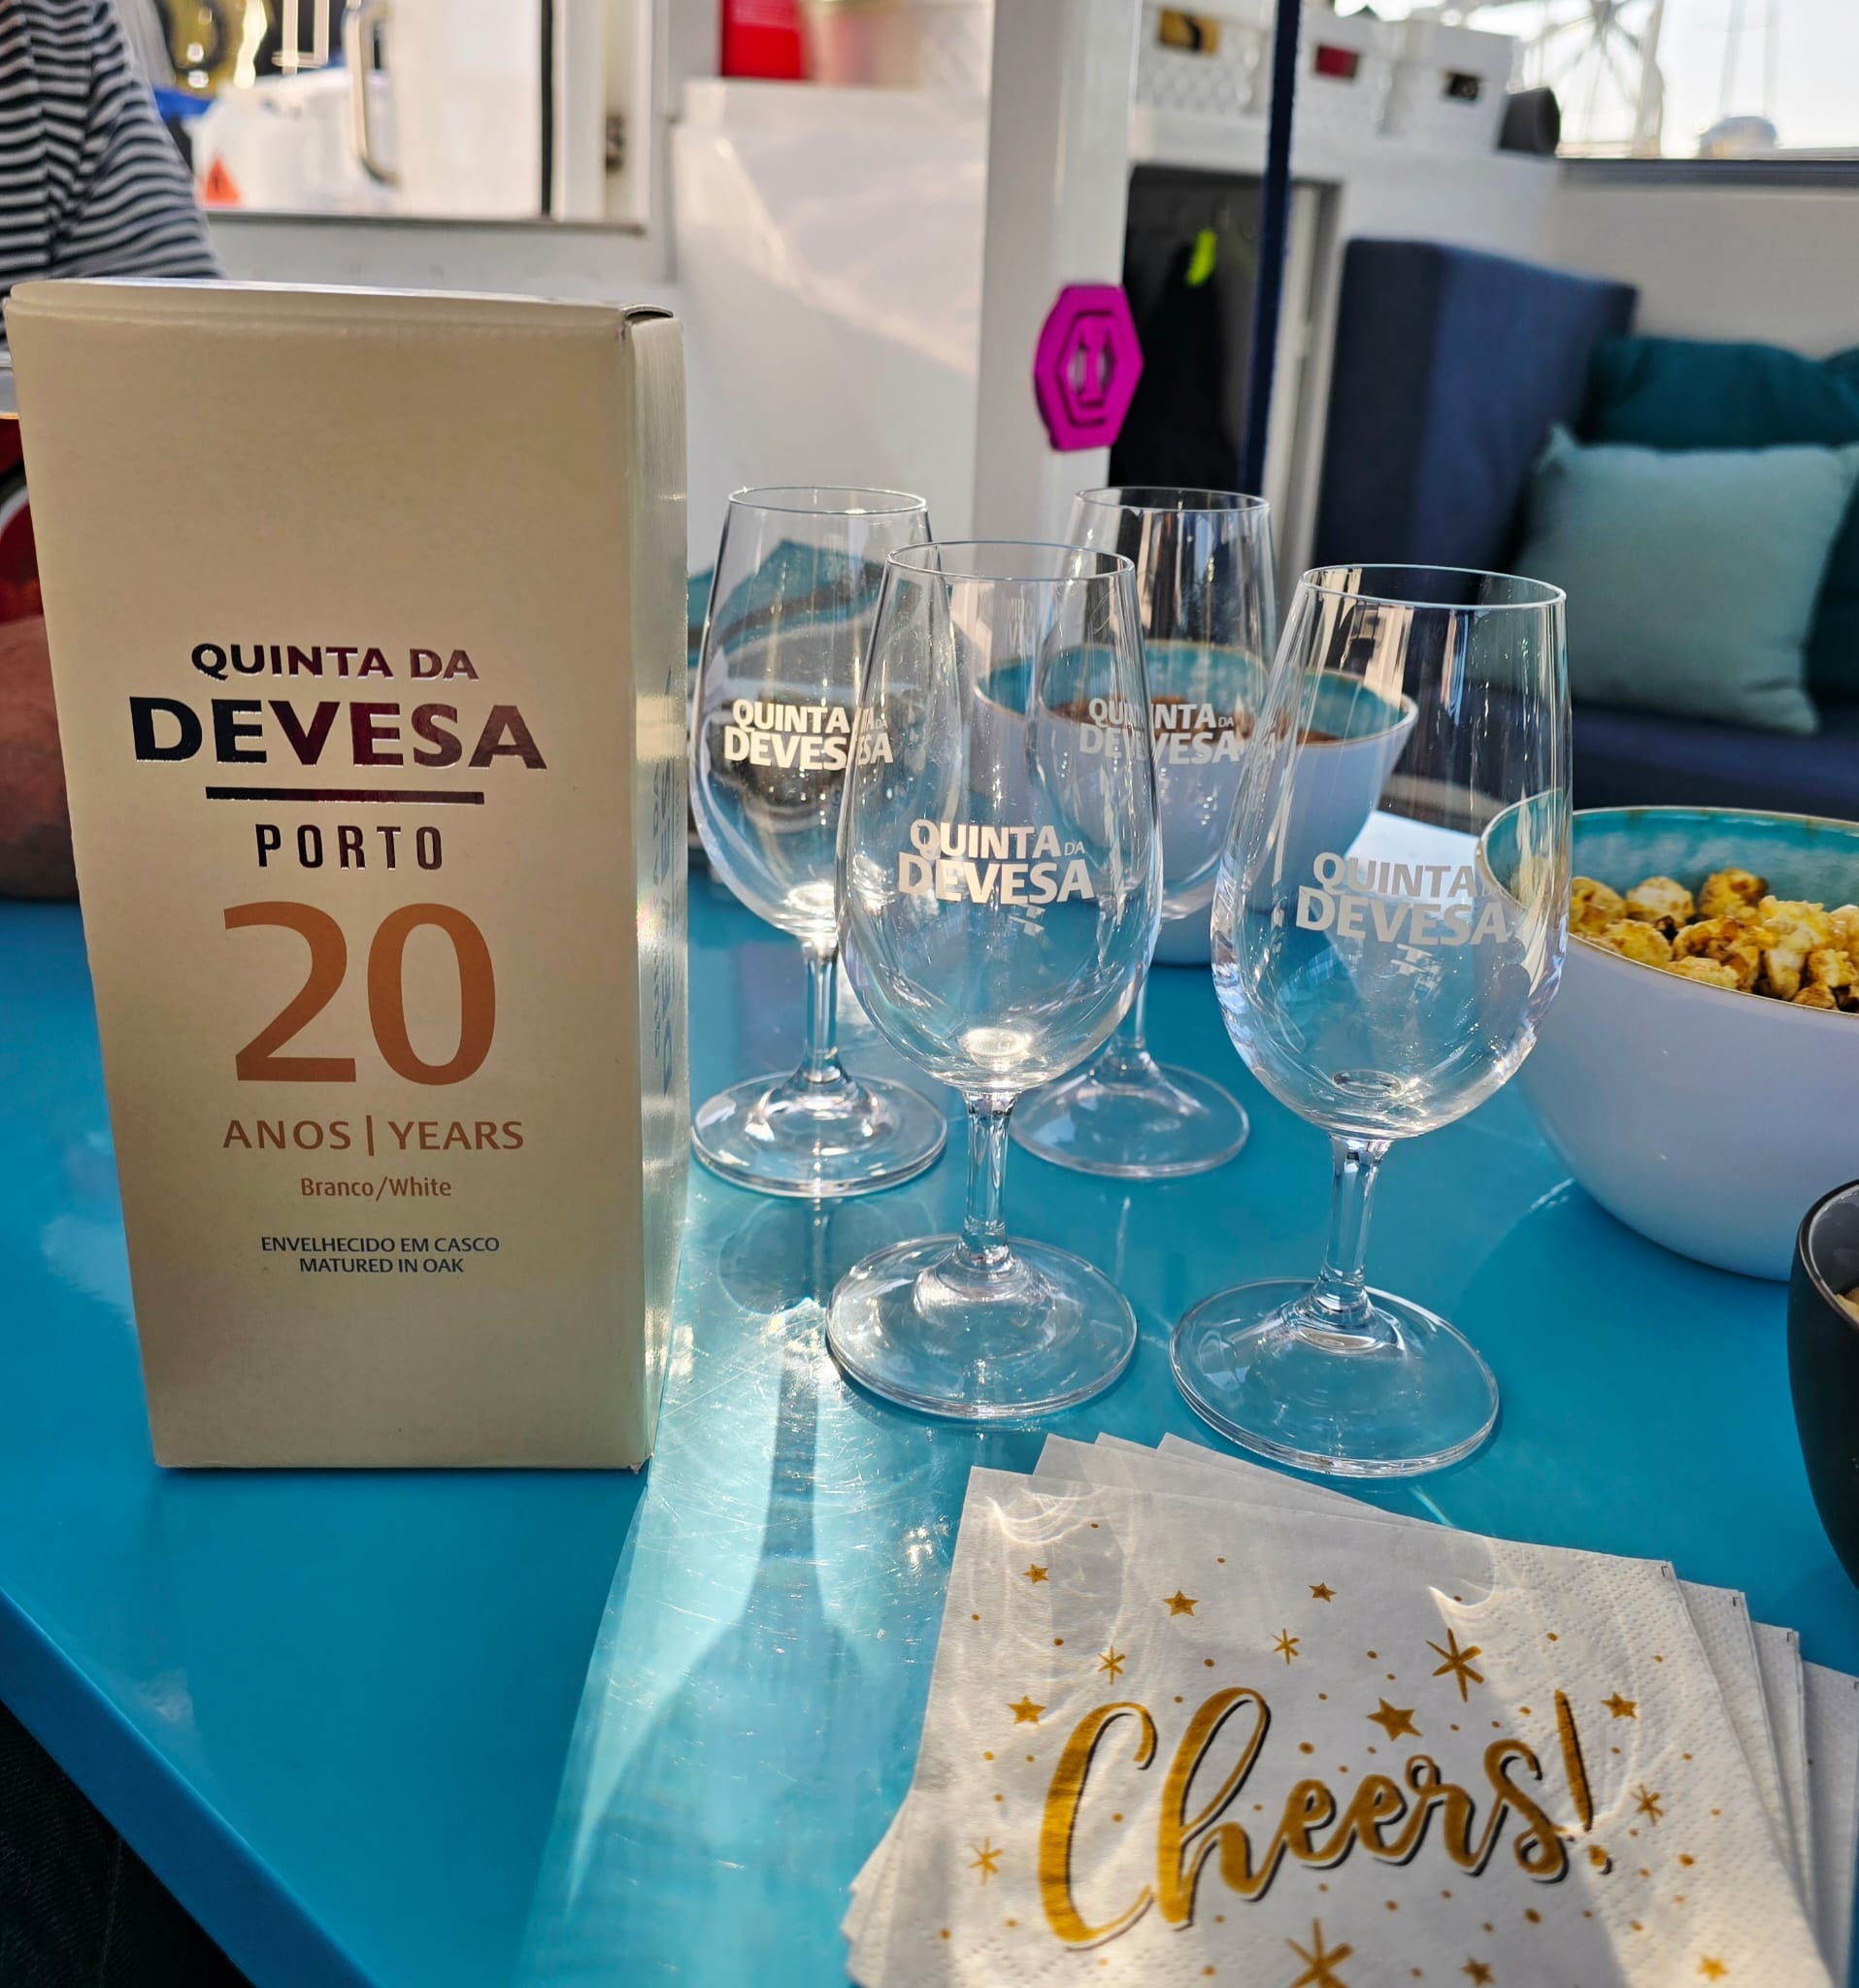
In the late afternoon, Tom & Marcia from the boat “Bird Song” visit us. It’s Tom’s birthday and we toast with one of our most beautiful Port wines: the Devesa 20-year old white. Including the special Devesa glasses! The 4 of us had one of the best days of our lives at the Devesa winery and this is an occasion to celebrate that!
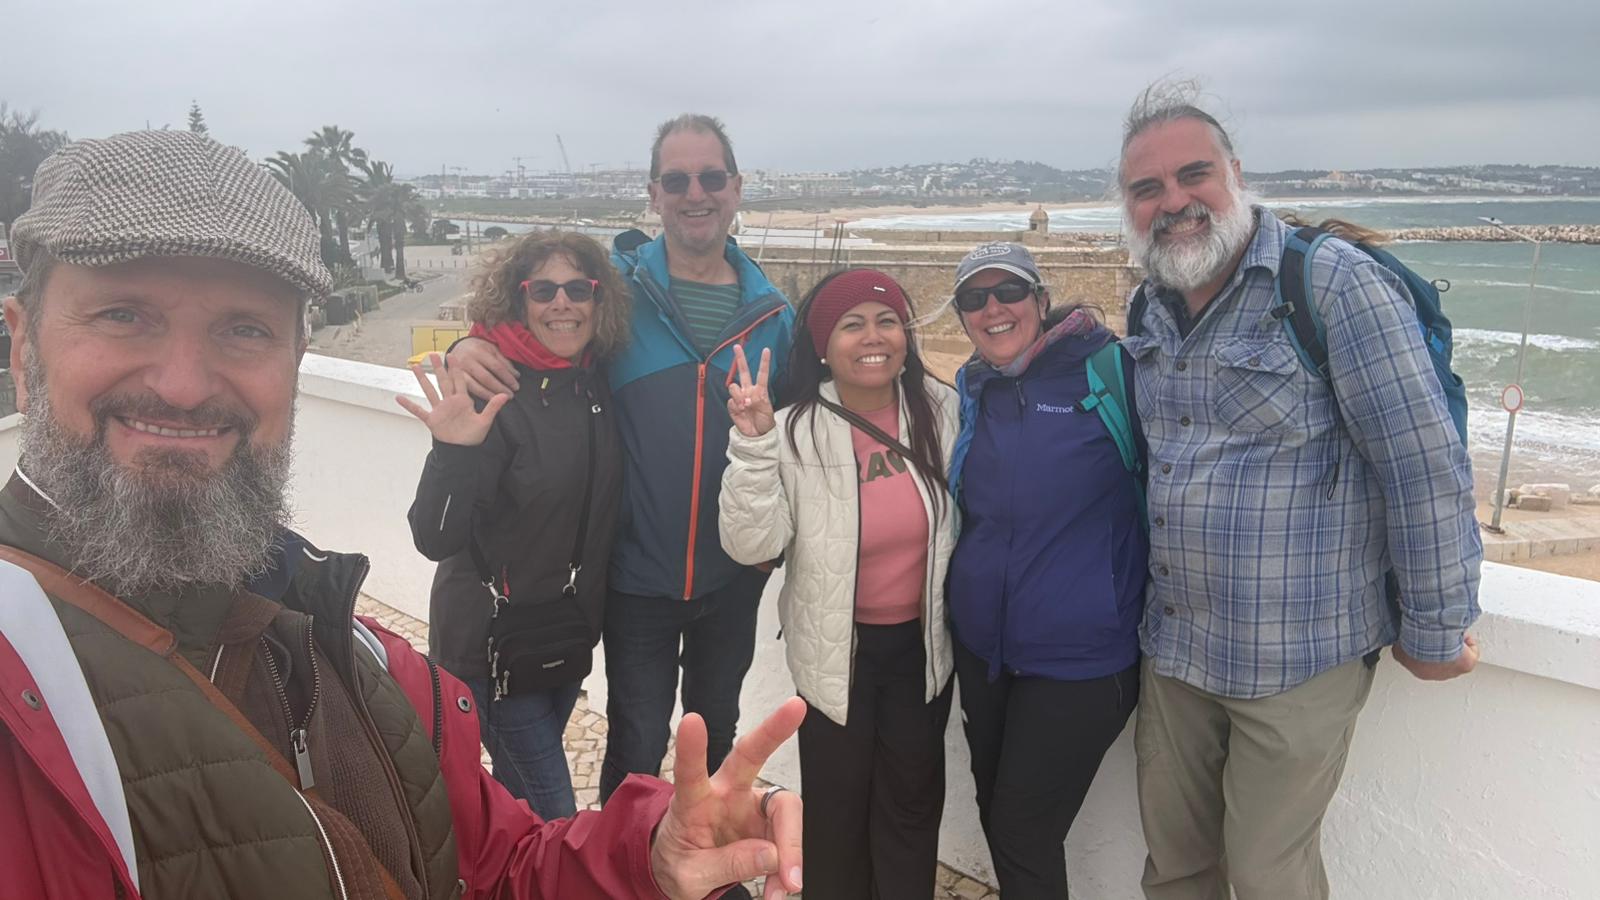
The next day, we drive with Marcia and Tom to see Lagos and celebrate our friend Marleth’s birthday. We have a delicious lunch with Marleth & Ingo, then take a walk before having wonderful carrot (birthday) cake!
On the way back, we stop at a place where there are hundreds of stork nests! They built them low to the ground on old tree stumps.
We see the reason why storks had to think of another way of making baby storks since storks don’t bring baby storks to storks… 🤣
Today is launching/”splash” day!
Sher finishes as much as she can on the the dinghy cover while we still have shore power.
In the meantime, Wim sands the new CopperCoat spots with sanding paper P320 to expose the copper particles to the seawater once in the water. and he fills up the fresh water tanks.
At the end of the morning, a few hours earlier than scheduled, the travel lift comes and picks us up.
After lowering Dione IV into the water, and still in the slings, Wim checks and rechecks everything. We give a thumbs-up to the travel lift operator and while 2 boatyard guys hold our dock lines (we have 20 knots of wind on the beam), he lowers the slings and Dione IV is free! Quickly, Wim throttles up and we move out of the concrete structure.
We go into the outer anchorage area of Portimão, as it is not allowed to anchor at the inner anchorage currently because of dredging operations.

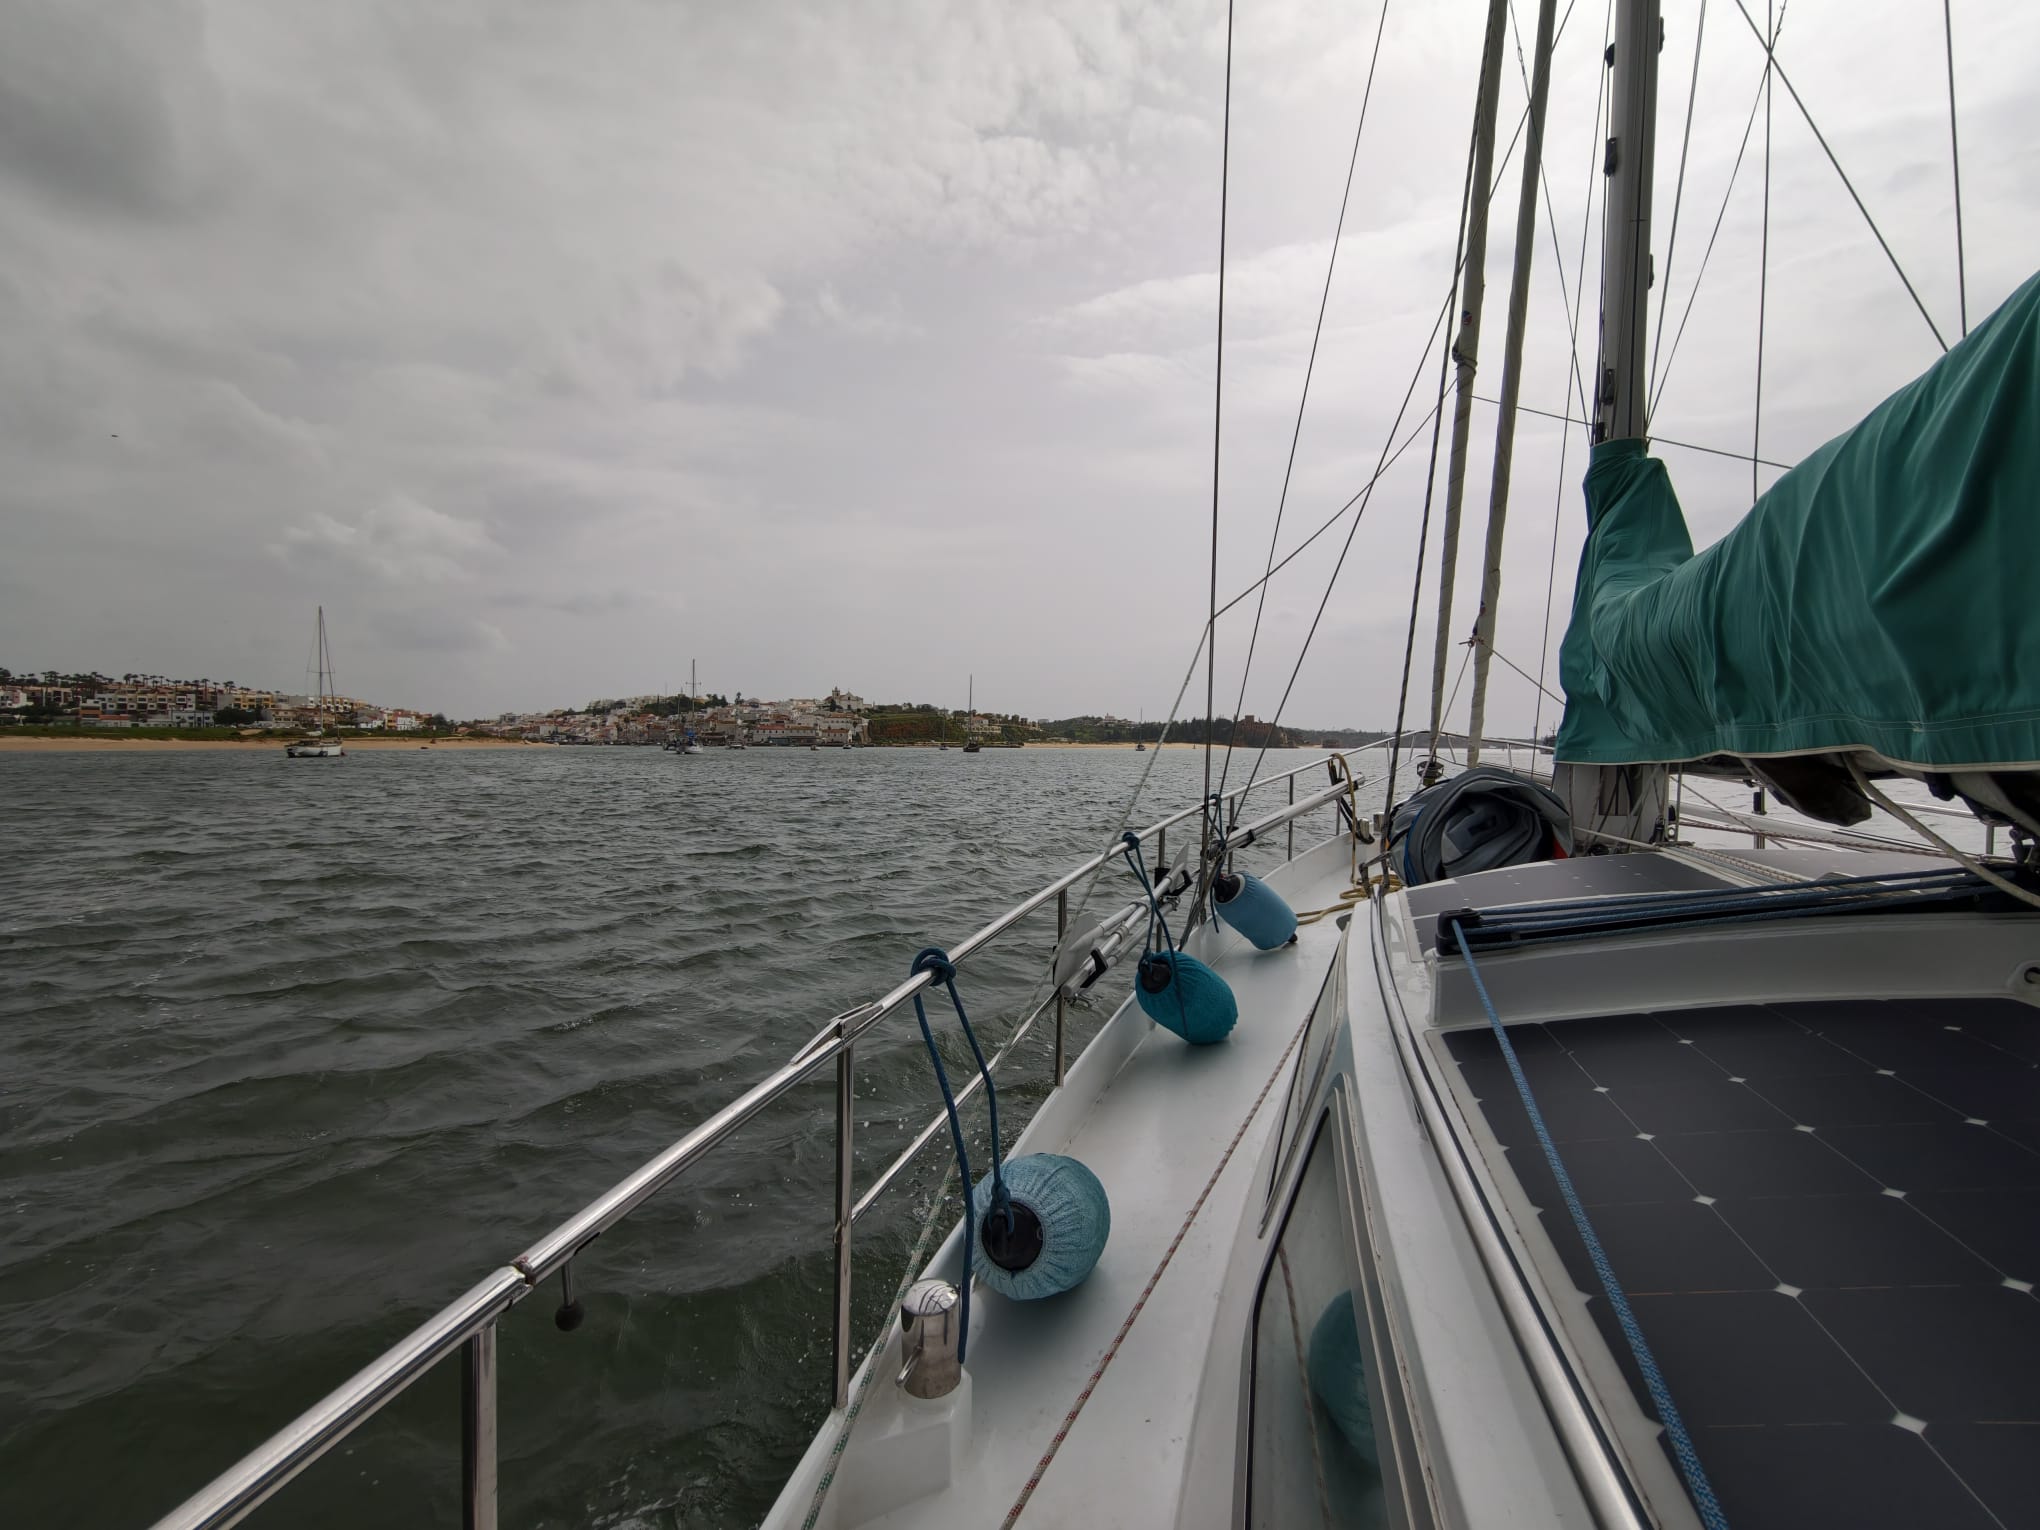
We’re so happy to be at anchor! So happy to feel Dione IV gently rocking after 41 days on the boatyard!
But we got so many things done!
Now, it’s time to relax a bit 😊
The Captain’s Log [T606,607,…621] – the complete story
February 16.
Bit by bit some shape gets around the transducer.
But more filler is needed, to have a nice smooth shape.
Put another 125gr against it and hold it with plastic… Twice a day.
Another job on the list is welding a bracket for the anchor chain roller. Therefore, Wim needs his welding tools. They are all the way in the bow, in the area of the bow thruster, under the bed.
To reach it, everything has to come out of the forward cabin… resulting in a huge mess in the boat 🫡
But there it is. A little welding workshop outside…
We brought the stainless steel parts a year ago from the Netherlands but we didn’t have an opportunity to do the welding and grinding. Here, that no problem. So, Wim goes ahead.

A big lump of wood serves as a little workbench 😅
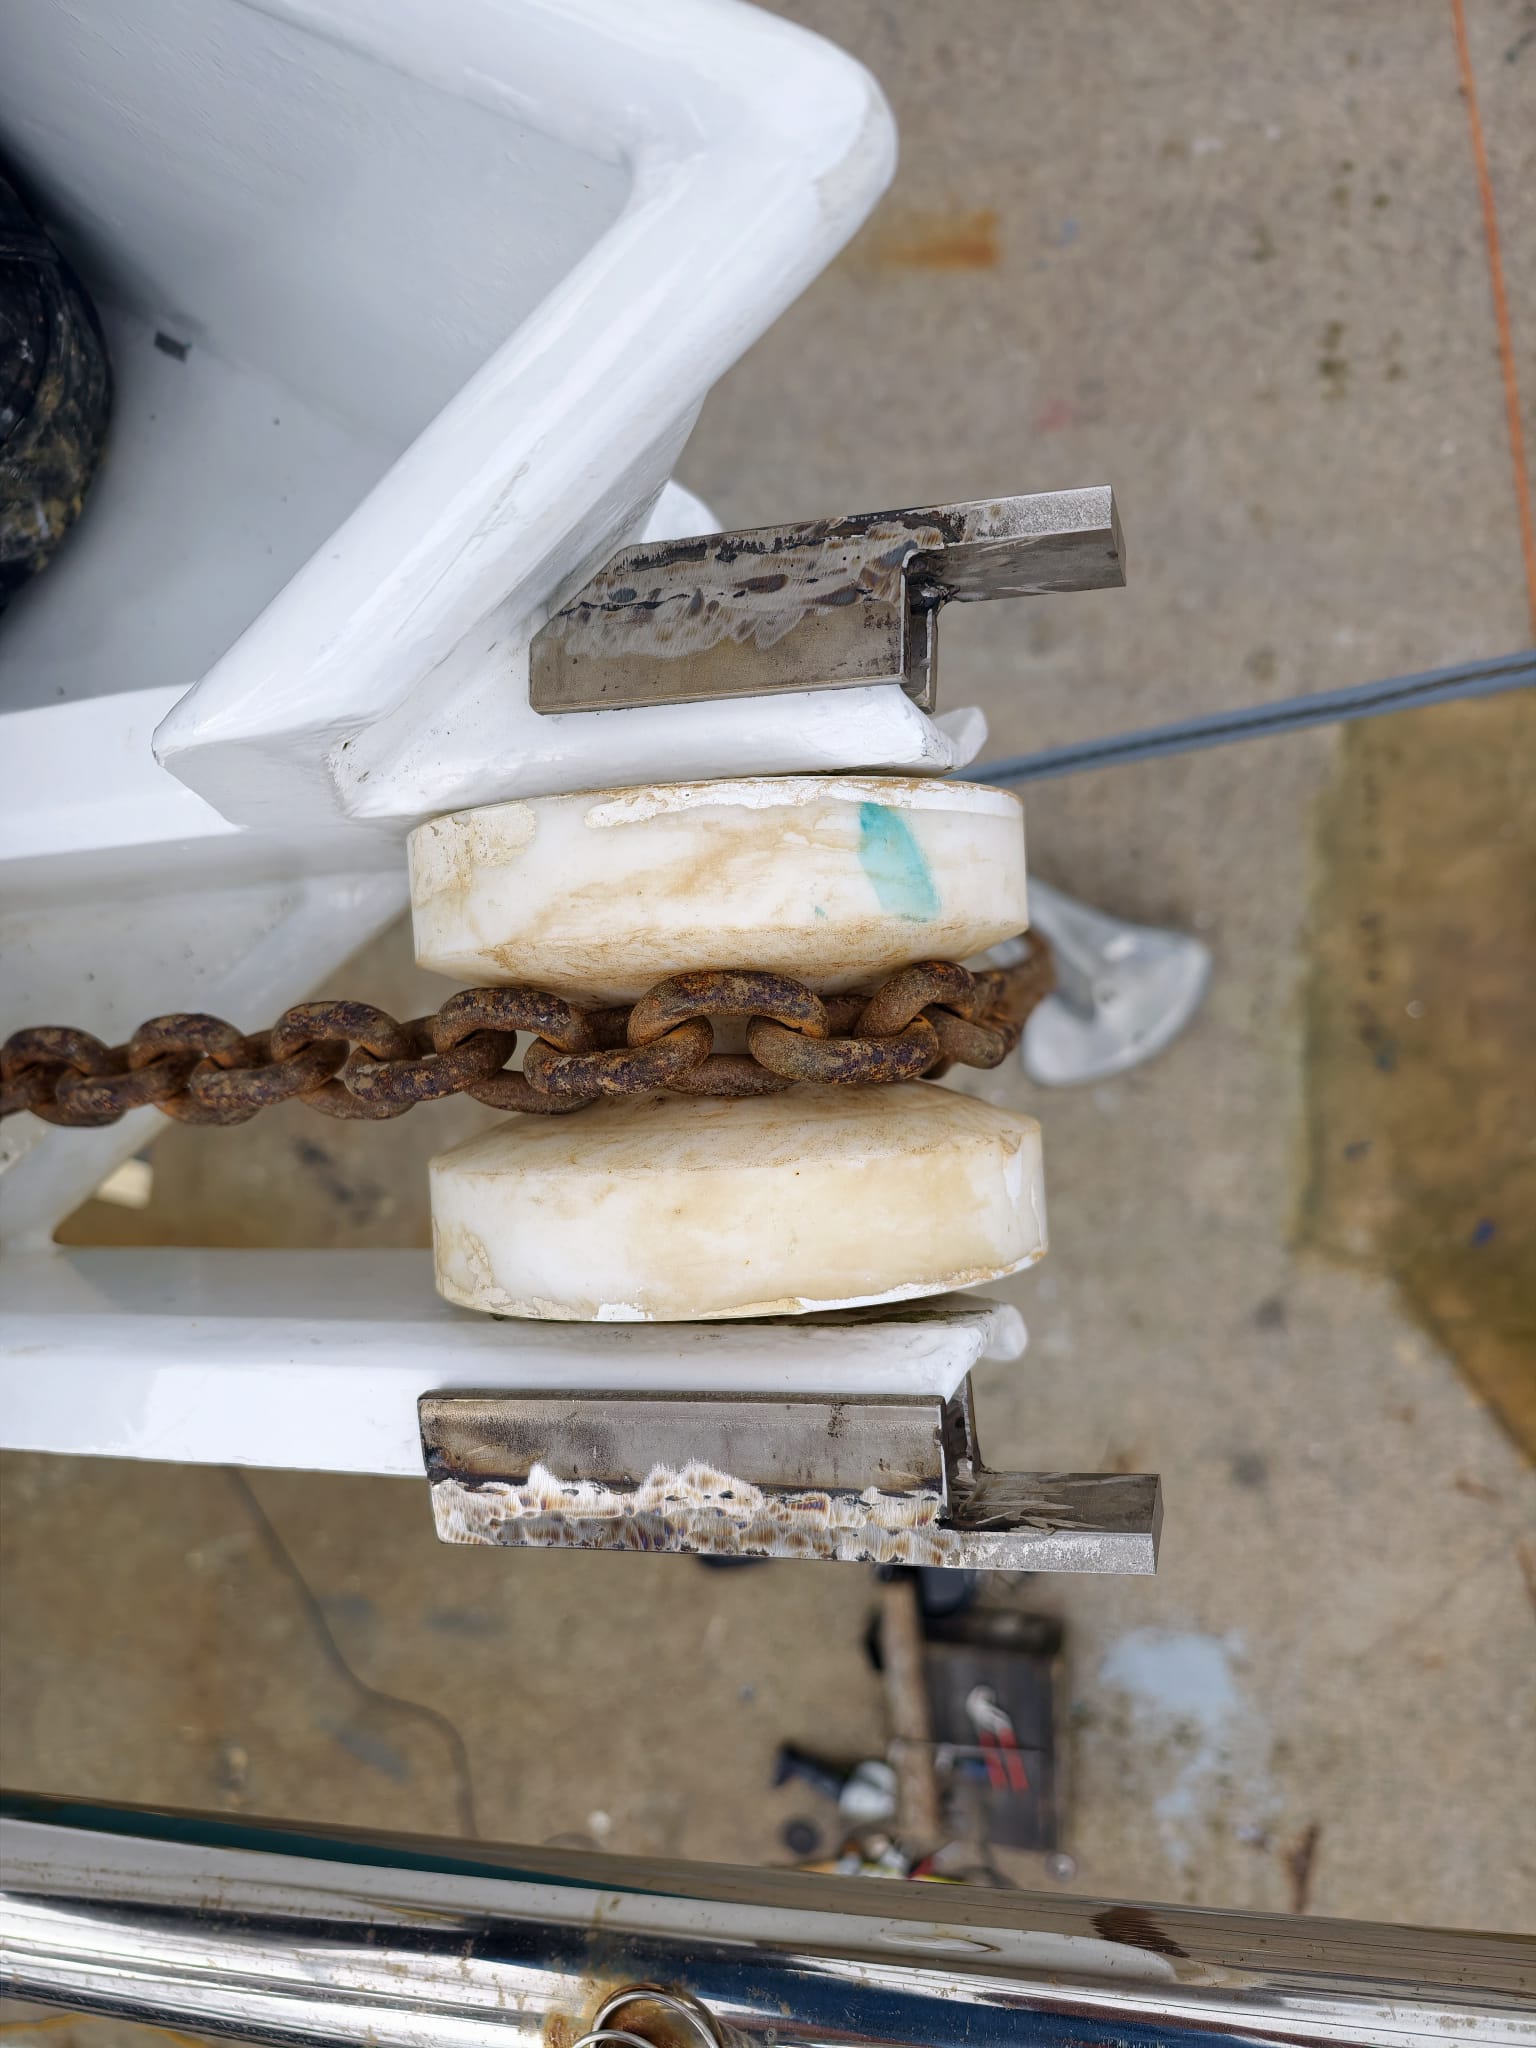
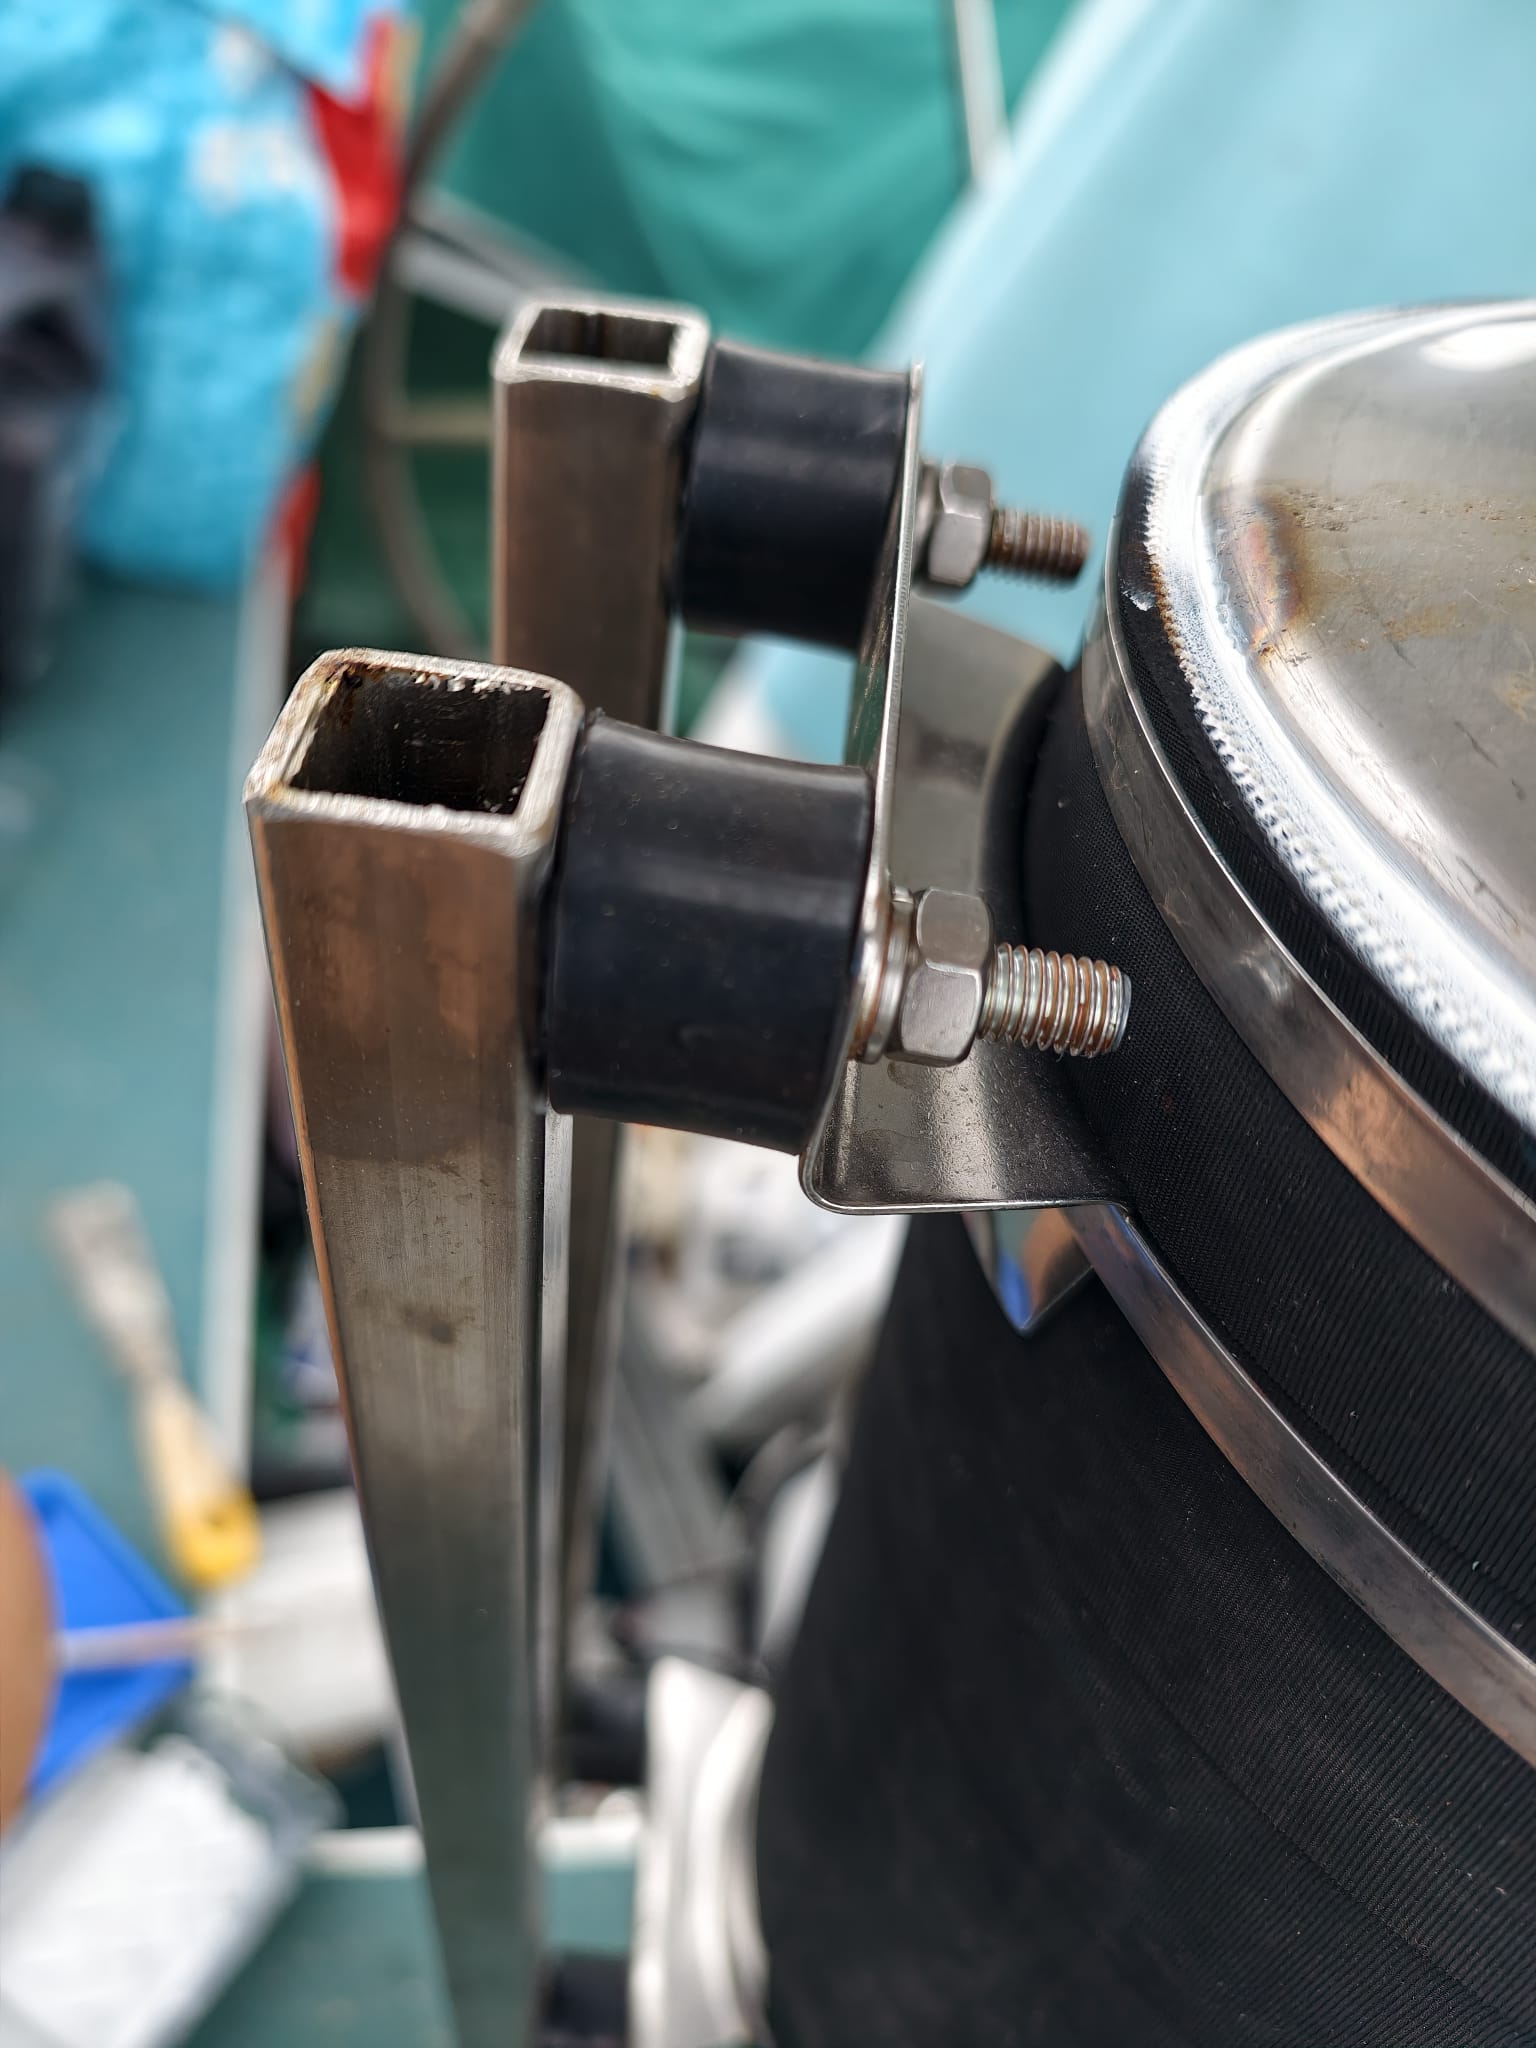
The U-shaped side parts welded. They shift over our anchor chain roller foundation.
Then, a massive 40mm shaft comes in between. It’s unbelievable how much heat this little welding inverter can poke in! It’s not even at full power and it penetrates this massive lump of steel 👊🏻
At the end of the day, fits nicely. The welding was real challenge because using that much heat pulls the steel like crazy. So, carefully spot welding piece by piece kept it straight. So that is smoothly slides over the roller foundation.
Sher continues her work on the cockpit sun shade.
We fit it outside on the frame over the cockpit and the side battens look perfect. Sher measures where the inner batten pockets have to come and we take the cover inside again.
And of course, she has to see some storks 😀
February 17.
Wim is still doing 2 layers of filler per day…
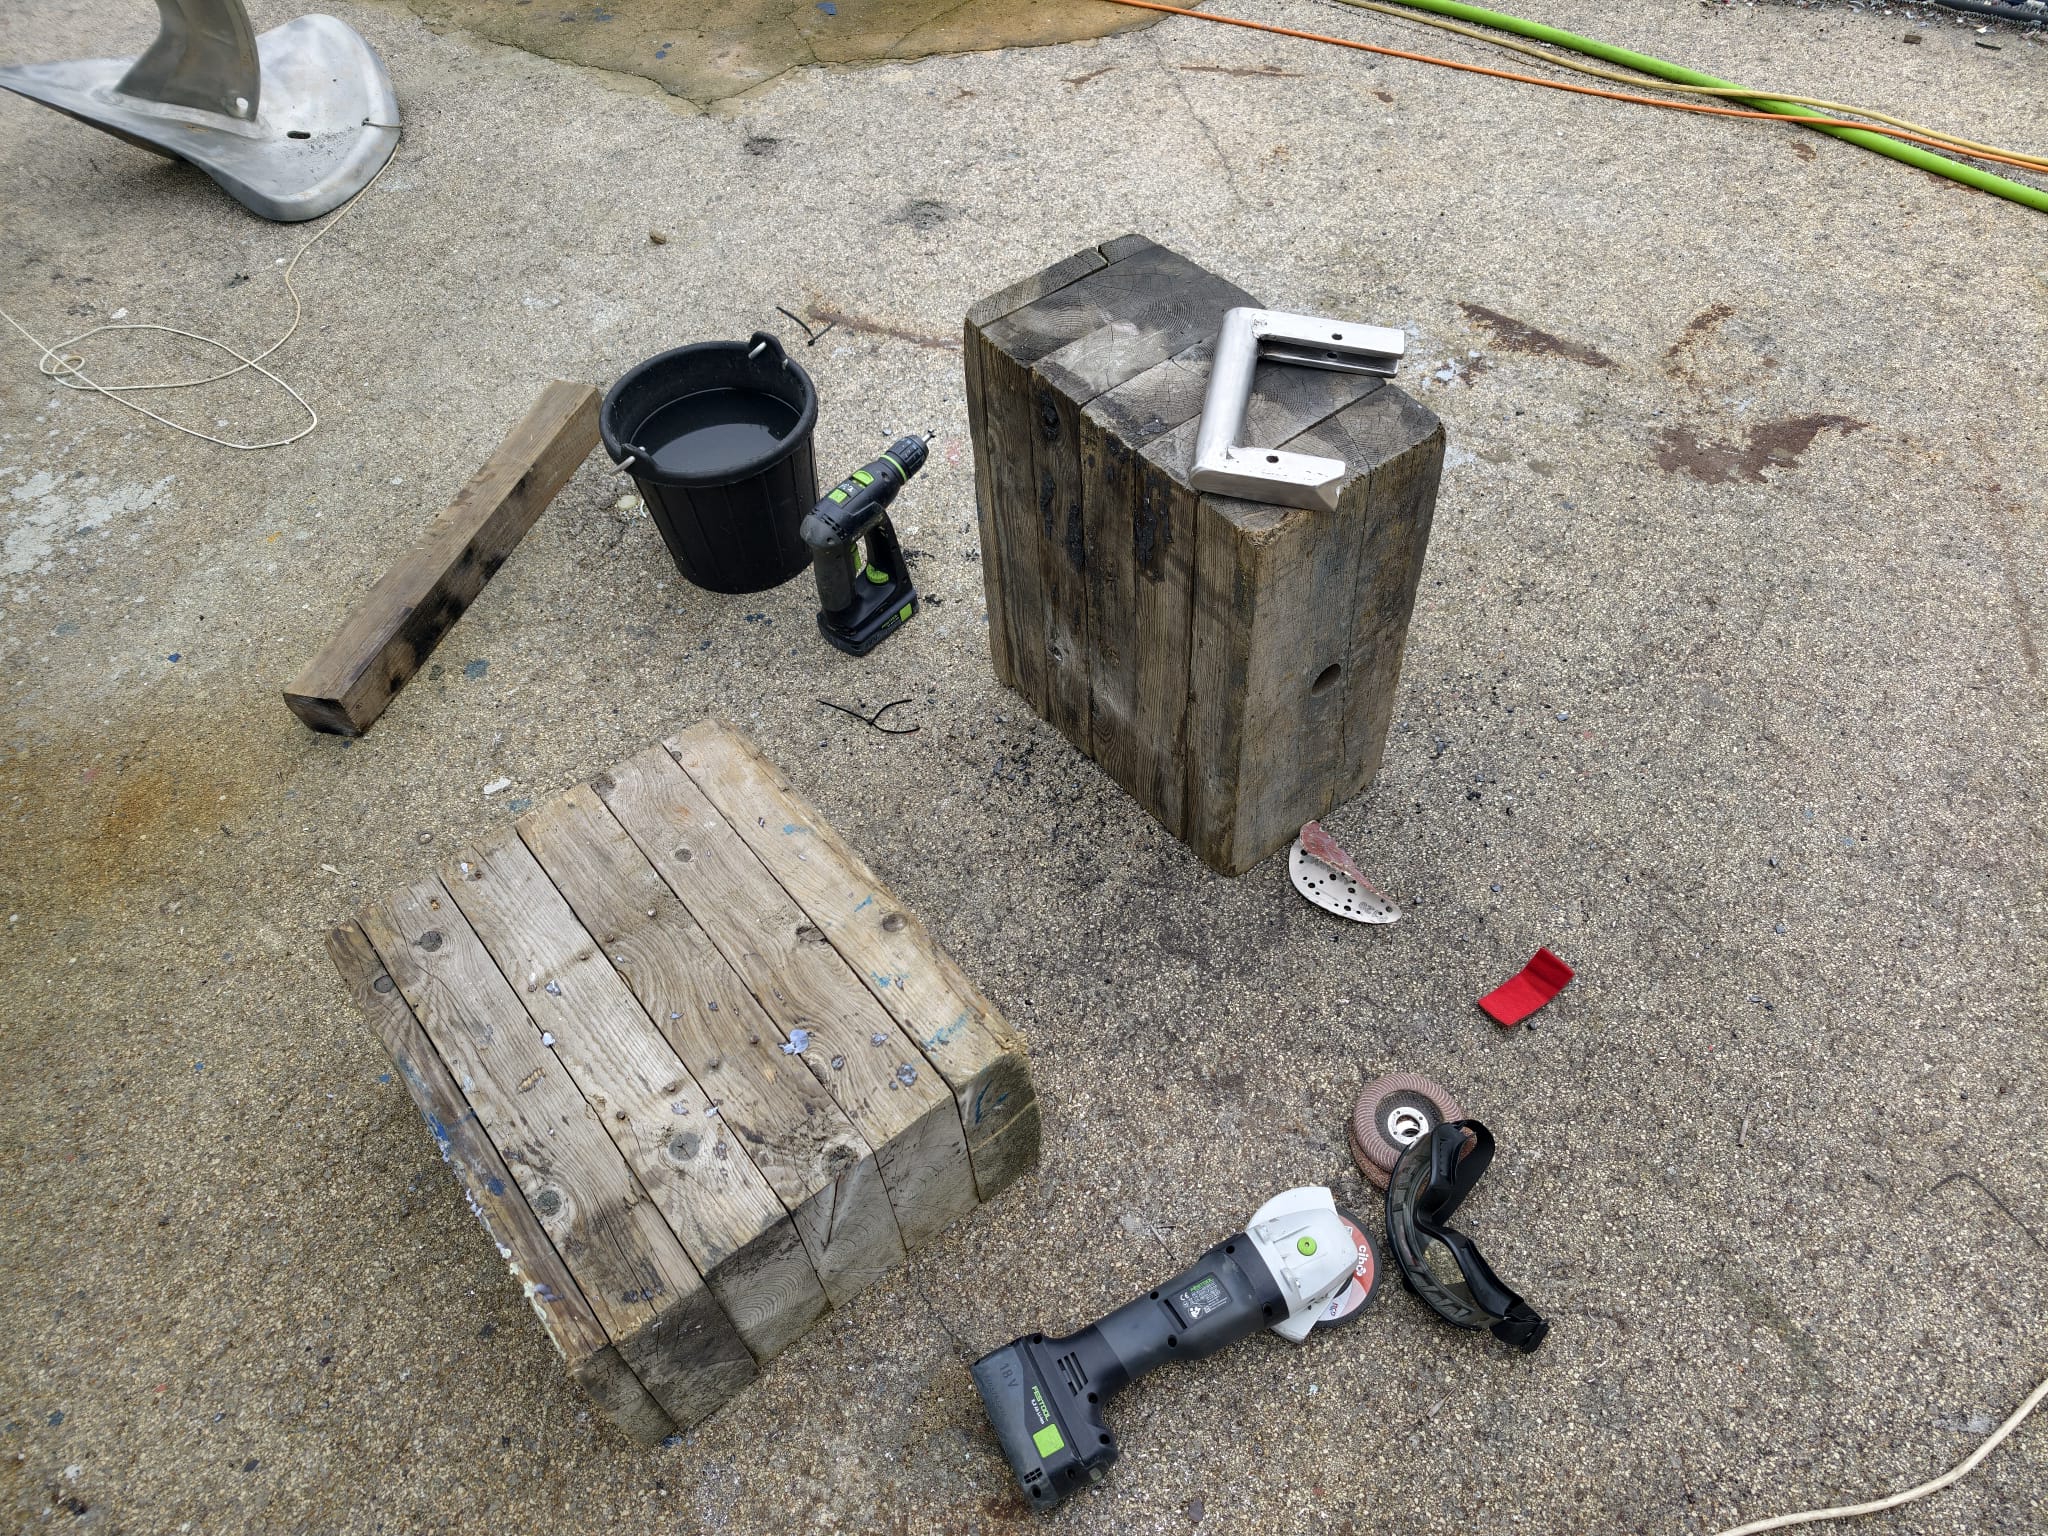
“Workbench” with “seat”, to grind and polish the bracket…
Sitting on his knees, bend over, all day yesterday, Wim hurt a muscle in his lower back. So, take it a bit easy today…
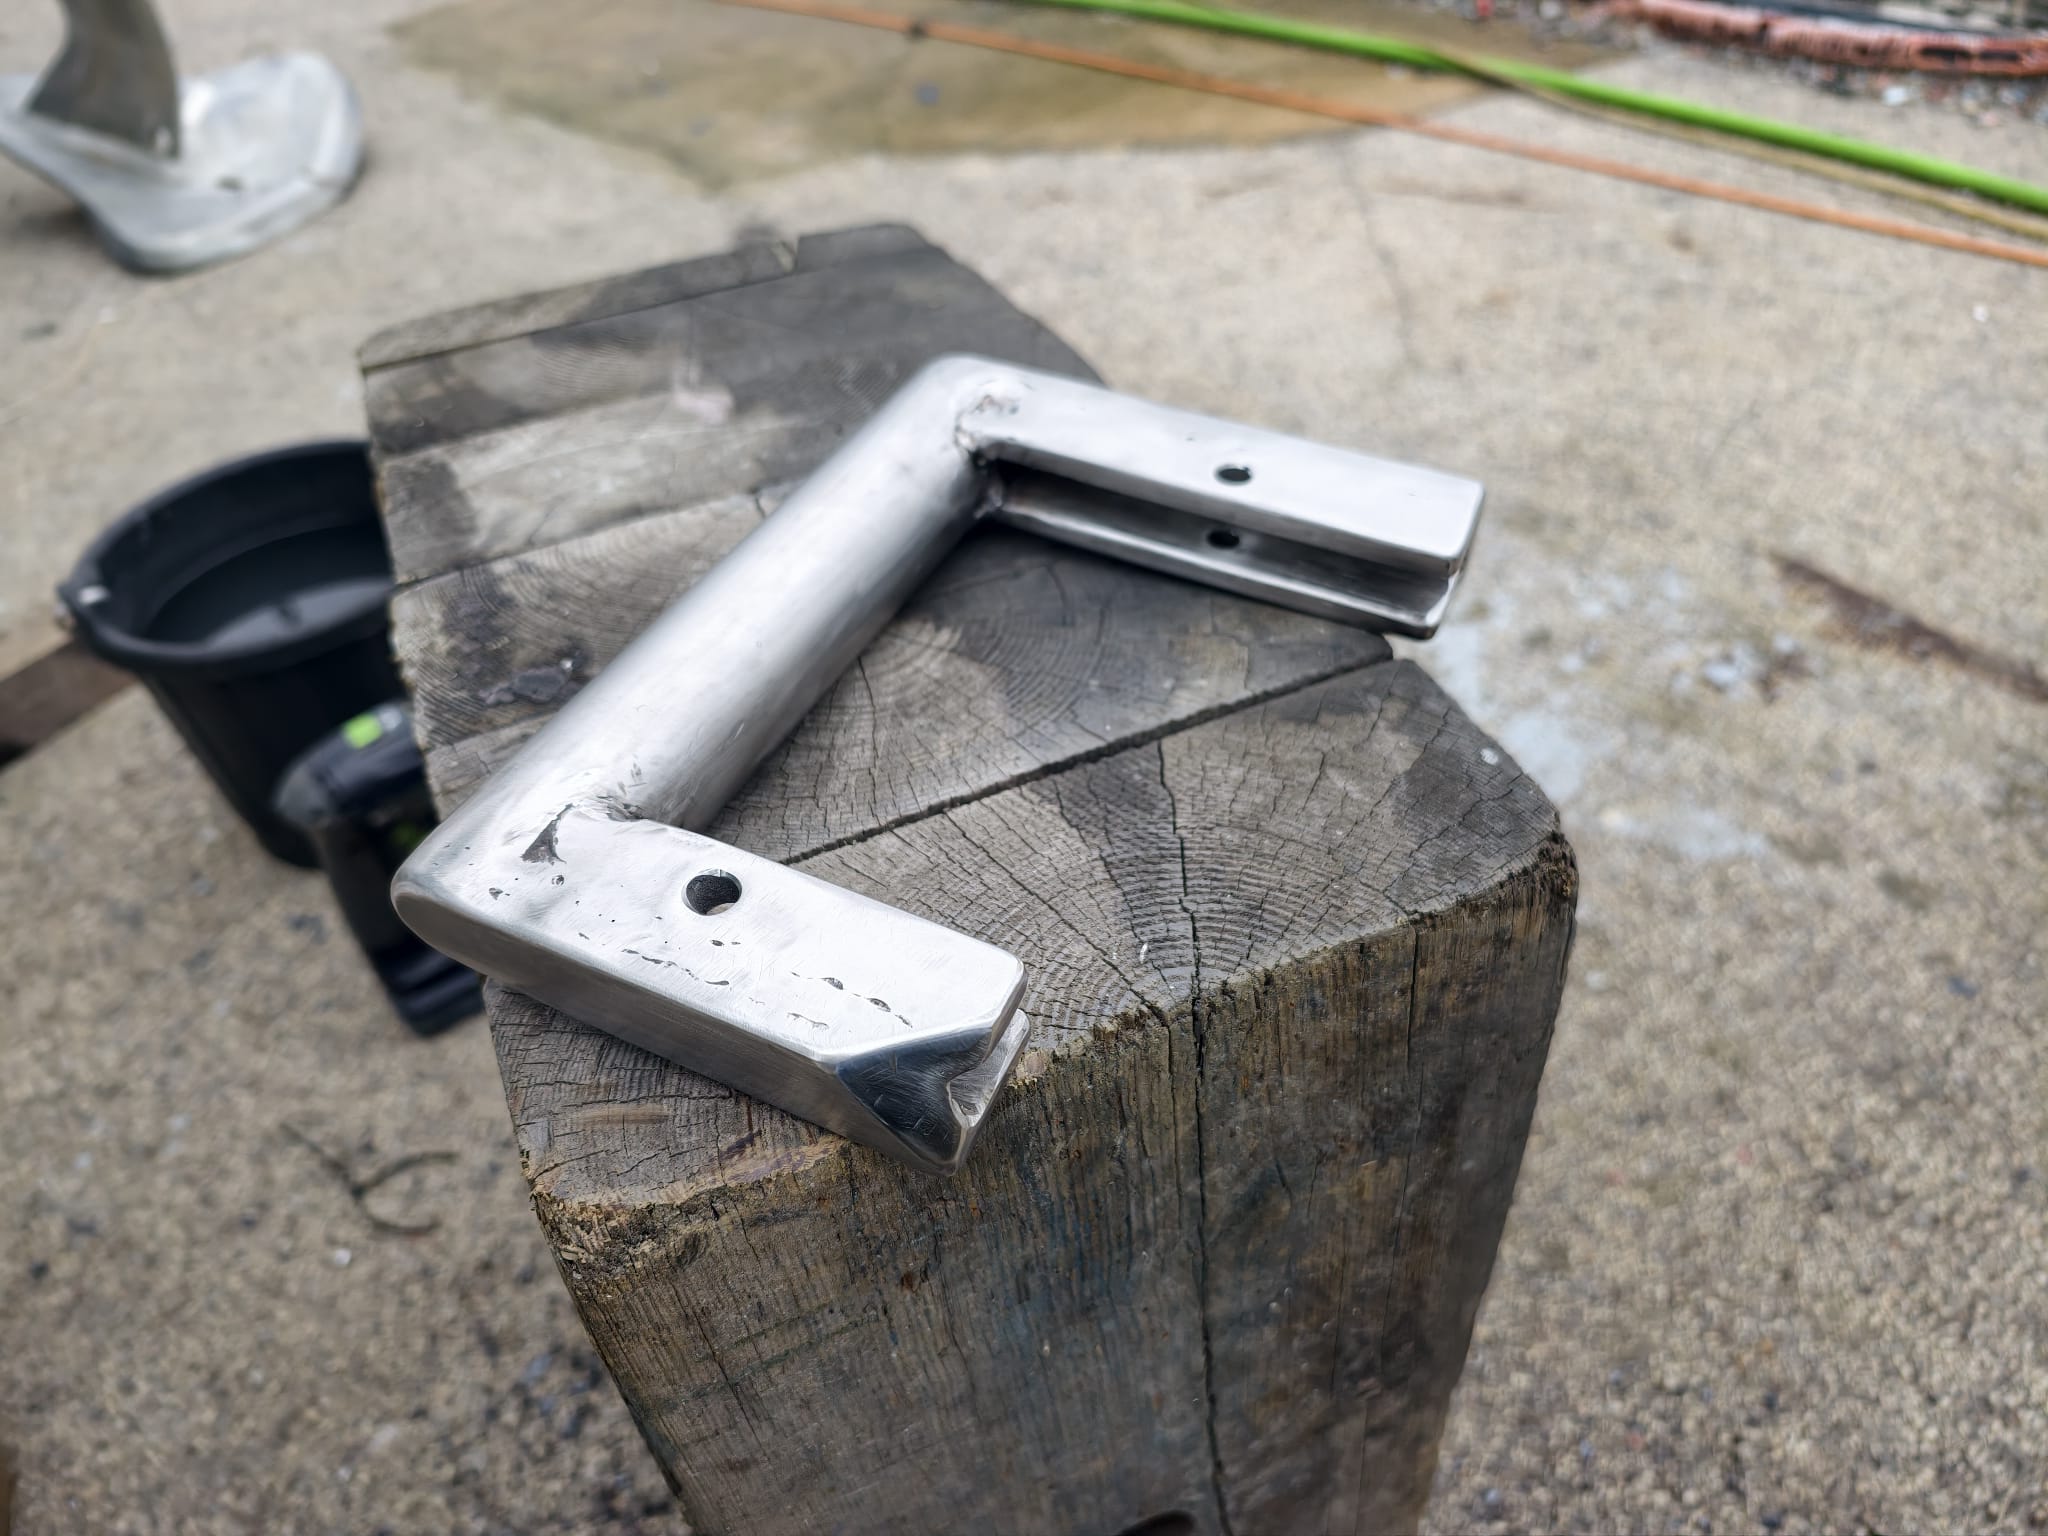
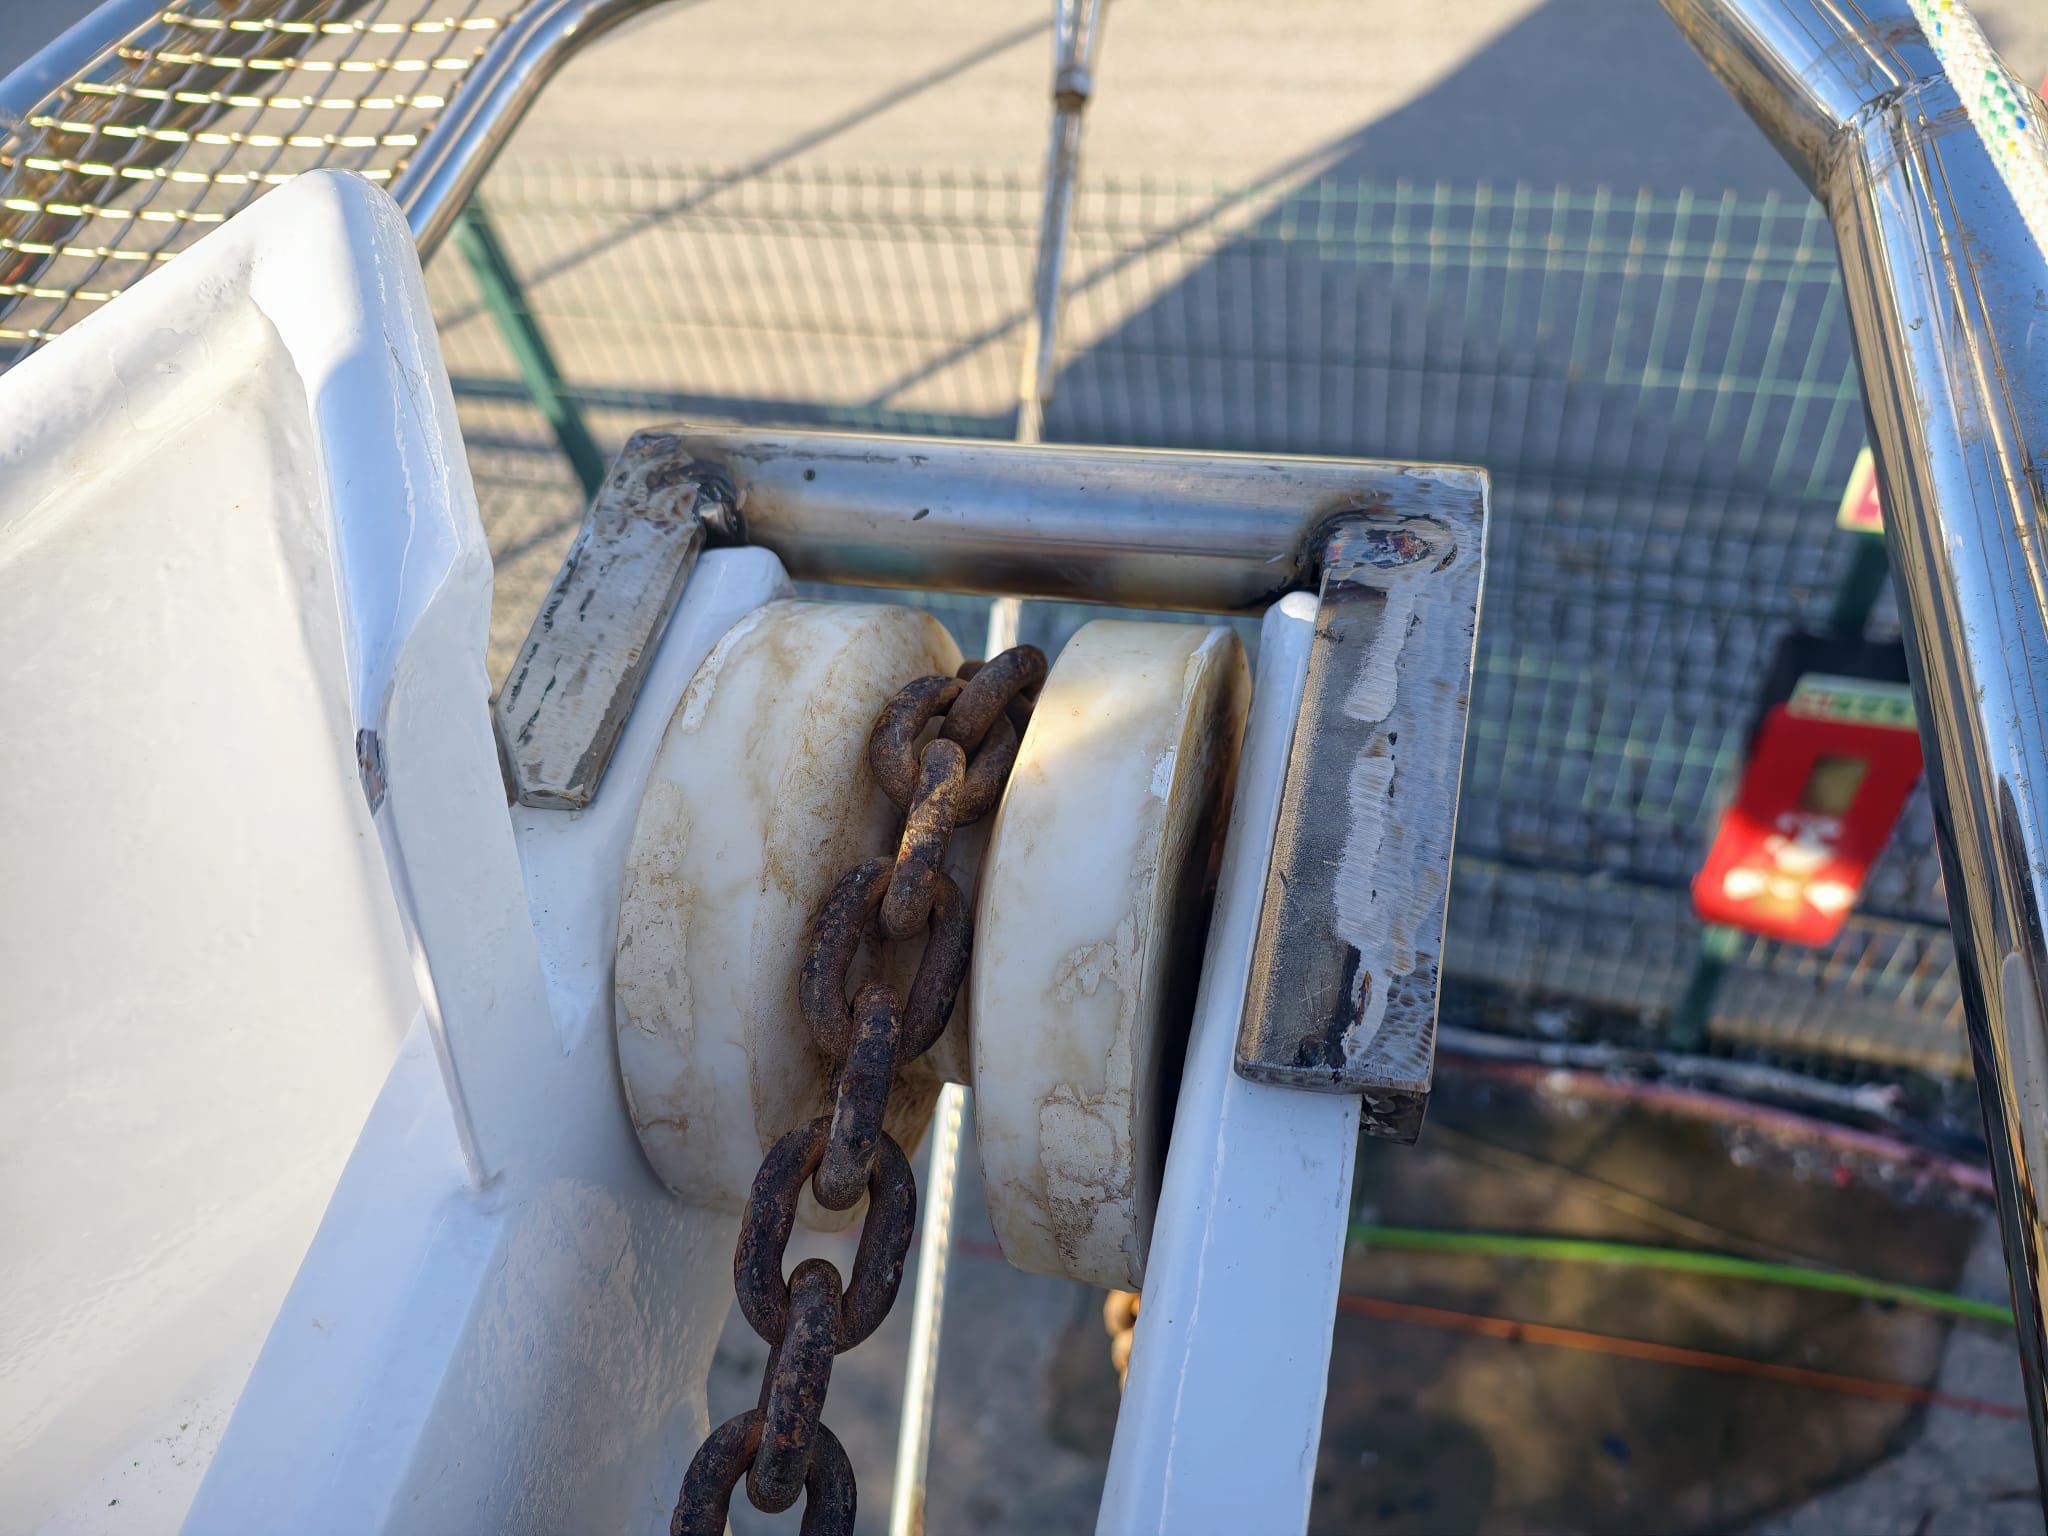
Ready!
The purpose of this bracket is to prevent the chain flip off the roller. That did happen a few times in the past when we had to hoist the anchor while pulling sideways (in crazy situations with wind a current).
Another thing is: extra safety. If the chain hook or the anchor bridle breaks we want to be absolutely sure that the chain stays on the strong roller construction. We could even keep the chain hook + anchor bridle on deck, if necessary.
Of course we have to remove this bracket when the anchor is up and pulled onto the roller.
February 18.
The faring around the transducer is close to its final shape. This will create a gentle flow of water around it.
February 19.
After sanding once more, we are satisfied.
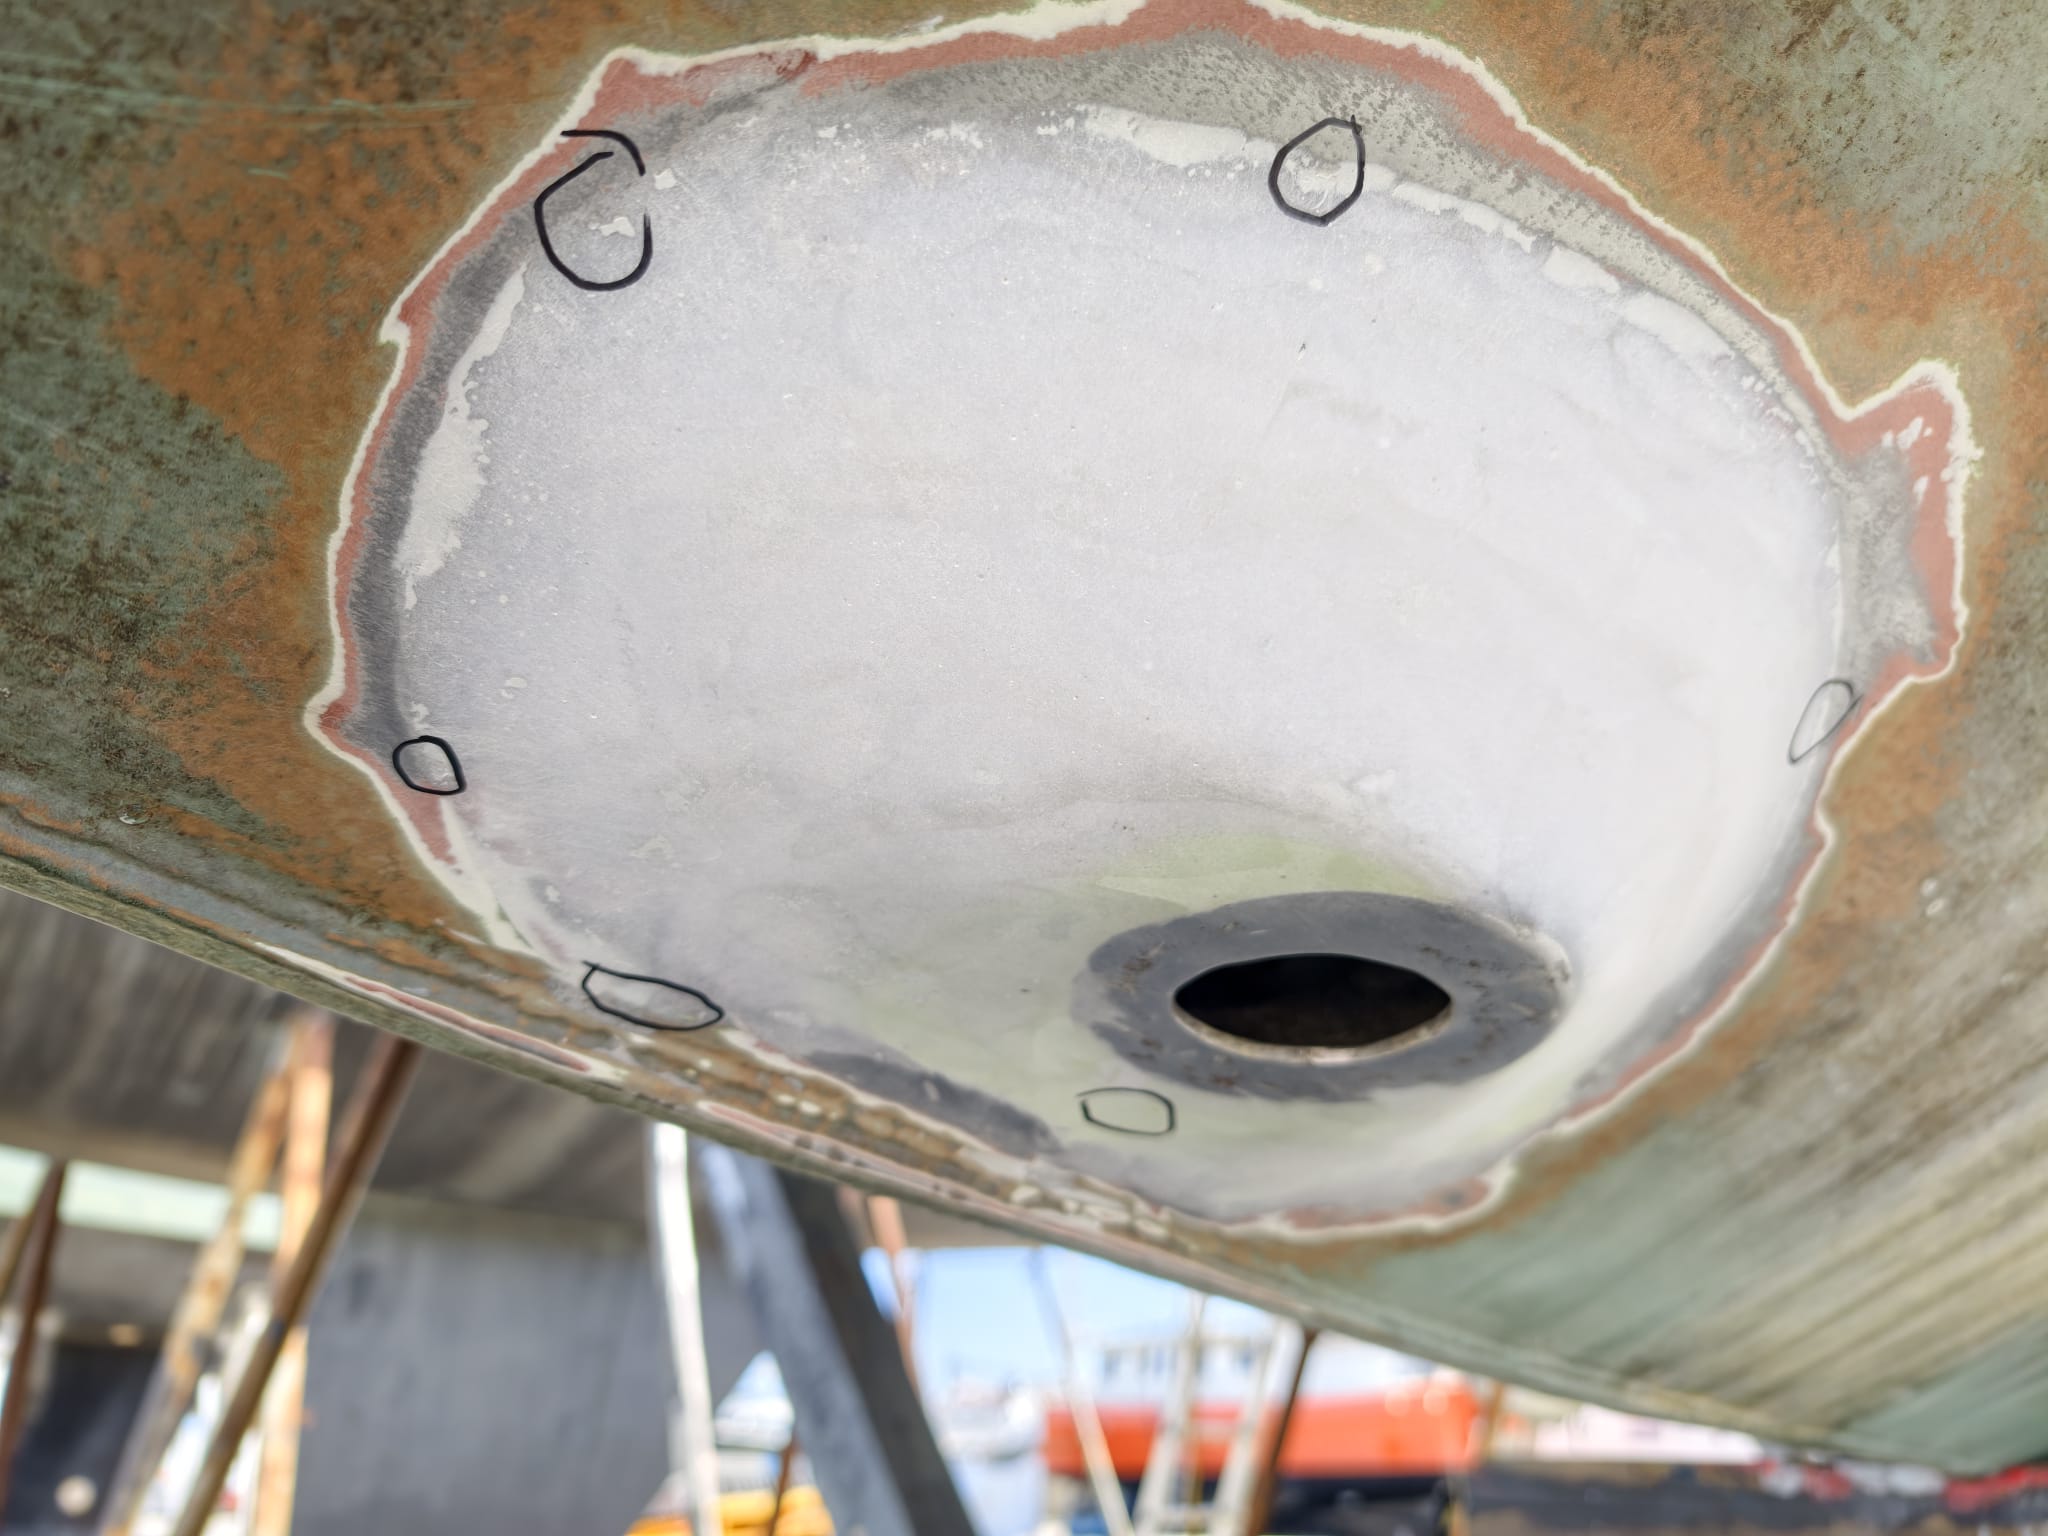
There are just some tiny spots that need to be smoothed / filled.
The epoxy filler is too course for that so we use a little bit polyester filler.
Meanwhile, Sher finishes the work on the cockpit sun shade.
The weather is lovely so we can install it to see if everything fits nicely.
It looks perfect!
We have some trouble to get the battens into the end pockets. In the end, we tension the fabric firmly to the frame (that stretches the fabric a bit) and then put the batten in the aft pocket, push it up strongly in the middle (the fabric stretches even more) and then push the batten into the forward pocket.
The end pockets:
Job done!
February 20.
In the morning, we sand-blast all spots in the bilges. This one was done already and had 1 layer of primer but we found 2 more rusty spots…
The area in the bilge where the welding was done get sand-blasted and has a great, very rough and clean surface after that.
This time, we use our Hookah dive compressor. We remove the filter (that’s not needed for sand blasting) and turn up the pressure to 8 bar. This works better than the other compressor. The Hookah compressor has 2 big cylinders, the other one has 1 small cylinder. Still, after 3 seconds of blasting the pressure goes down but in another 3 seconds the pressure is restored. So, Wim does short blasts with breaks.
The SB side of that bilge, which was rusty, gets blasted.
A very dirty and dusty job! Wim wares a dusk mask and goggles and we have to do a lot of vacuum cleaning! We can recover the BlasterGlass from the bilges for re-use.
After that, the spots on the outside hull get blasted. Here, the BlasterGlass can’t be recovered and we have a sandy surface under the boat…
Right after that everything gets a first layer of primer. There was no time to make photos even! The primer has to be applied within minutes after blasting, before the steel starts oxidizing.
We’ve booked the Manitou working platform for 1530h. It’s a beautiful day with only a very light breeze so, a good opportunity to put the new wind generator on the mast.
We have prepared every detail. Painted and prepared all parts, all tools needed, all materials.
There we go!
The first thing is to feed the 3 wires through the mast and put the generator head on the mount. Wim has the first 2 bolts and nuts in his pocket . He will need to hold the generator until the first 2 bolts are in. It’s not balanced without the tail and it weighs 13kg so he really has to hold it in place.
Oh no! While he’s trying to put the first bolt into the rubber he drops it! It falls down on the cockpit sun shade and bounces on the ground. The Manitou operator sees it happening and picks up the bolt…
…But now what? Wim has only one bolt left and he can’t bend down to pick a new bolt because he has to hold the generator. Okay, he has secured the generator with a rope but still: we don’t want it to be hanging there on a rope! Now what?
Look at his face! 😅 He decides to put the other bolt in at the opposite side of the weight and then, release the generator and bend down to pick up a new bolt. Now, do NOT drop this bolt!
It goes well. The first bolt and nut are in place and the generator stays in place. Quickly, he picks up a new bolt (of 8) and puts that in place. The generator is now secure. Down below, Sher has found the big washer on the sun shade and she picks up the bolt from the Manitou operator. Wim lowers the bucket and hoists the lost bolt back up.
After that, he mounts the rotor. Both the hole in the rotor and shaft have been treated with anti-seize paste to prevent corroding and for easy disassembling. The big nut is secured with Loxeal 603.
The wind generator is in place! Everything fits well.
Next step is to connect the cables. We’ve 3 junction boxes prepared.
Wim has to drill and tap the junction boxes to mast and crimp cable lugs on to the cables.

The cable lugs assembled with electrical conduce grease.
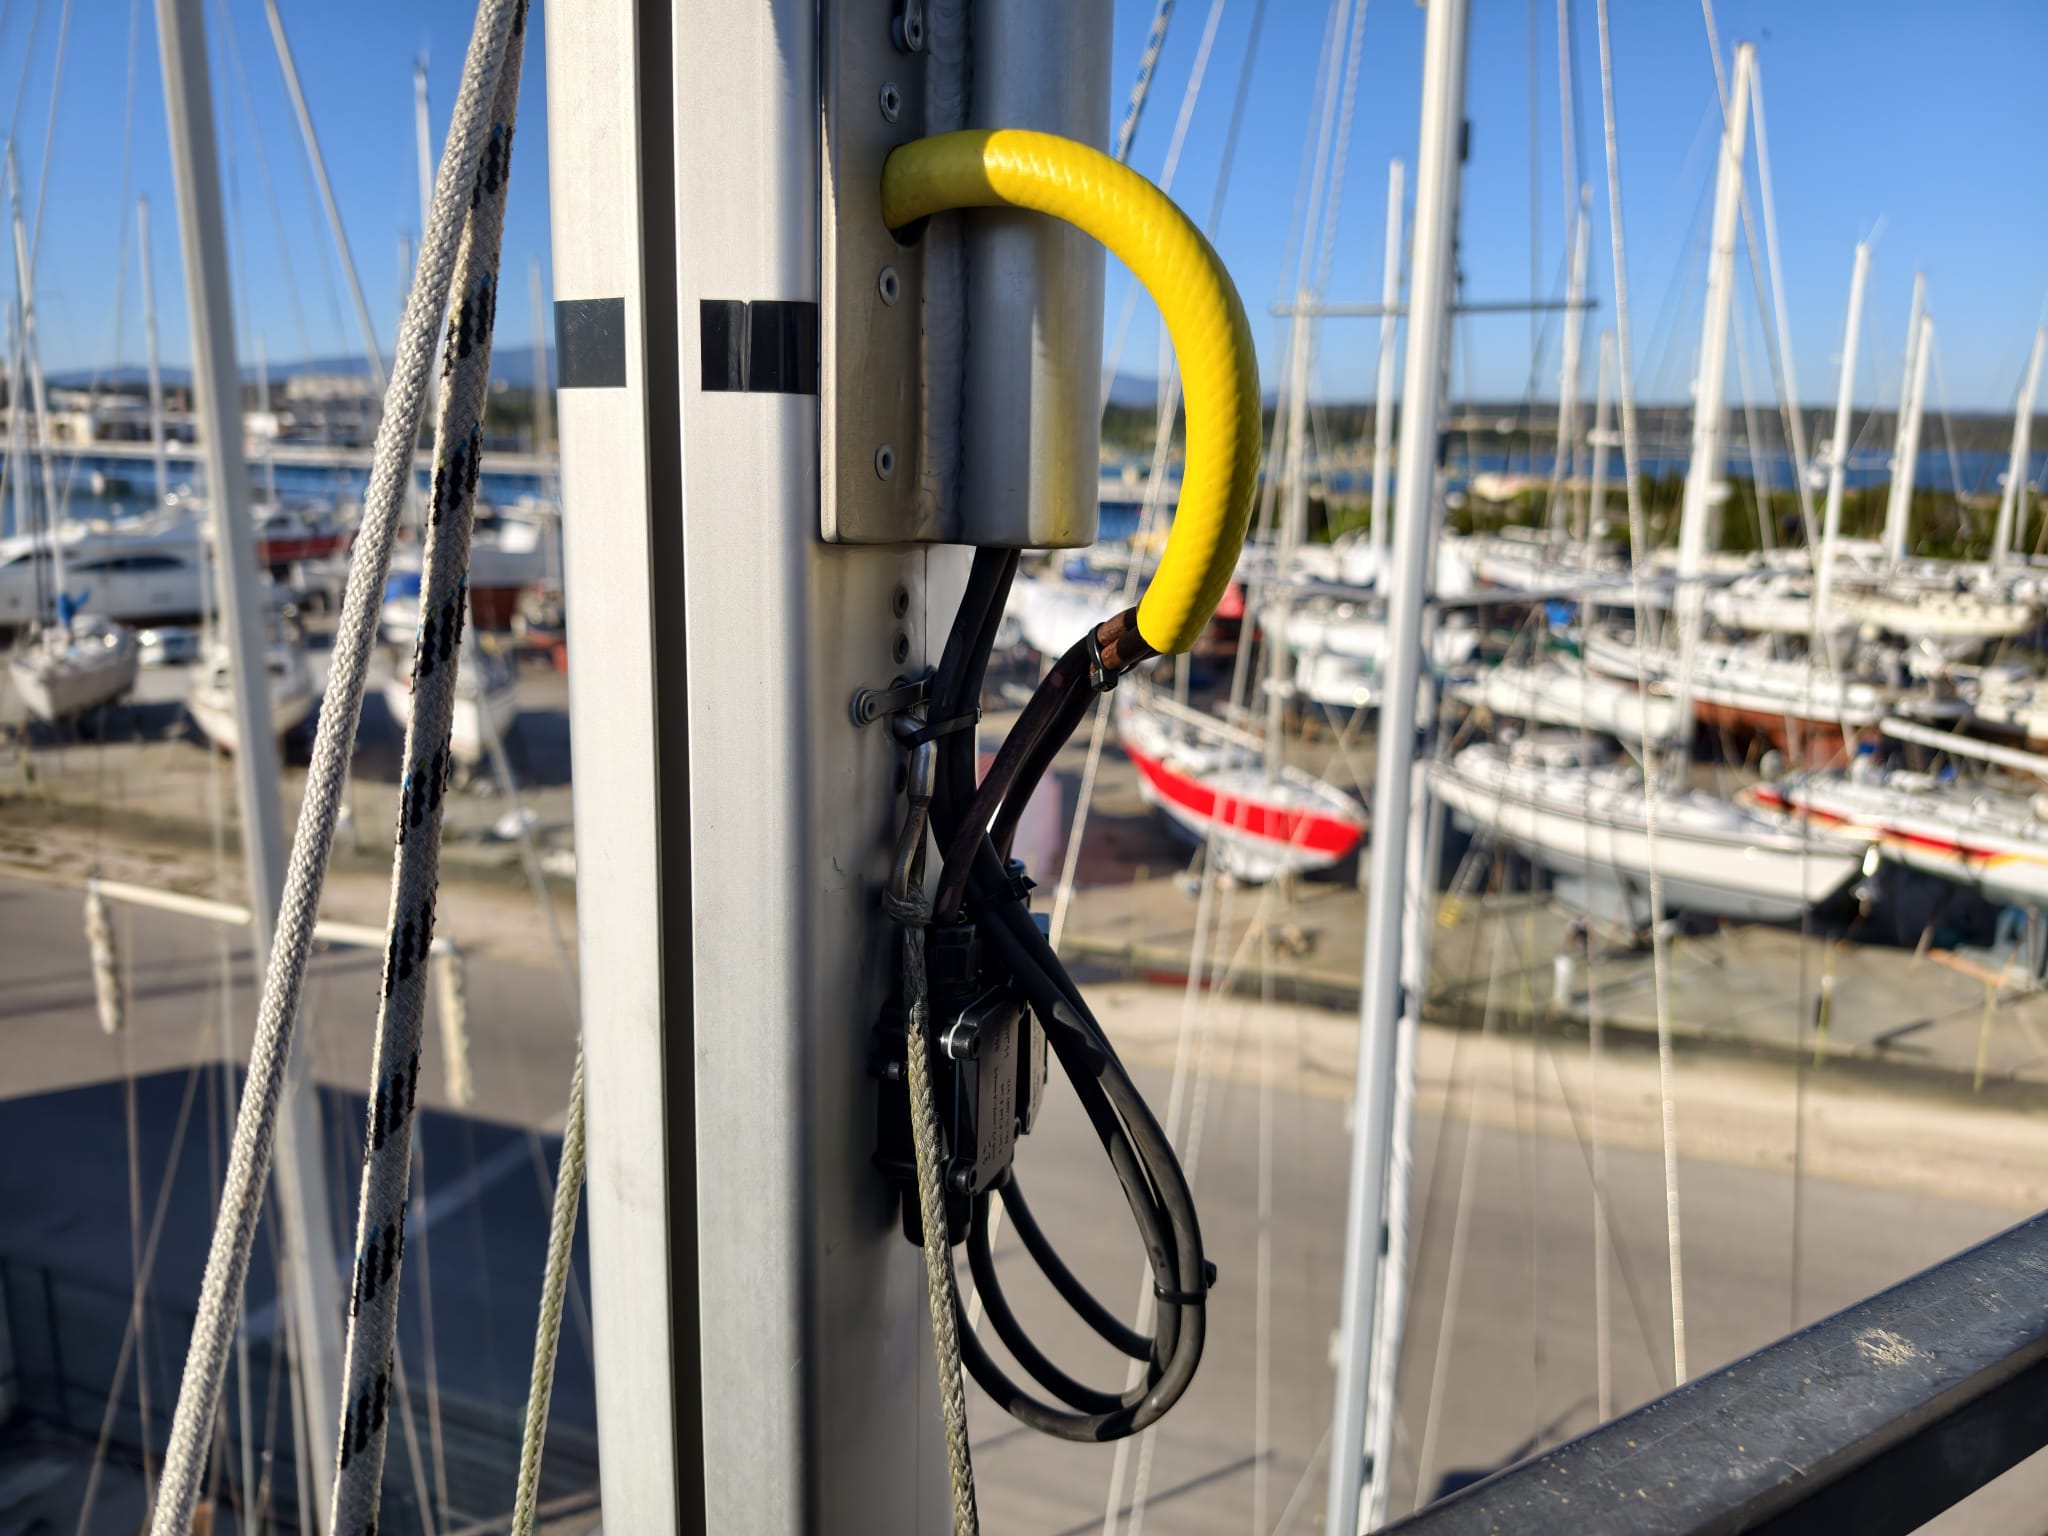
The cables down the mizzen mast nicely protected with a piece of hose.
After 65 minutes the job is done! Good, because we’ve booked the Manitou for 1 hour.
Let’s try it! Release the brake. There’s only 5-7 knots of wind but it spins beautifully! And it’s extremely silent. The noise you hear in the video is background noise from all the machines on the boatyard.
It doesn’t yield any power in this light breeze. We’ll have to see that later…
February 21.
All spots on the hull (inside and outside) get layers of primer (International Inerprotect). 3 layers per day, in 3 hour intervals.
Sher continues working on the dinghy cover. Sewing the binding on the round holes is a tough job. The entire cover has to be pushes under the arm of the Sailrite to circle around the hole!
Yay! Proud!
While the primer dries, Wim rolls out the entire anchor chain for inspection and marking.
He cleans the chain locker and checks the state of the end-rope. Looks perfect.
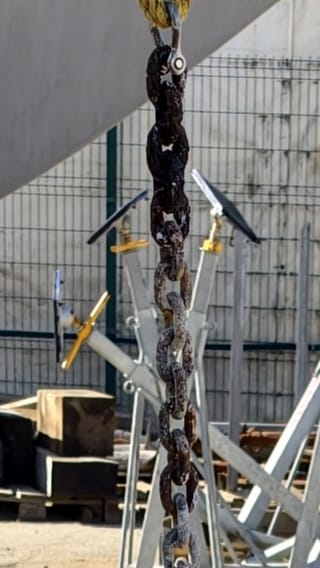
But the end piece of the chain is very rusty. This is the part which is always in the water on the bottom of the chain locker. Wim cuts this bad piece off and re-attaches the shackle and the rope.
We buy chain markers at the Sopromar chandler and mark 10m (blue), 20m (green), 30m (yellow) and 50m (red). 4 red TyRaps mark the last 3m.
In the late afternoon, the wind picks up. Let’s see what the new wind generator does!
- It starts yielding power at 7-8 knots of wind. Very good.
- At 15 knots of wind, we see approximately 150 watts. Our previous wind generator did around 100 watts at 15 knots.
- There’s almost no noise. Just a very gentle humming in the mast when it starts generating power. That’s the noise of the poles in the alternator. Our previous wind generator had a more brutal pole-noise. It had 8 poles, the new one has 12 poles so, it’s more smooth. By the way, we don’t find that disturbing: on the contrary, when we hear this sound, it means we’re charging the batteries.
- The rotor itself is dead silent. Wim walks around the boatyard but he doesn’t hear anything. On our previous wind generator, we could hear the hissing sound of the blades. Wim has been building some wind generators in the past and he knows how rotor blades should look and feel. The blade that came with this wind generator are really good, he just fine-sanded the edges and especially the tips of the blades.
February 22.
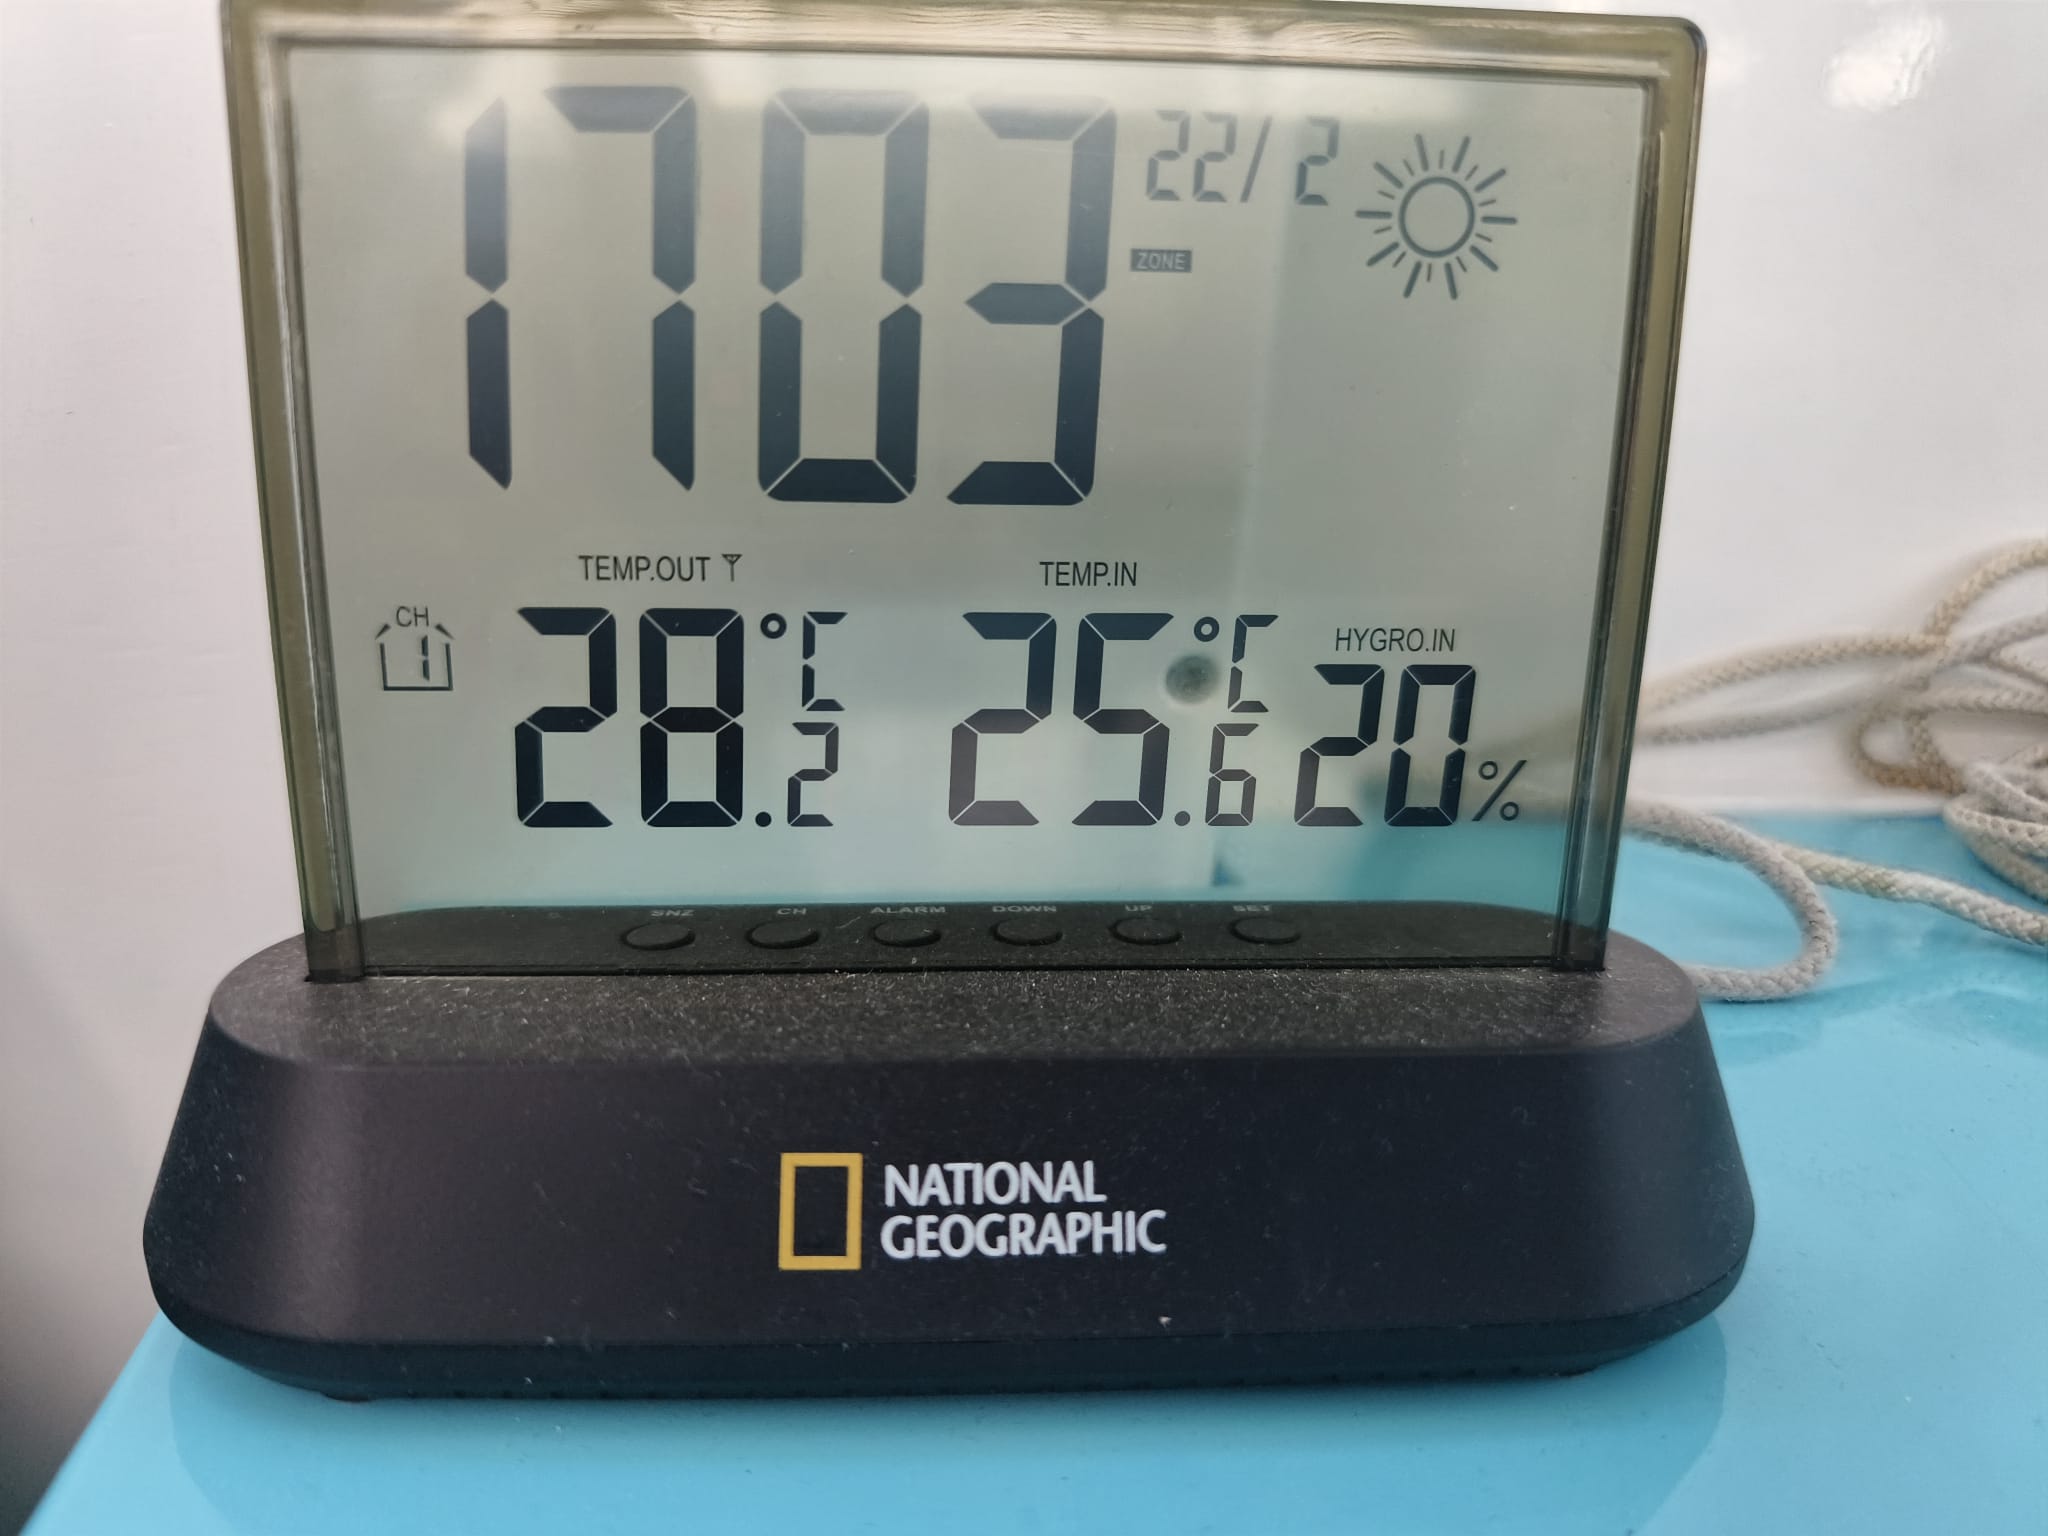
The Algarve weather has been restored! ☀️
This is very good for the primer to cure.
February 23.
Wim puts the solar panels on the cockpit sun shade back in place. Everything fits nice. This is a nice improvement. Much stronger and tidier. The sun shade survived already 40-50 knots of wind, let’s see if we can break this record now!
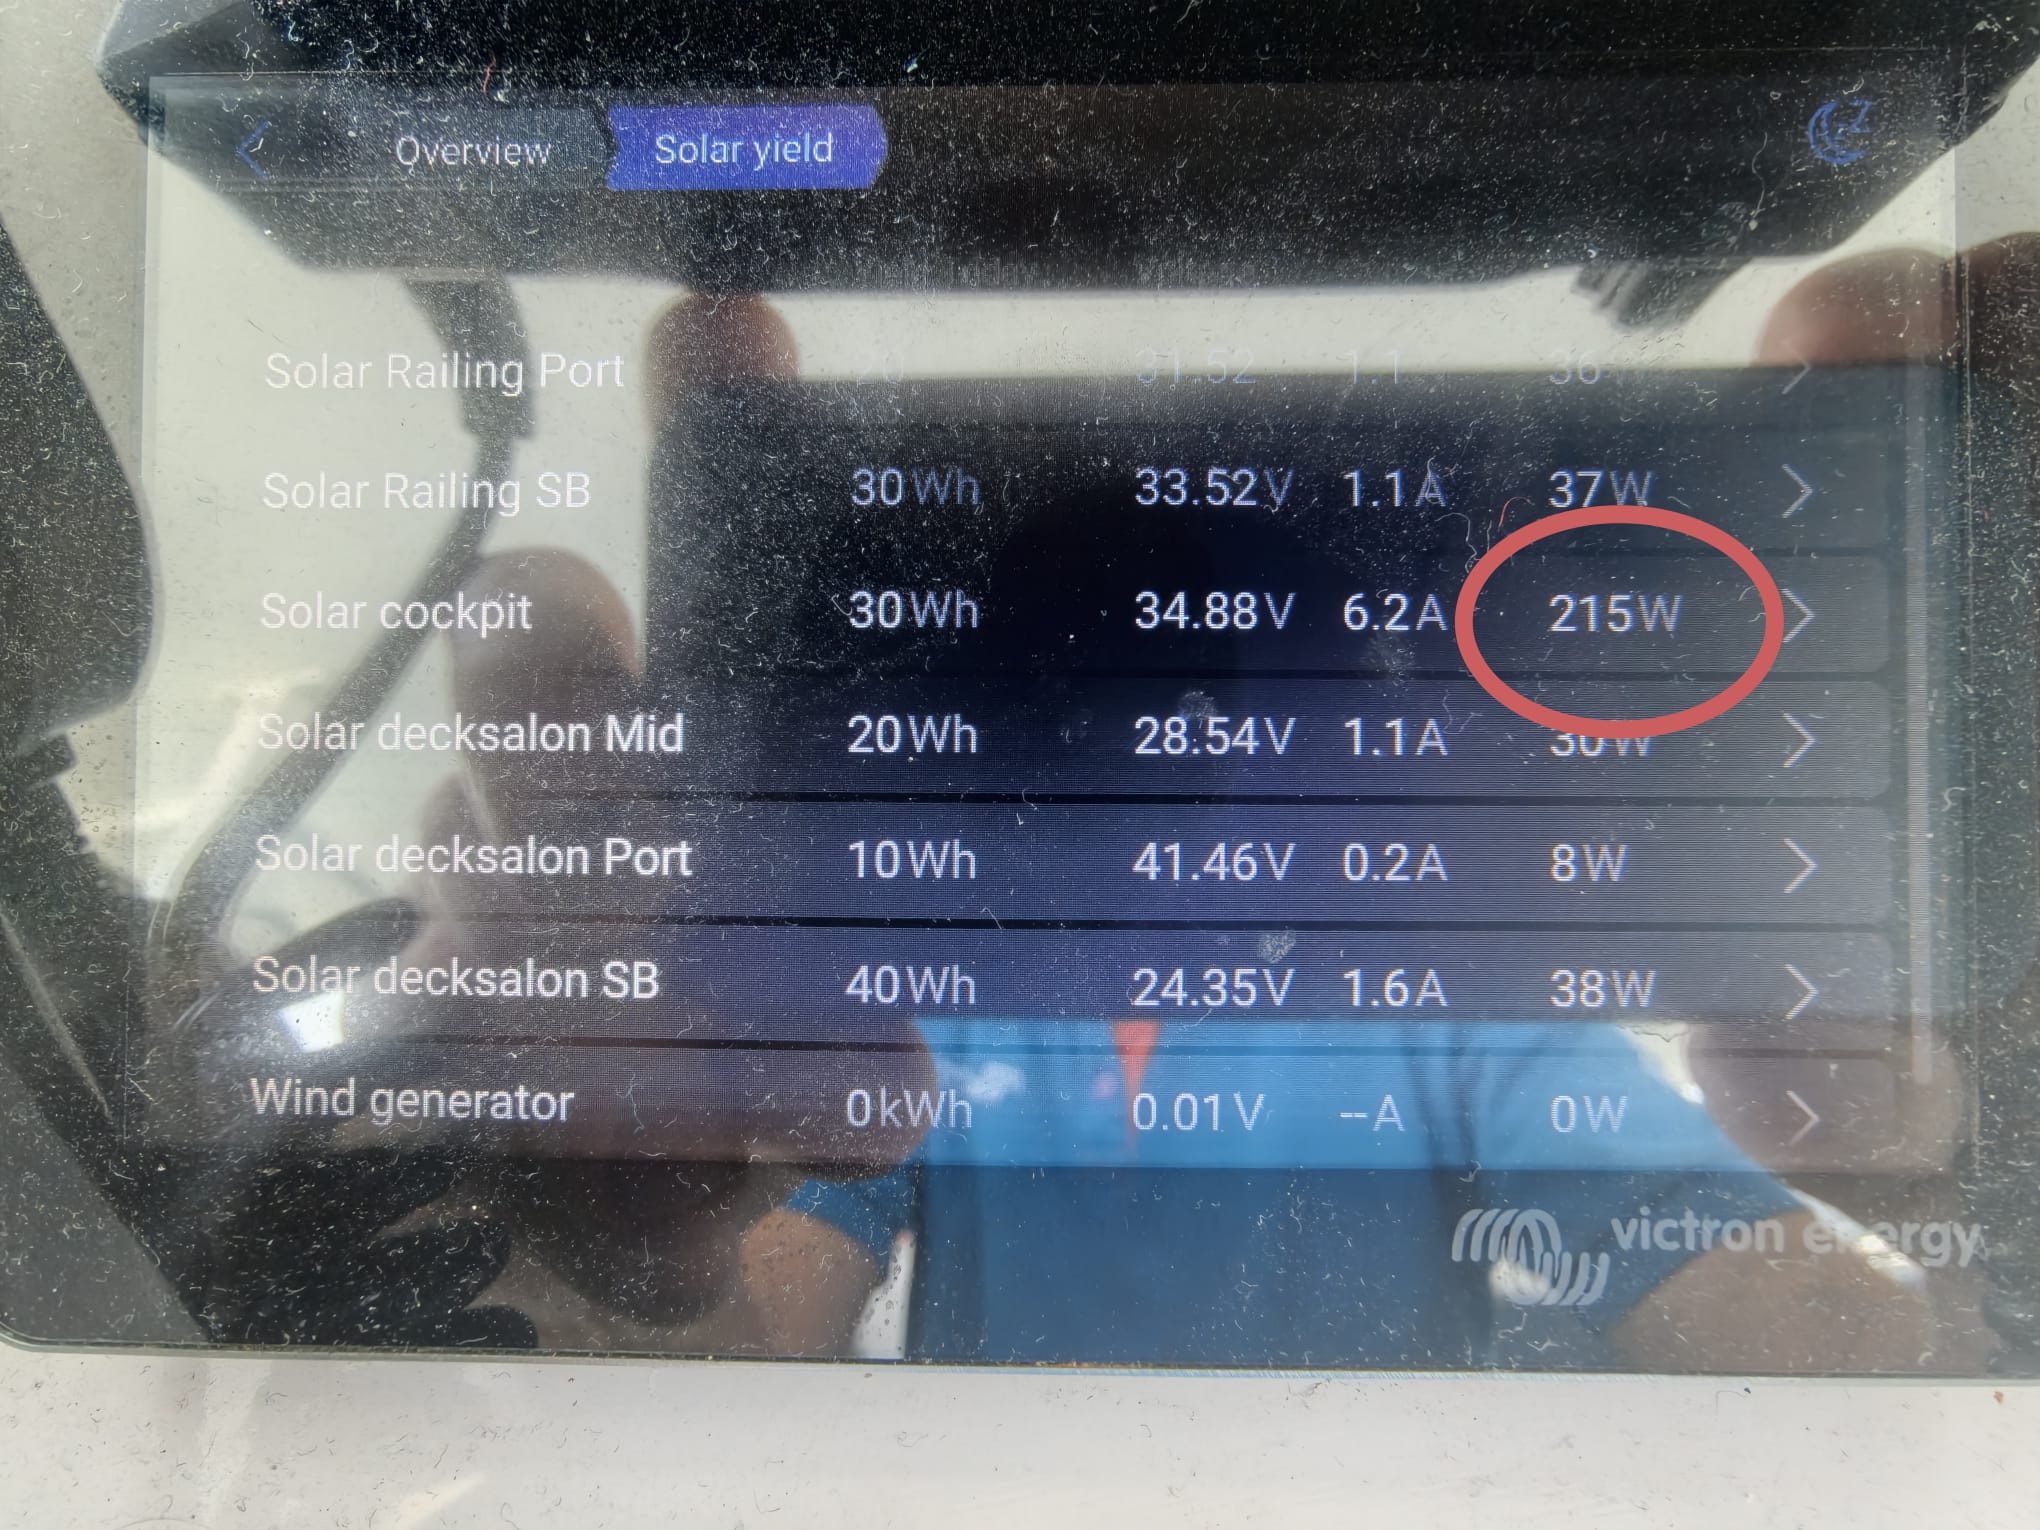
The yield is pretty good for February! More than half of peak power.
Sher continues on the dinghy cover.
Lunchtime! Our first lunch in the cockpit, this year ☀️
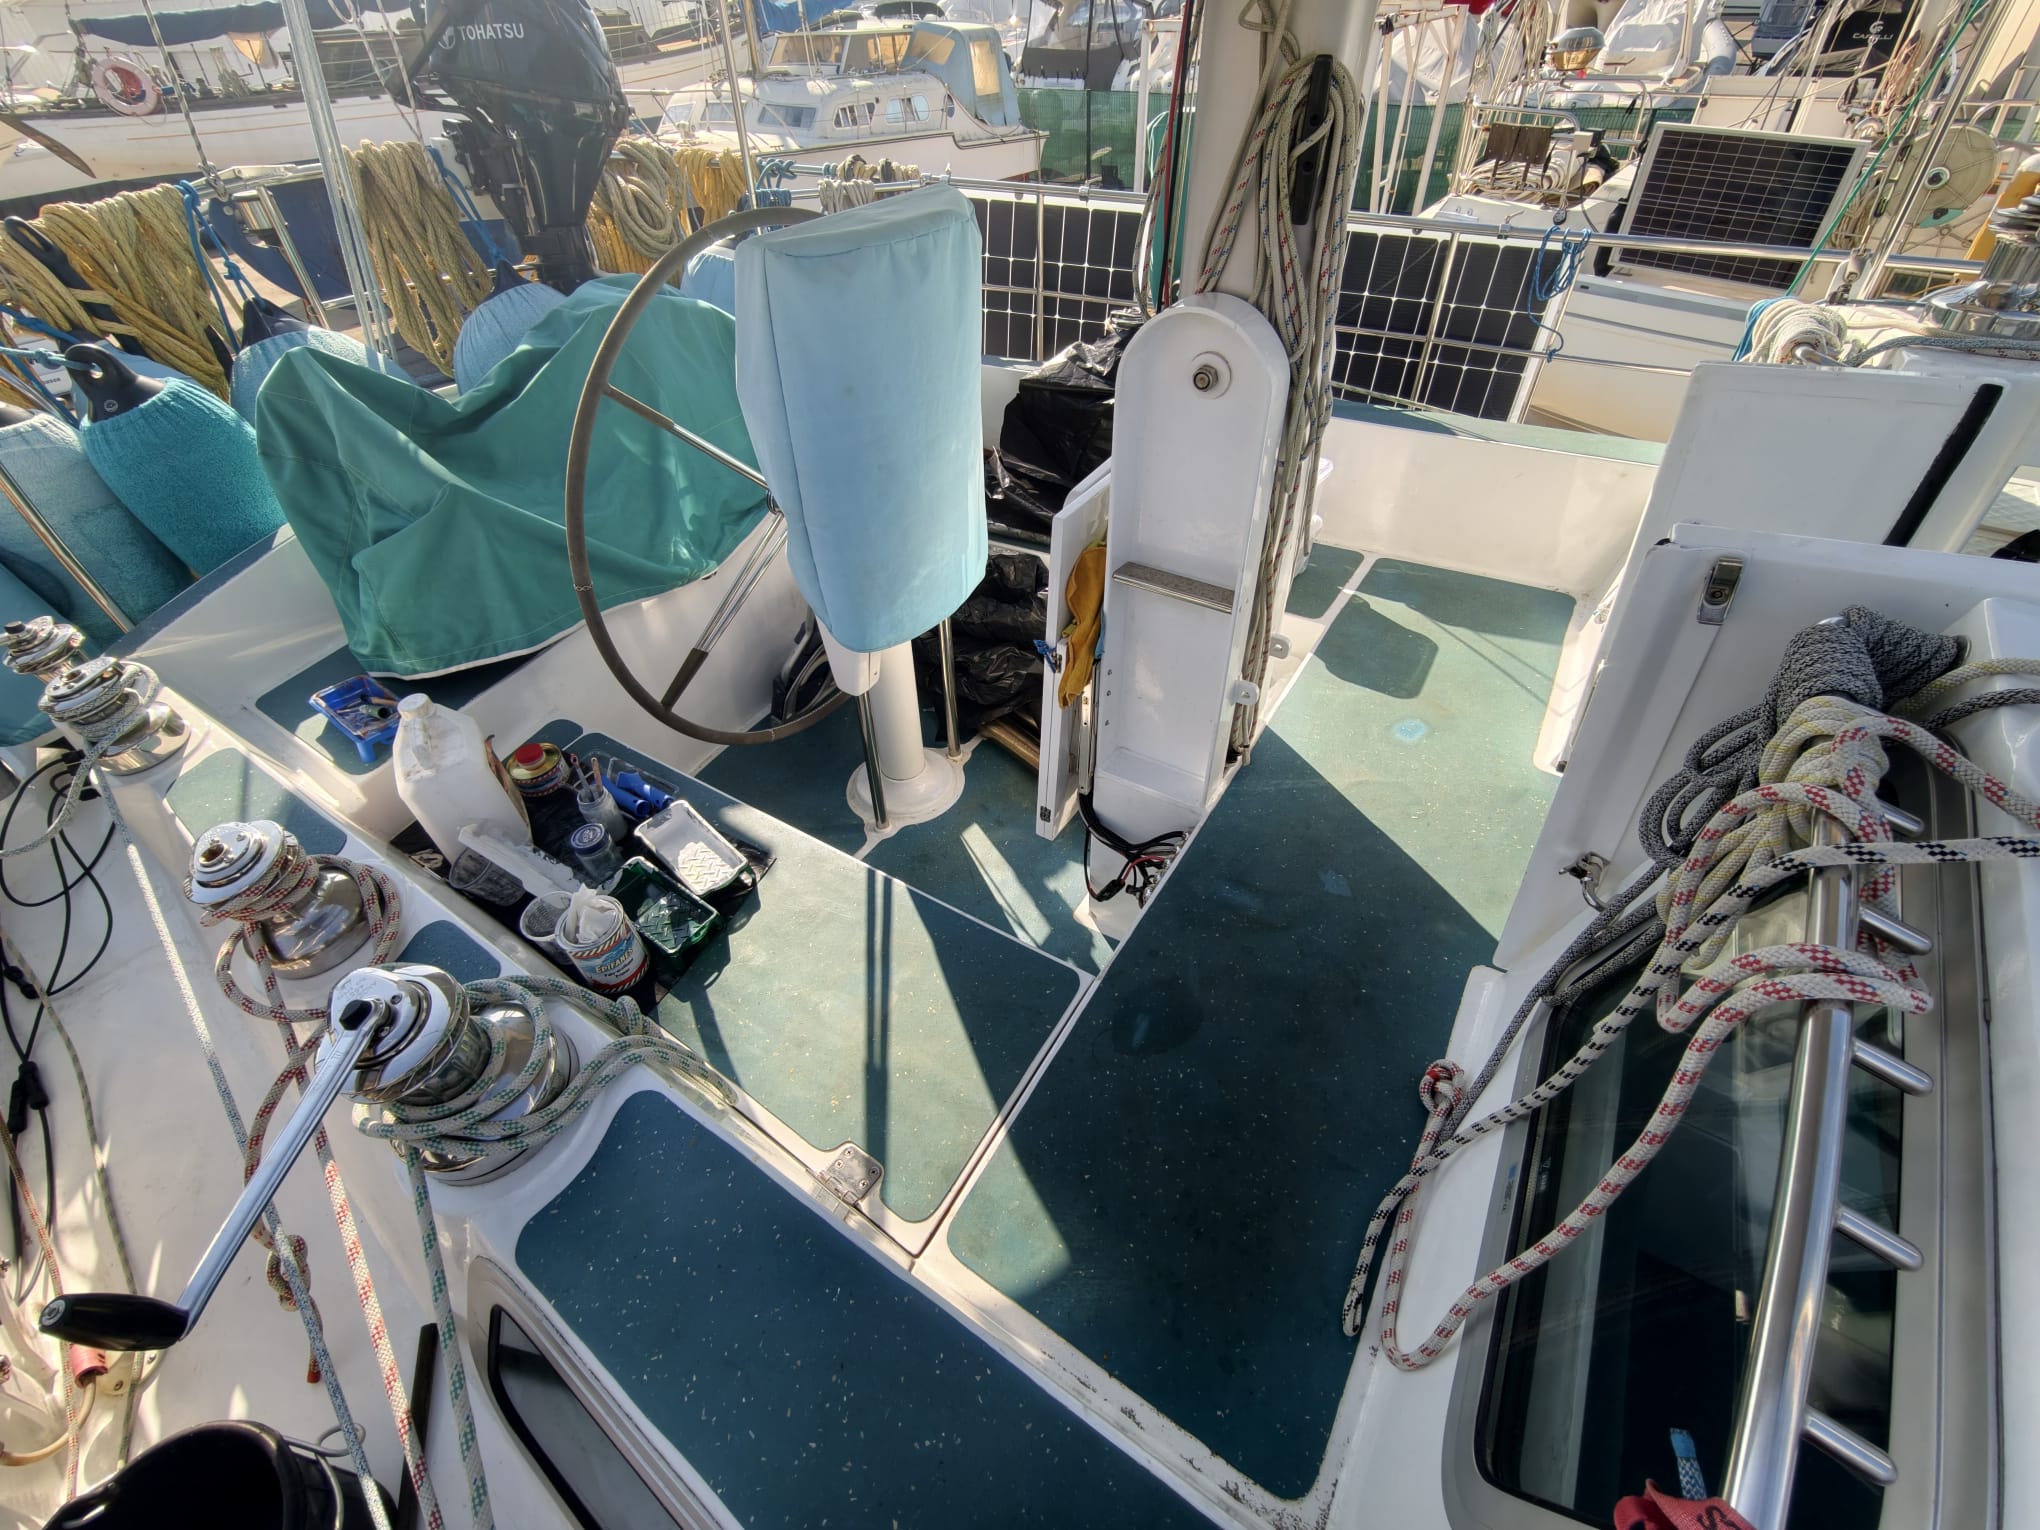
In the afternoon, we empty the entire lazarette. The cockpit full of stuff 😅
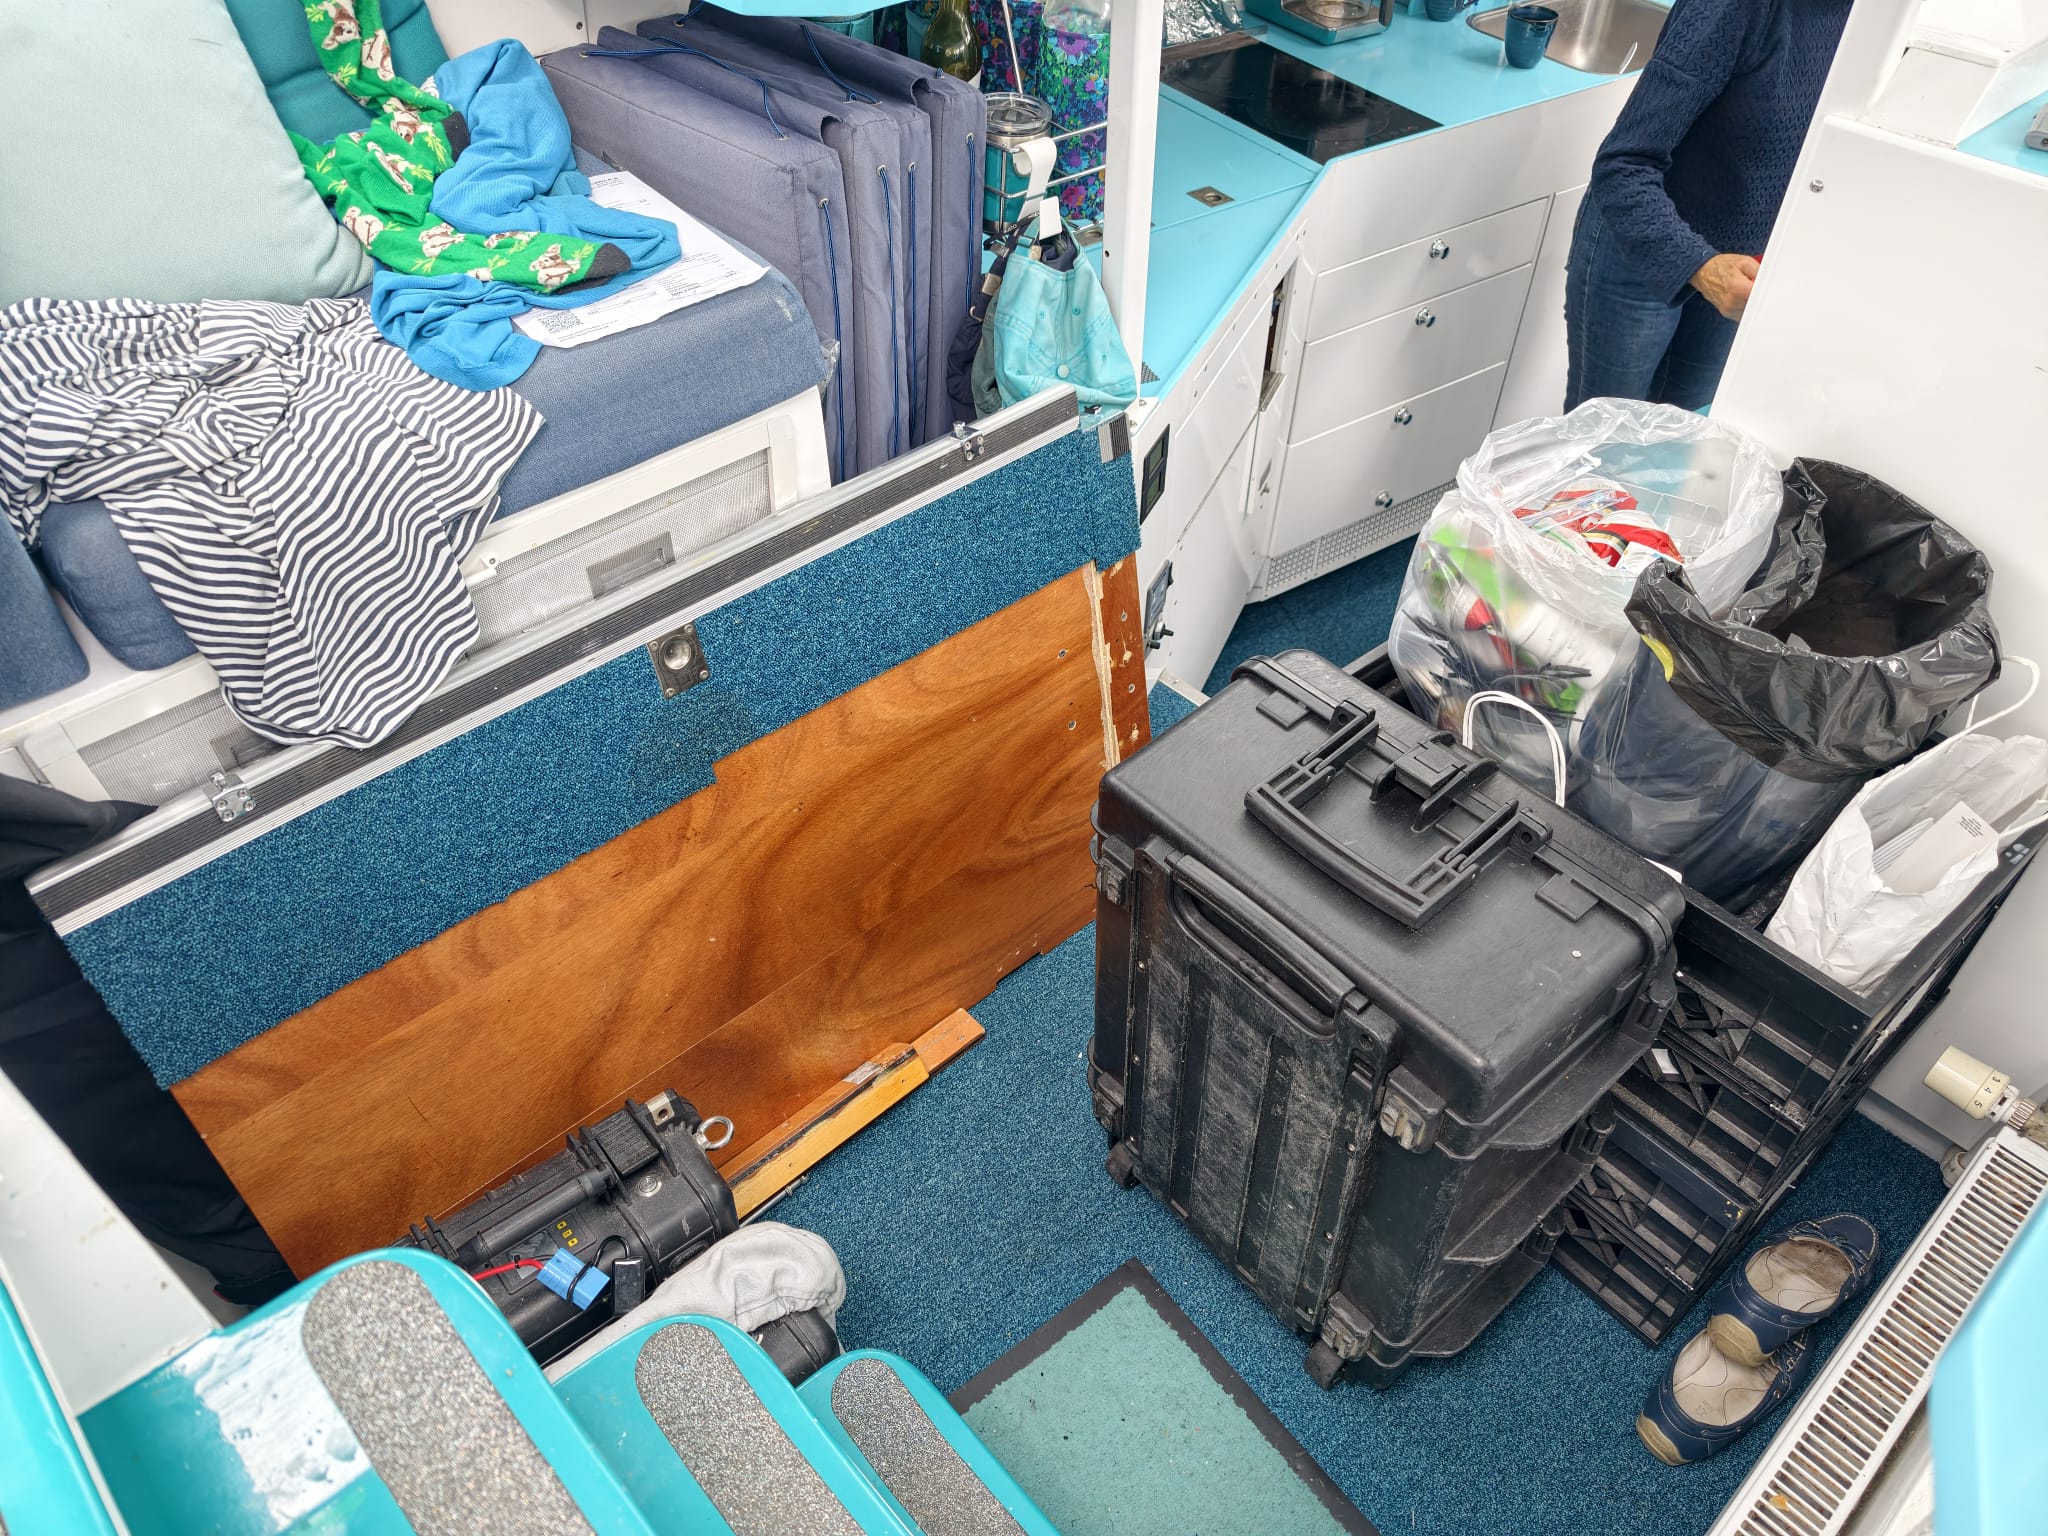
The decksalon full of stuff 😅
Then, Wim disassembles part of the floor of the lazarette to reach the engine exhaust water-lock. It’s a pain in the ass to get it out! Better said: a pain in the back. Wim has a sore muscle in his lower back.
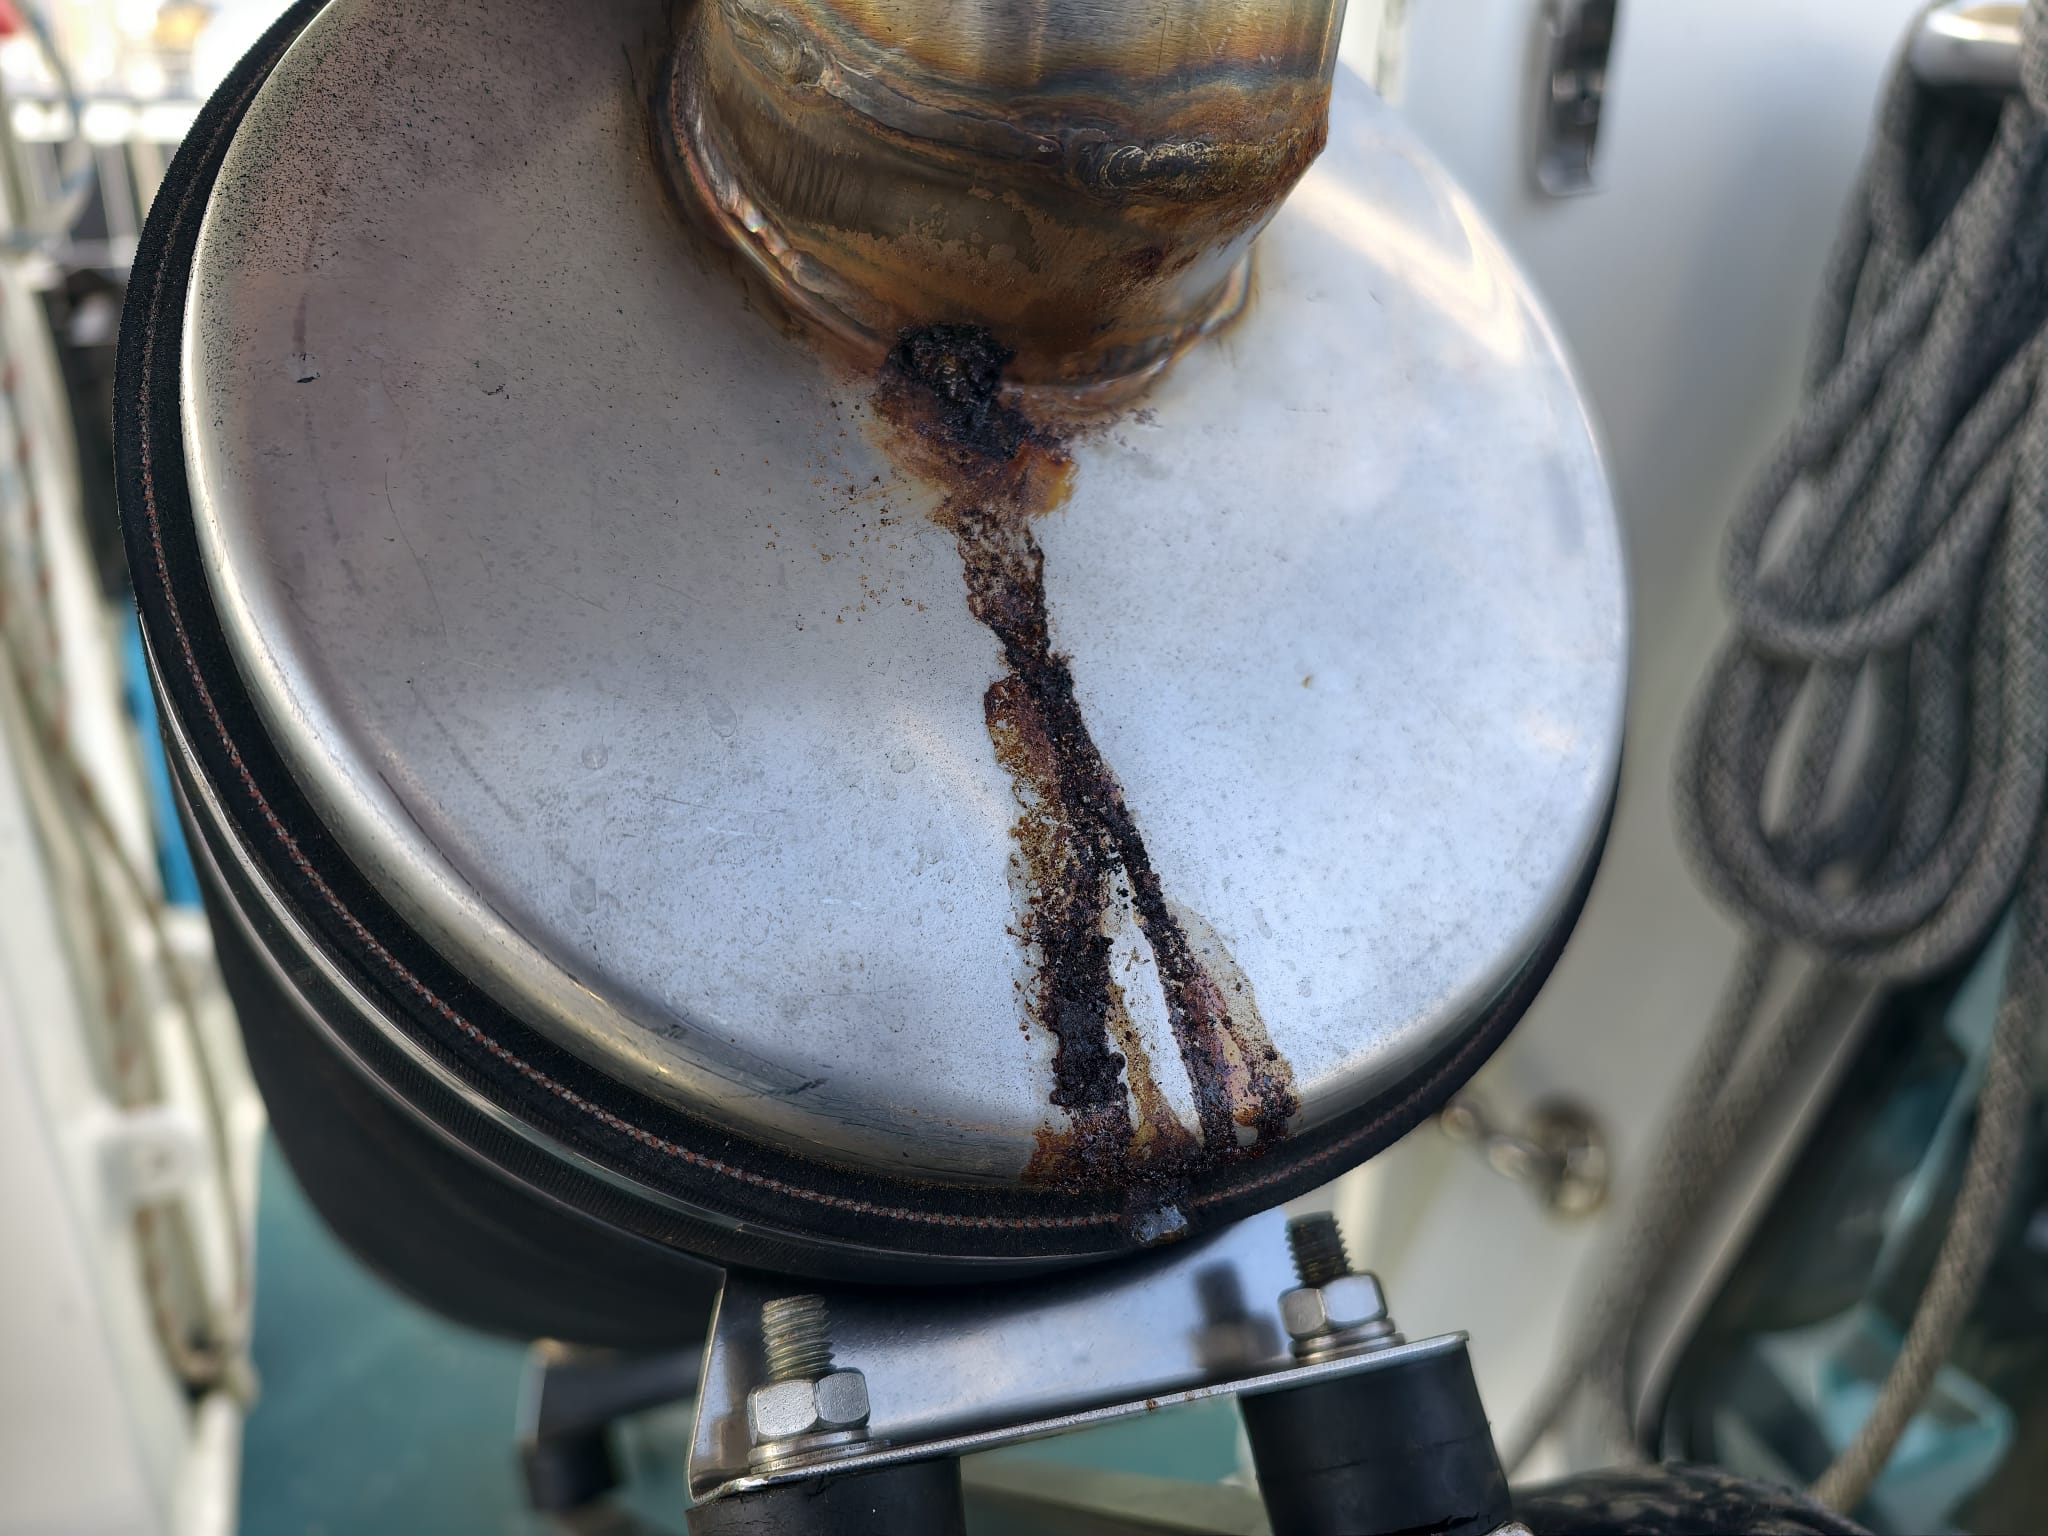
There it is. A bad weld. Some corrosion from salt water.
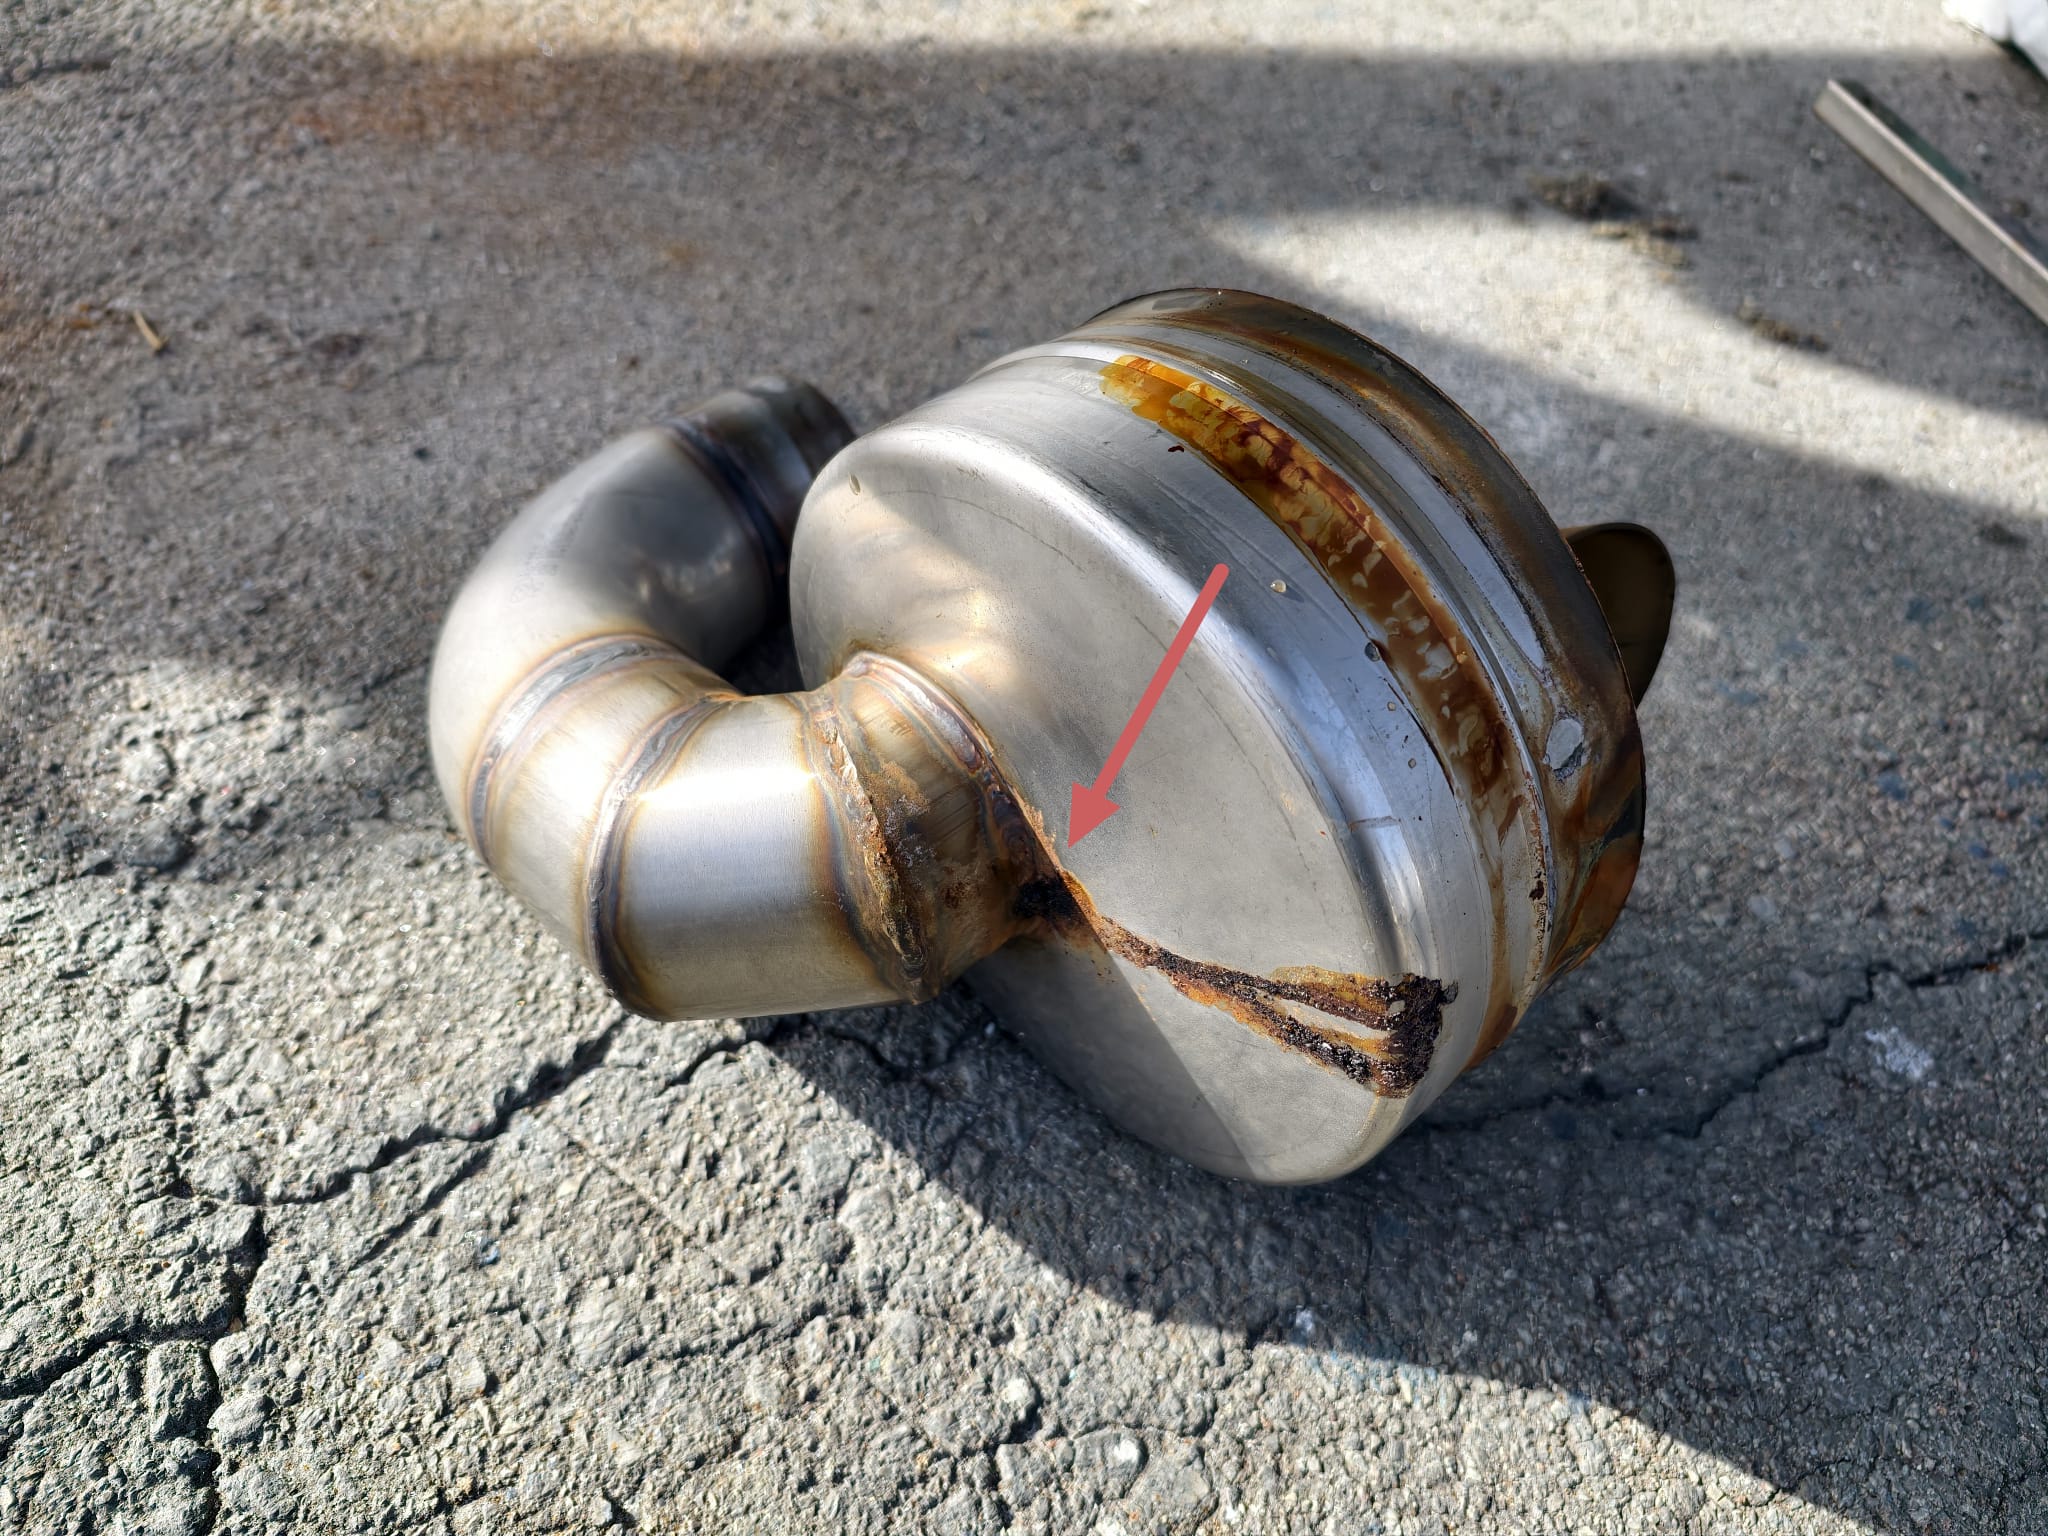
We’ll take this part to the workshop of Rui, the welder.
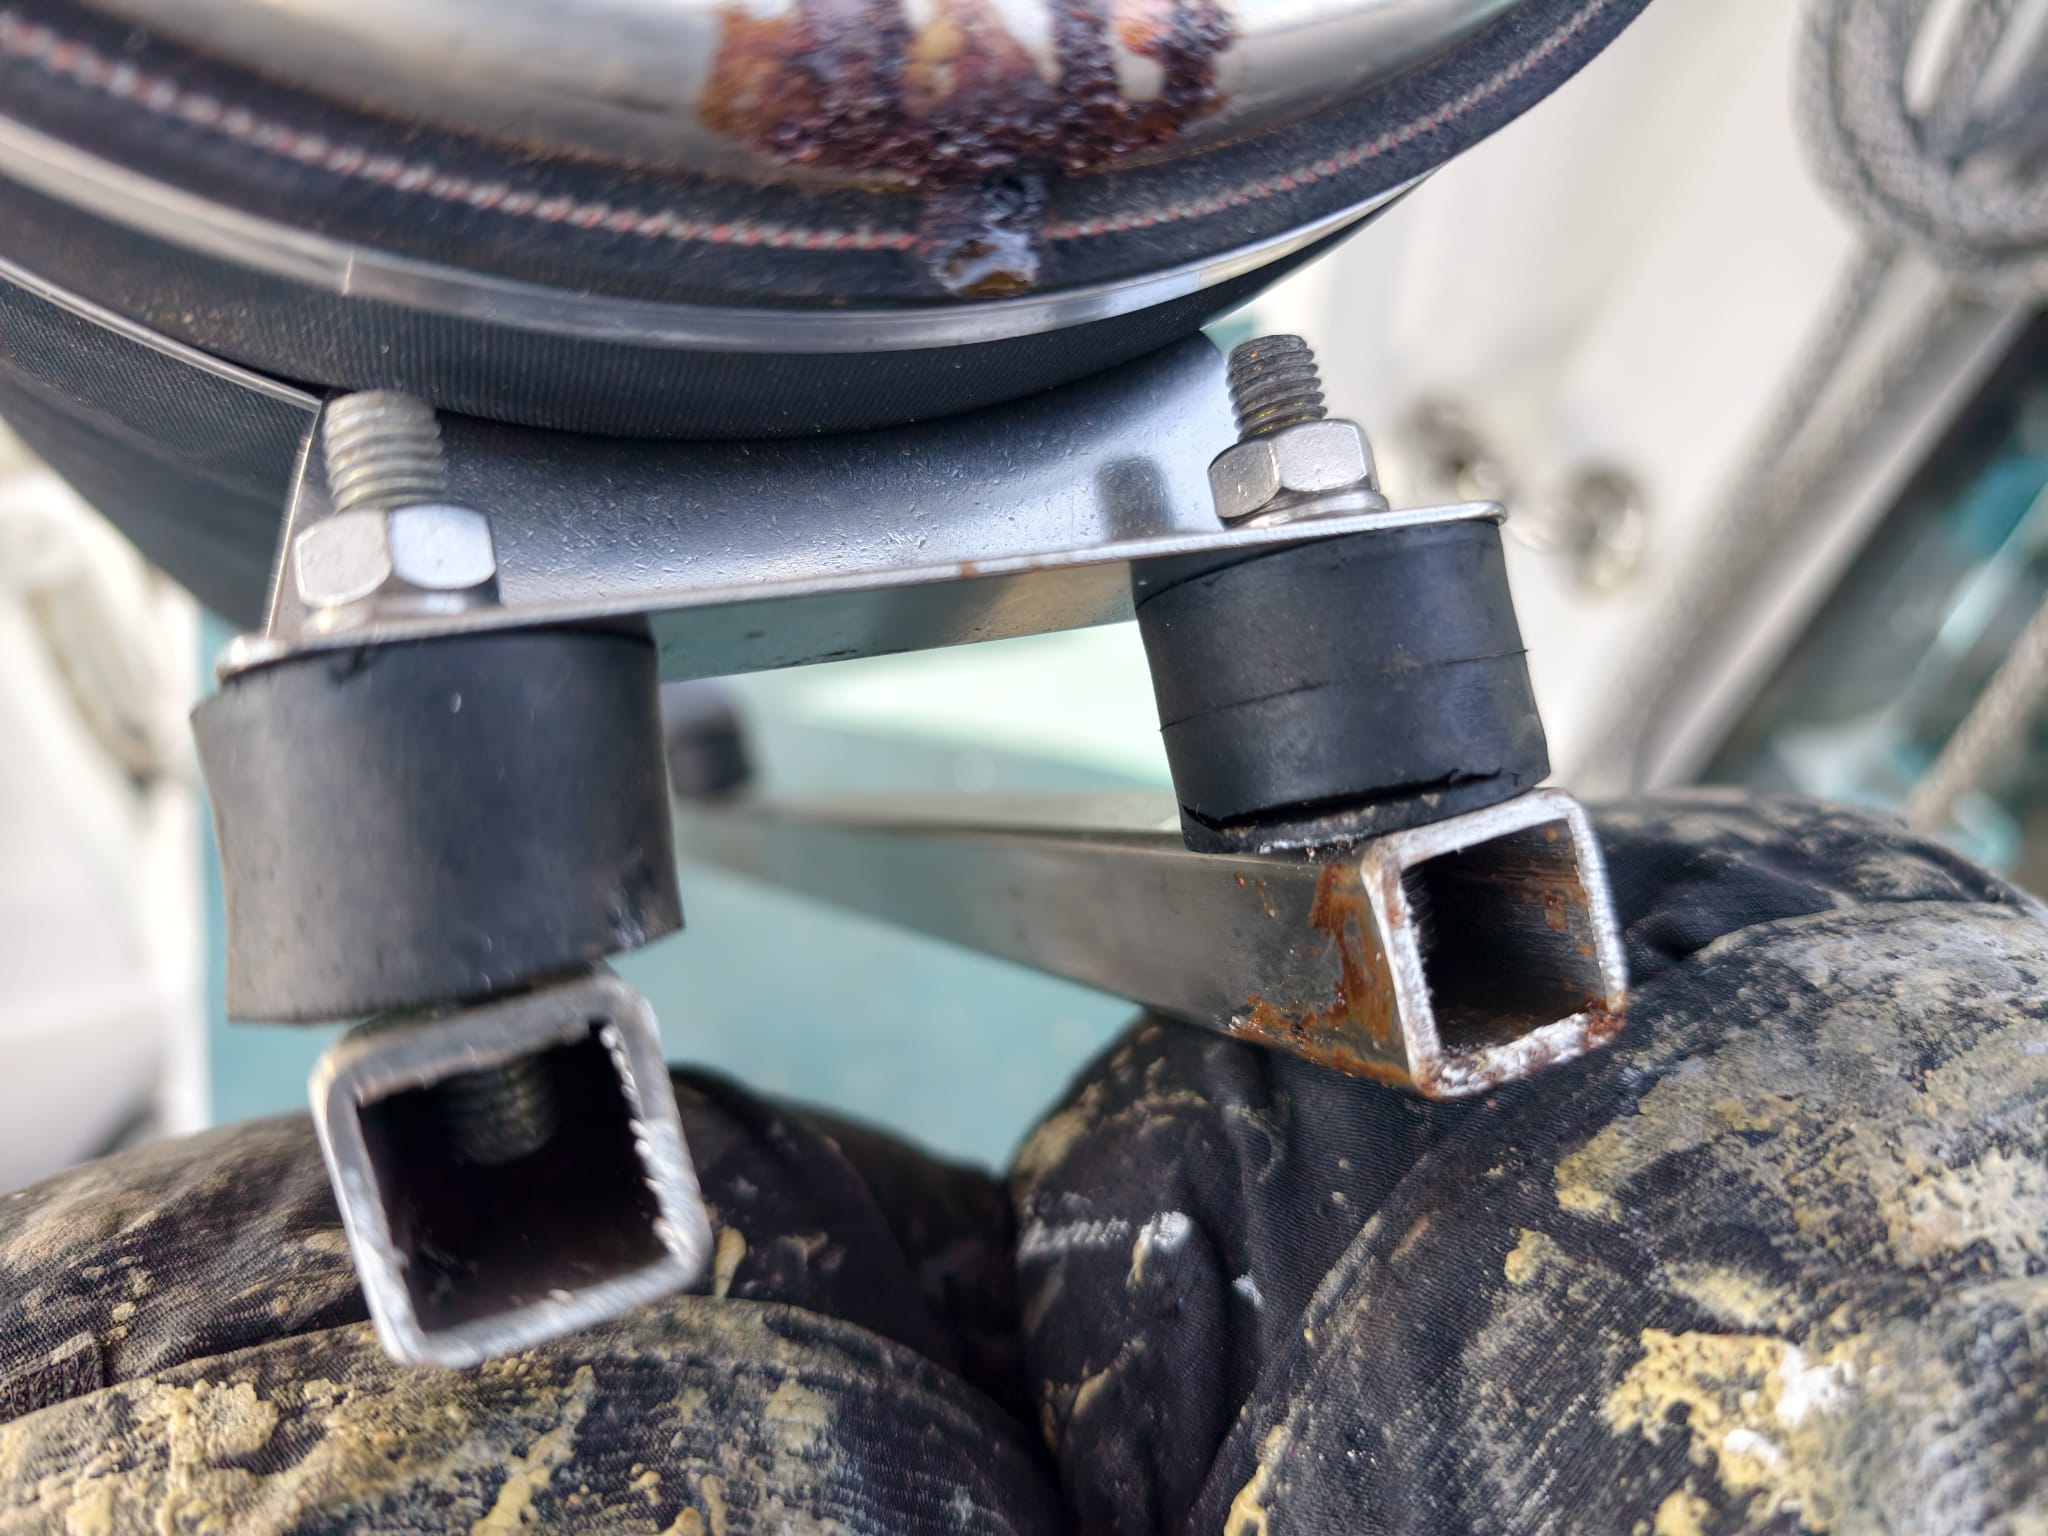
We discover 2 broken silent blocks. We order new ones on Amazon.

February 24.
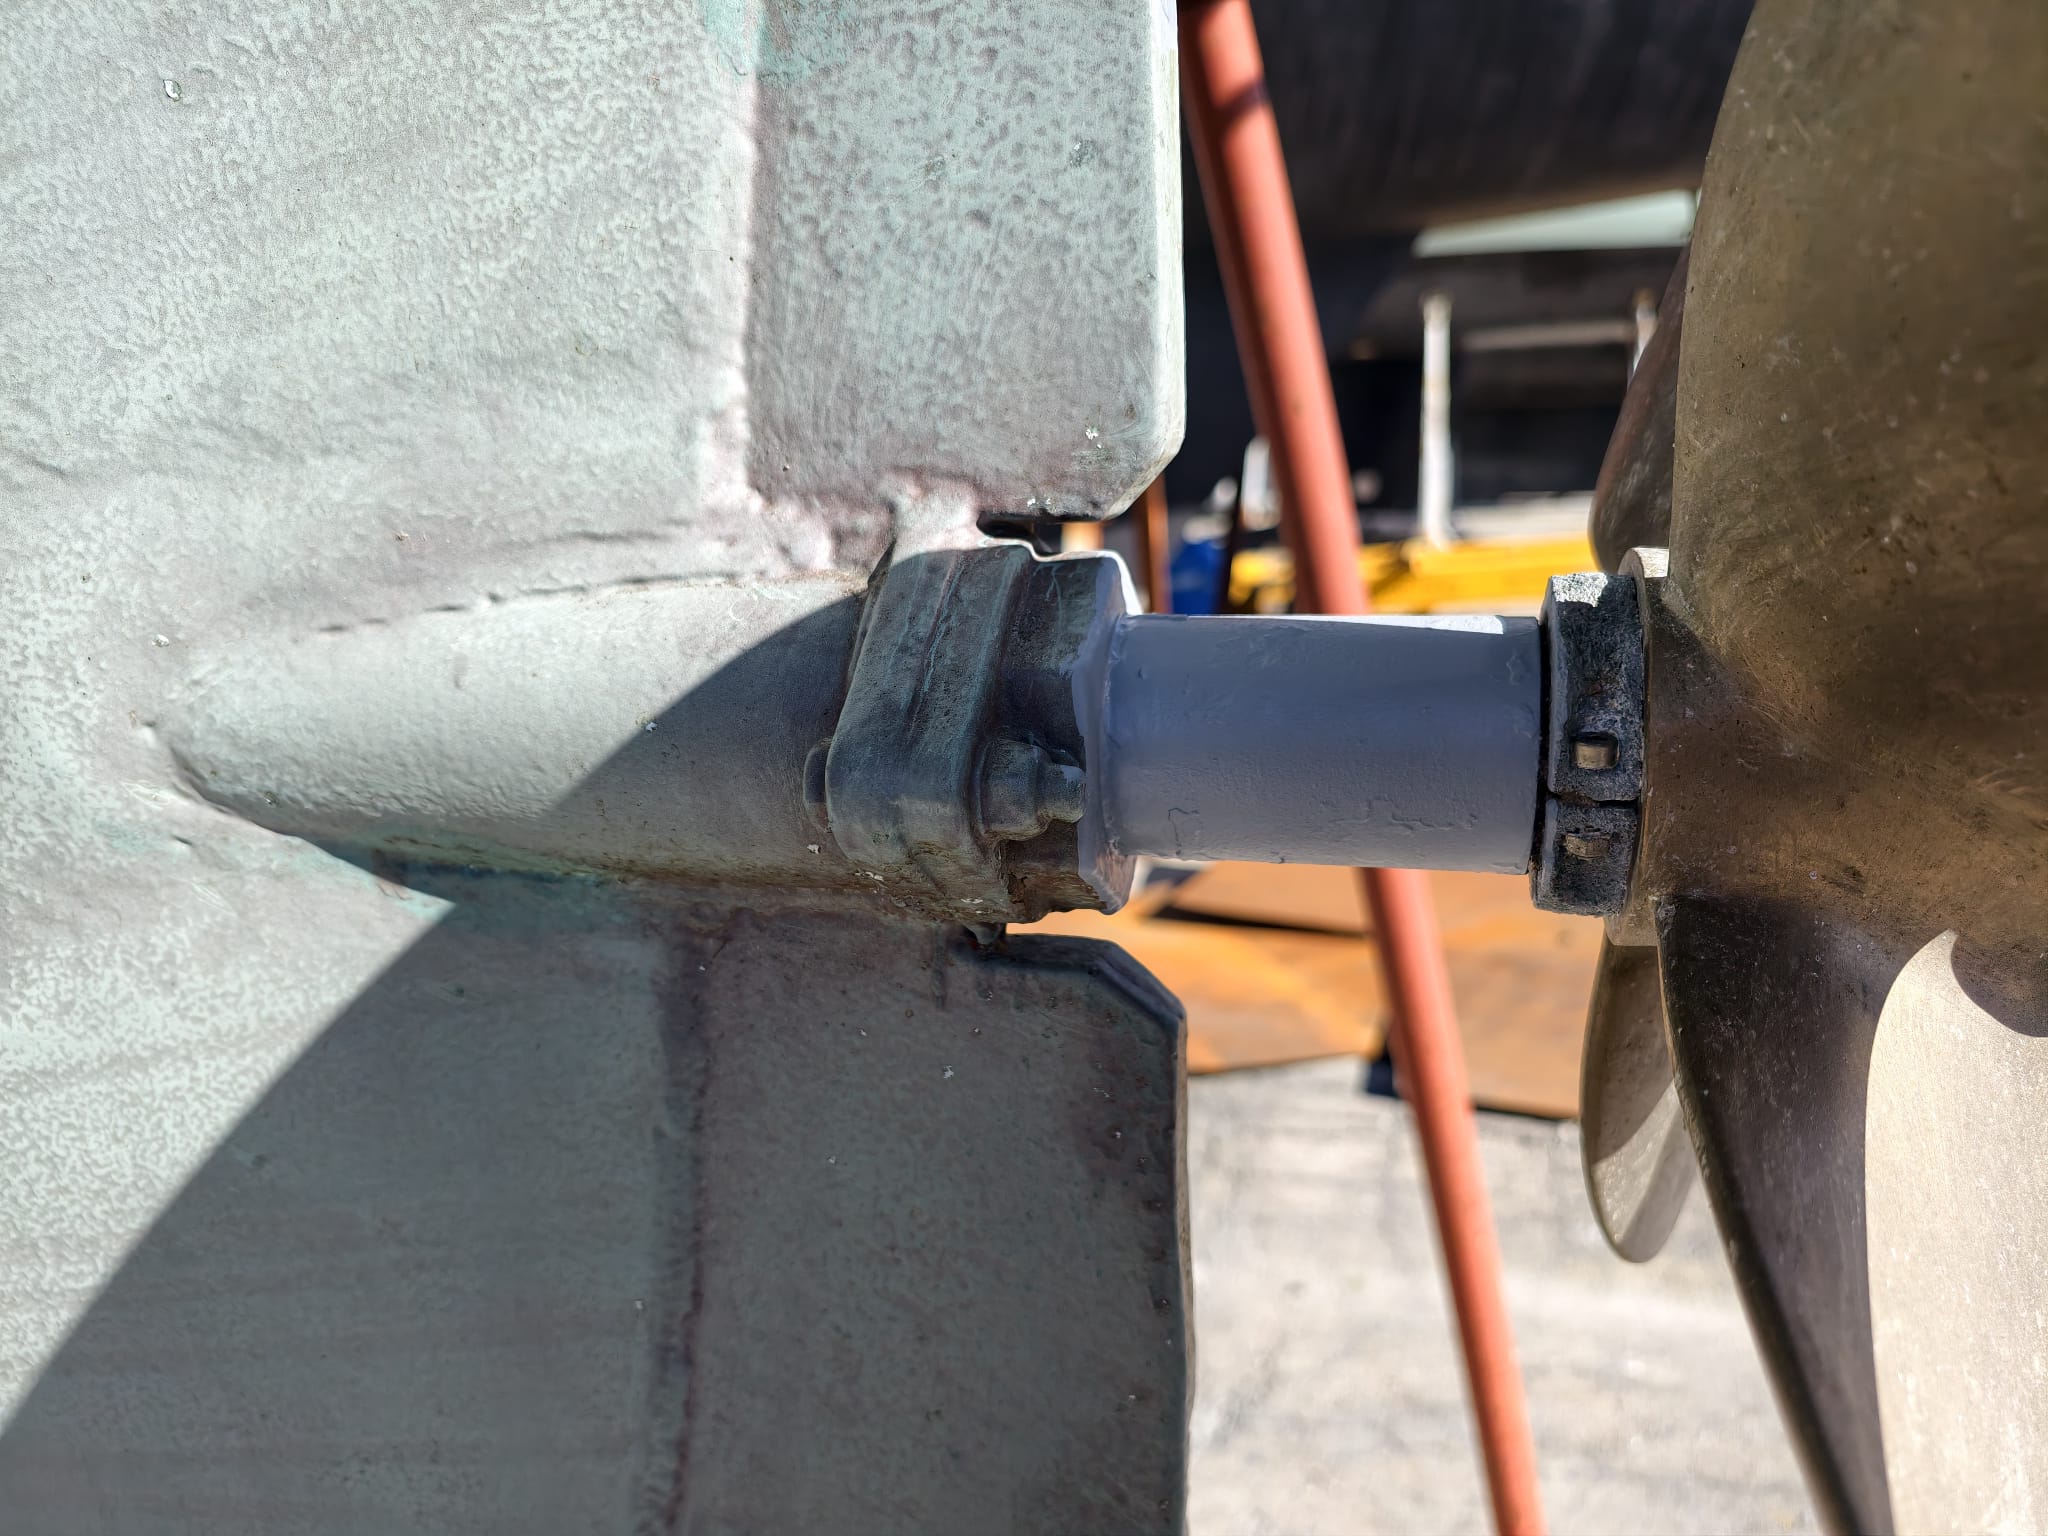
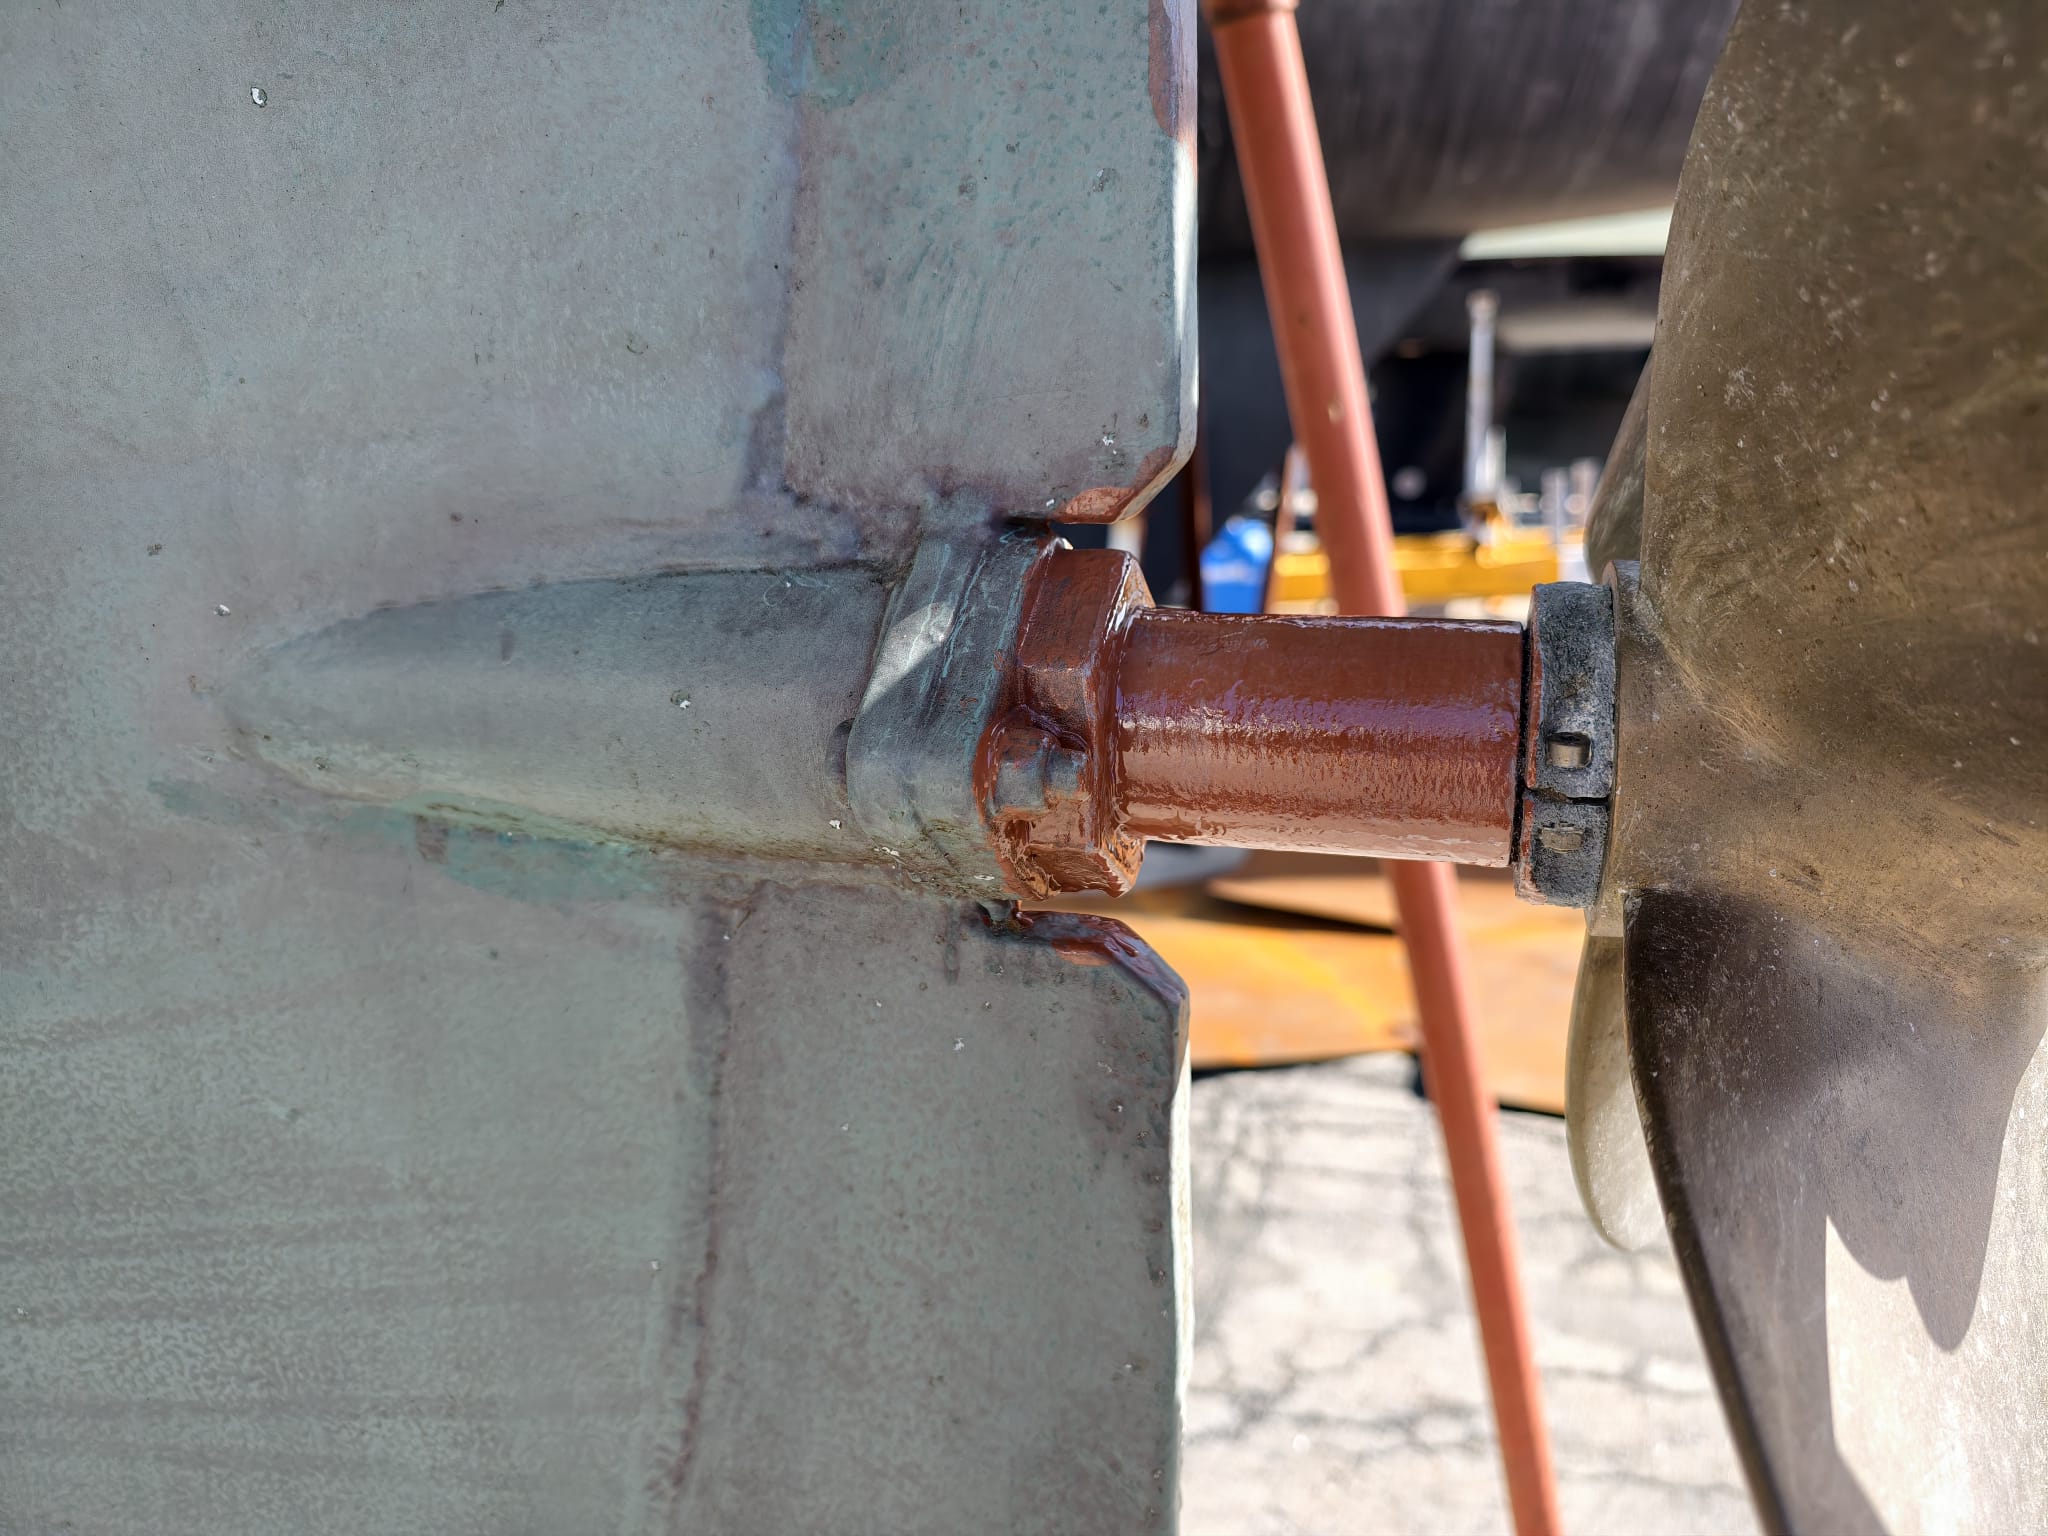
We buy a new anode for the propeller shaft at Sopromar. The current one is still okay but it is worn down. We leave it in place for now until it’s completely gone. But now we have a spare one. It’s a little bit too wide so we ask Rui to turn a little chamber in it. Wim brings it to his workshop, together with the water-lock part. The workshop is very close by.
Sher makes pajamas for boat fender covers, for the dinghy, for the dinghy floor, for the electric outboard motor, for the instrument pod, for the outdoor VHF speaker, for the dinghy battery pack, pajamas for everything!
And: for herself! 😄
We fit the dinghy cover on the fore deck. Everything’s still looking good! A few more days of sewing to go…
February 25.
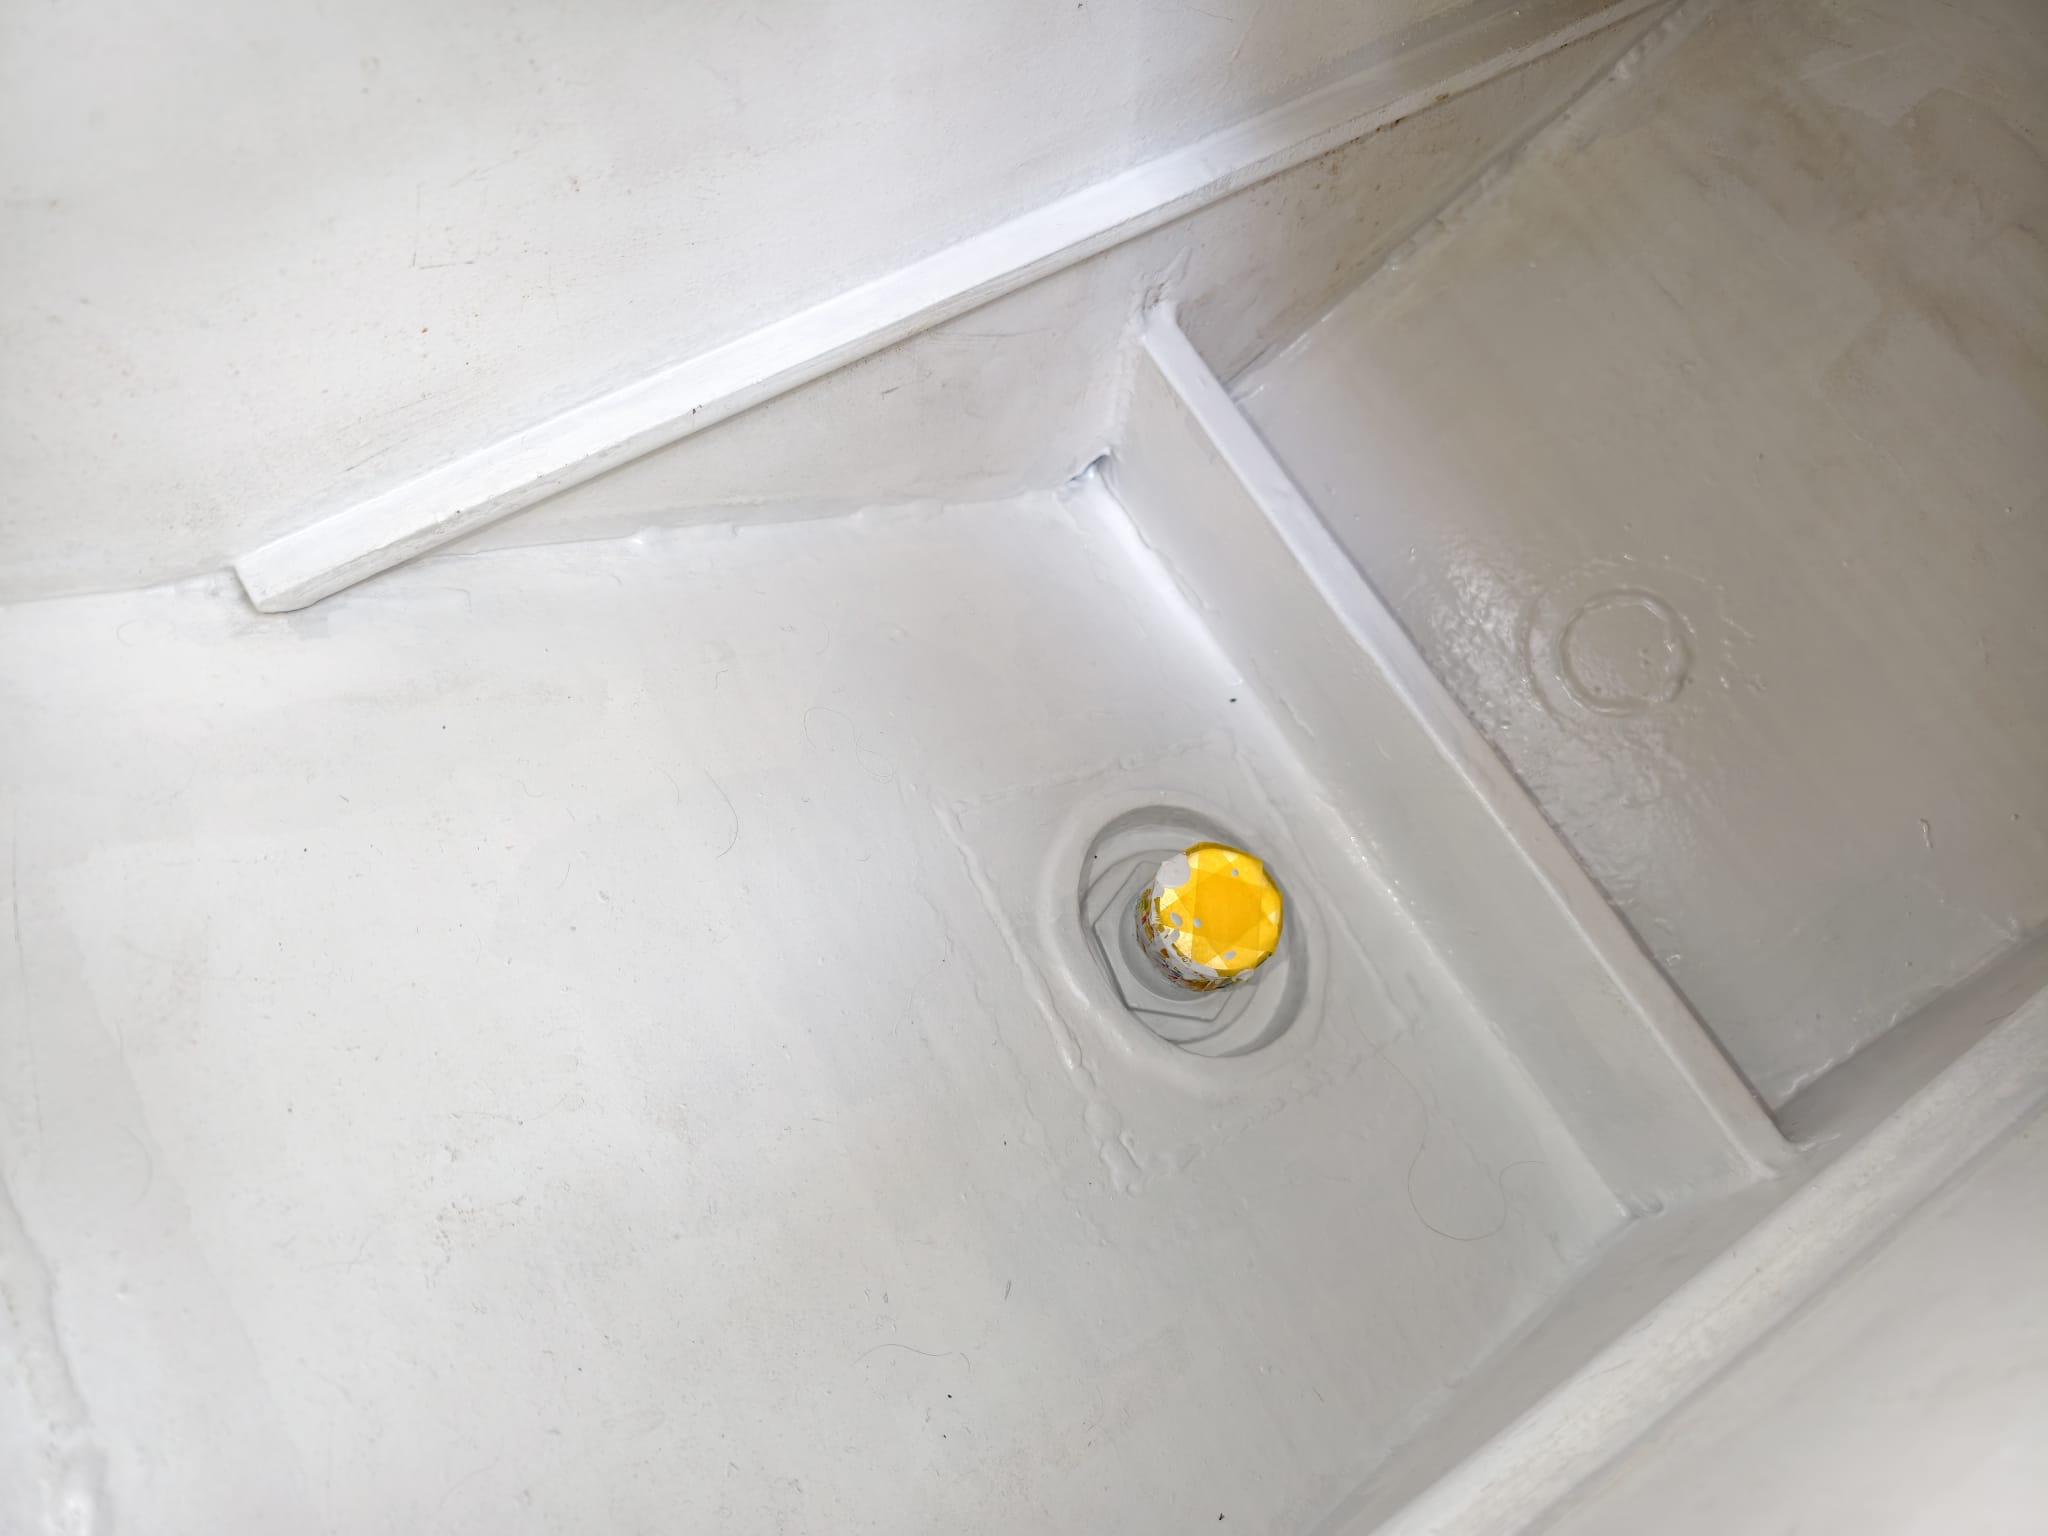
The primer has cured so far that we can mount the transducer housing. Wim gave it a sand-blast to have a nice adhesive surface and 2 coats of Interprotect primer. Not needed to protect the stainless steel but needed for the adhesion of the CopperCoat. We mount with Sikaflex 291i.
Outside:
And inside:

February 26.
Today, the temperature is about 20ºC and no rain expected so that looks good to do the CopperCoat. Since we have only a few small spots to do, Wim makes a small quantity per layer: 25ml Resin, 25ml Harderner and 100gr Copper powder.
First layer. Hm. It dries rather slow… We have to wait 2 hours for it to be dried until it’s tacky and and Wim can add another layer.
The second layer dries even slower: after 3 hours it’s still too soft to paint another layer. A cool sea breeze came up. The temperature dropped to 15ºC and the humidity got very high. Since CopperCoat is water-based it needs warmth and dry air to dry. We decide to to postpone the next layers till tomorrow.
While Wim is waiting for the Coppercoat to dry, out of boredom he sicks a putty knife in the centerboard case. Although there’s nothing to see on the outside, he feels some hard stuff deeper in the case. Perhaps some mussels? He scratches it with the putty knife and a large oyster fells down!
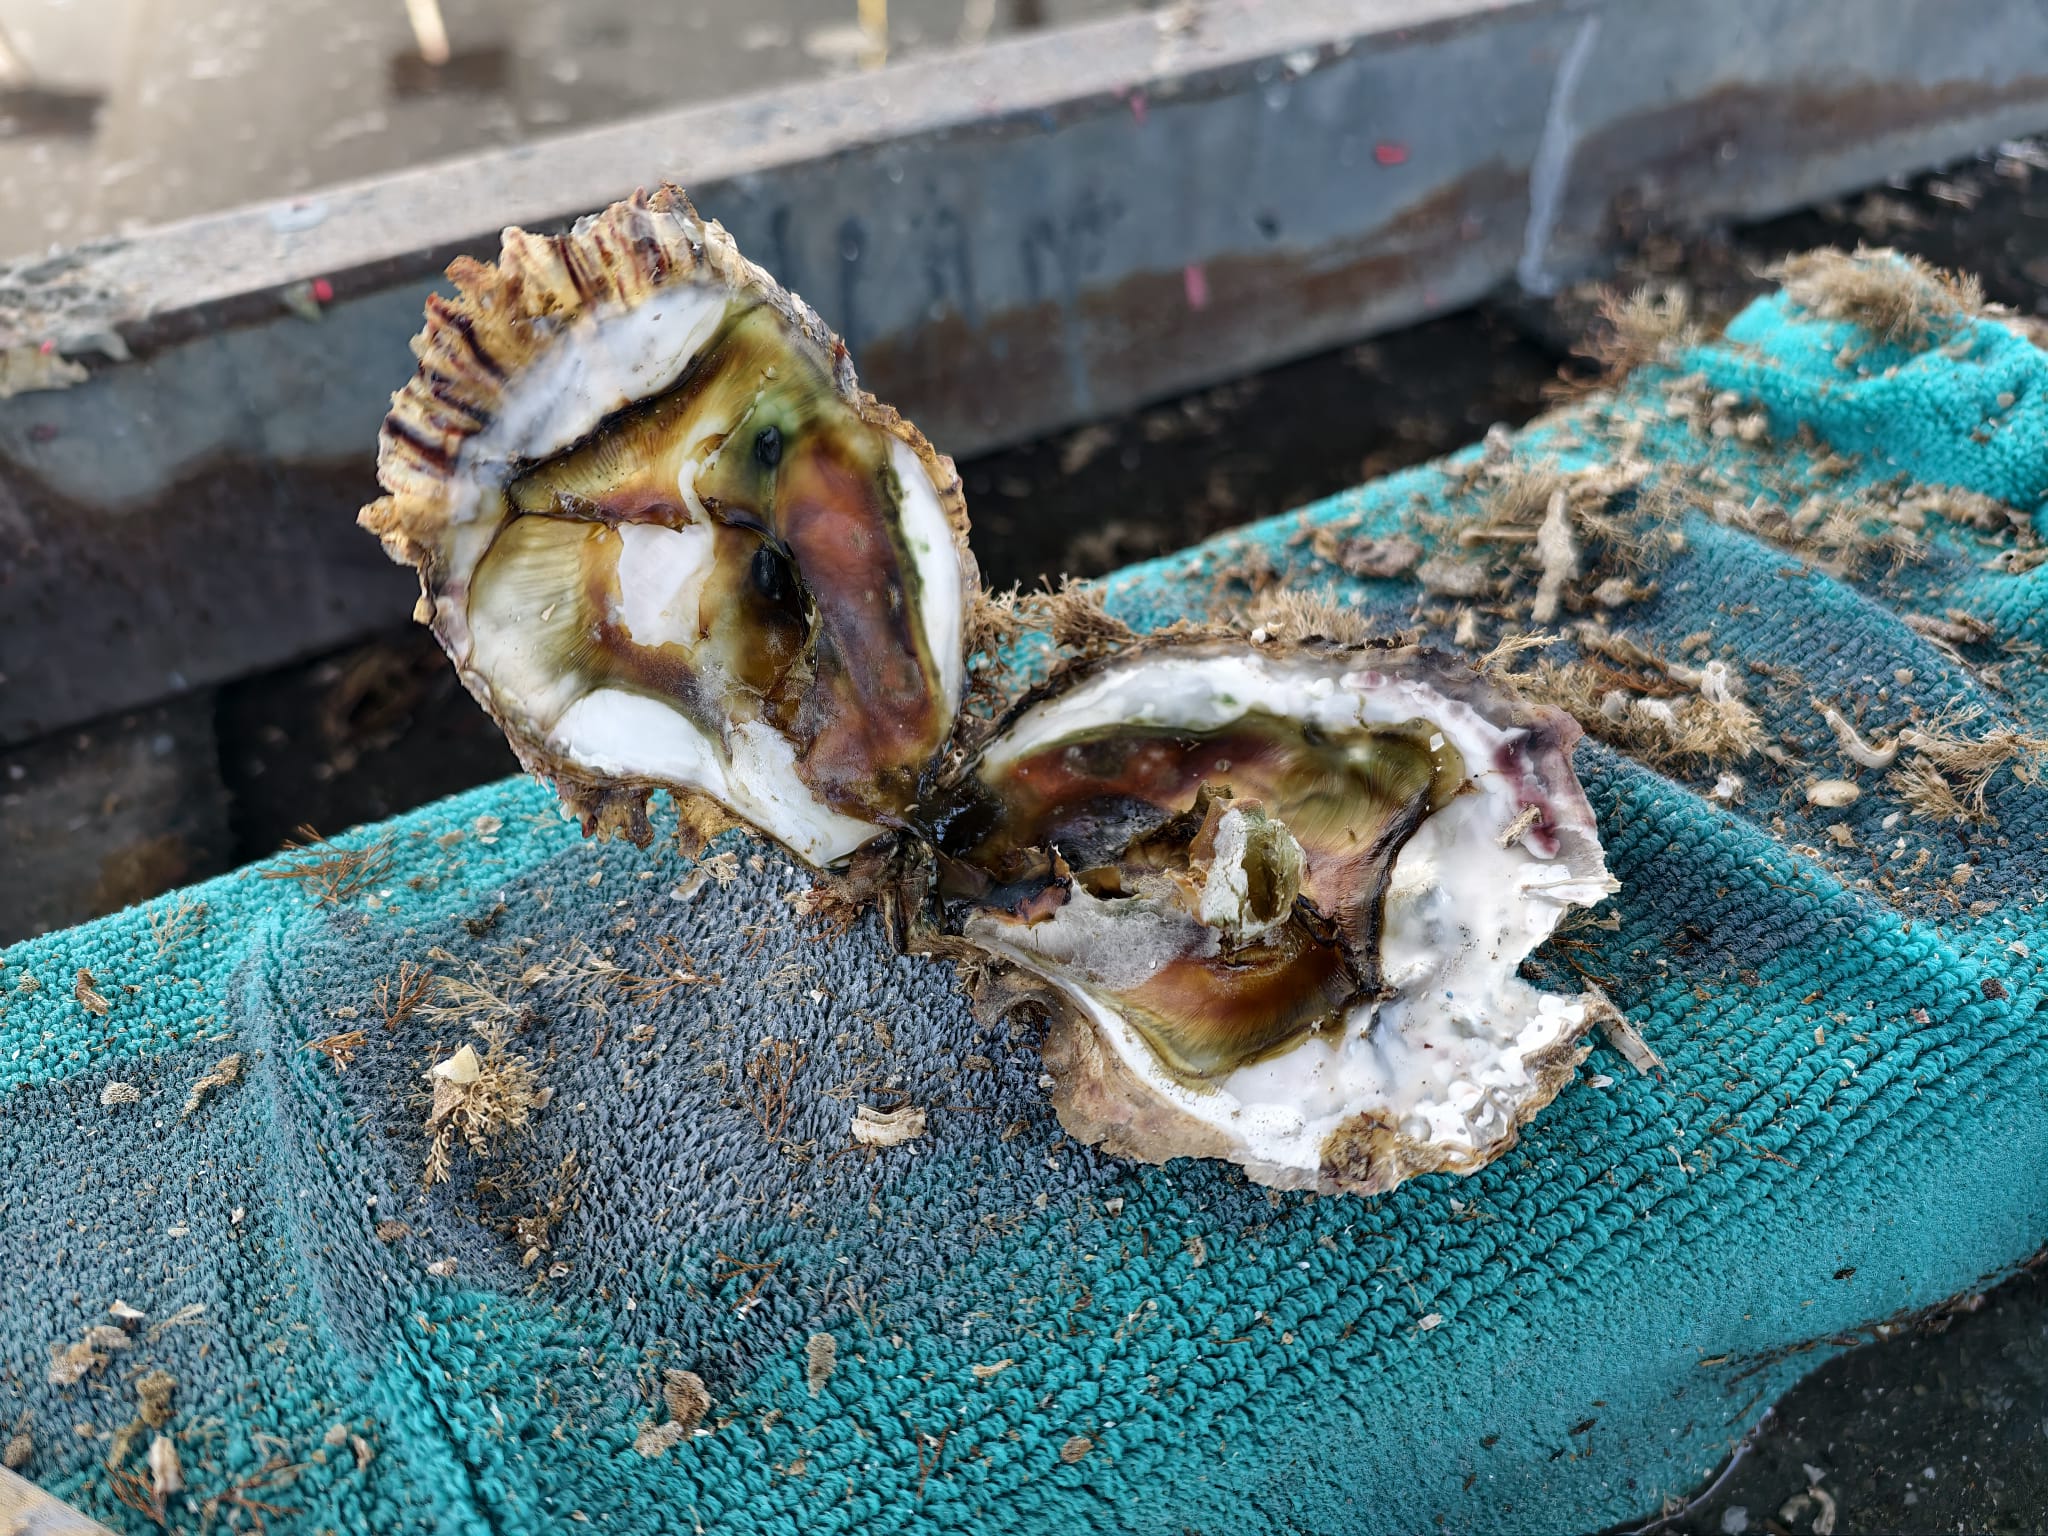
Oops, he can feel many more! These must have grown in the Spanish Ria’s, especially Ria de Arousa. There were numerous mussel and oyster farms. We had mussels and an oyster in our seawater intake, too. Remember?
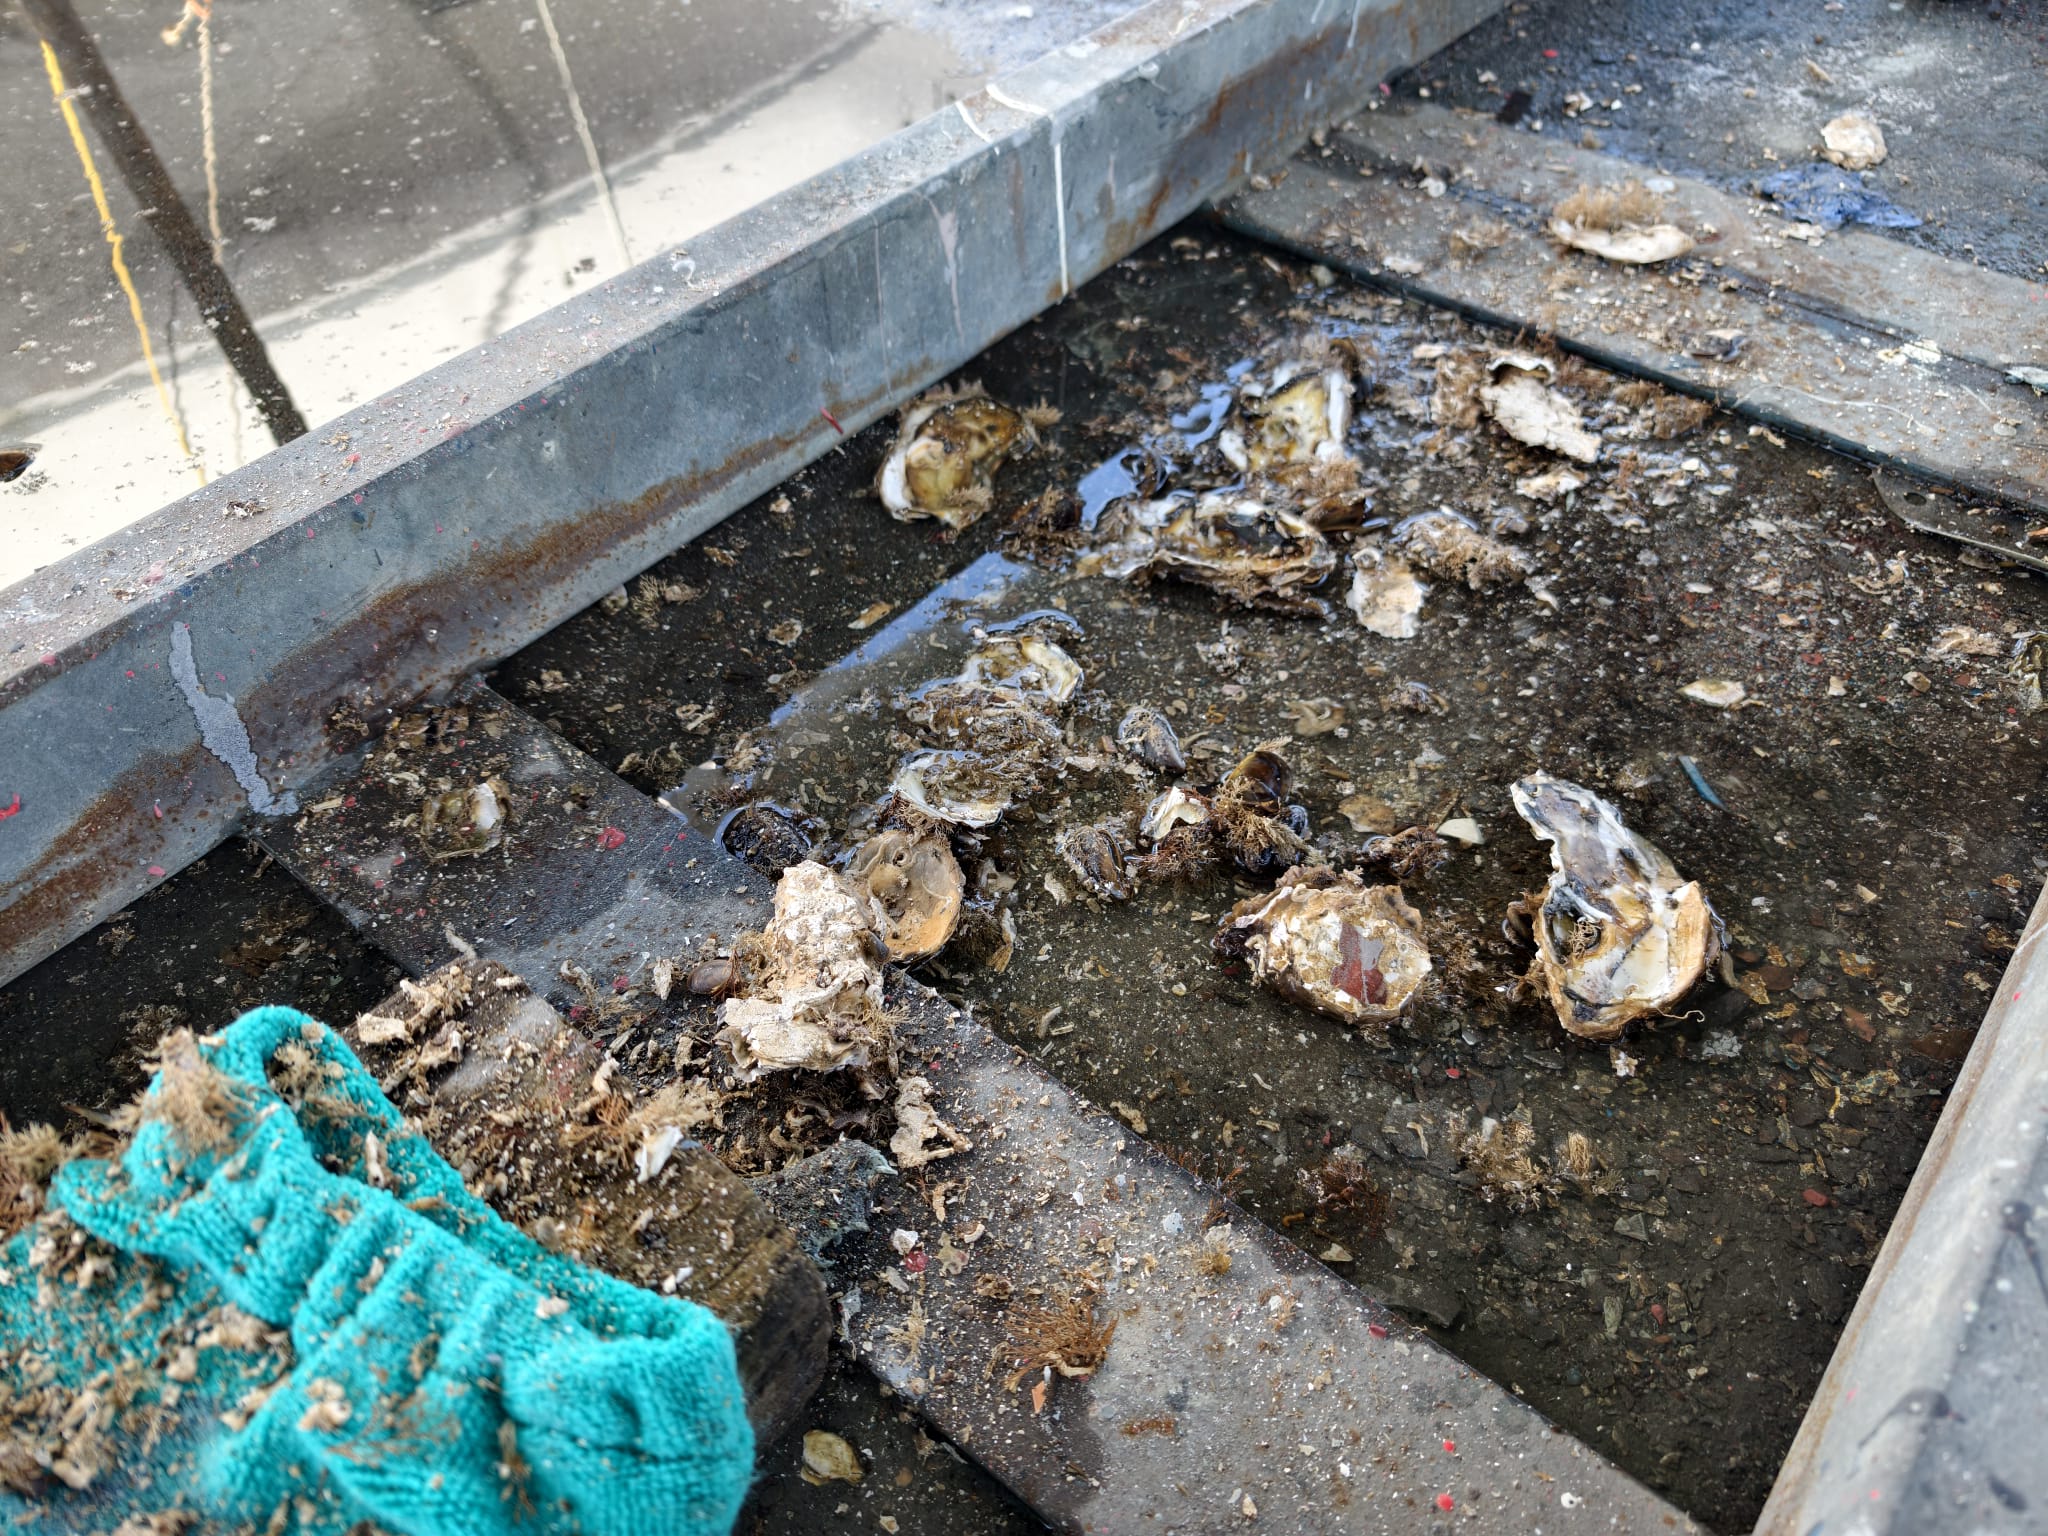
Scraping with putty knife, many oysters fall down. Of course they are dried out but they stick firmly to the centerboard case. It takes real force to poke them of the wall.
We lower the centerboard to be able to reach them better but Wim can’t reach deep enough to scrape them all off.
February 27.
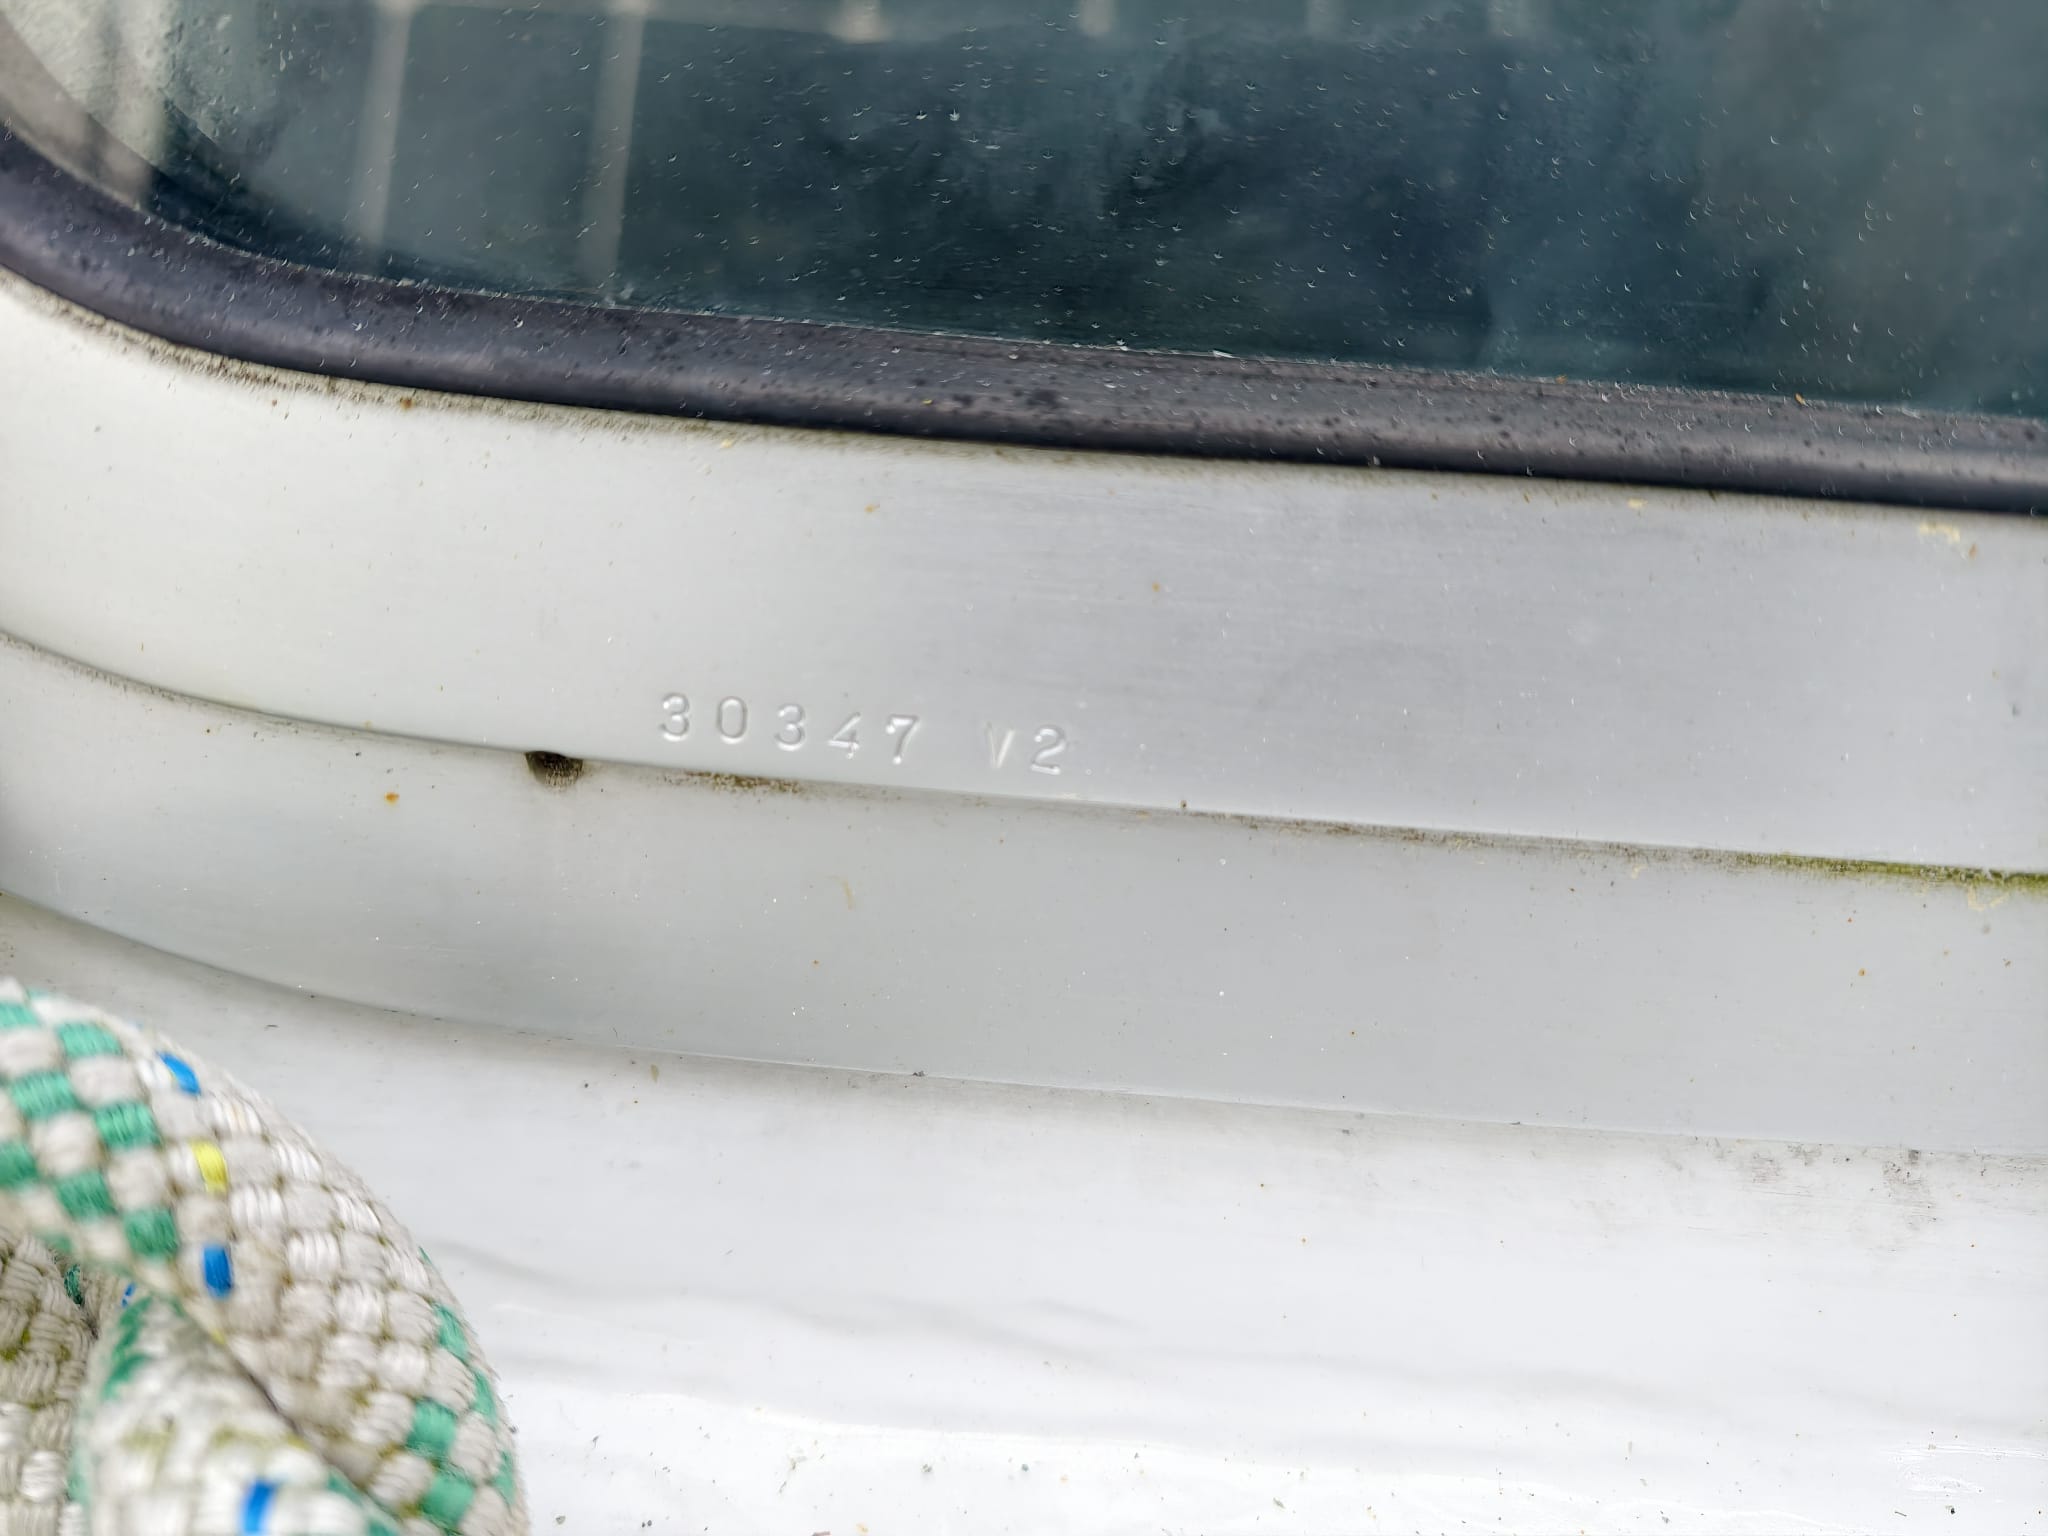
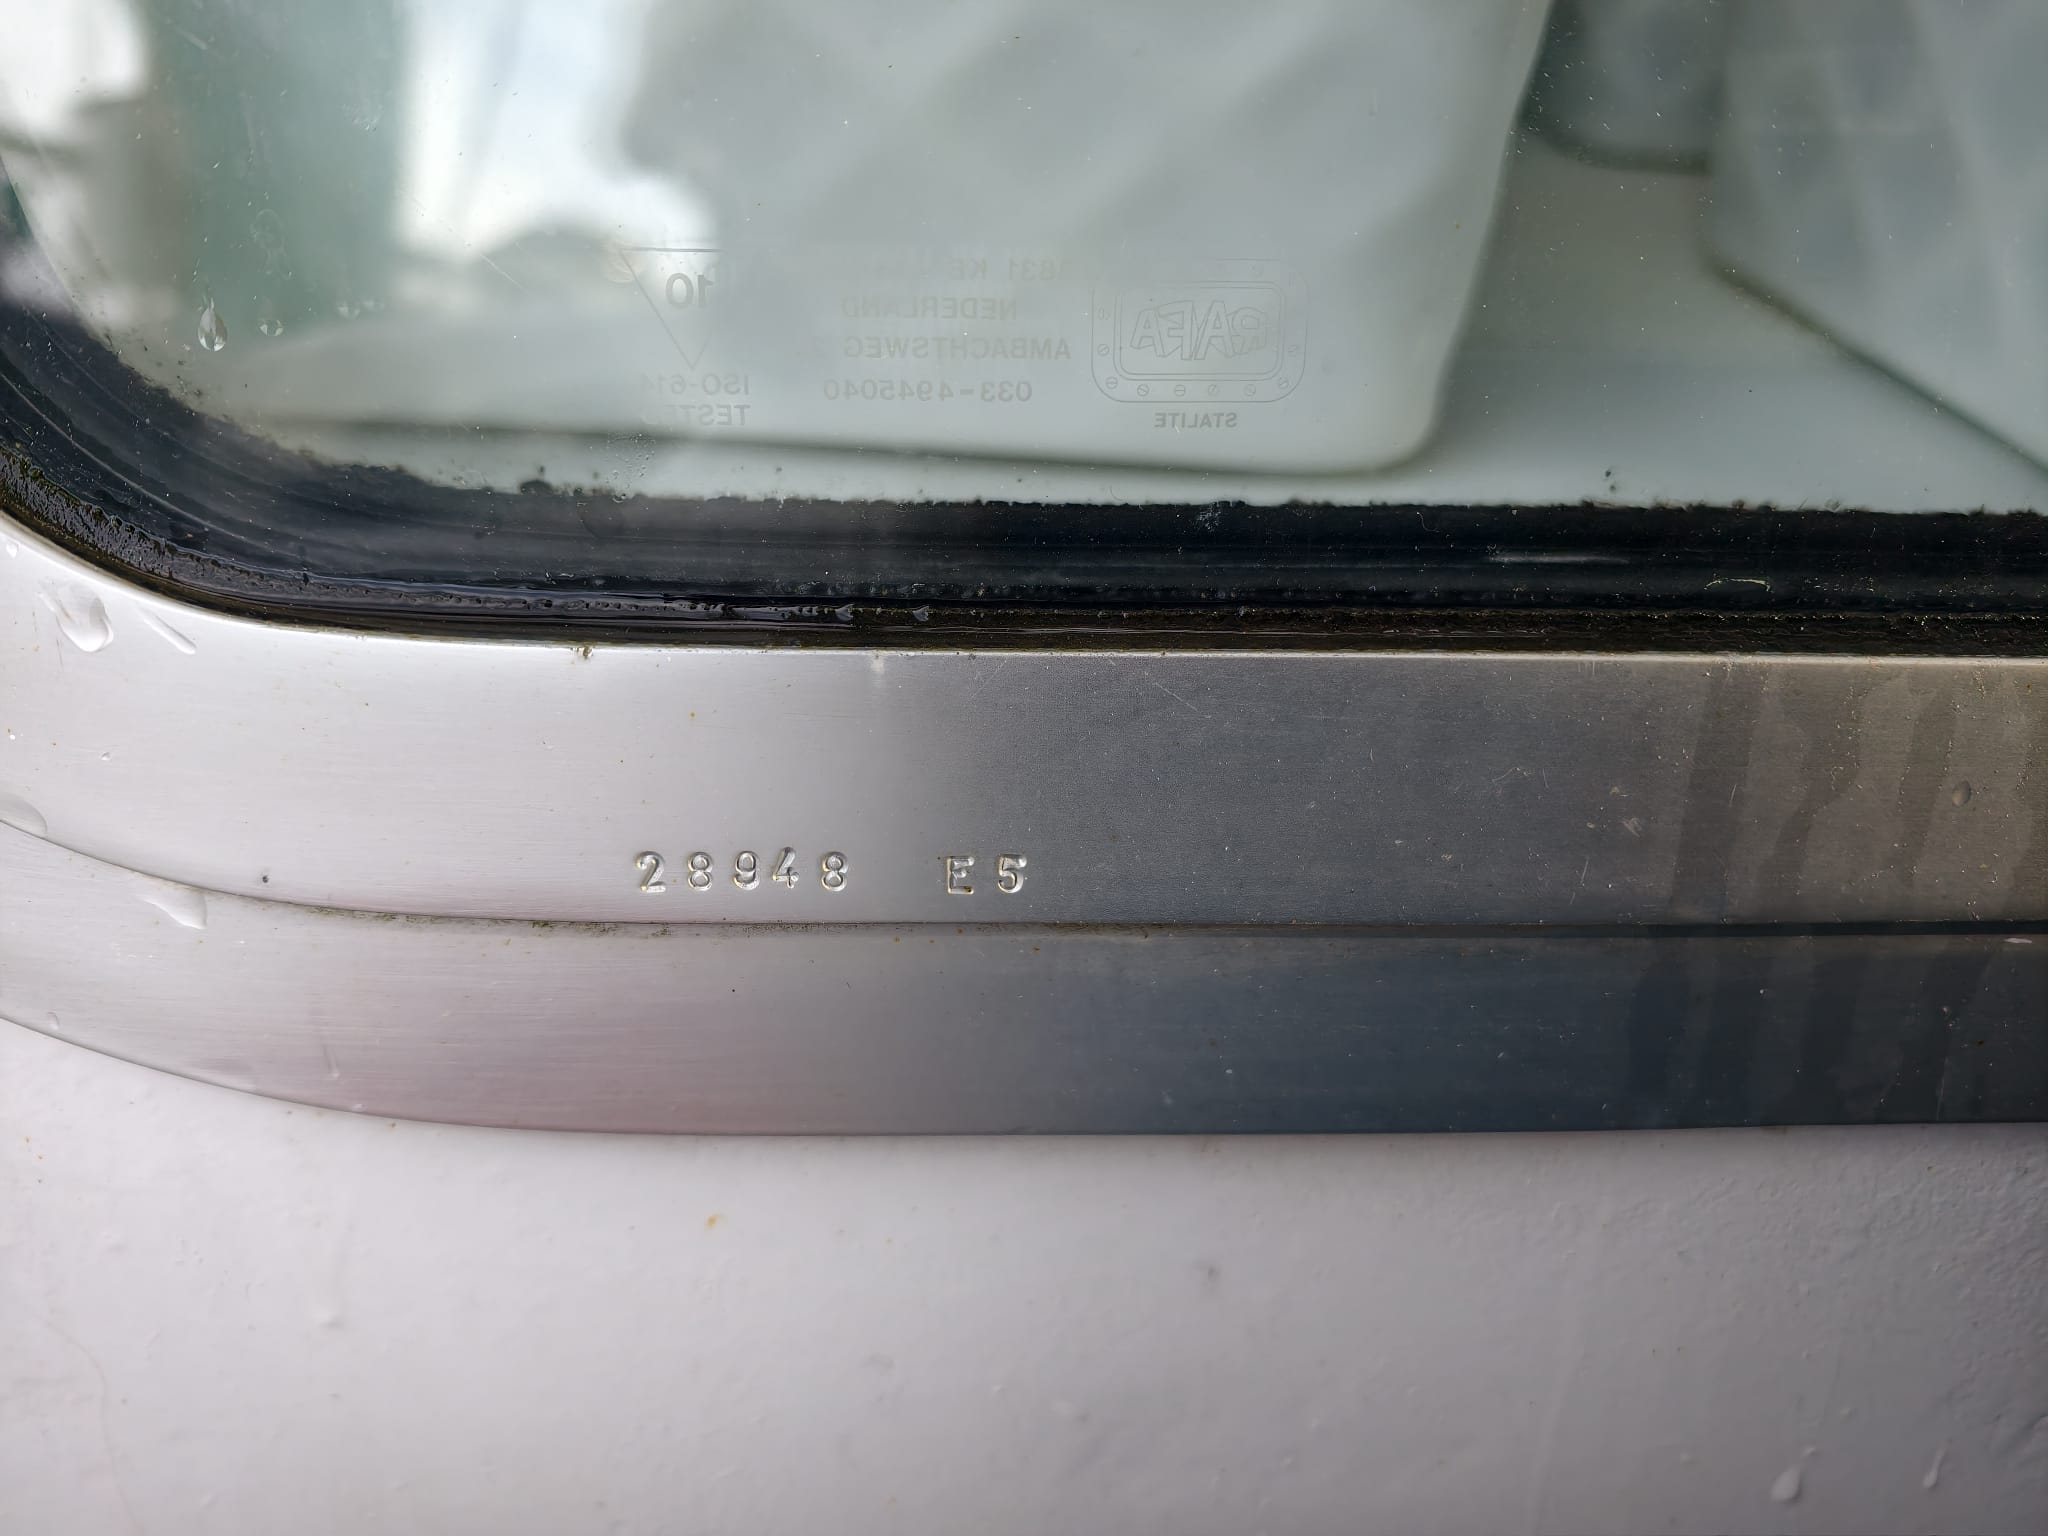
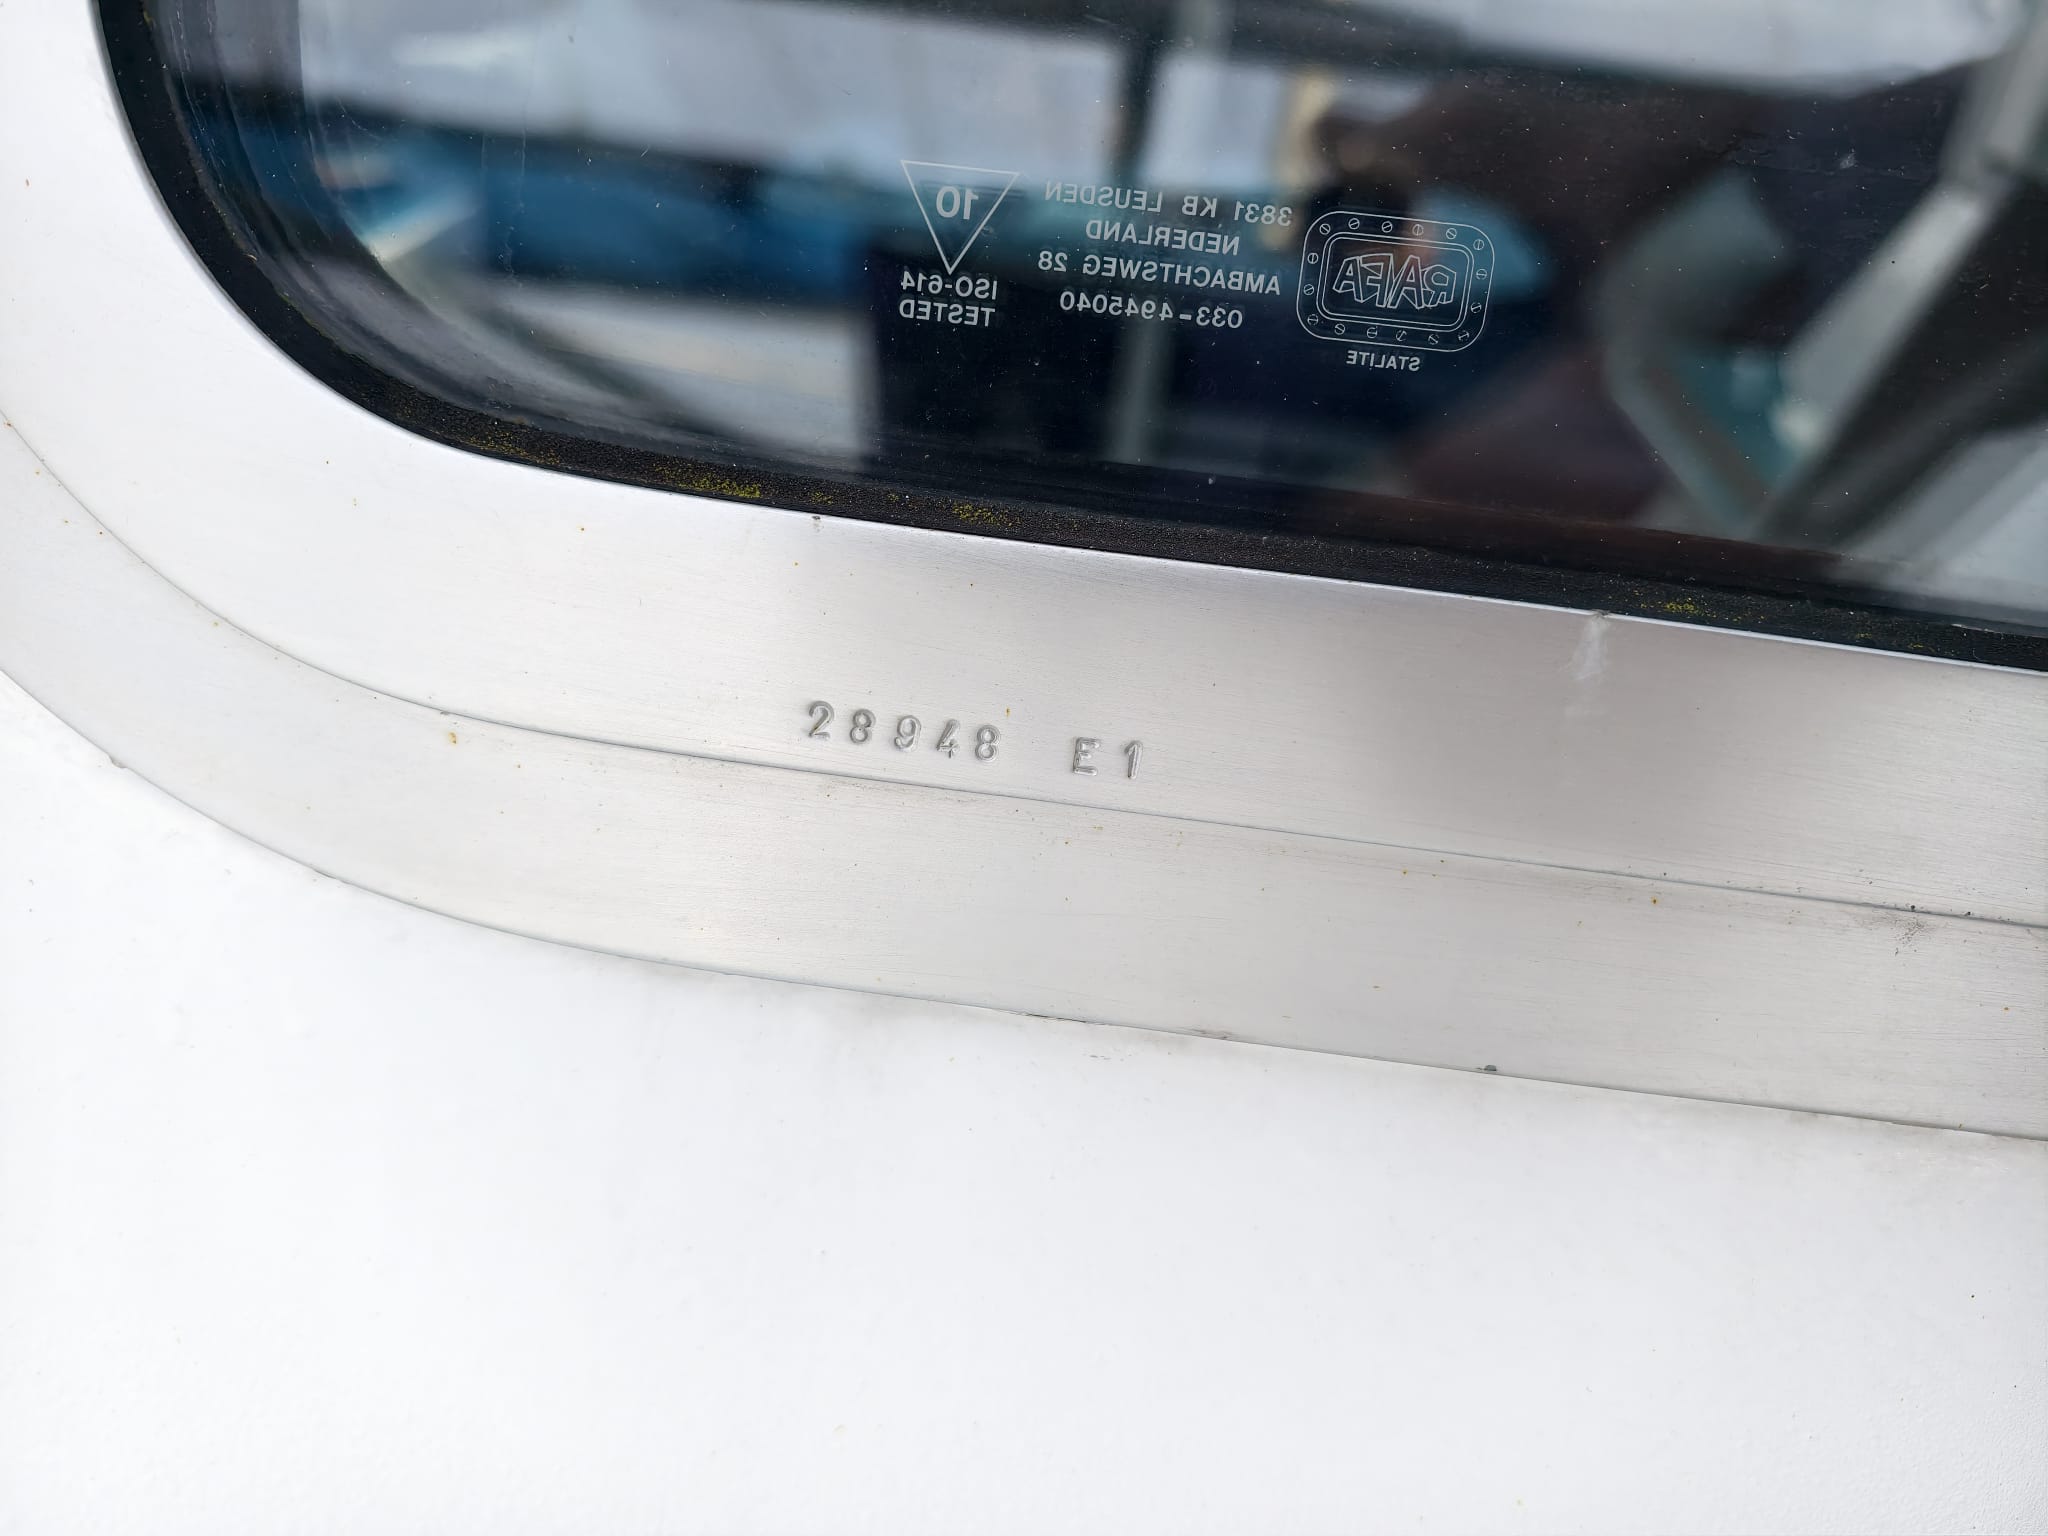
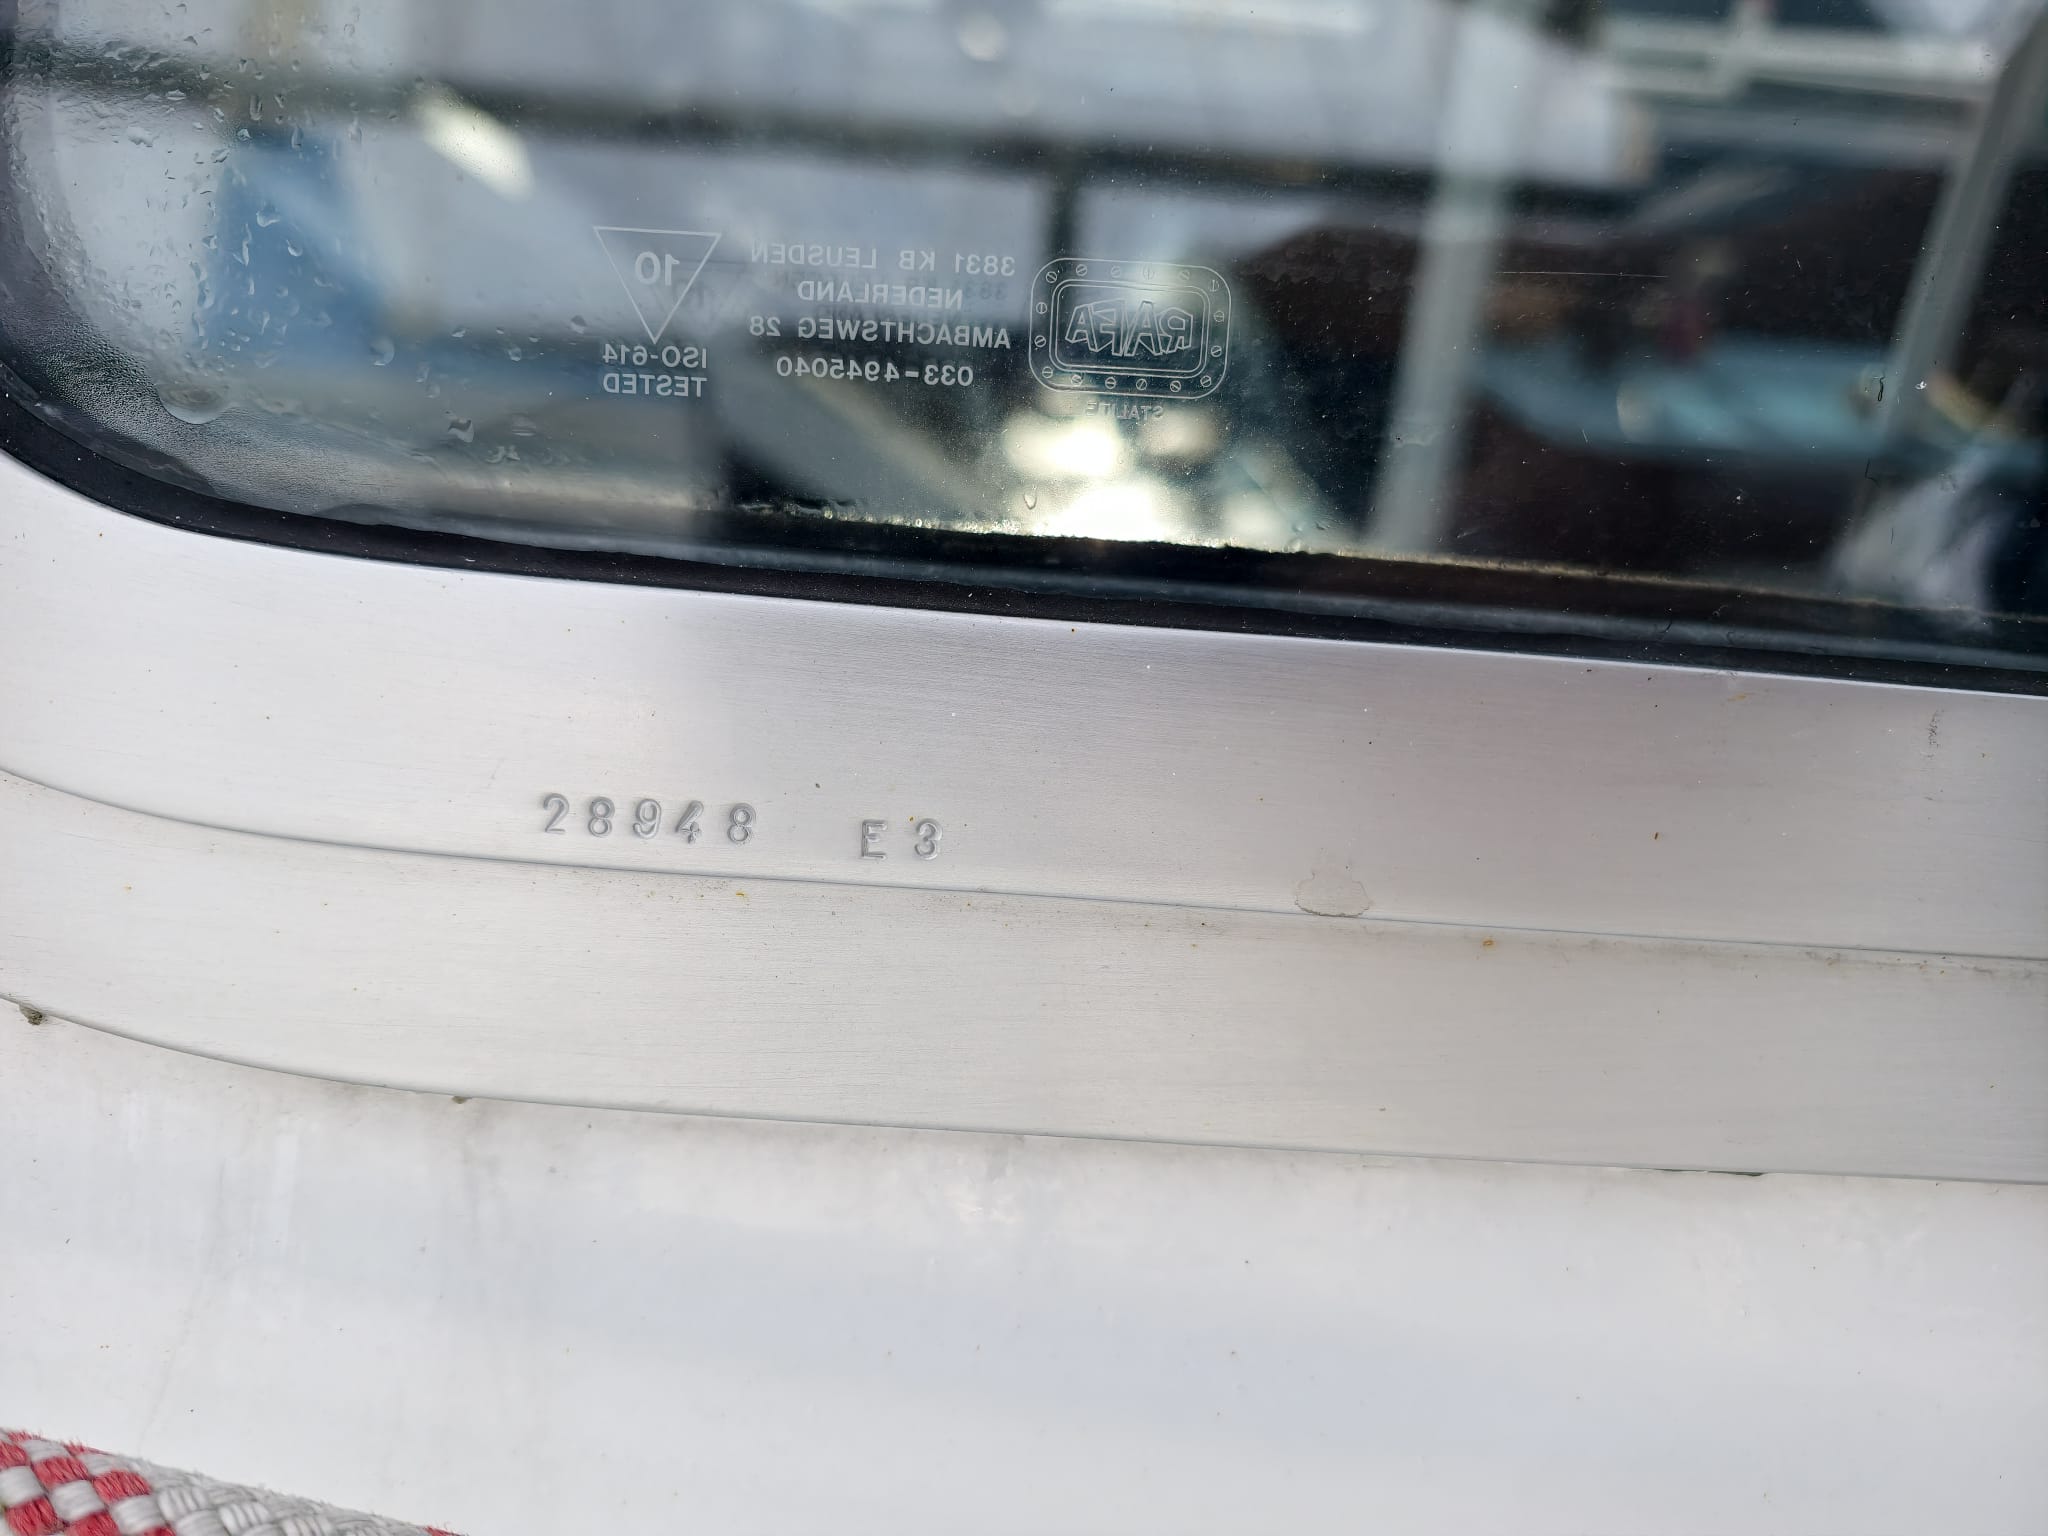
In the morning, when the temperature rises quickly after a cool night, we notice some condensation between the panes of the double glass window of the Port side front window. Bummer! We know what this means: this glass pane will have to be replaced… 2 years ago, in Harlingen, we had 4 windows replaced. The other windows looked fine at that time but now it appears they have their turn, too… It looks like the problem appears at the windows which a little bend: they follow the slight curve of Dione IV’s hull. The theory is that the slight bend of the double glass causes some strain that makes the seal between the glass pane go leaky and moist and air can penetrate. So, we’ll have to repair another 4 windows… Big job… We send pictures and serial numbers to the manufacturer (Hora ship windows) in the Netherlands to see what solution they can offer.
Today, the weather is dry and sunny. That will be perfect for painting CopperCoat. Yesterdays last layer is still sticky so that can have more layers without a problem. We also improve the mixing quantities by using a 30ml spoon. Perhaps we didn’t have the good ratio yesterday, it was too hard to see in the mixing cup.

Since we can lower the centerboard a bit more than we did in Harlingen 2 years ago, that can have some more CopperCoat, too. There we no oysters growing on the centerboard, nothing at all. While on the walls of the case (there’s no CopperCoat, it’s impossible to reach) there were hundreds. That’s how good CopperCoat works!

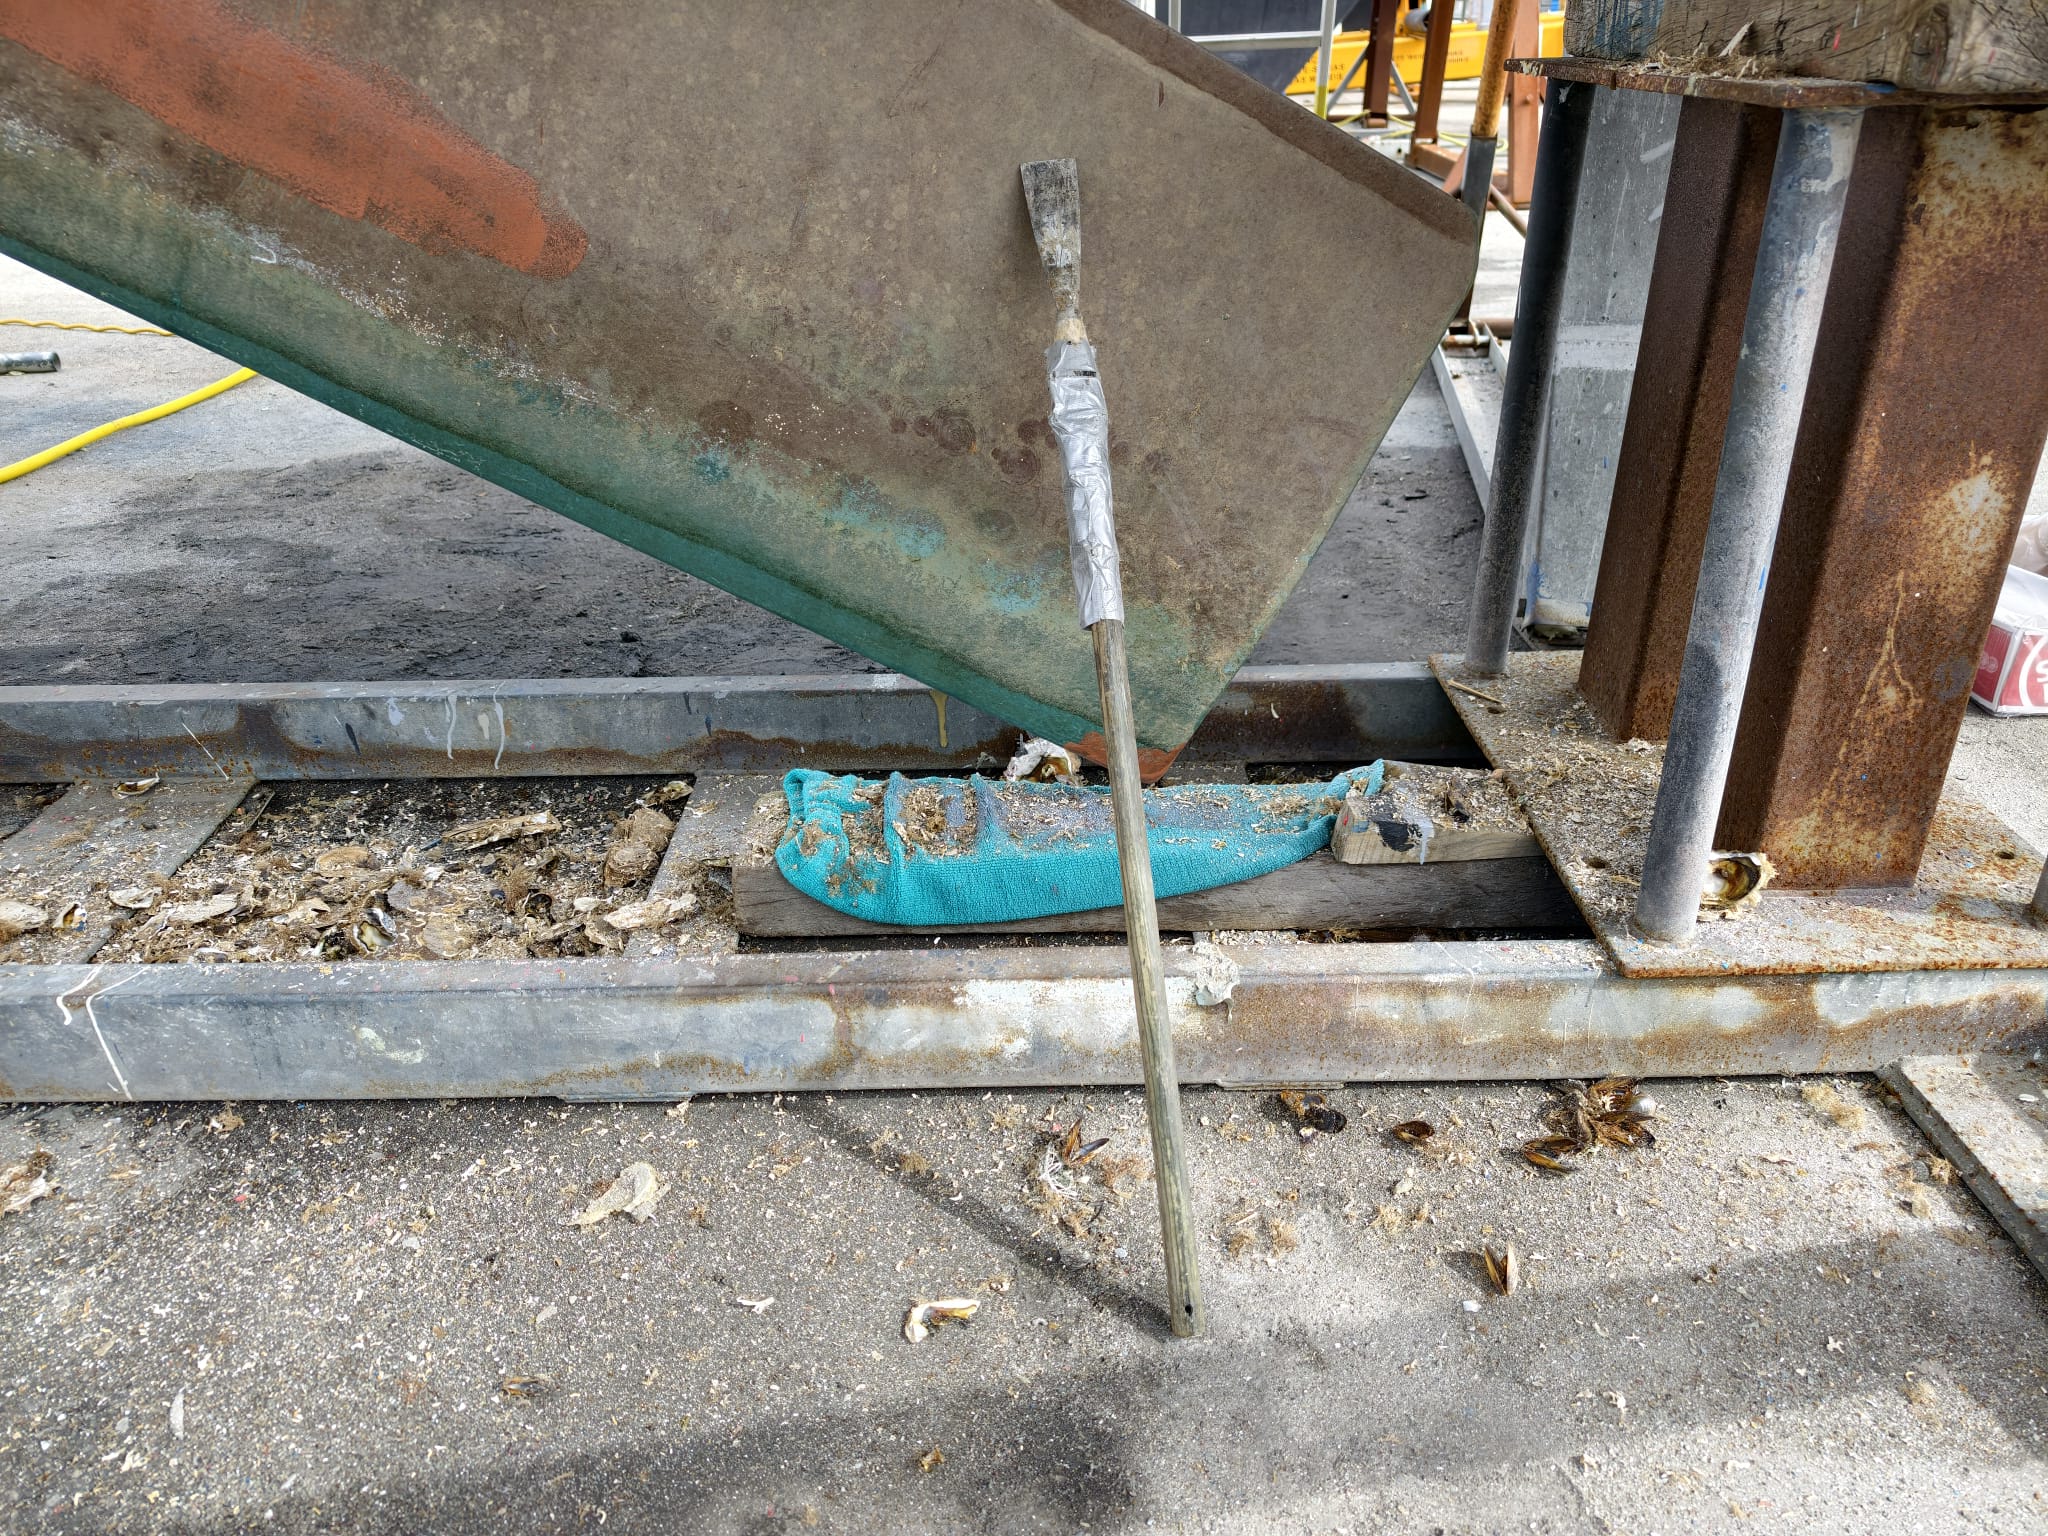
Wim makes an extension for the putty knife and now he’s able to scrape everything out the the centerboard case.
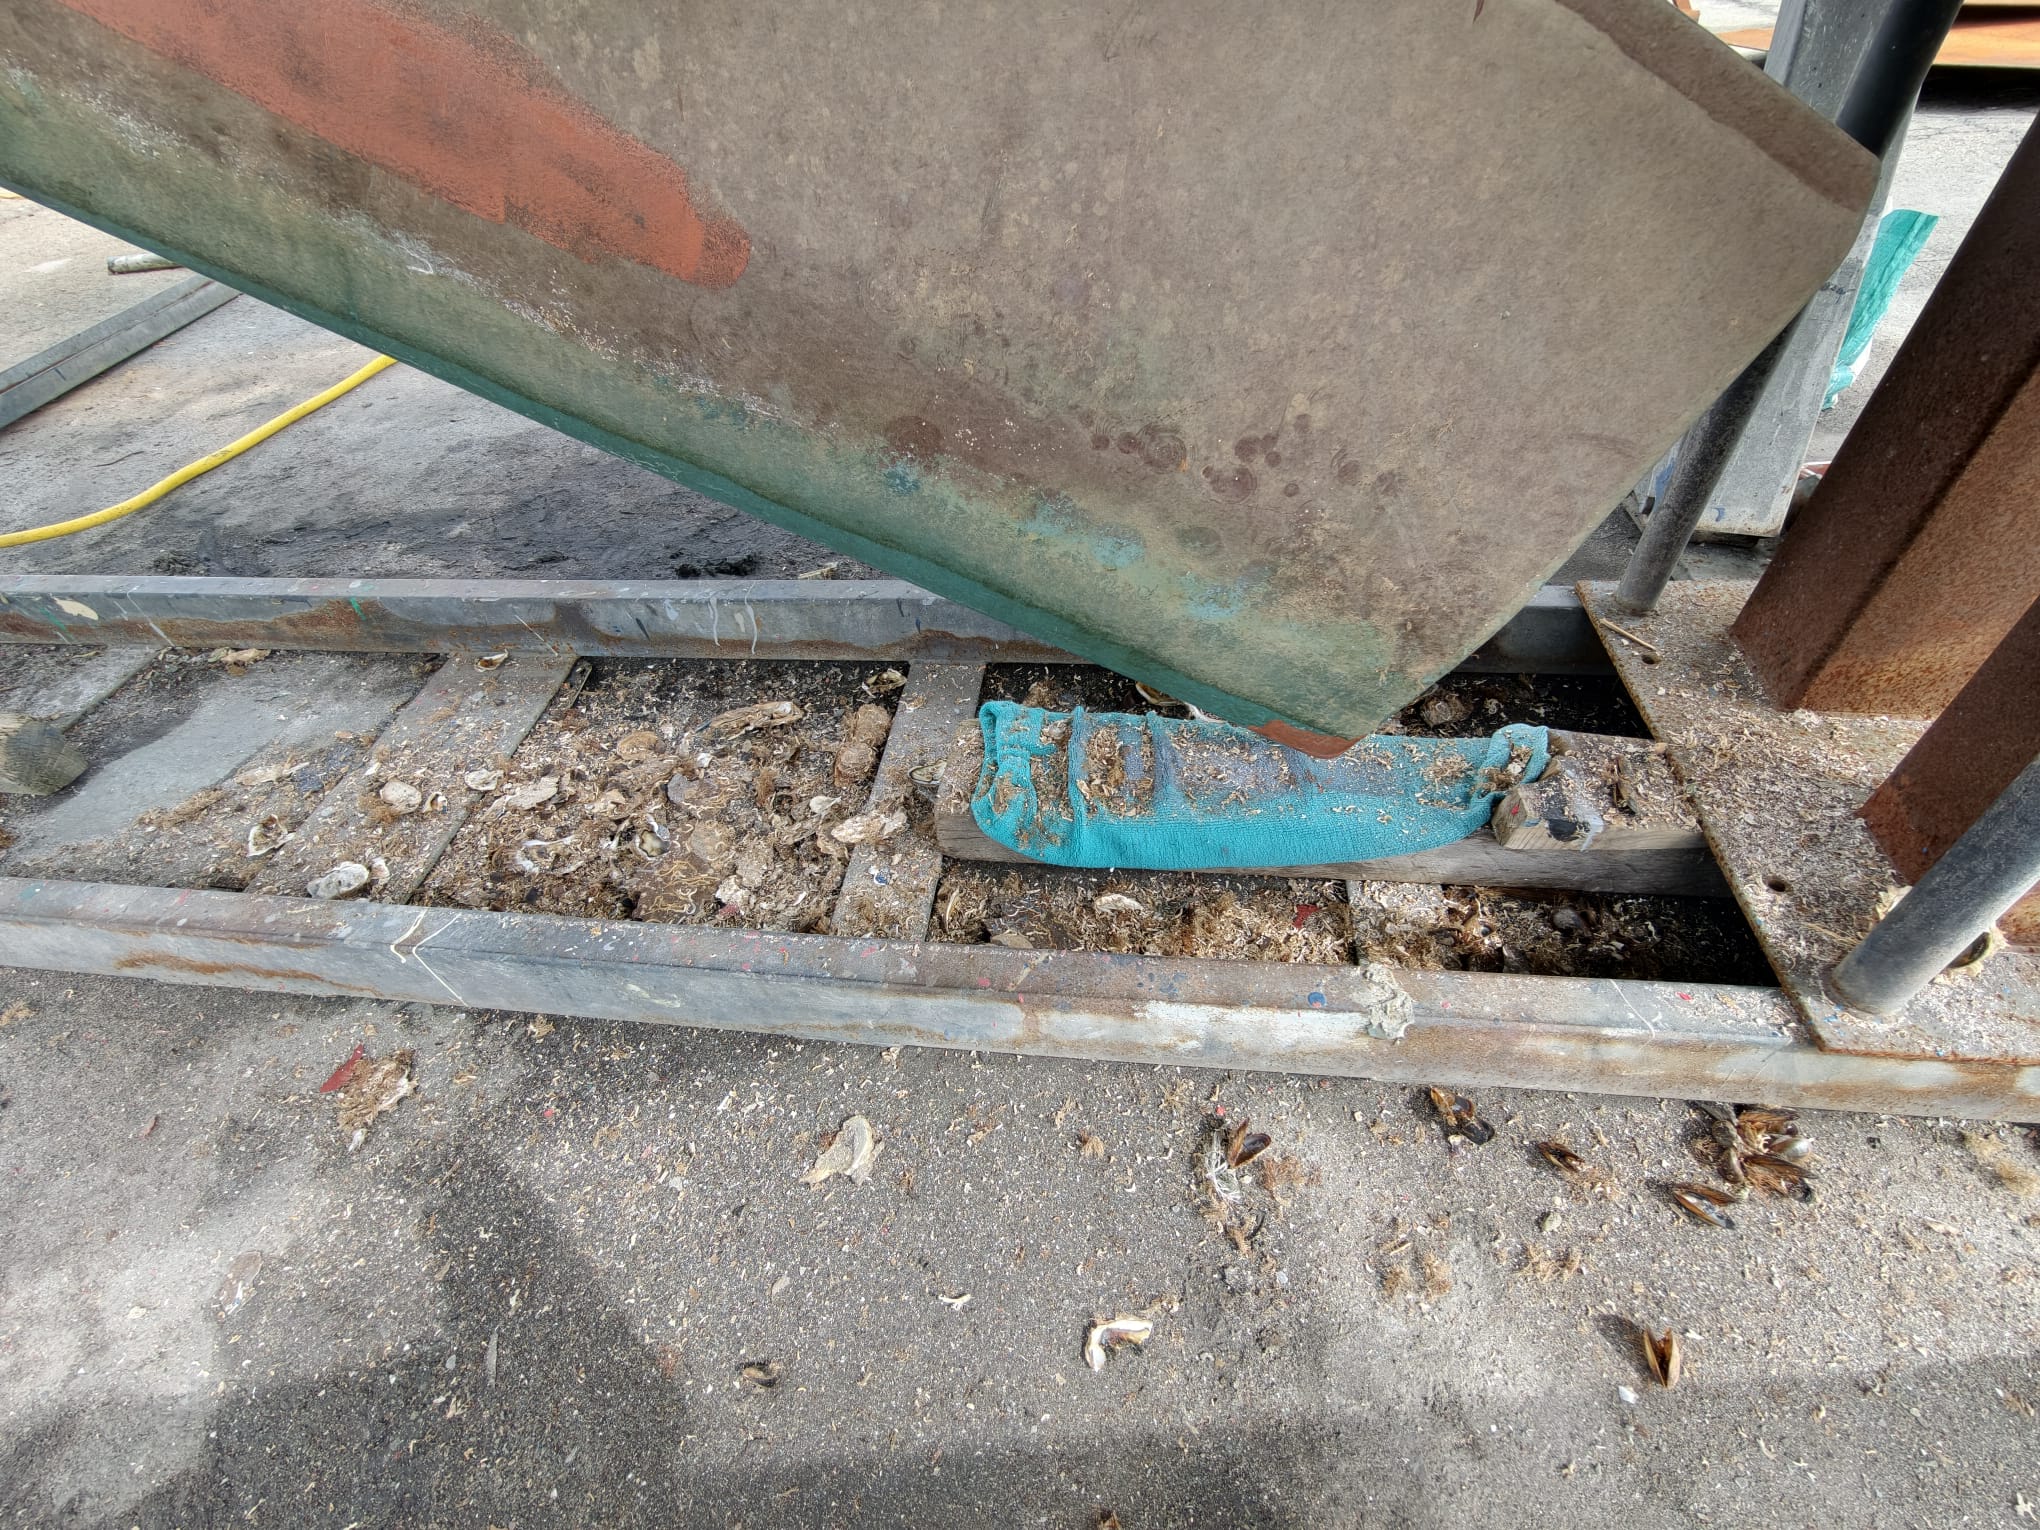
A huge amount of chalky sea life drops down!
After that, the centerboard case is reasonably clean. Well, it’s not getting any better than this…
When we built this case, we realized that it would impossible to sandblast and paint it. That’s why we used 12mm thick steel. In case it would get rusty it will survive many, many years. But it doesn’t get rusty at all. Because there’s no oxygen under water. The red/brown spot is where an oyster was attached and a layer growth came off. The red/brown is the red oxide primer with which the steel plate was painted. Not a trace of rust.
And Sher goes on and on with the dinghy cover fabric…
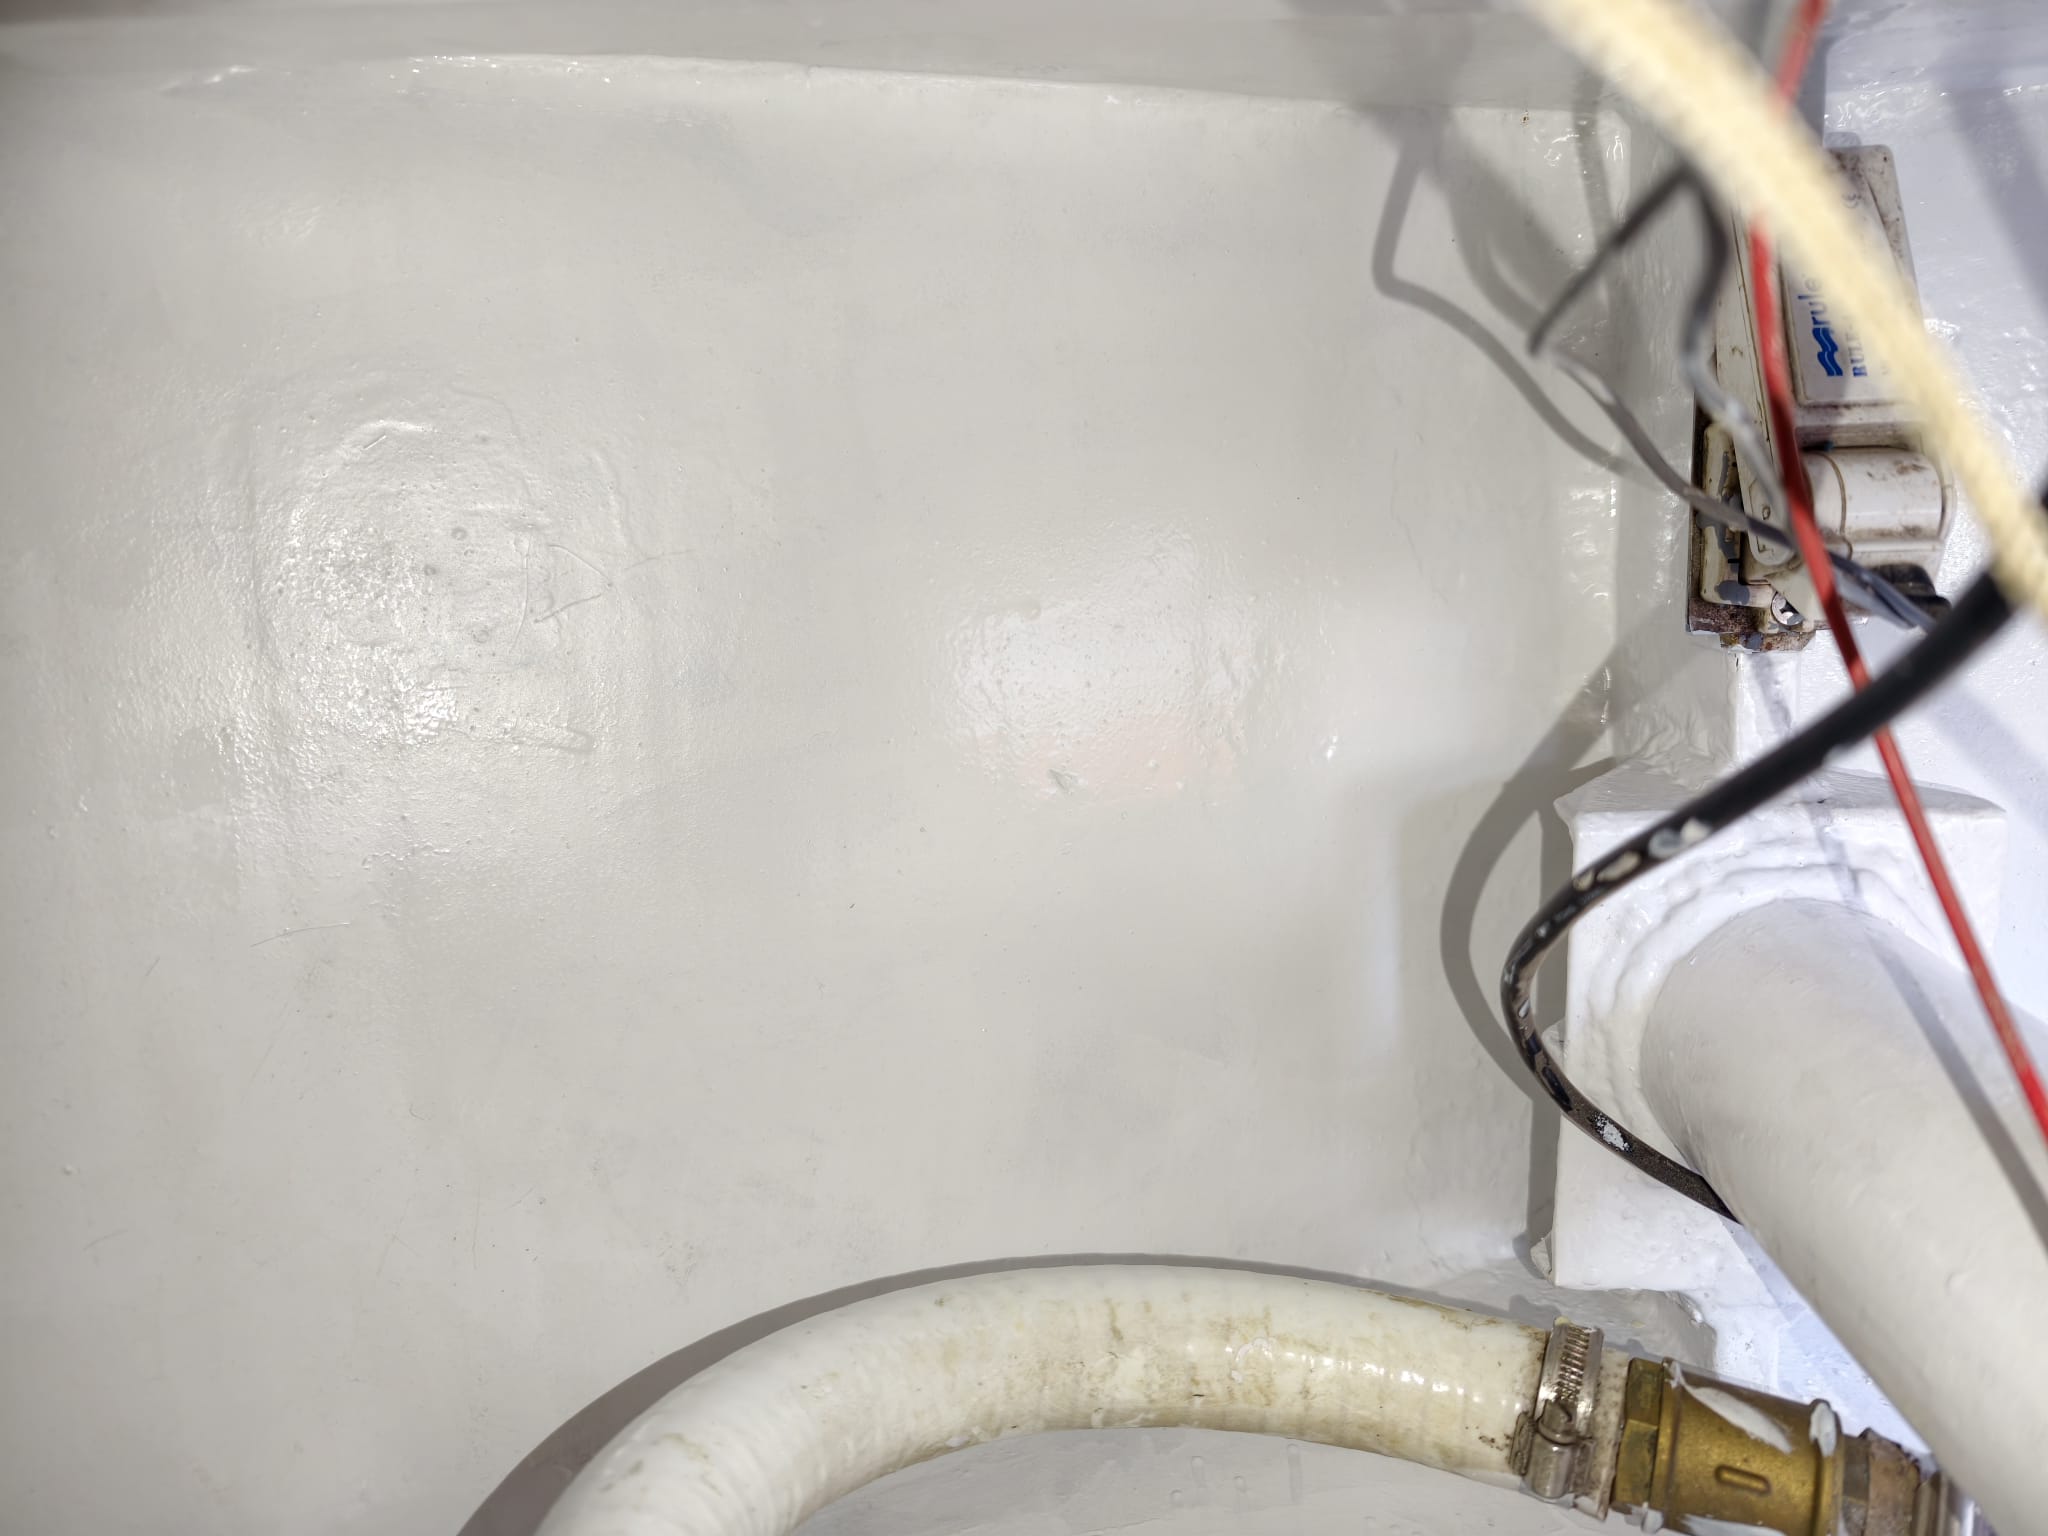
In the waiting time between the layers of CopperCoat, Wim paints the bilges with white Interprotect primer.
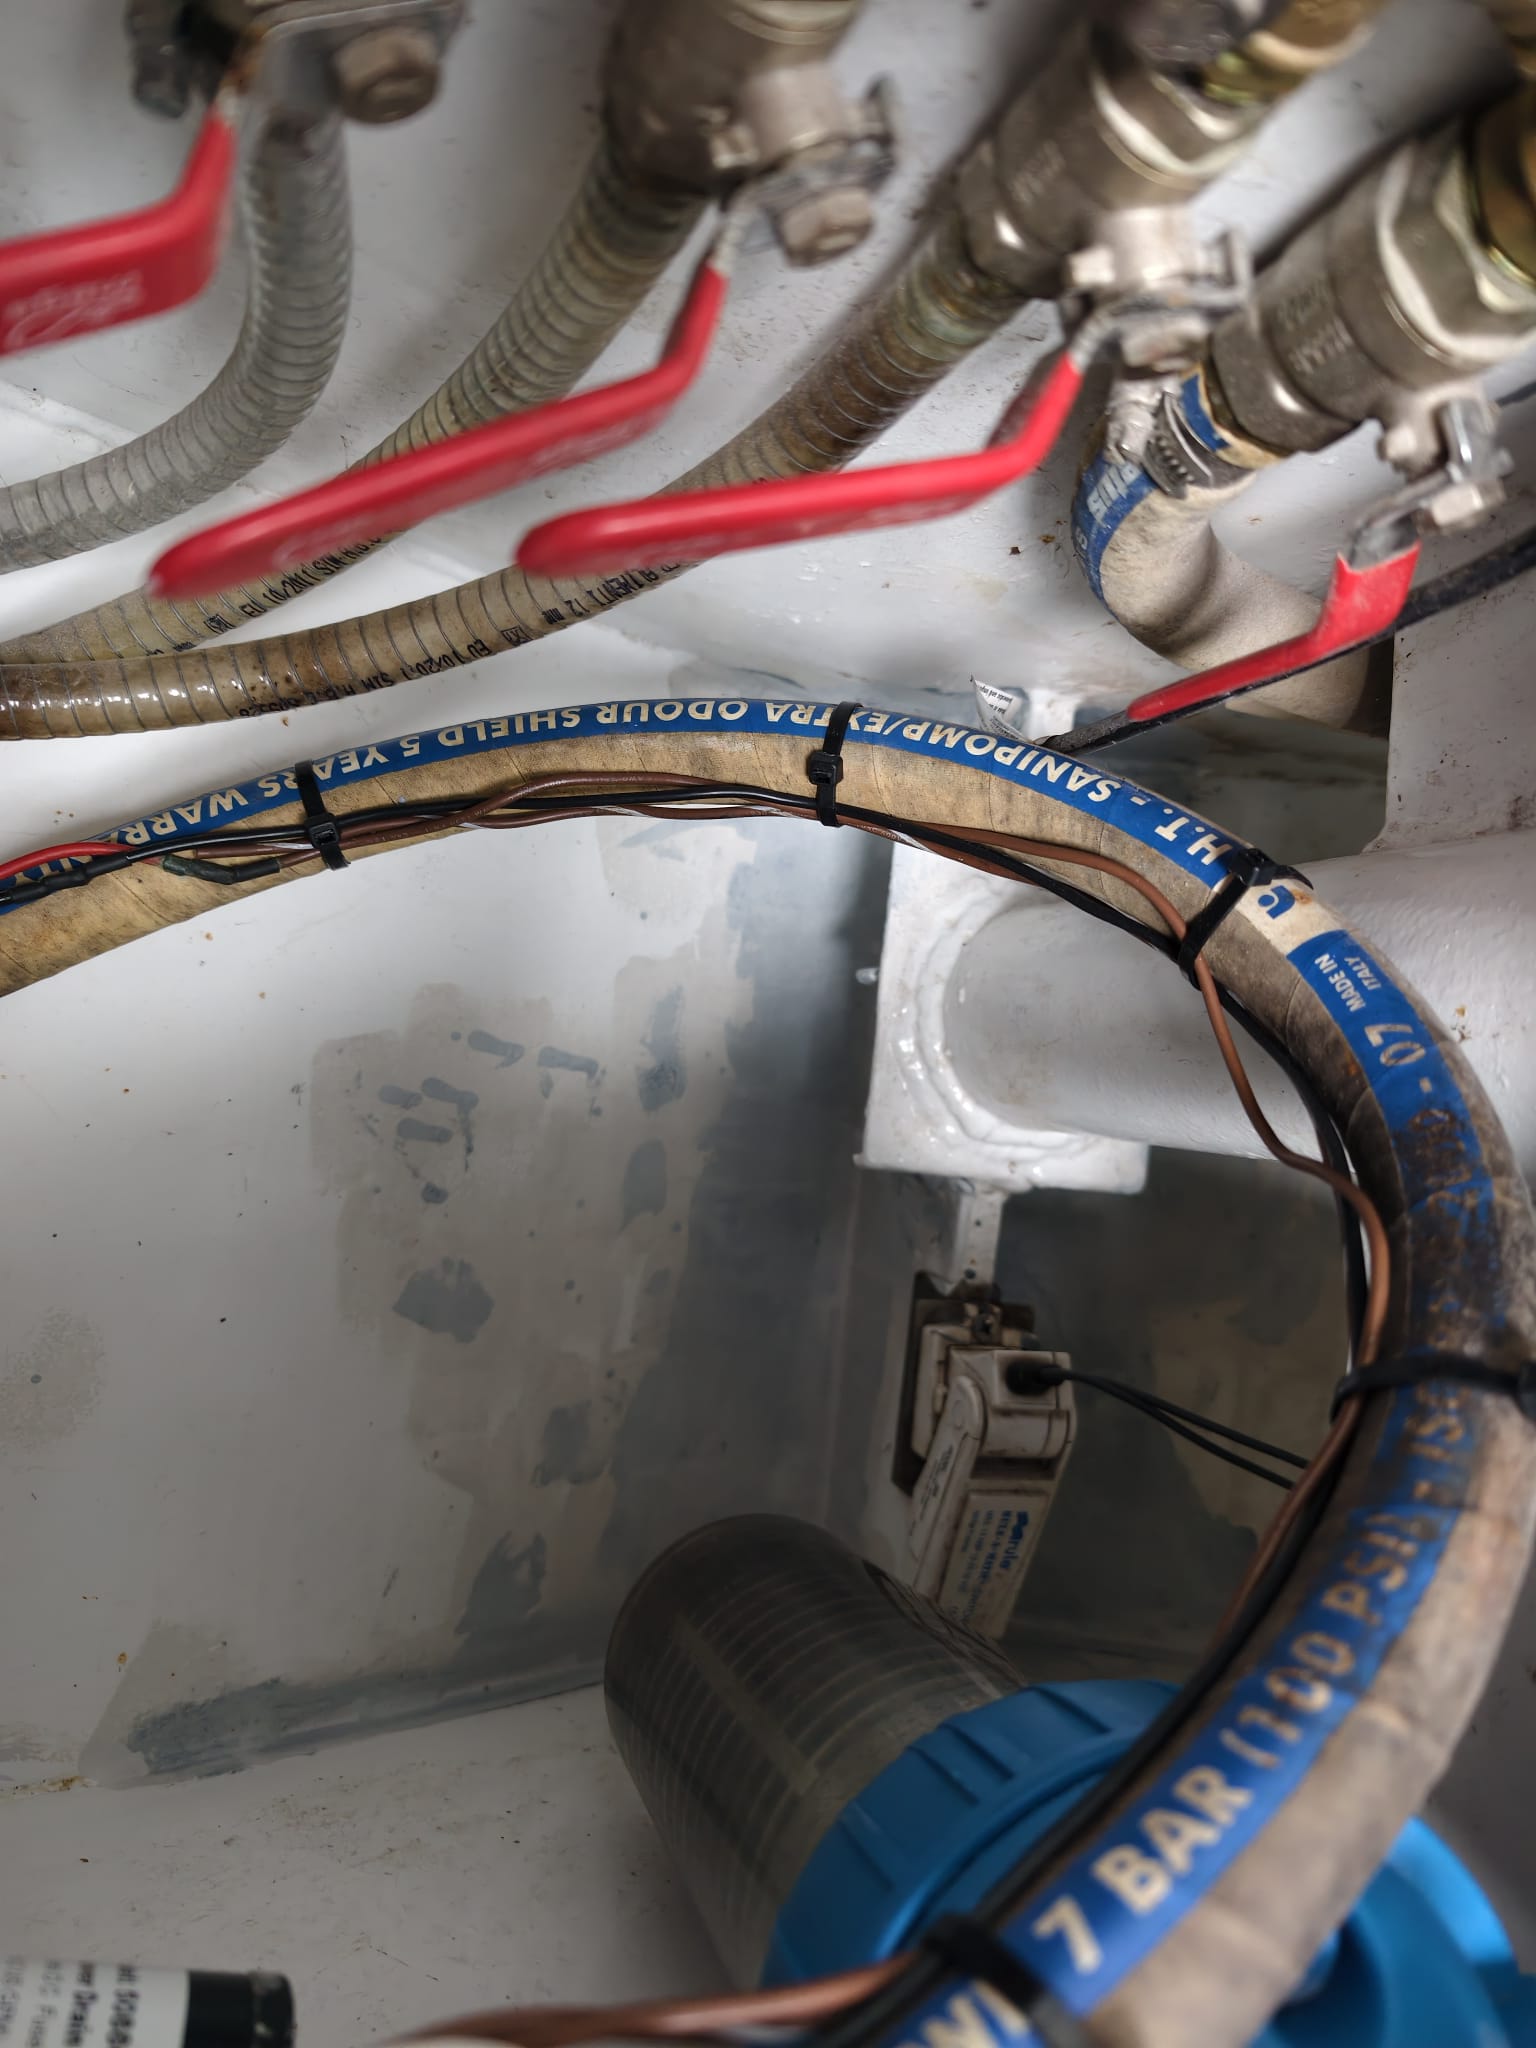
And assembles the repaired (welded) water lock, using Sikaflex sealant because there was some corrosion between the rubber tube and the stainless steel parts. And mount new silent blocks.
February 28.
We hoist the dinghy down and Sher does another fitting of the cover. She decides to improve the shape of the round back ends.
Wim re-installs the engine exhaust water lock.
March 1
Sometimes, things do not go right at the Sailrite sewing machine….😅
But in the end, the dinghy cover fits perfectly! 🥳
Bilges painted with 2 layers of Interprotect White and 2 layers of Epifanes 2k white primer.
Depth & speed transducer installed!
Now that the engine exhaust water lock is back in place, we can restore the storage area under the floor of the lazarette and put everything back. The cockpit looks a lot different without all that stuff!
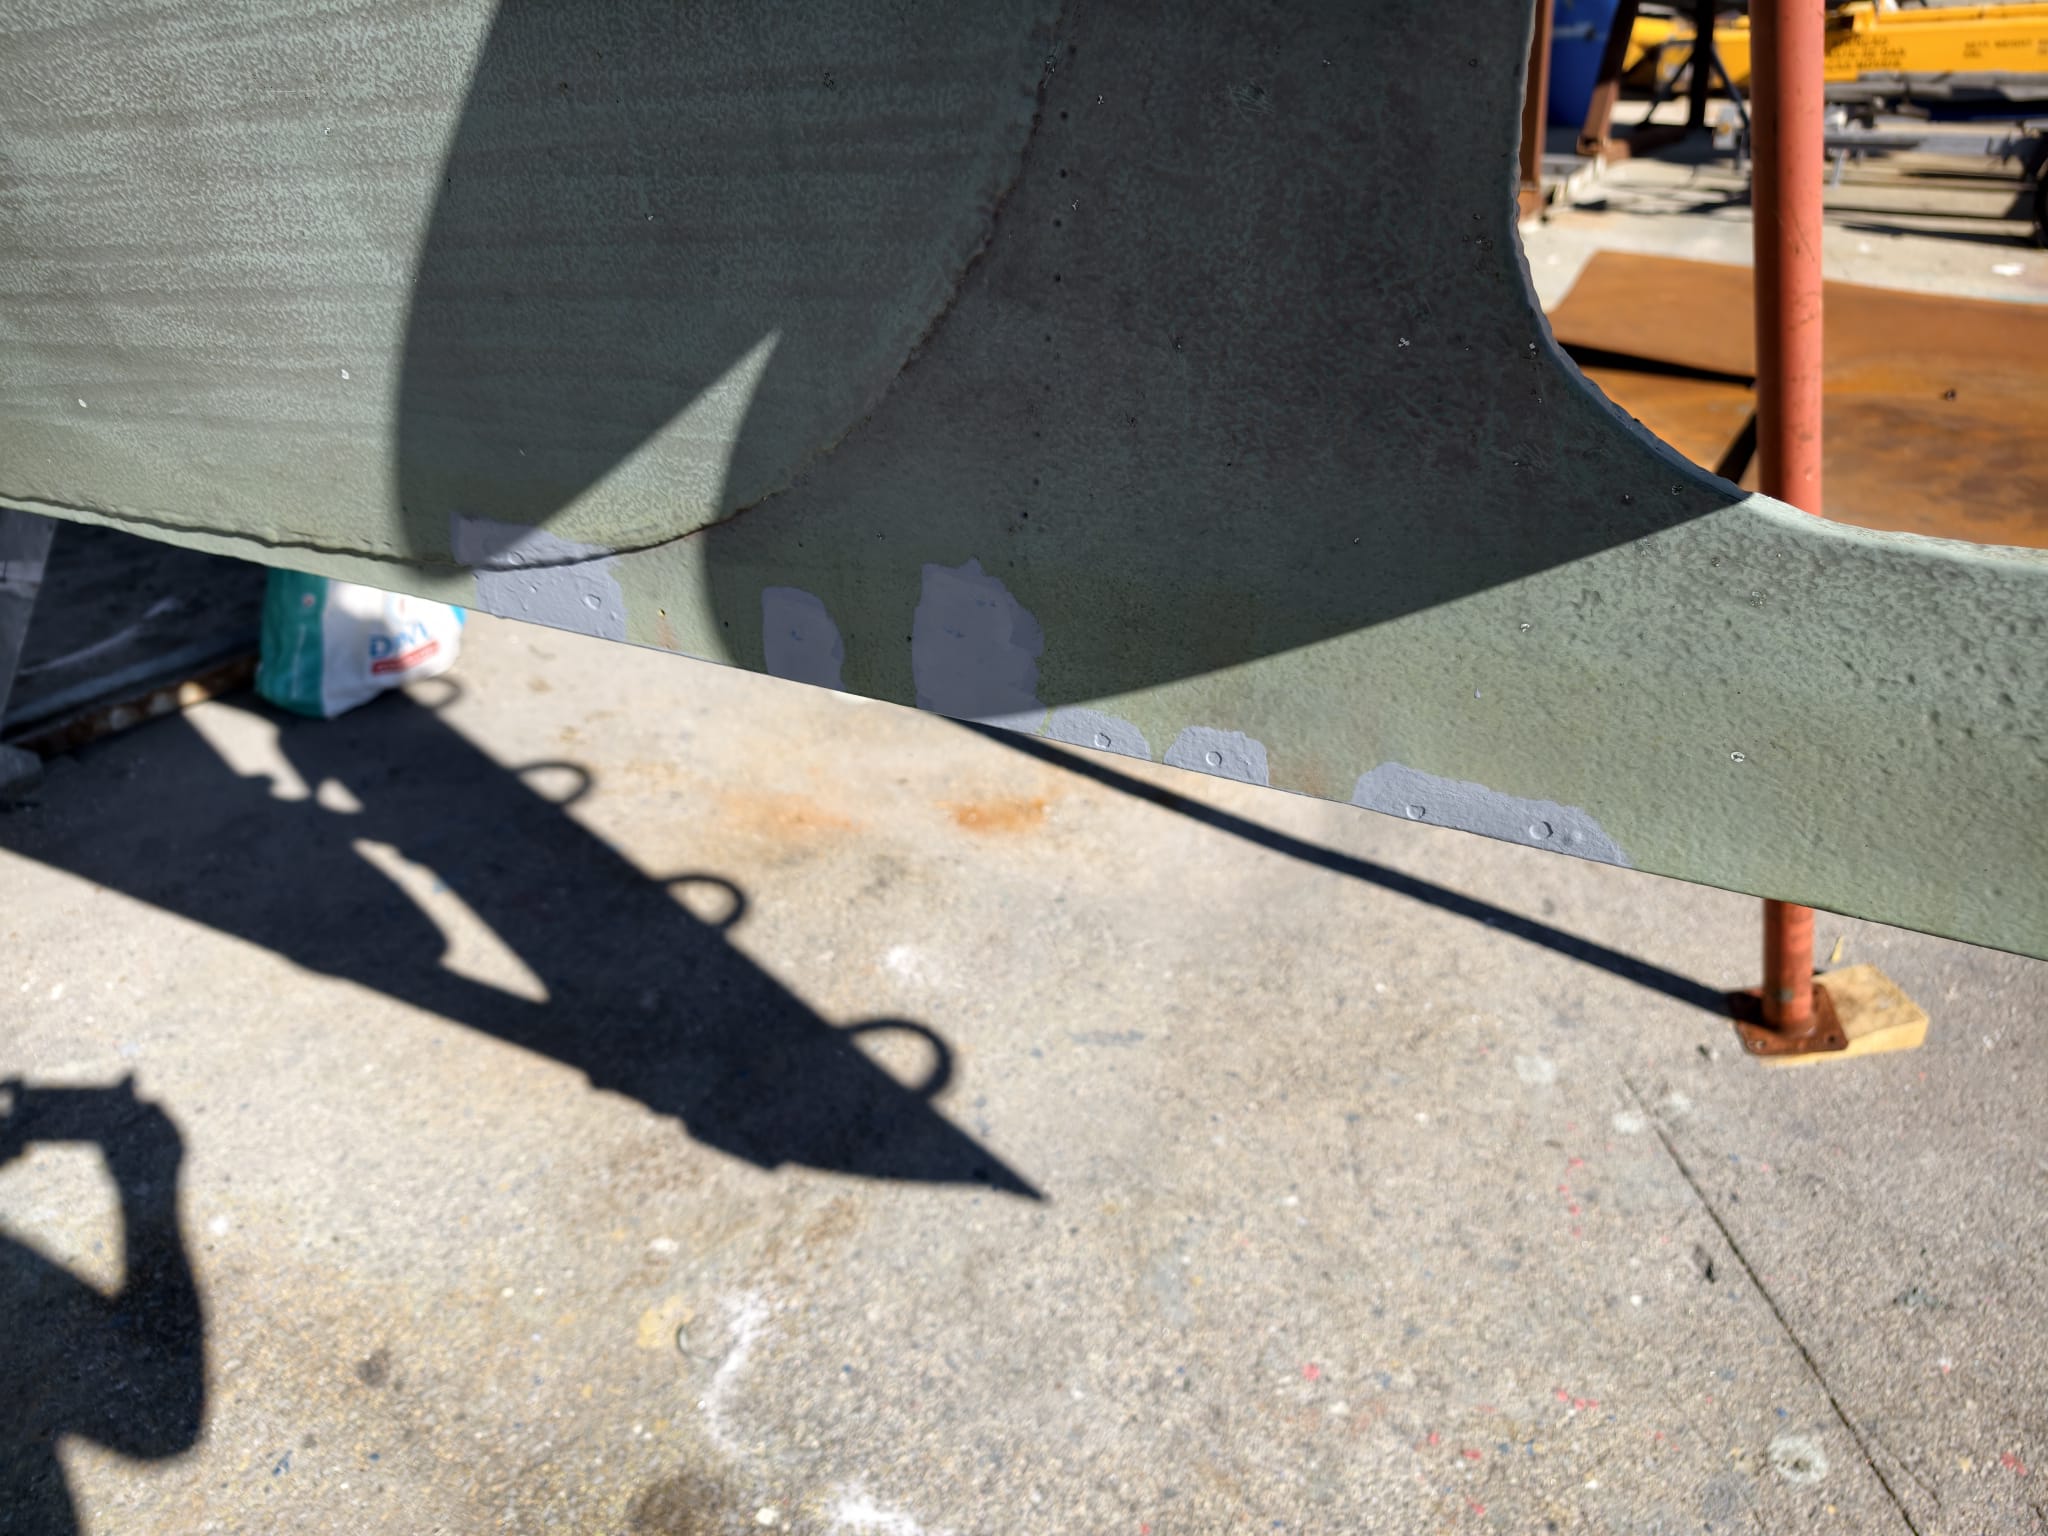
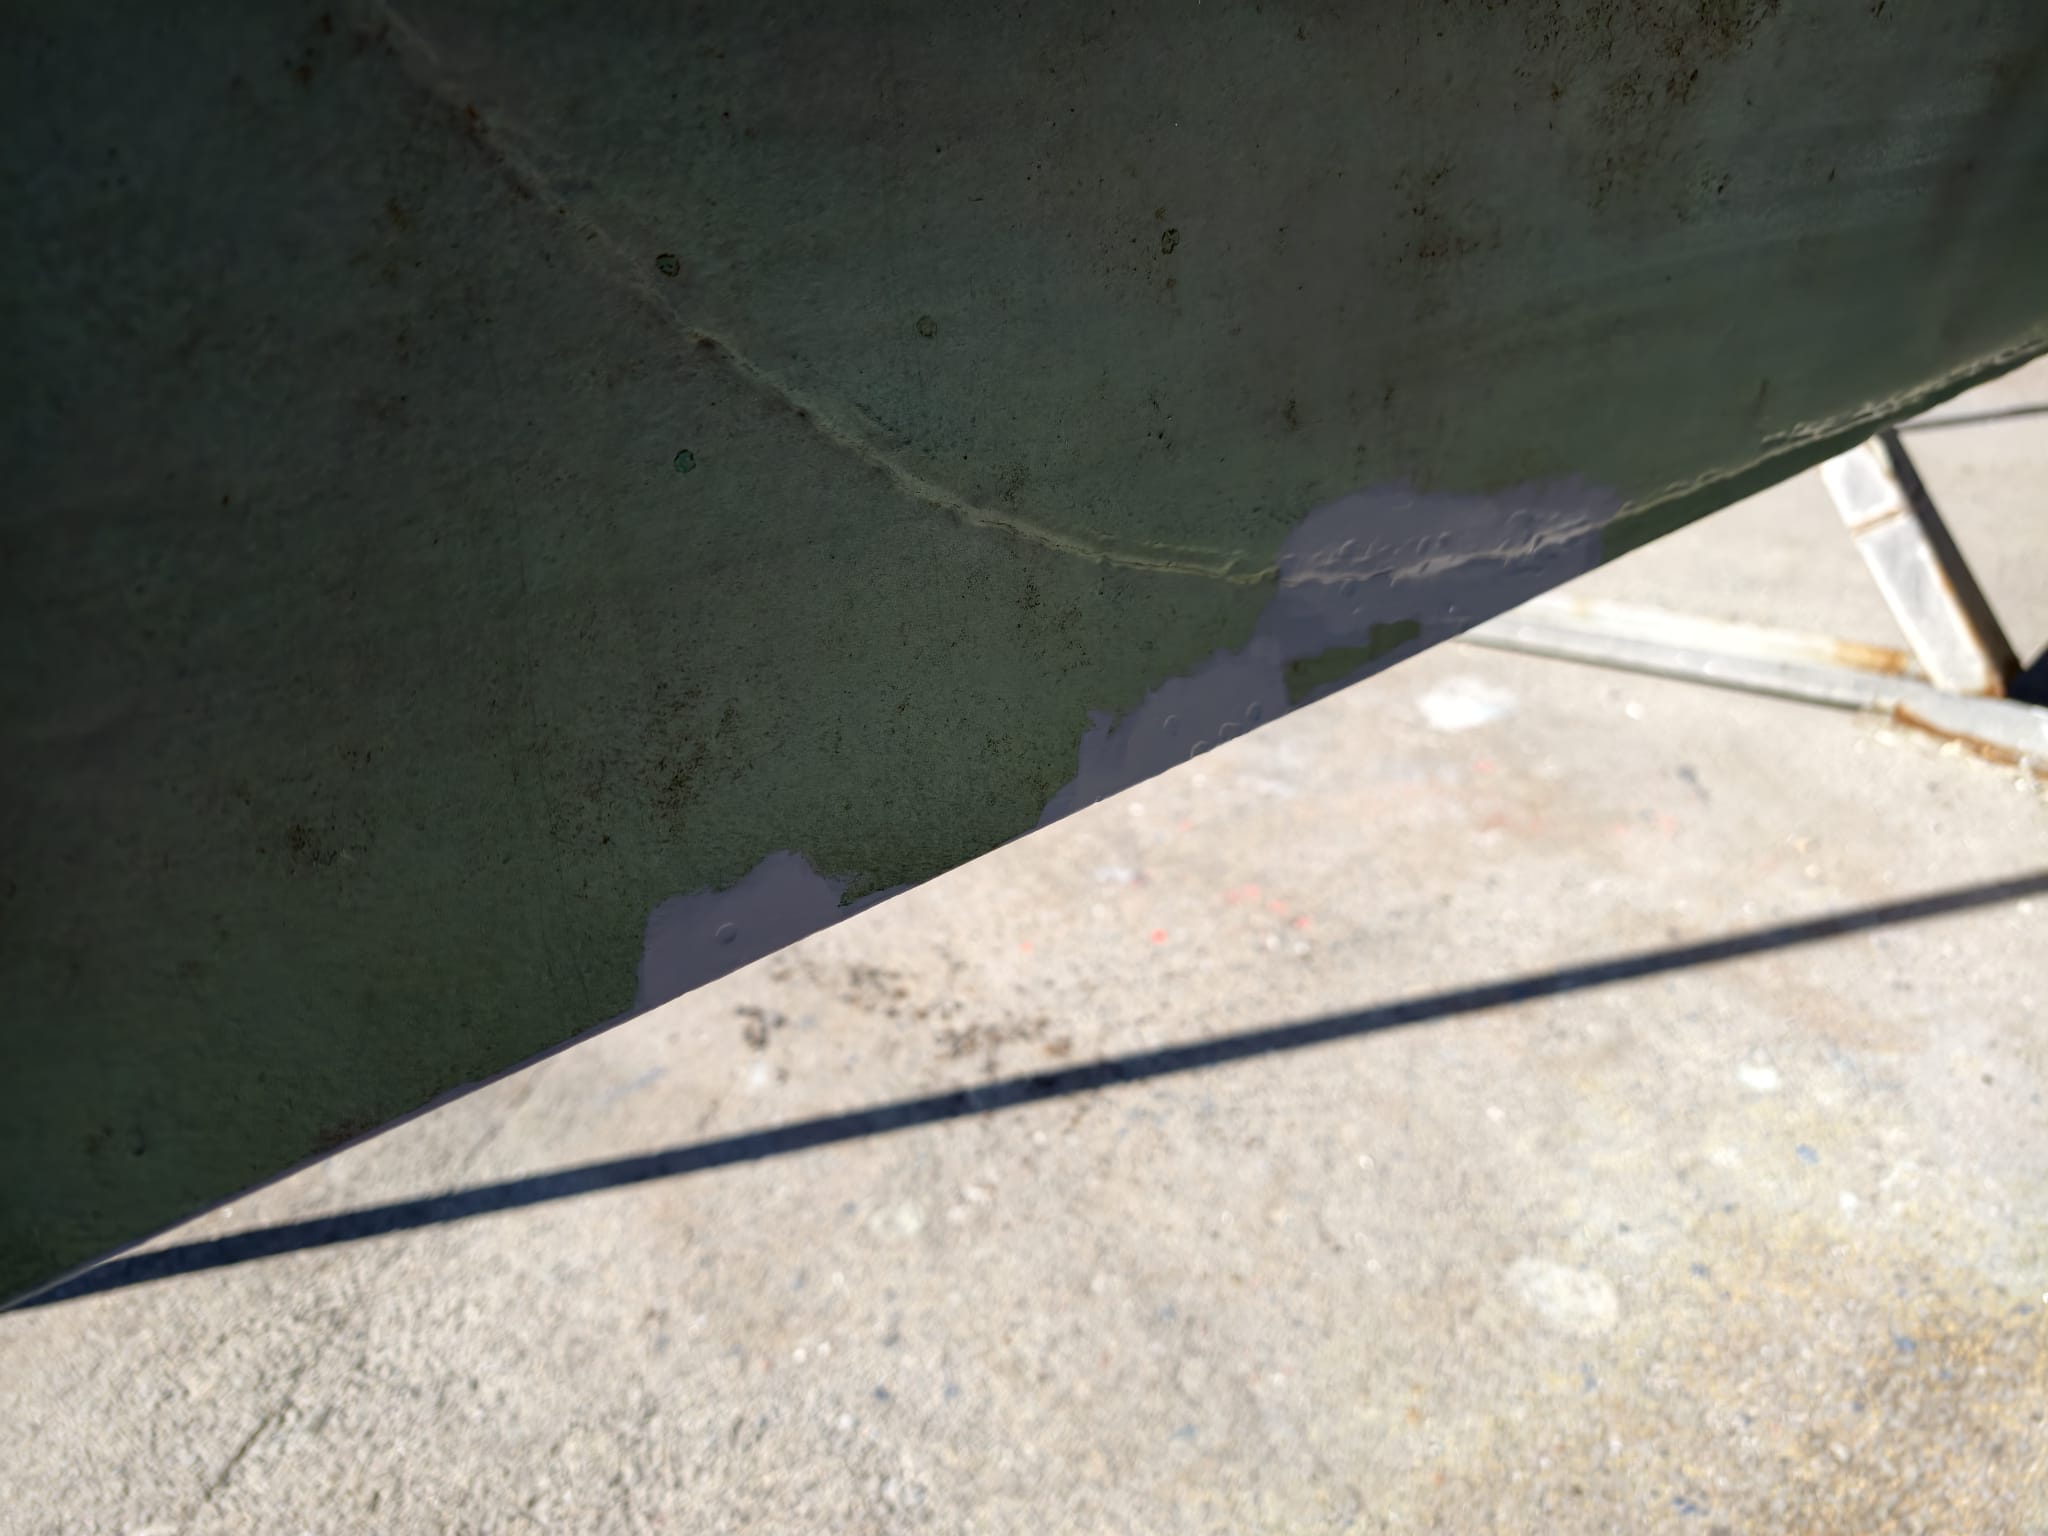
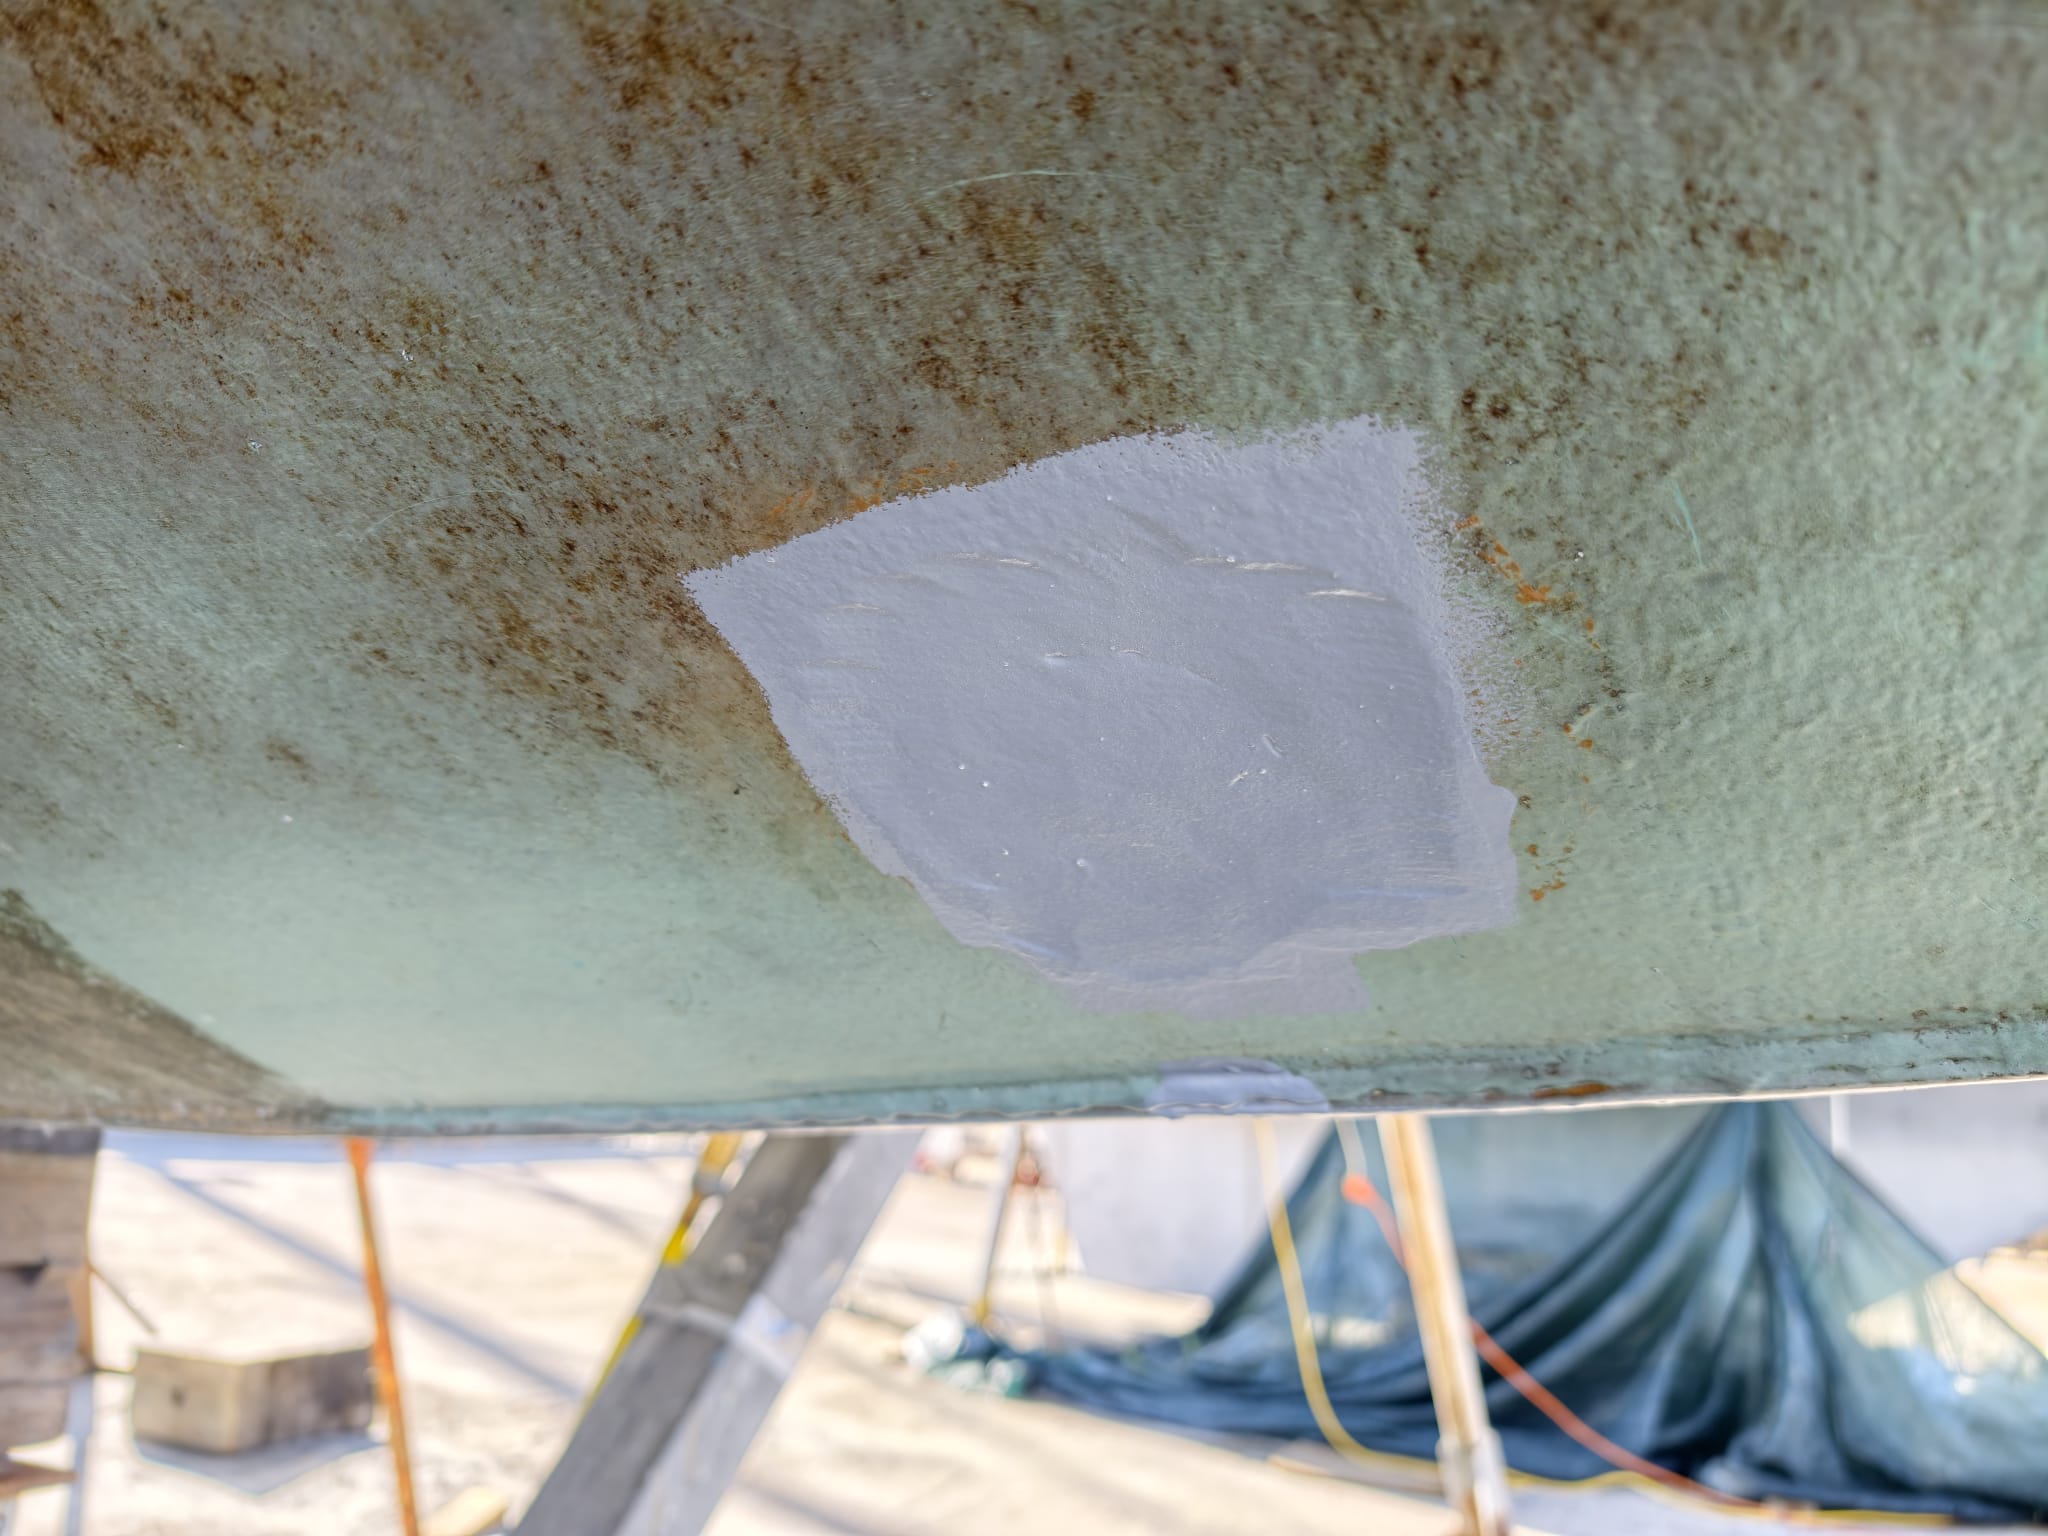
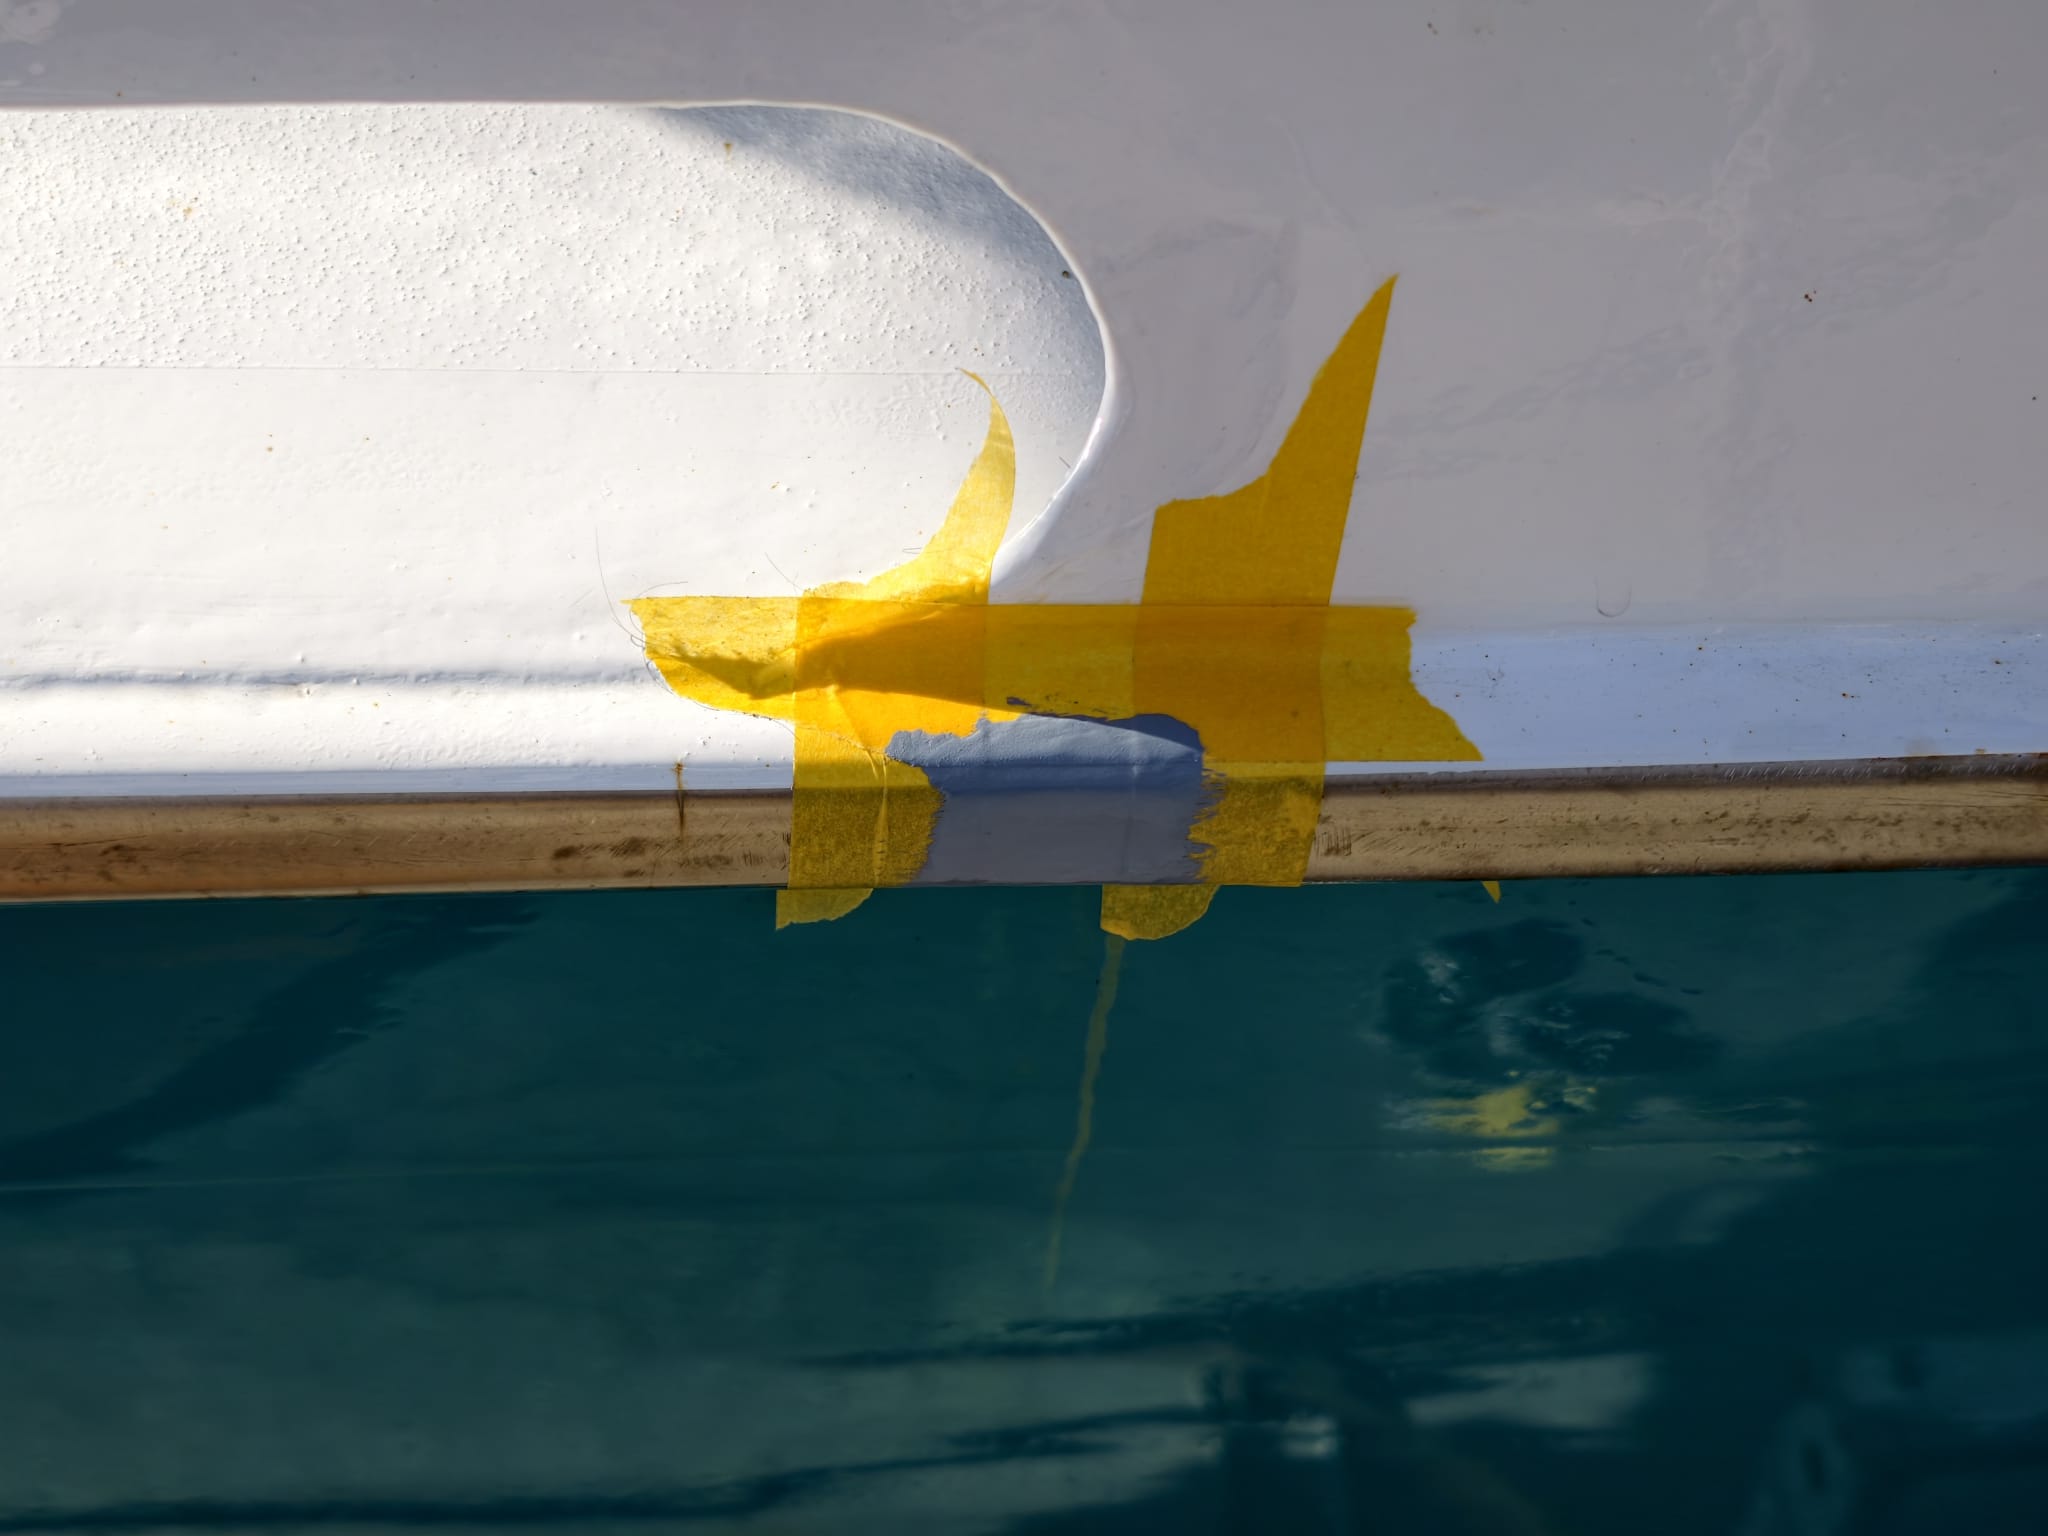
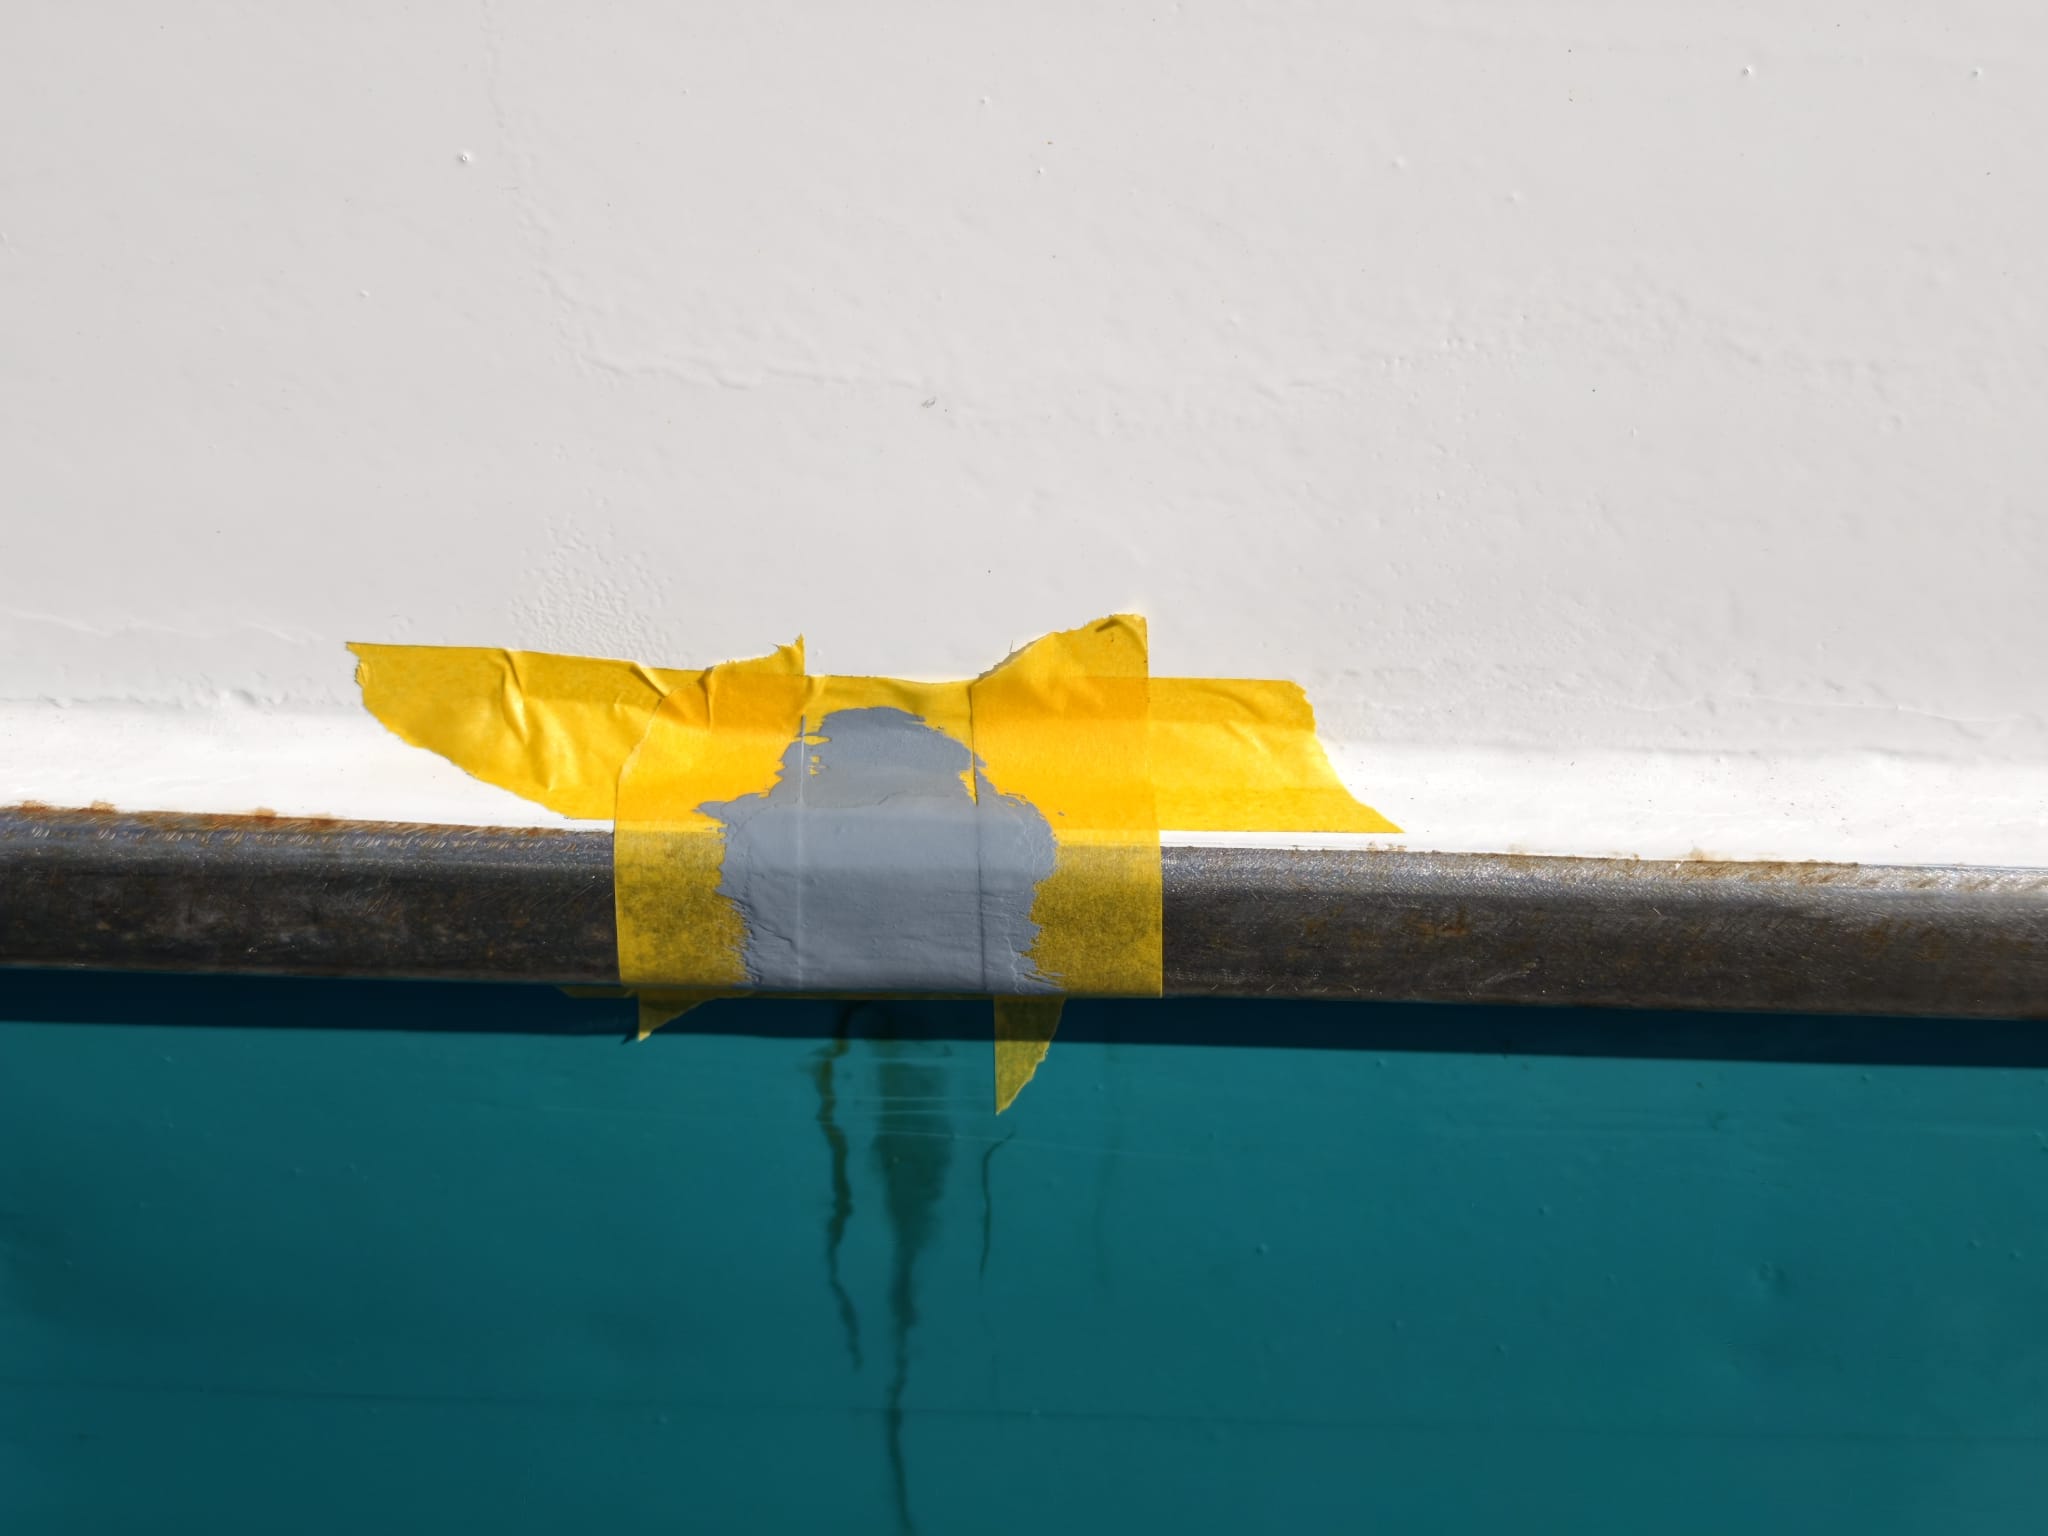
Wim paints a few spots on the hull which were damaged in the past and we had already painted with primer. Using a tiny bit of teal paint. No photo’s because the teal paint is so good, you can’t see where it’s painted!
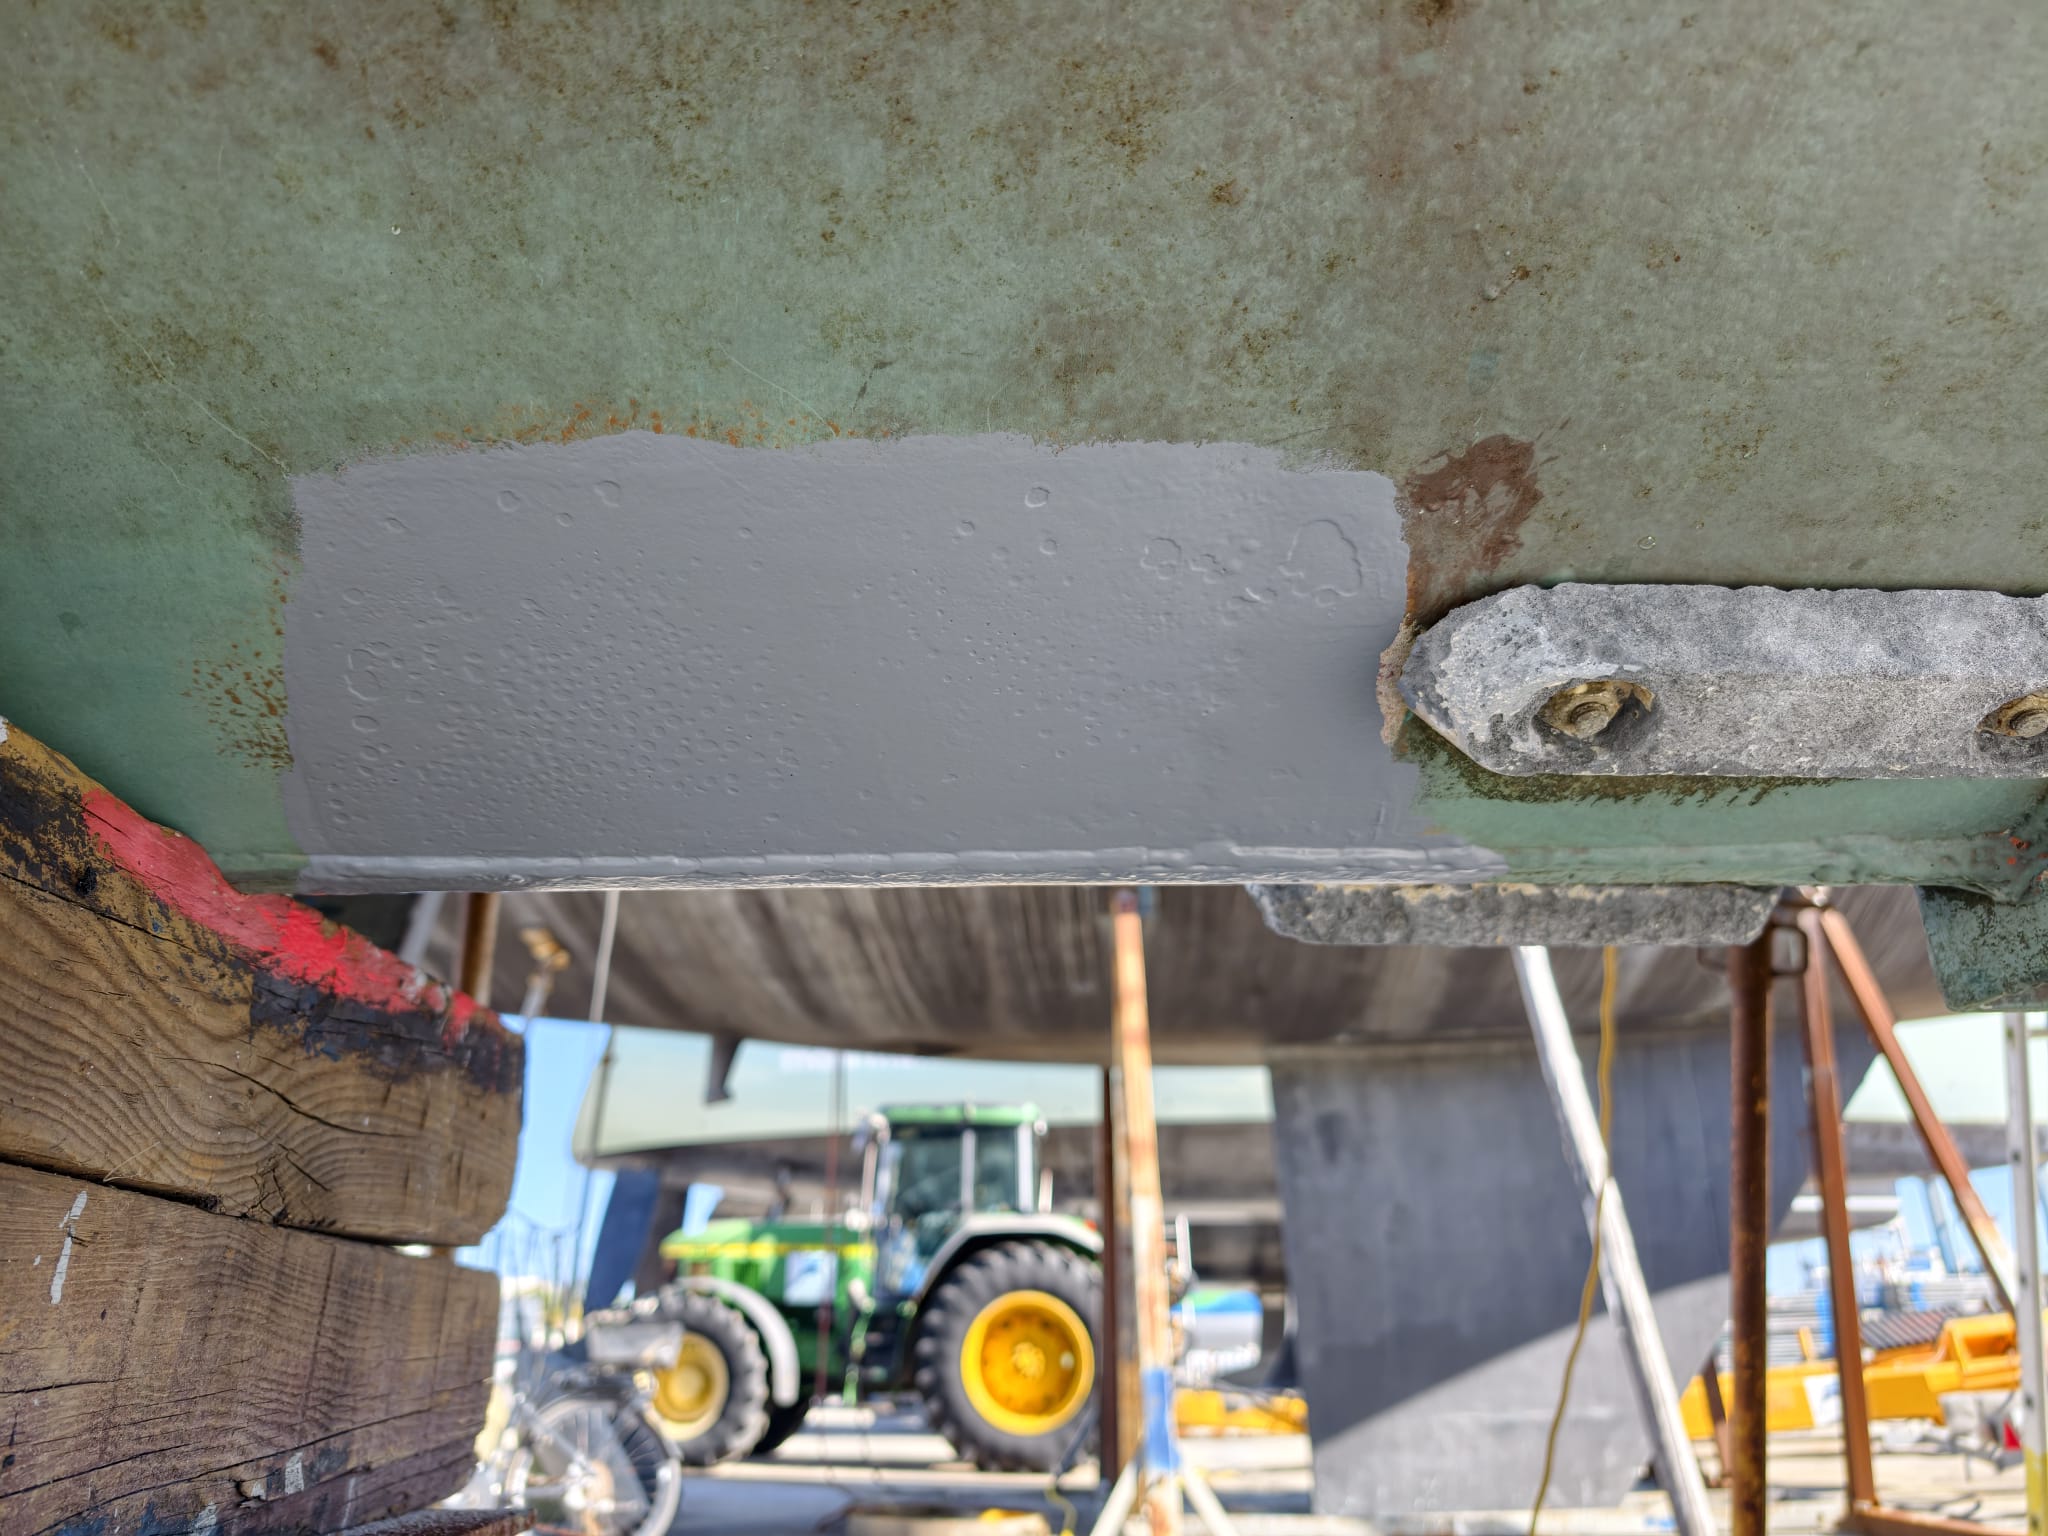
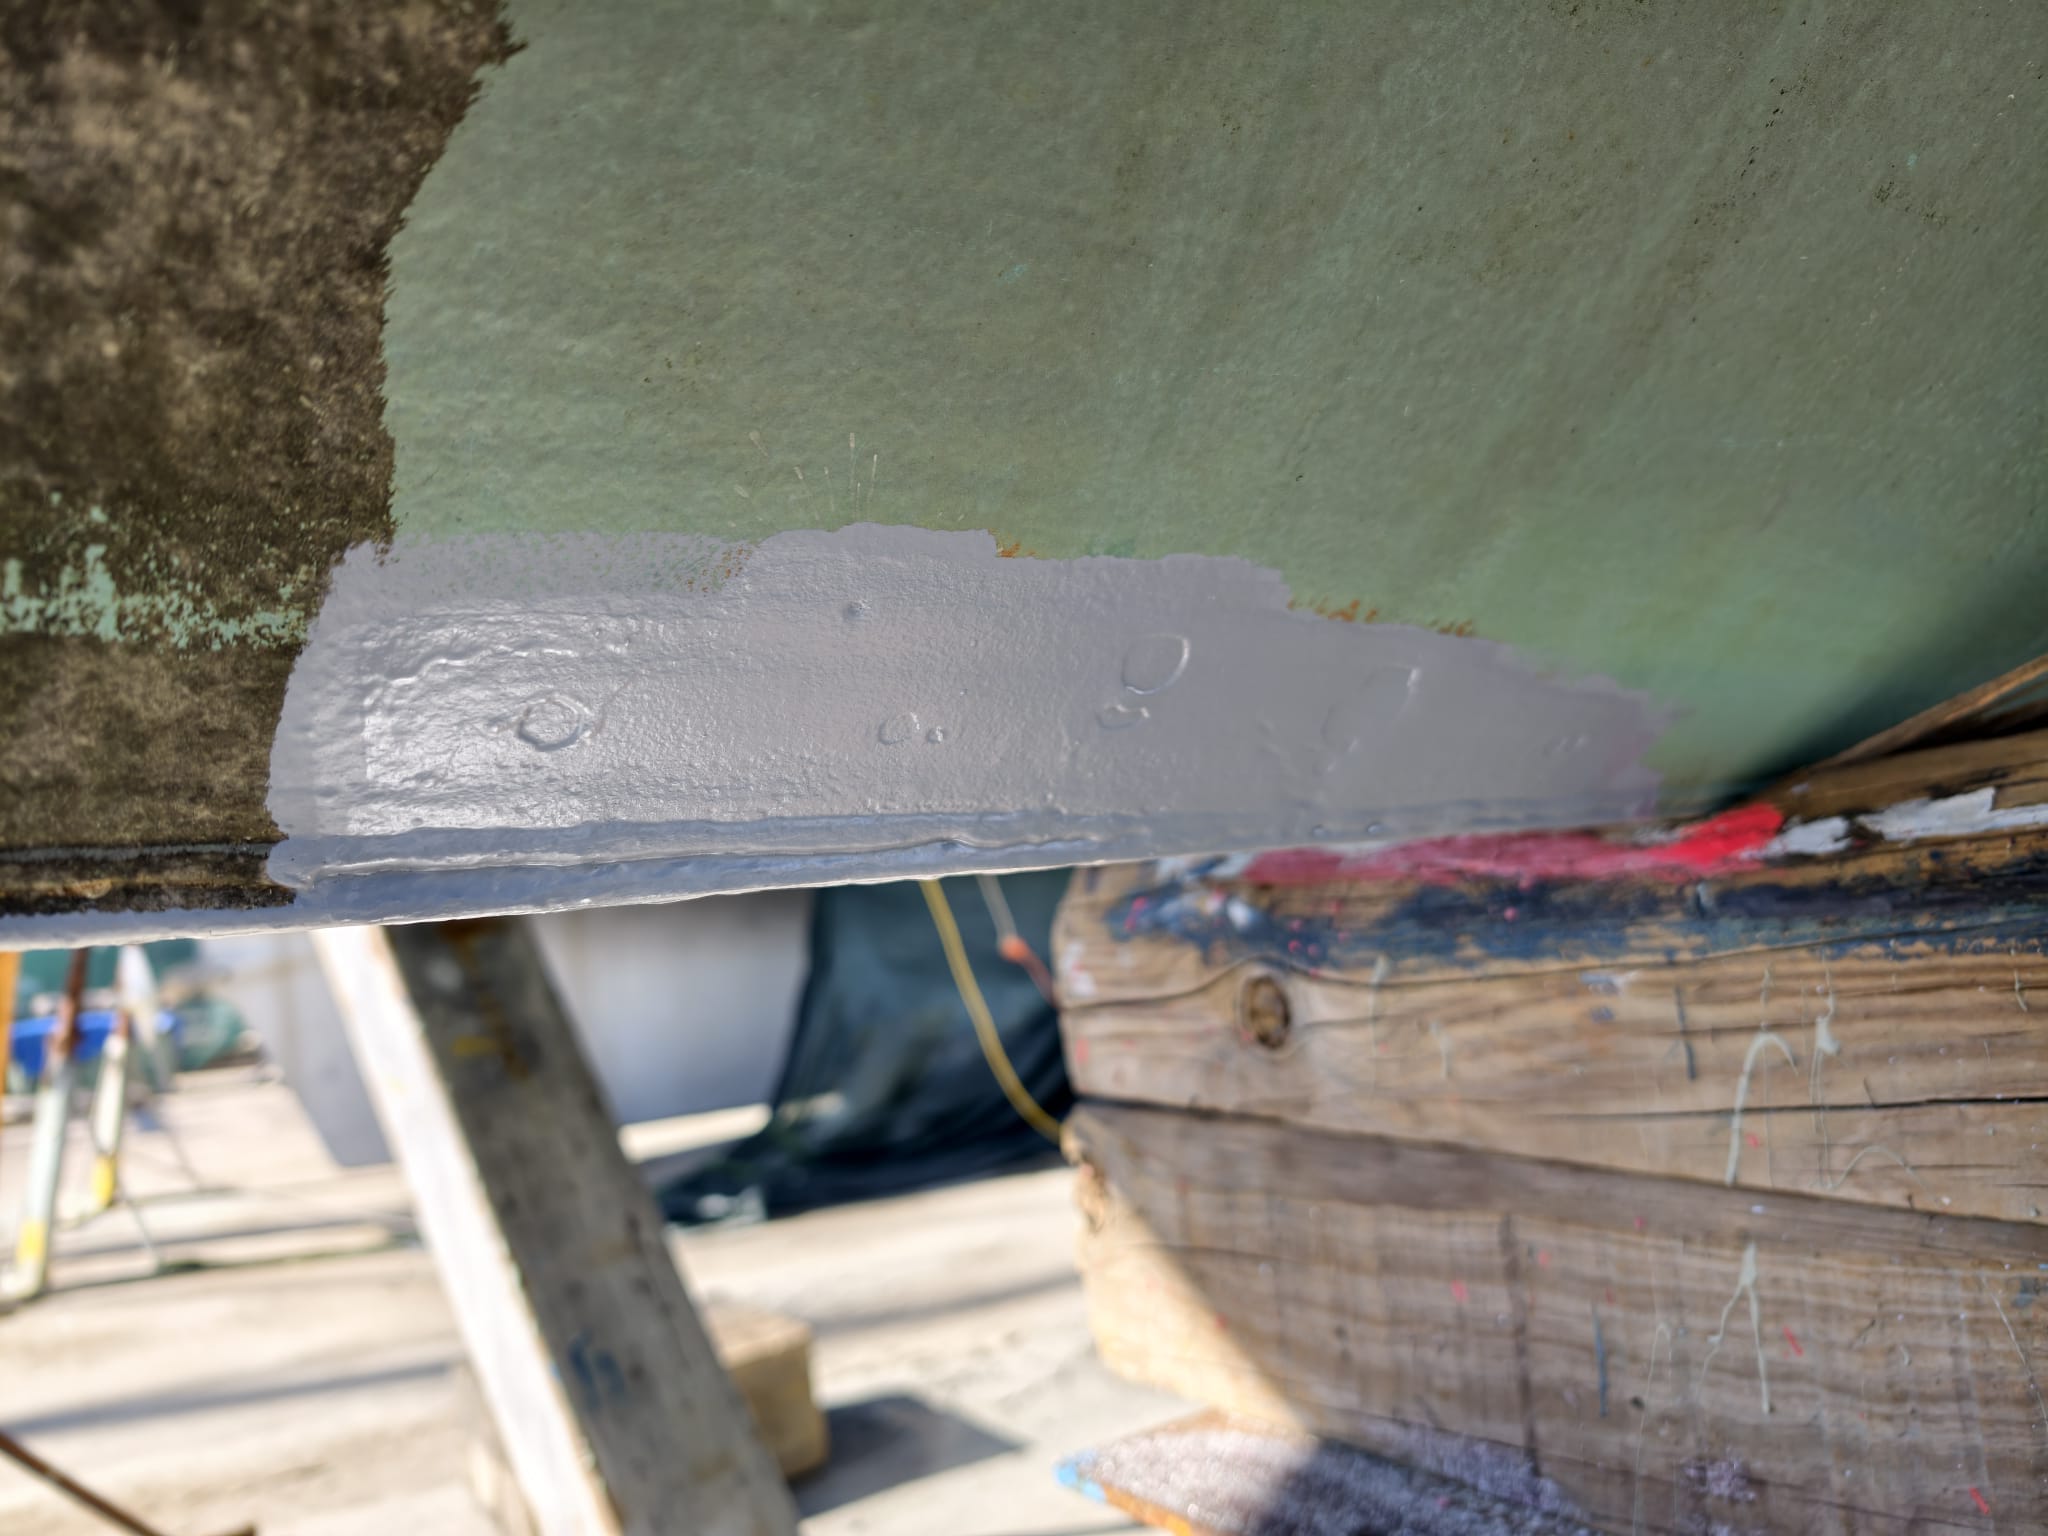
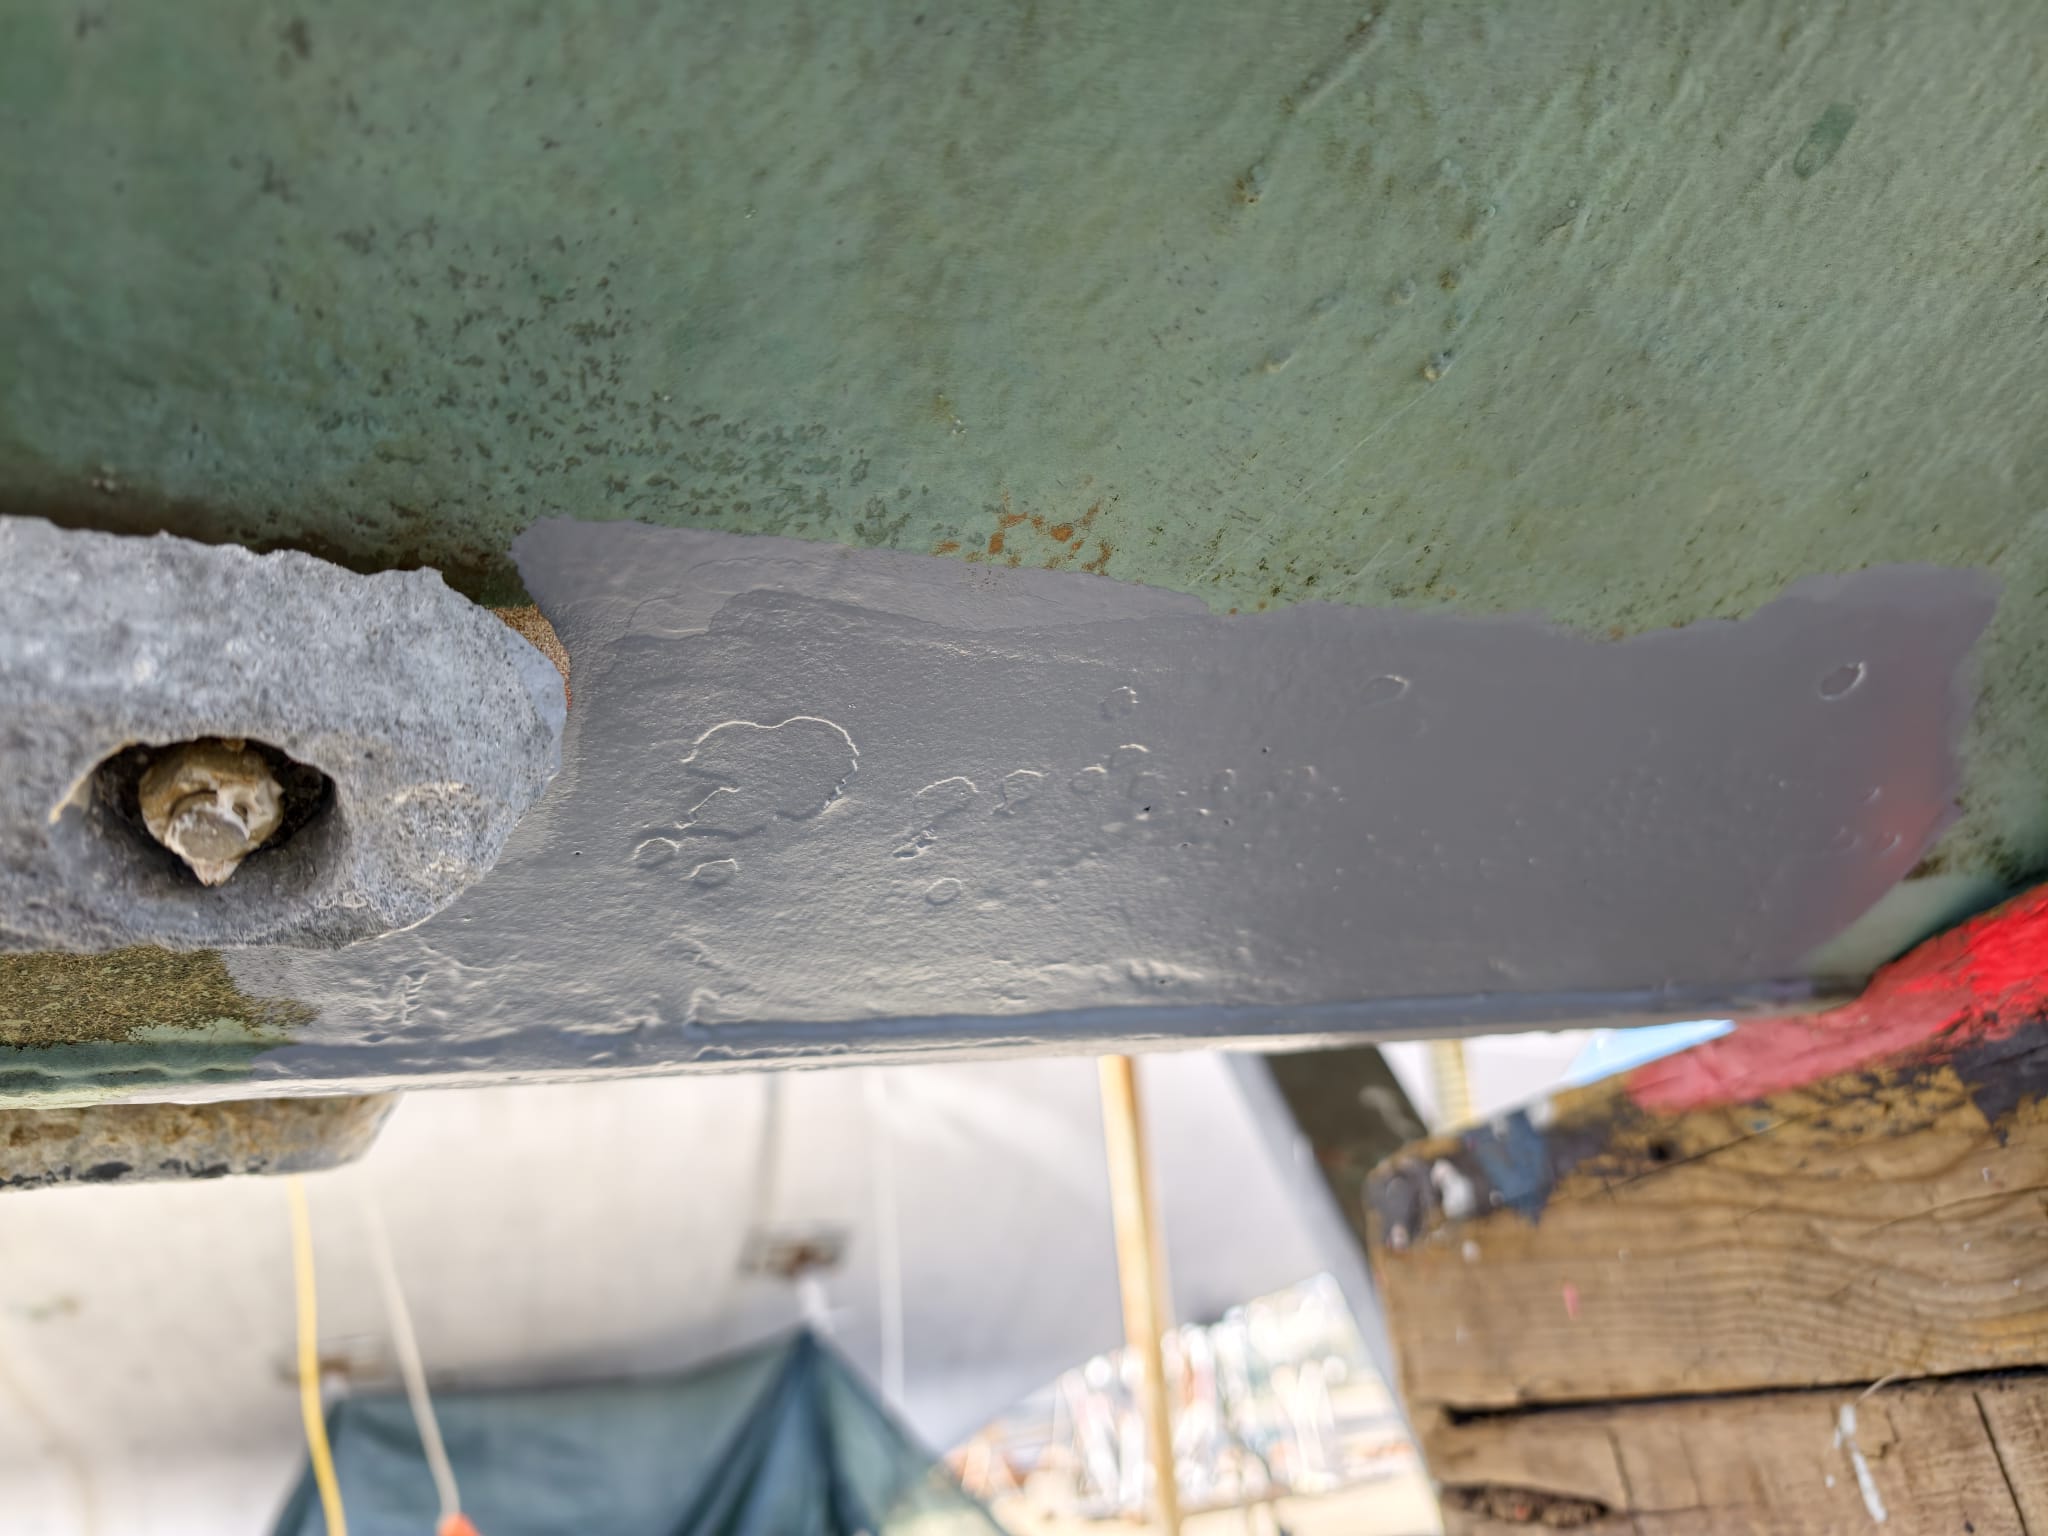
Another thing we decide to do is paint some rusty spots on the stainless steel rub rail. Although the rub rail itself is stainless steel, the welds are getting rusty and rusty water drips down the hull. So, we paint these spots with grey Interprotect primer.
In the late afternoon, Tom & Marcia from the boat “Bird Song” visit us. It’s Tom’s birthday and we toast with one of our most beautiful Port wines: the Devesa 20-year old white. Including the special Devesa glasses! The 4 of us had one of the best days of our lives at the Devesa winery and this is an occasion to celebrate that!
March 2.
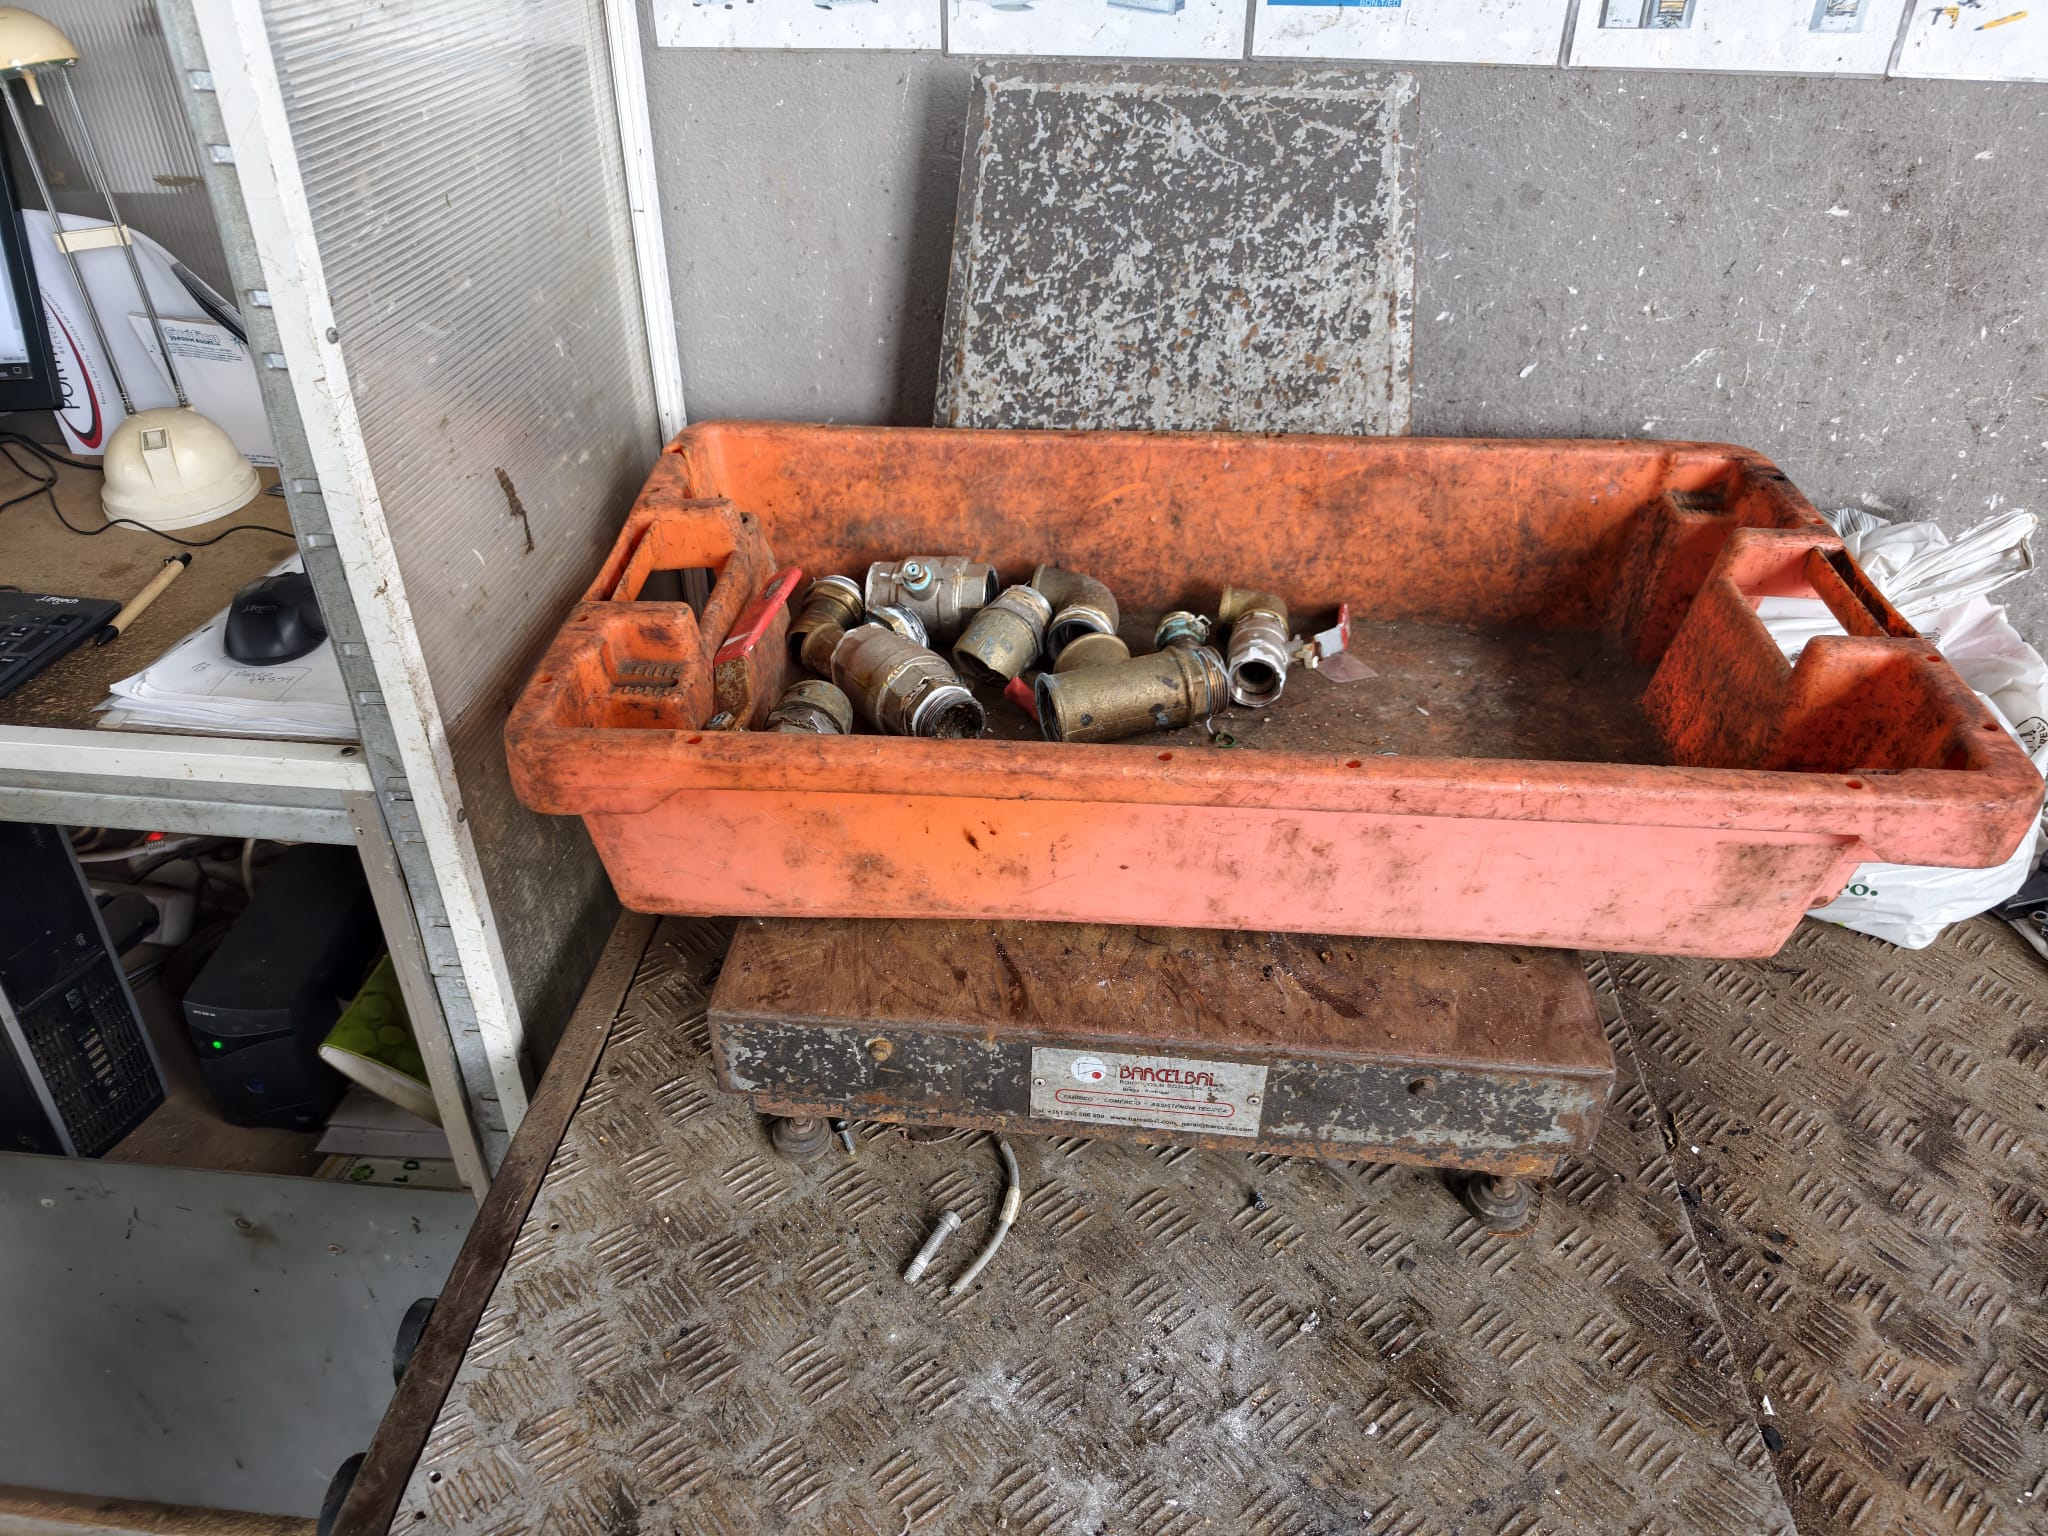
Today, it’s the first day after the more than 5 weeks that we’ve been at this boatyard that we have nothing to do but waiting for our splash… Everything is ready for the launch tomorrow. Our dear friend Marleth (from the boat “Antares”) has her birthday today and we have decided to visit her in Lagos. Tom & Marcia have a rental car and together, we’ll go there. Having a ride, it’s a good opportunity to take the heavy bag of old valves to the recycling. Since it all brass and bronze, we get the amazing amount of €32 for it! Compared to the more than €1000 we paid for the new Groco valves… 😅
We have a great day seeing Lagos and have a delicious lunch with Marleth & Ingo!
On the way back, we stop at a place where there are hundreds of stork nests!
We see the reason why storks had to think of another way of making baby storks since storks don’t bring baby storks to storks… 🤣
March 3.
Today is launching day!
Sher finishes as much as she can on the the dinghy cover while we still have shore power.
In the meantime, Wim sands the new CopperCoat spots with sanding paper P320 to expose the copper particles to the seawater once in the water. and he fills up the fresh water tanks.
Great bias bindings on the edges.
At the end of the morning, the travel lift comes and pick us up.
There she goes…
…and to the water.
The boatyard guys request Wim to go on board and check if everything is all right while they lower Dione IV in the water but keep her in the slings.
We’ve done so much under the water line, a lot has to be checked. While Wim inspects everything for leaks a little stressed, they turn off the travel lift’s engine. Wow, Wim thinks, I really have time to check and re-check everything! 🫡 Relaxed. Great!
Well, he was 99.99% sure everything should be okay. We’ve put so much effort into doing everything with the ultimate attention, precision and quality. But…you never know…
Everything’s fine! Wim inspects multiple times with a torch light all the valves and the transducer but no drop of water.
After that, he opens the valve of the seawater inlet for the engine, bleeds the strainer and starts the engine. Check at the stern, yes, water spraying from the exhaust.
Sher was at the boatyard office, bringing the keys back, but in the meantime she has jumped aboard.
We give a thumbs-up to the travel lift operator and while 2 boatyard guys hold our dock lines (we have 20 knots of wind on the beam), he lowers the slings and Dione IV is free! Quickly, Wim throttles up and we move out of the concrete structure.
We go into the outer anchorage area of Portimão as it is not allowed to anchor at the inner anchorage because of dredging operations.
We’re so happy to be at anchor! So happy to feel Dione IV gently rocking after 41 days on the boatyard!
But we got so many things done!
Now, it’s time to relax a bit 😊
Leave a Reply