Highlights – the overview
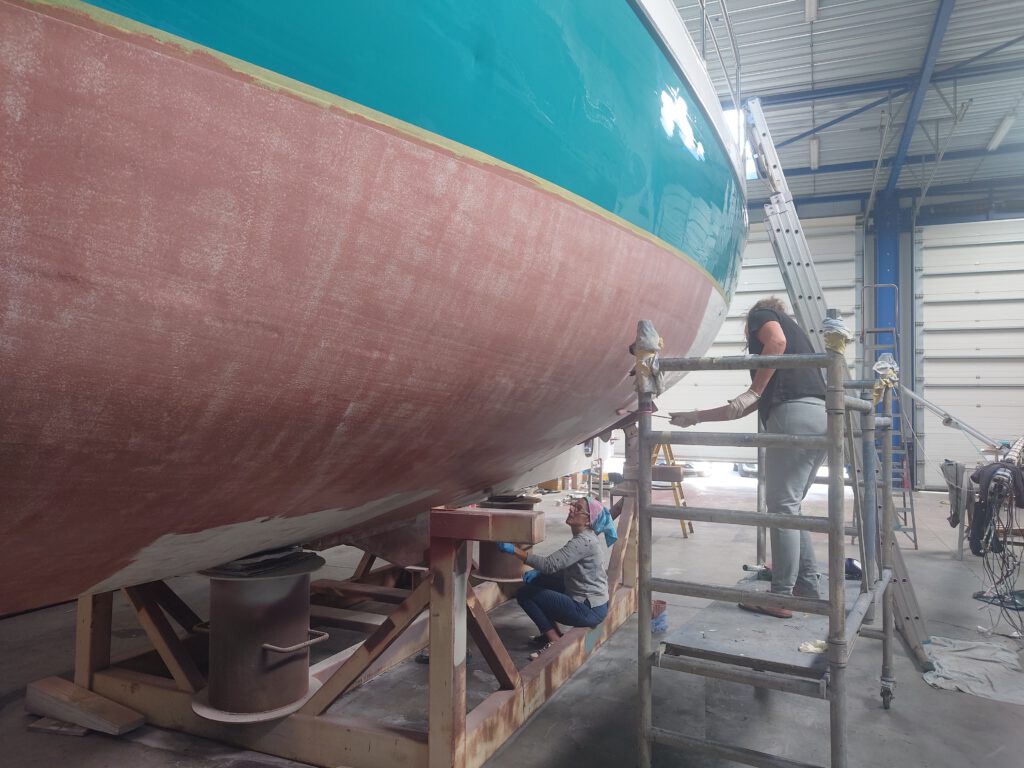
Here’s where we start doing the work ourselves… in the aptly named do-it-yourself hall. From May 1 – 18 we are busy with sanding, filling, priming, protecting, taping, and painting everything – from bow to stern, mast to keel, and port to starboard, plus a few additional items. Dione IV will look better than ever, even better than new!
But before we even begin, we make an astonishing discovery… there’s a small amount of diesel fuel that has leaked through the hull on the port side. This means that one of the welds wasn’t done properly and when the hull was blasted with grit, it was damaged and allowed a small leak to start. What to do? We discuss it with the boatyard’s technical manager and come to a reasonable solution. Let’s hope it works long term and we don’t need to take further action!
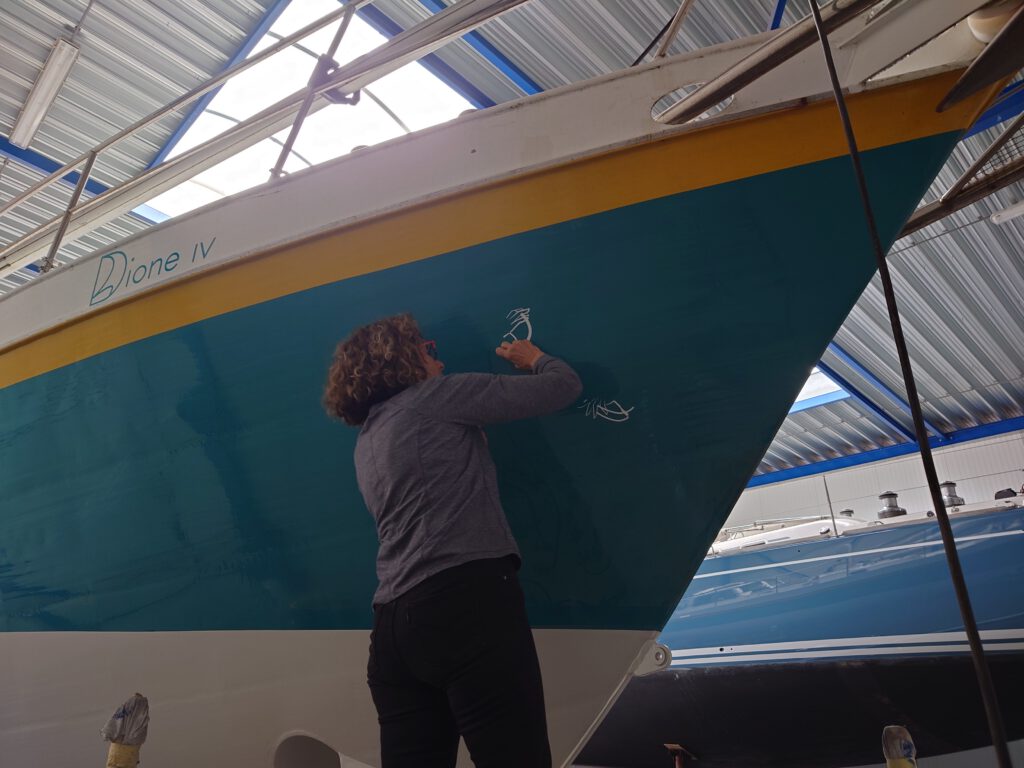
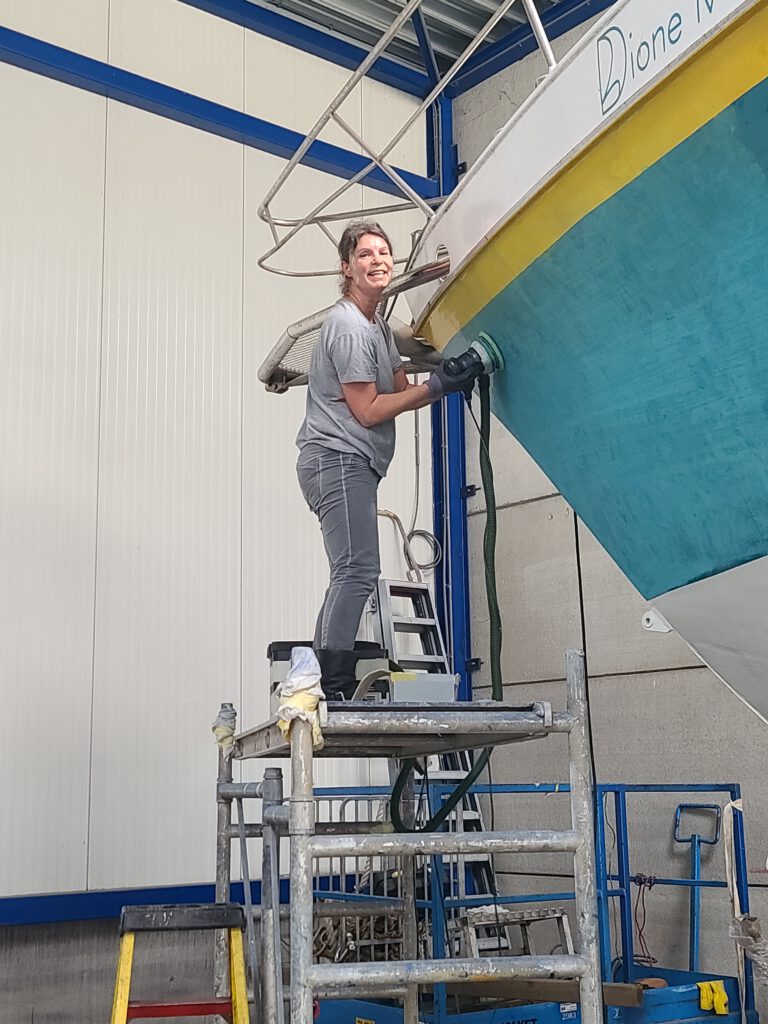
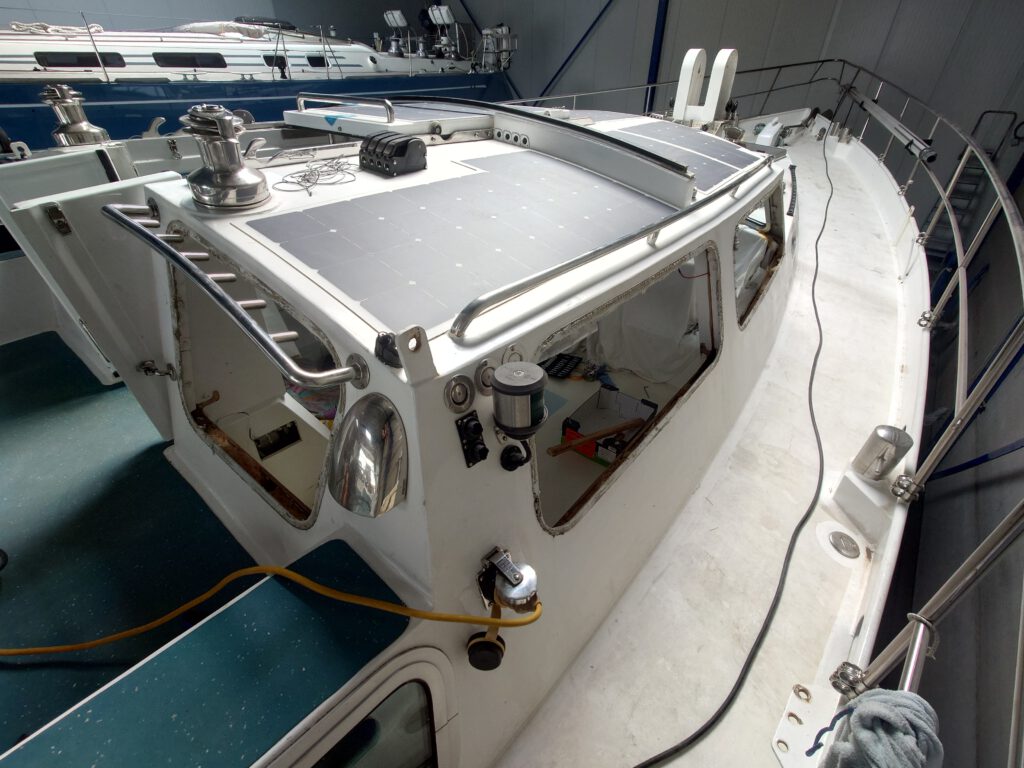
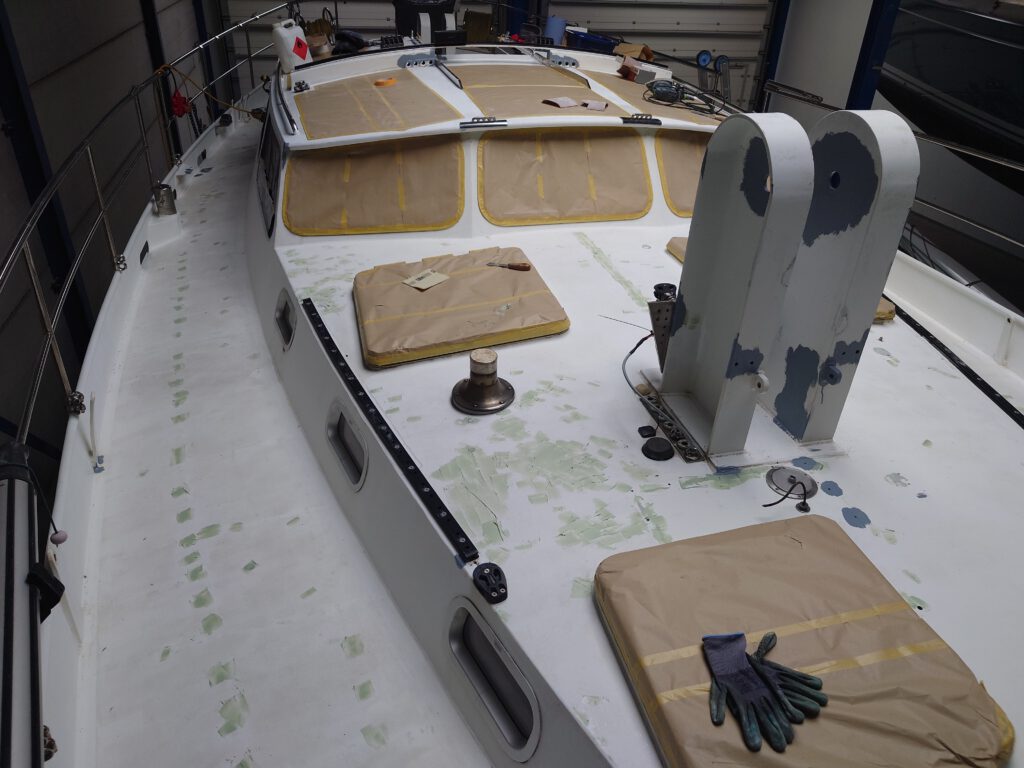
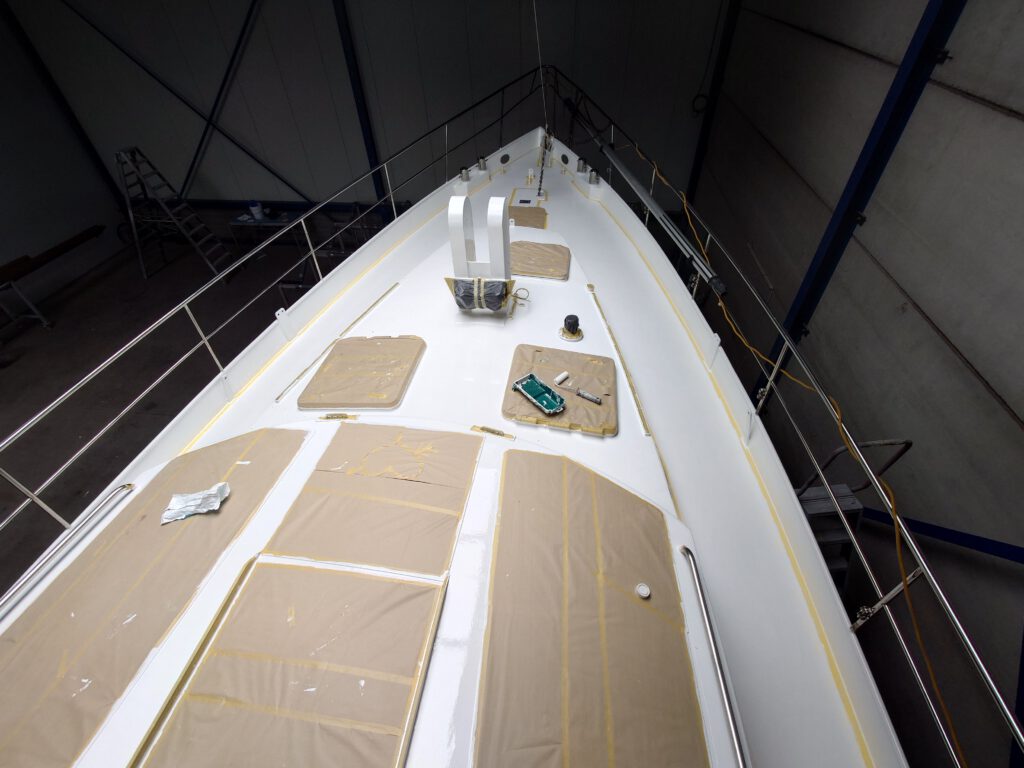
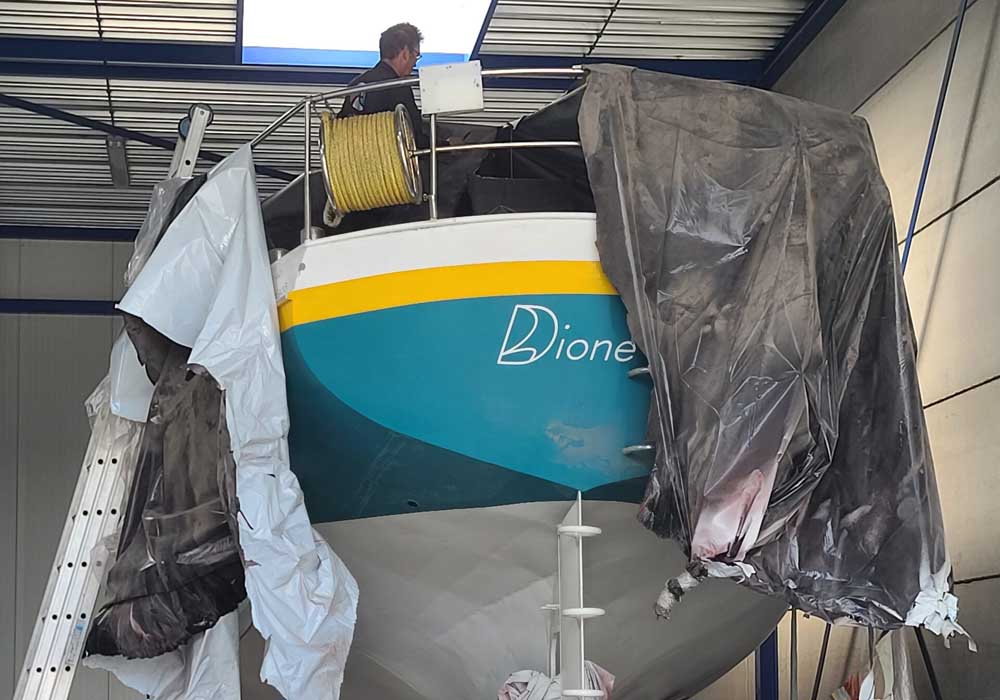
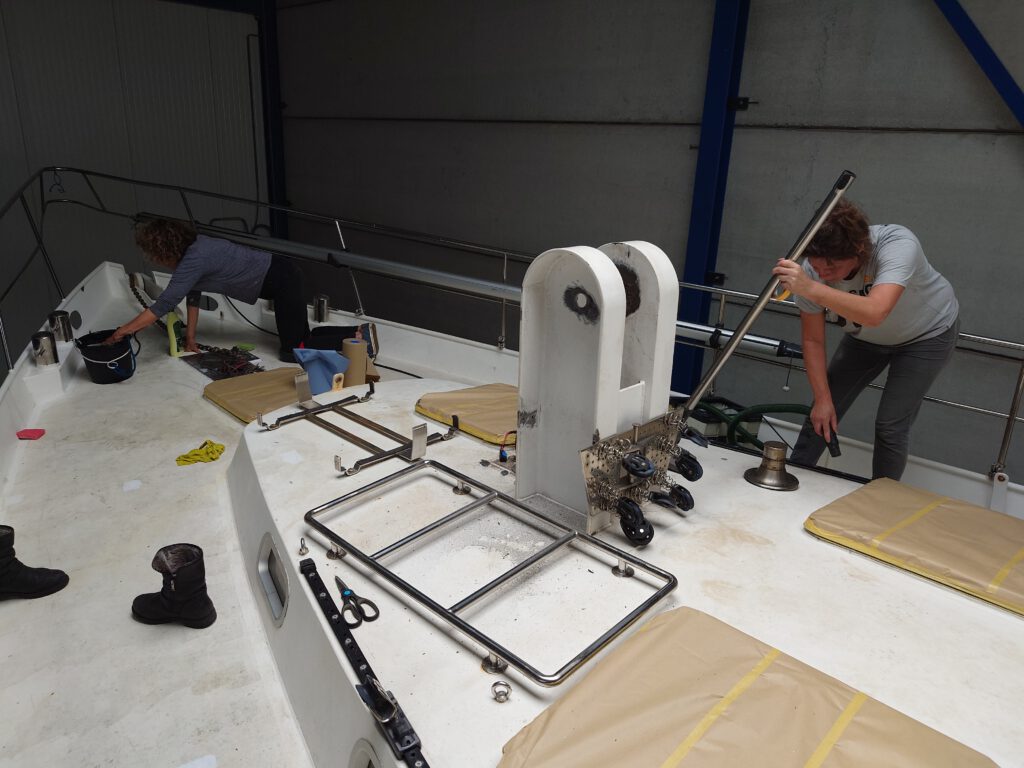
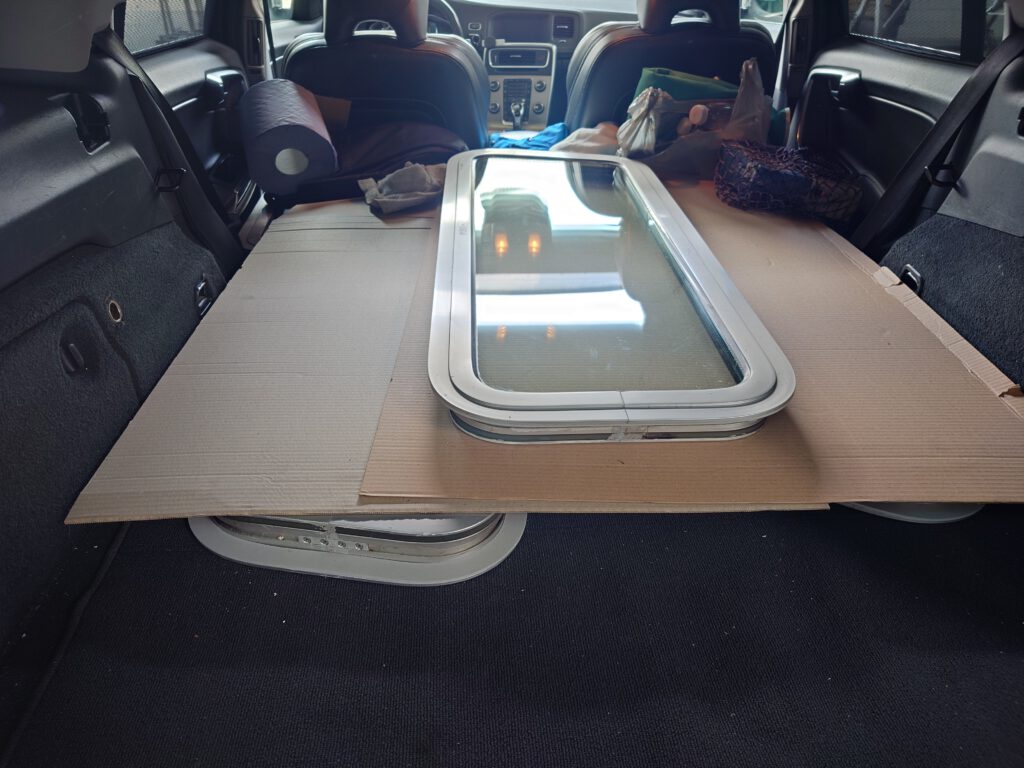
We then begin removing the vinyl lettering and graphics from the hull and start sanding. We remove several of the pilot-house windows that need to be brought to the manufacturer for repair, take parts off the deck that can be removed (like the anchor windlass and bow sprit) and tape paper over other parts for protection.
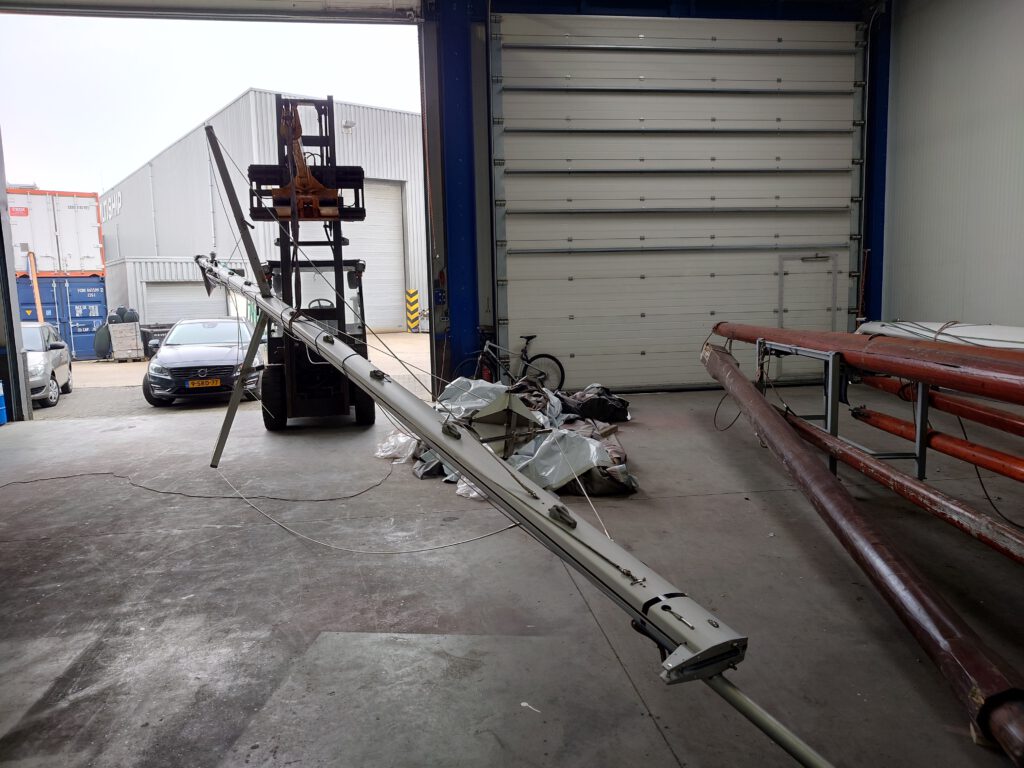
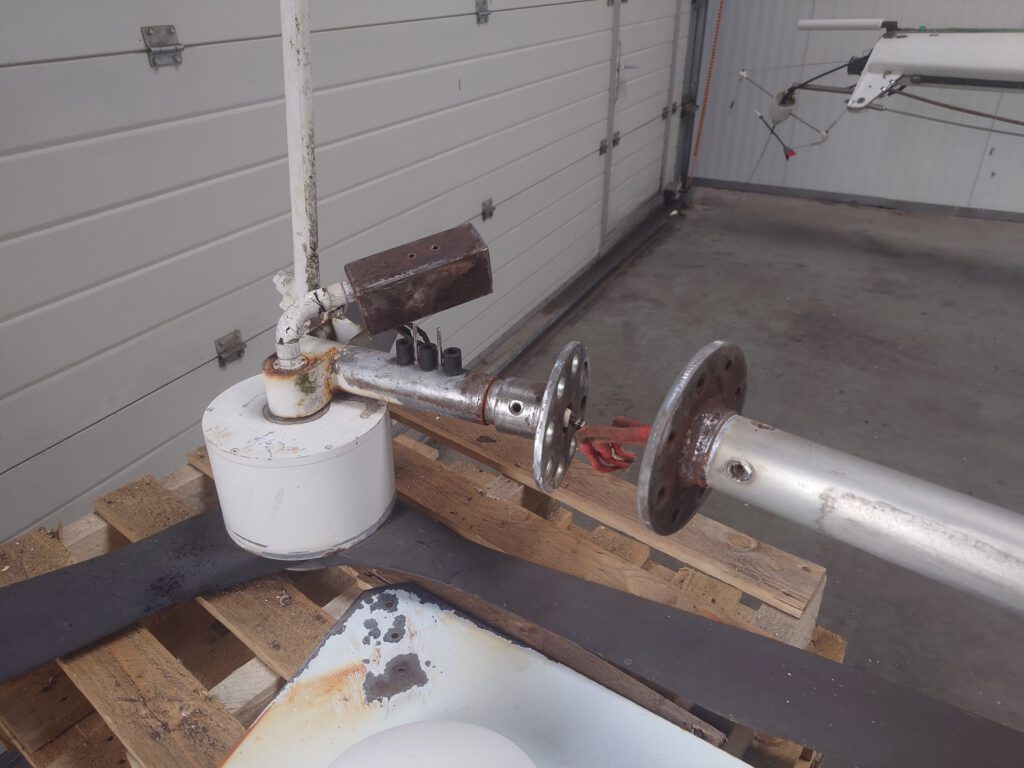
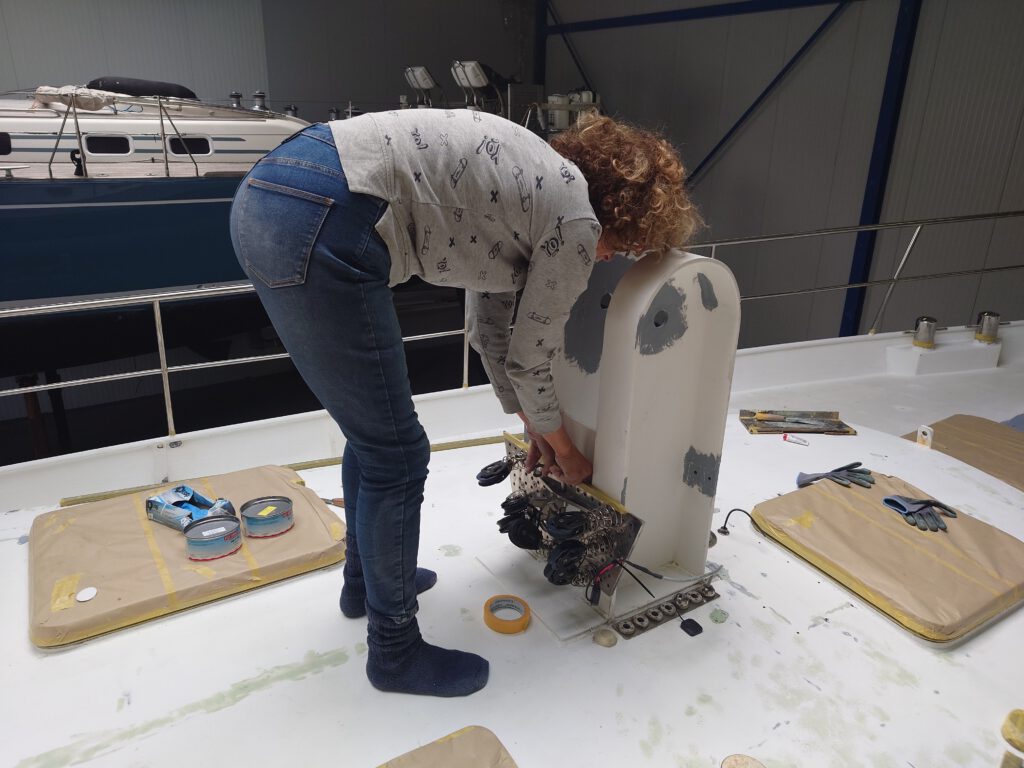
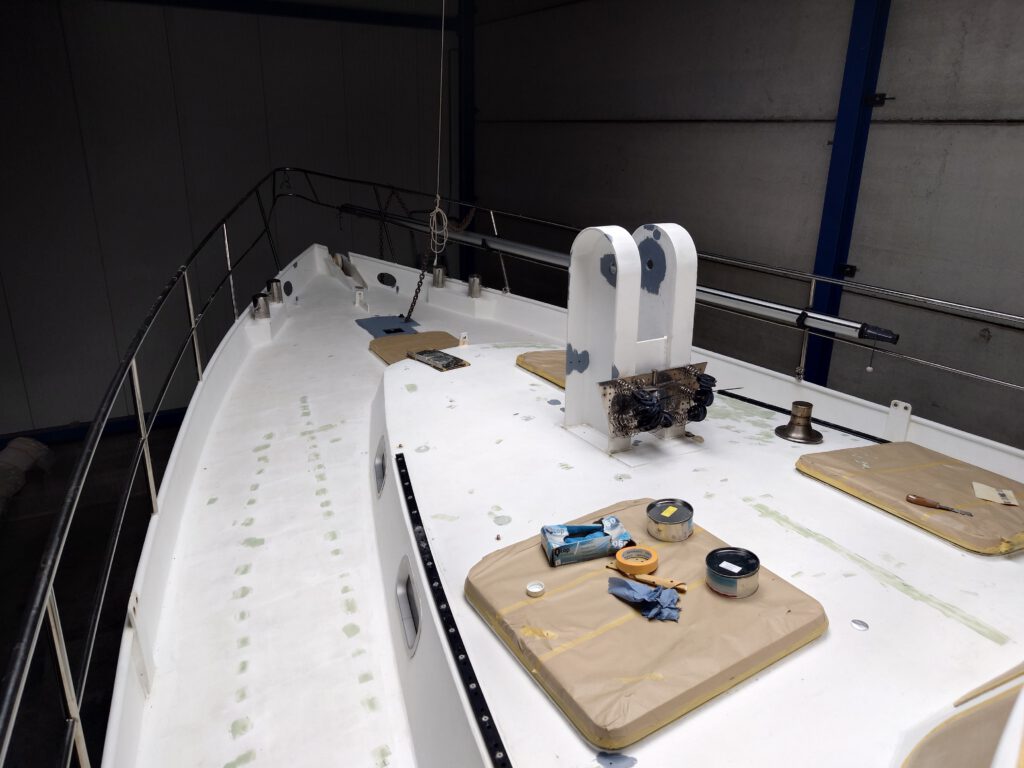
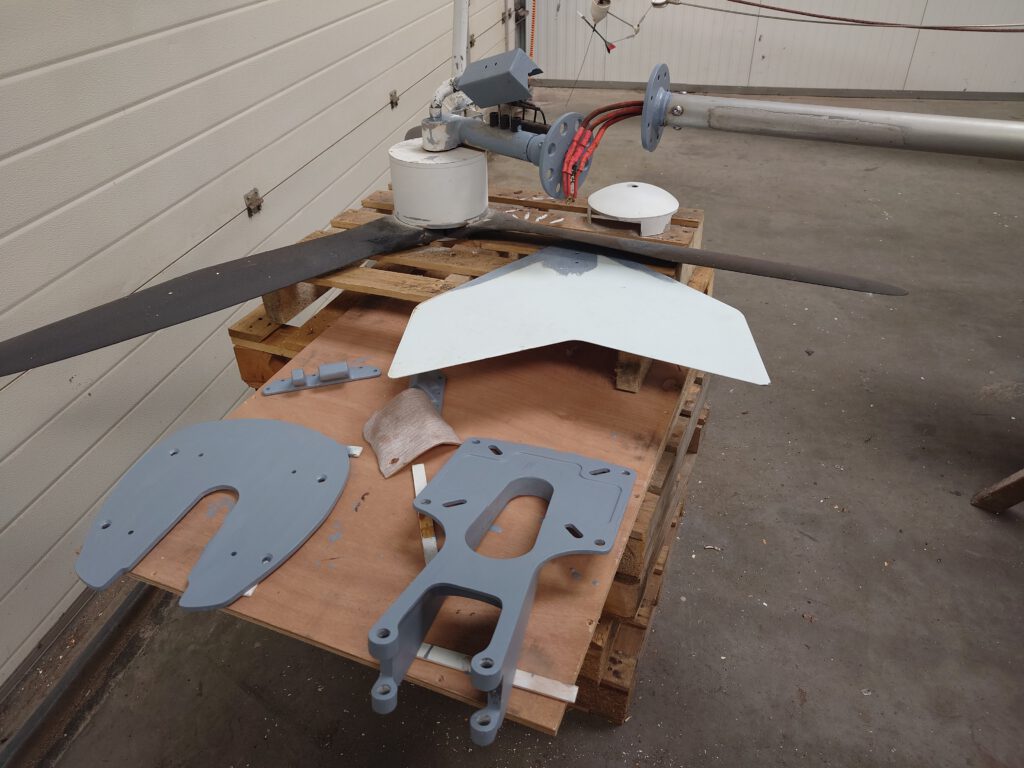
The mizzen mast is brought into the hall with us, so we can disassemble the wind generator for sanding, priming, and painting. We also need to mount a new antenna and run cables.
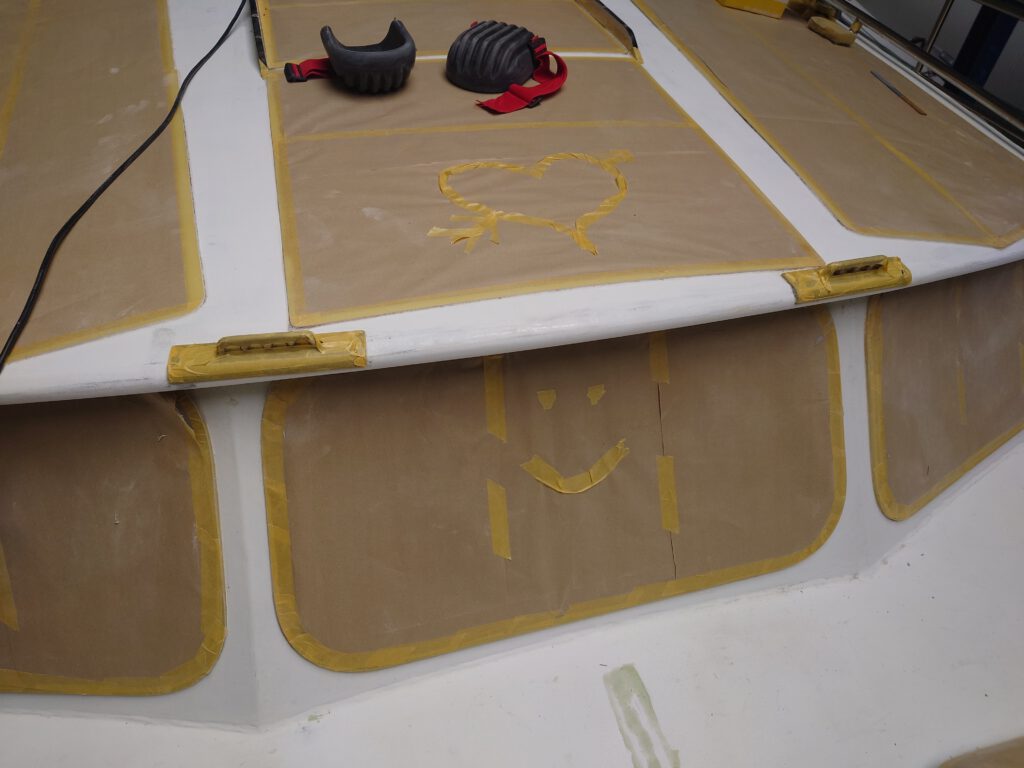
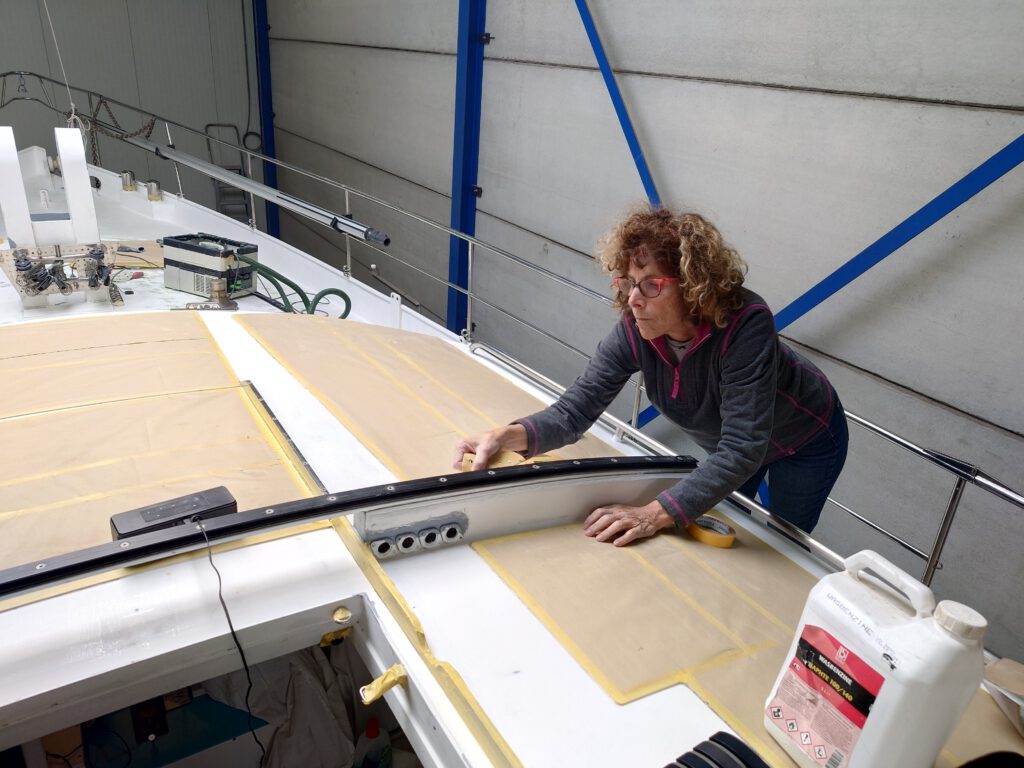
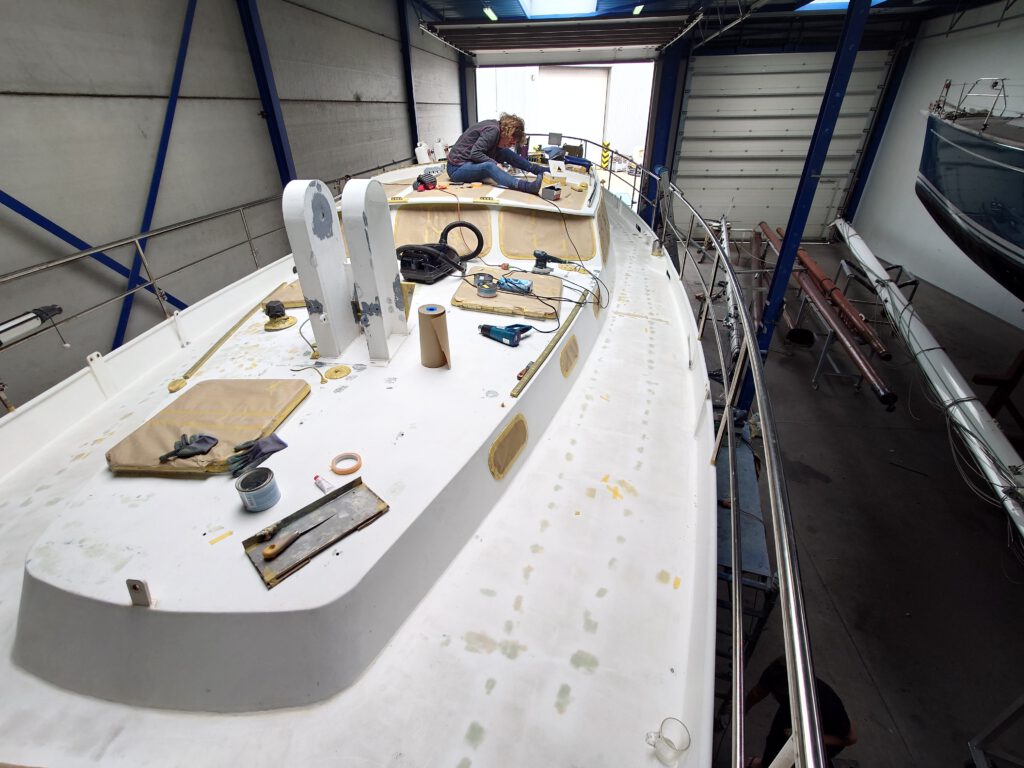
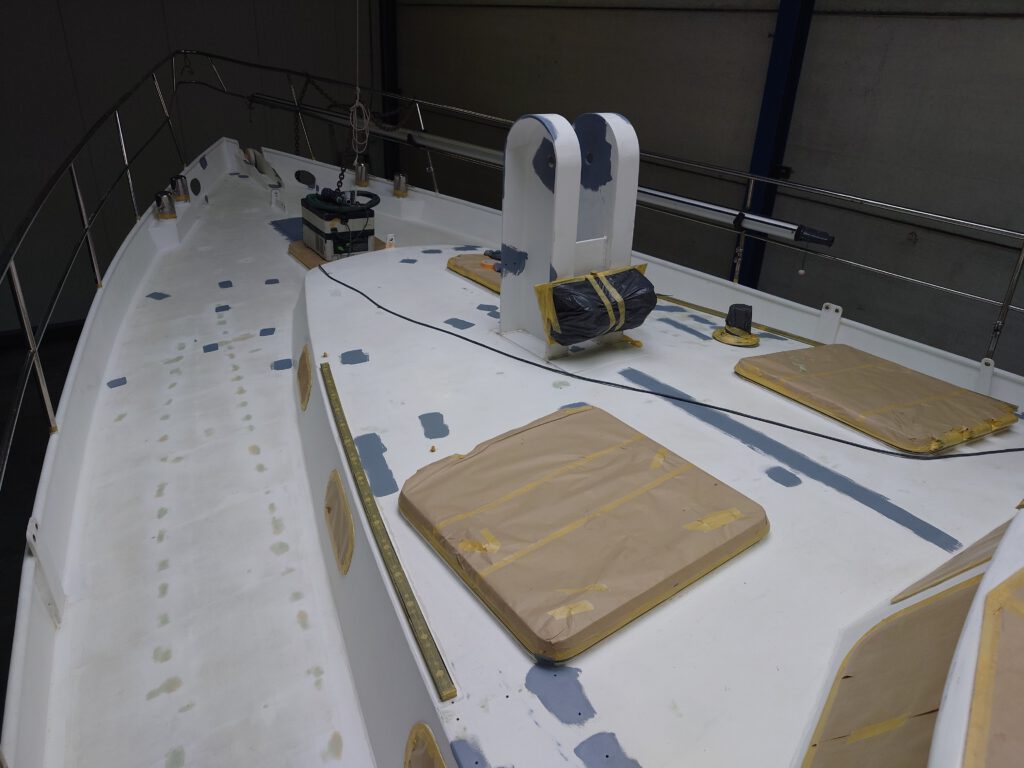
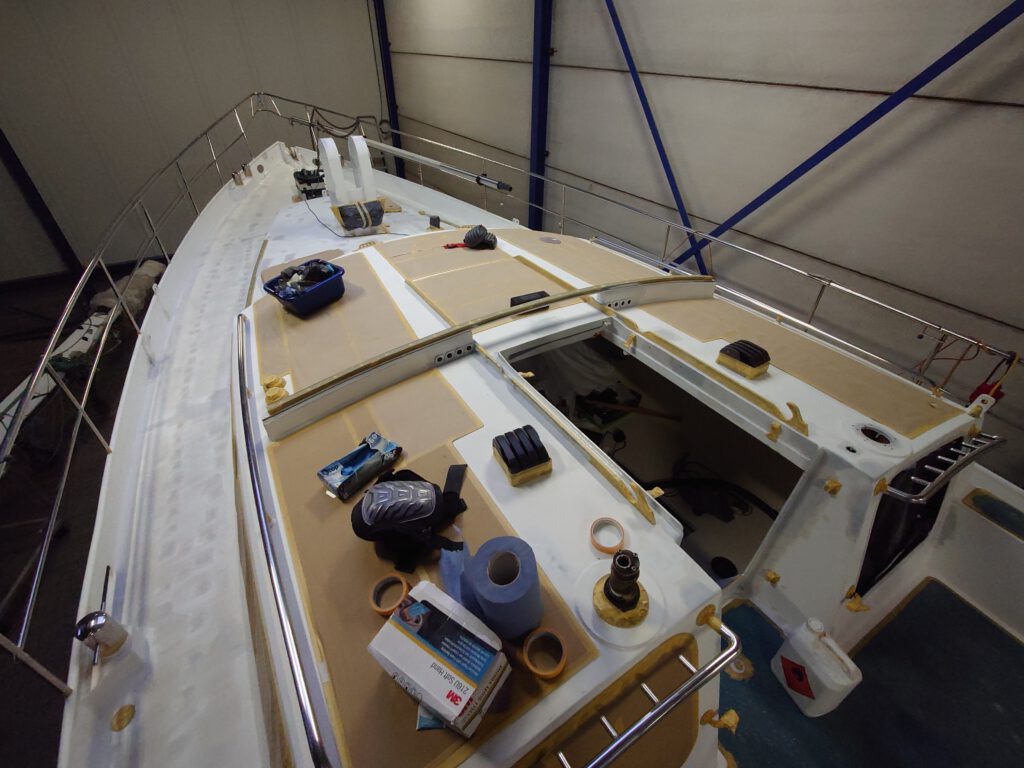
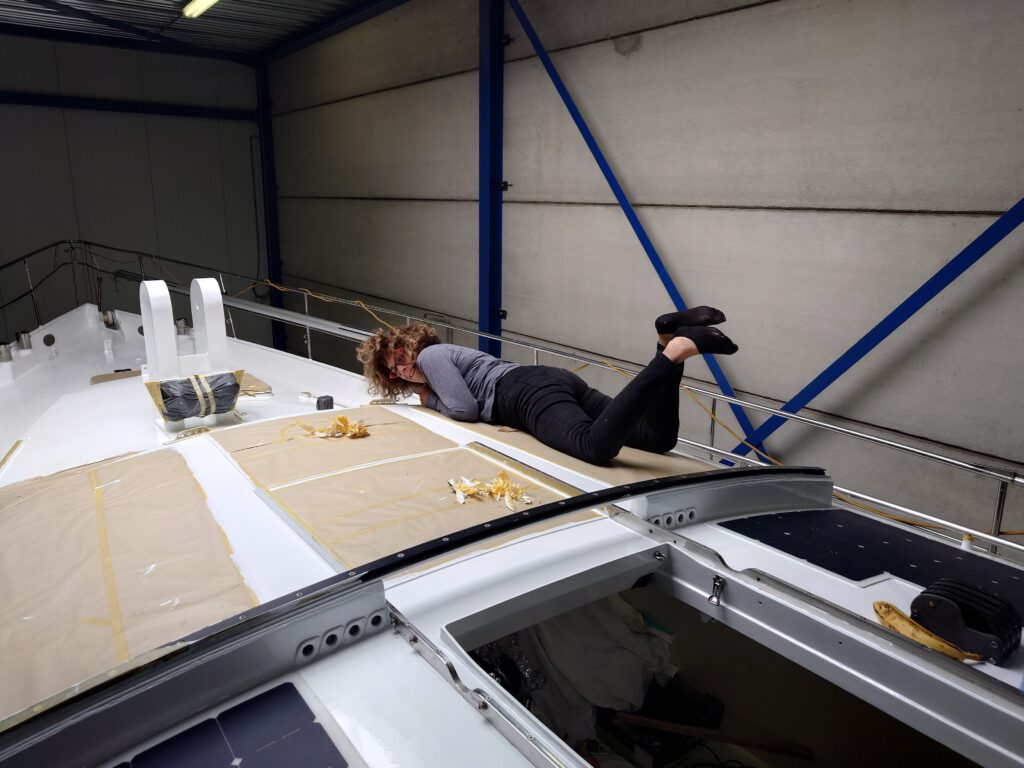
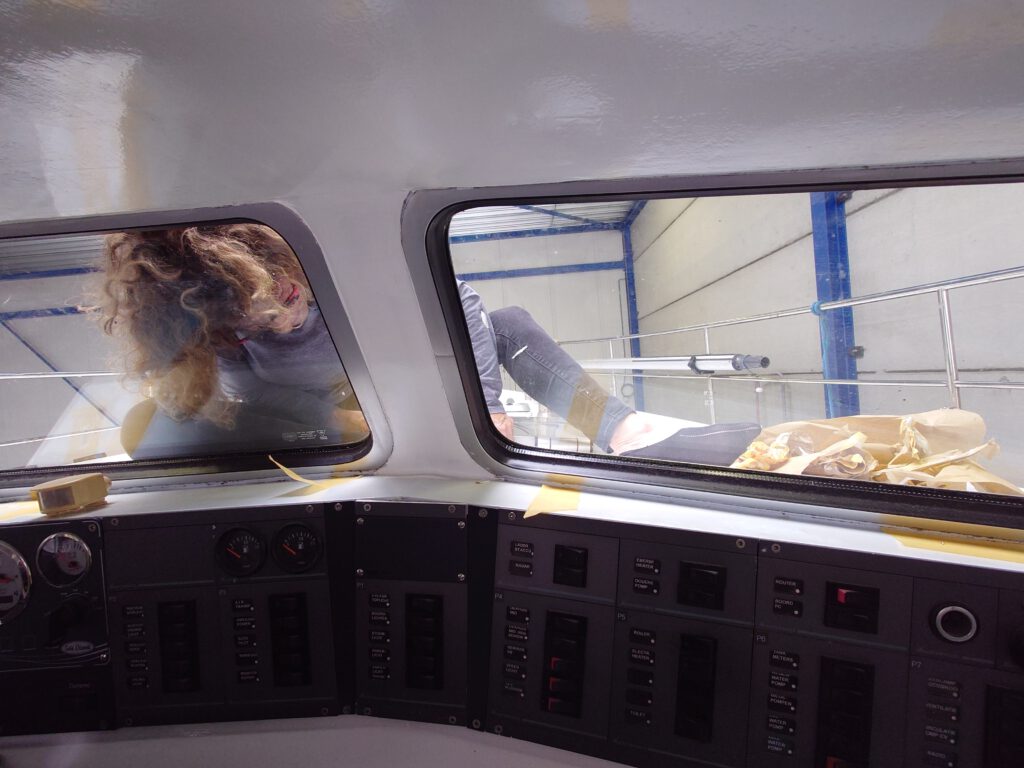
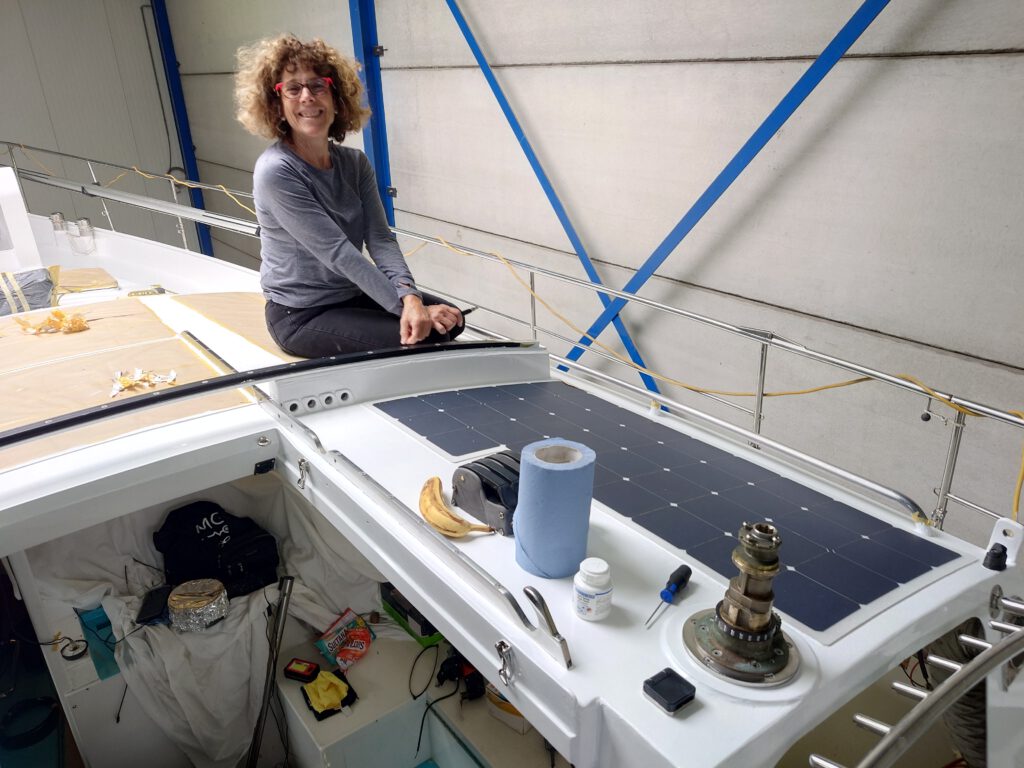
We sand the decks and begin filling areas to smooth out. This process takes some time and several layers of primer. Wim works on installing the prop shaft for the new bow thruster and Sher, tapes the painting lines with care and great precision… sometimes getting a bit side-tracked, lol!
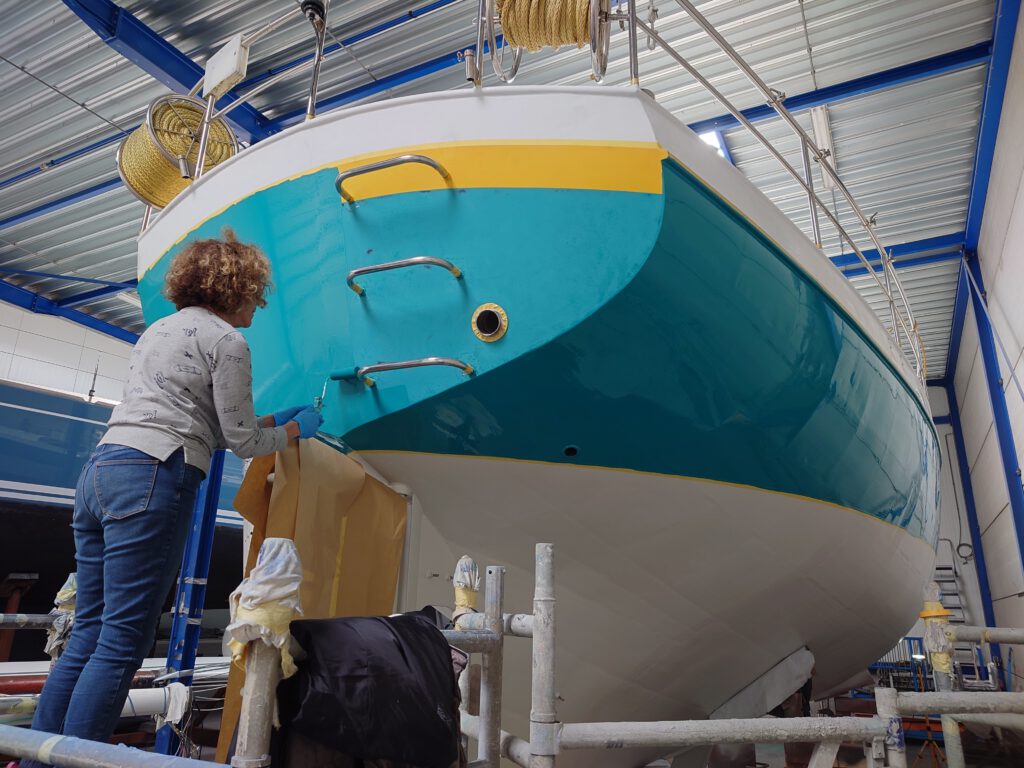
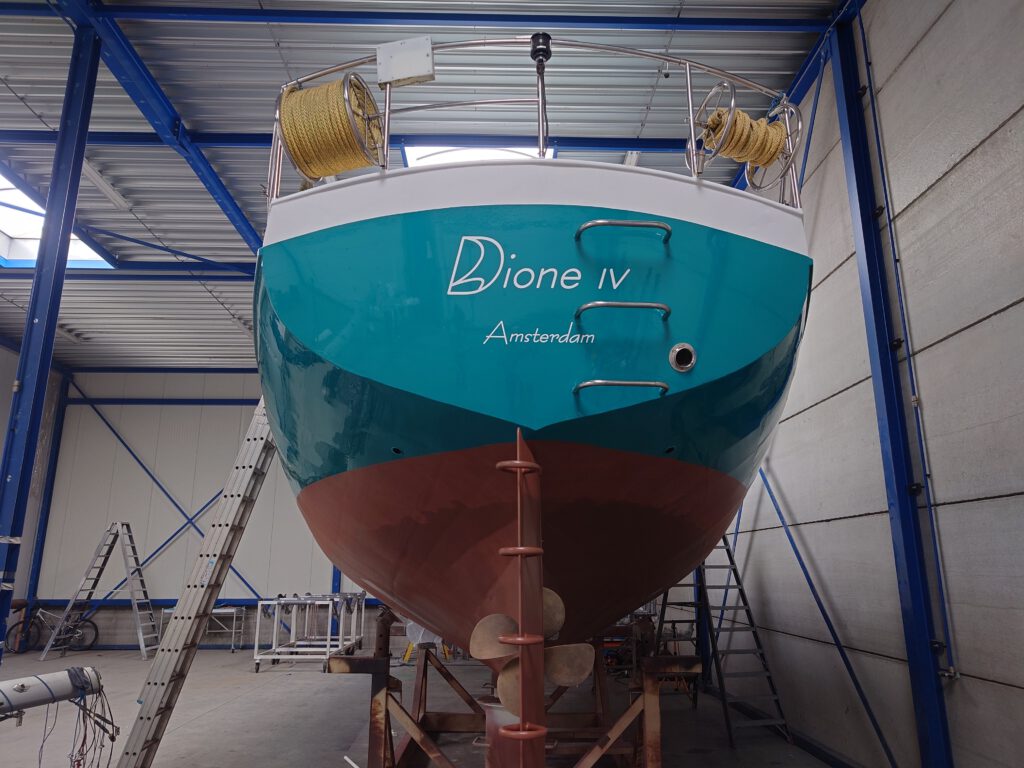
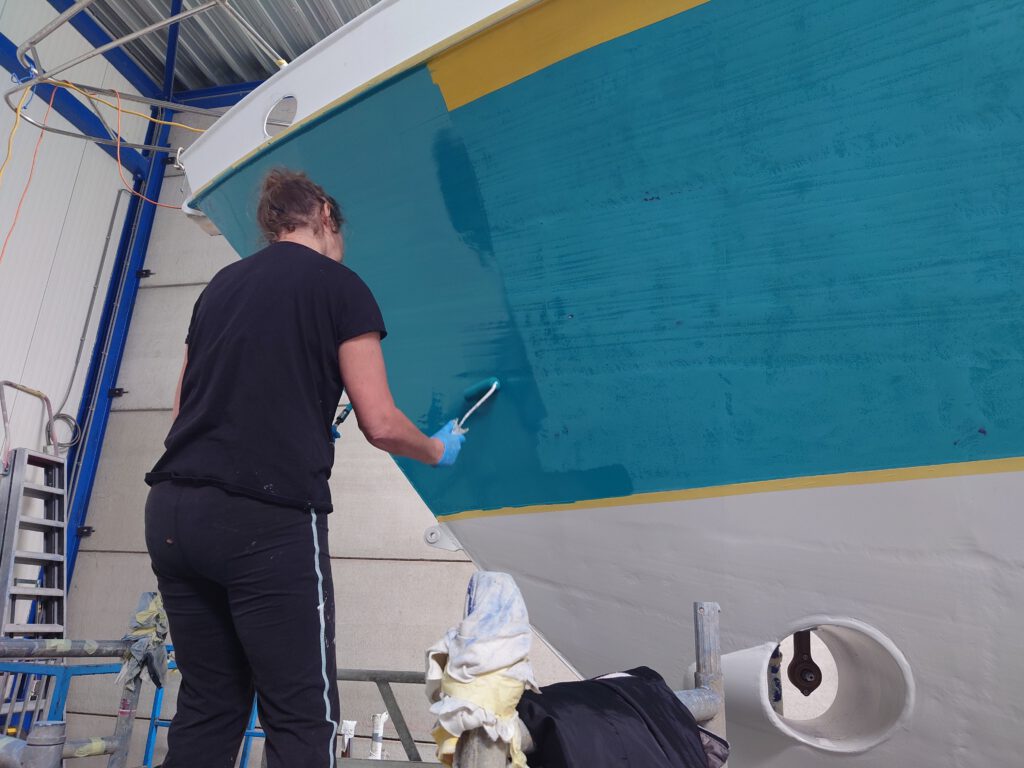
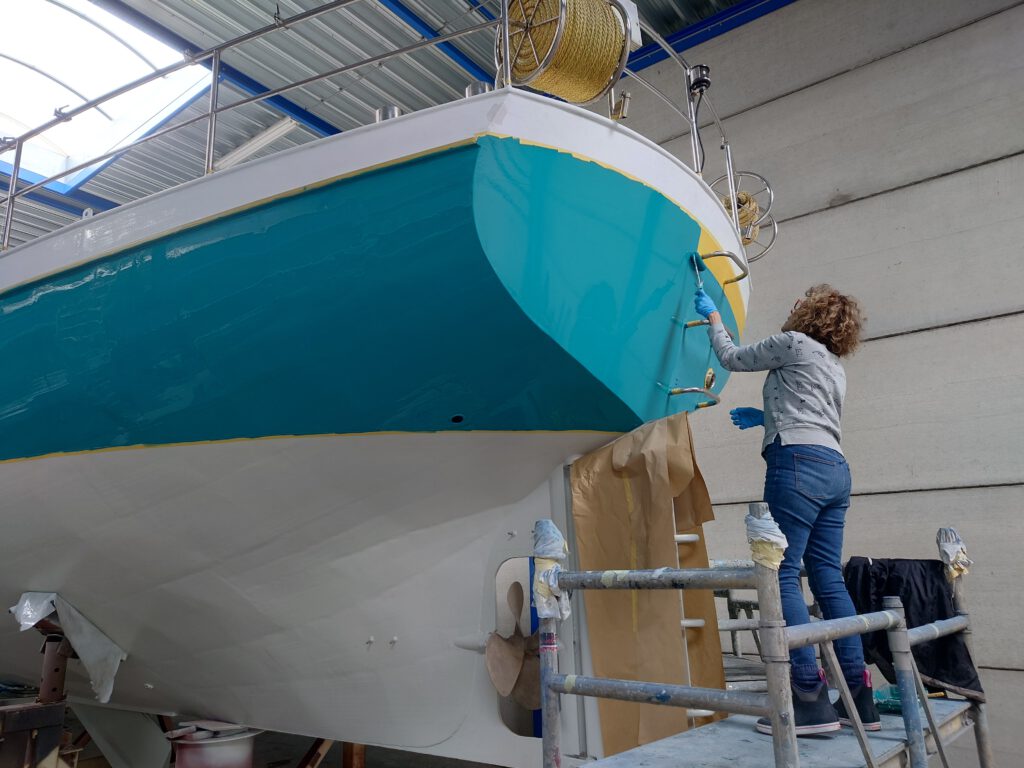
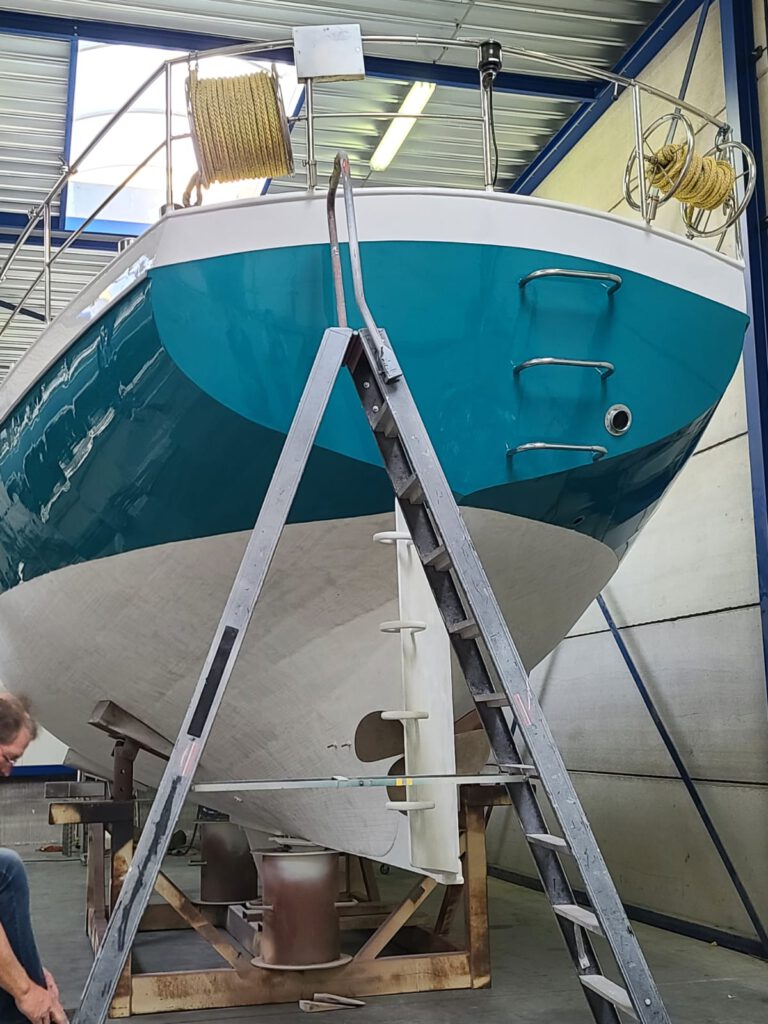
Now we’re ready to paint the hull, with Dione IV’s signature teal color. We say goodbye to the yellow stripe and the nymph graphics on the hull and the results are gorgeous and very elegant.
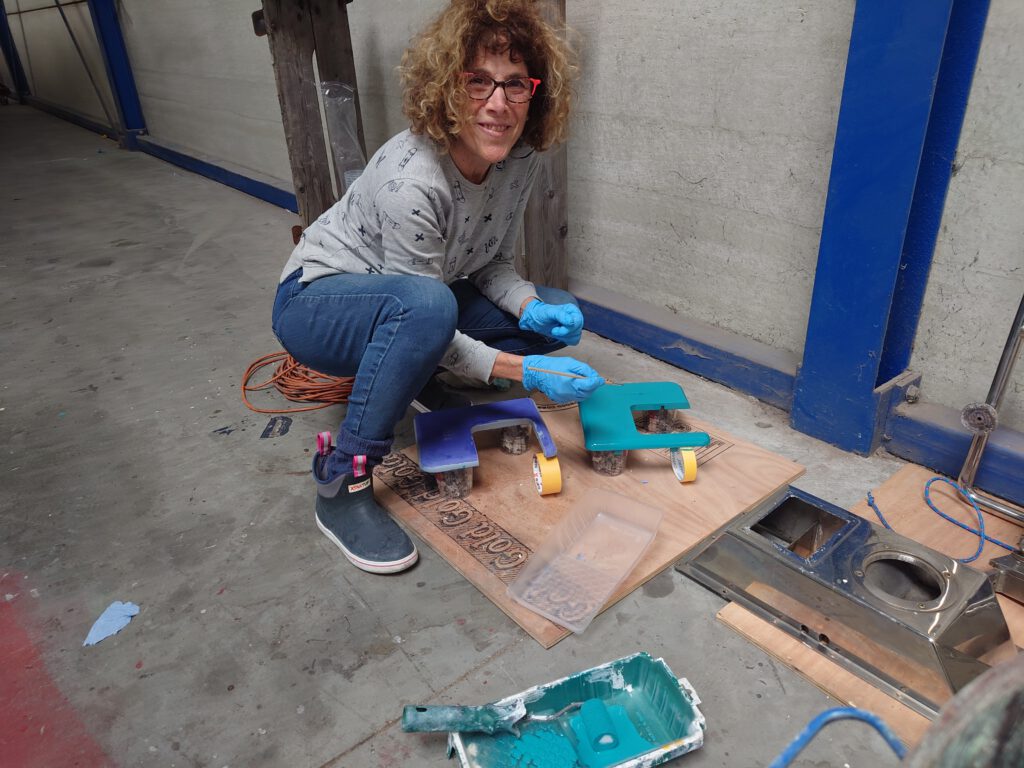
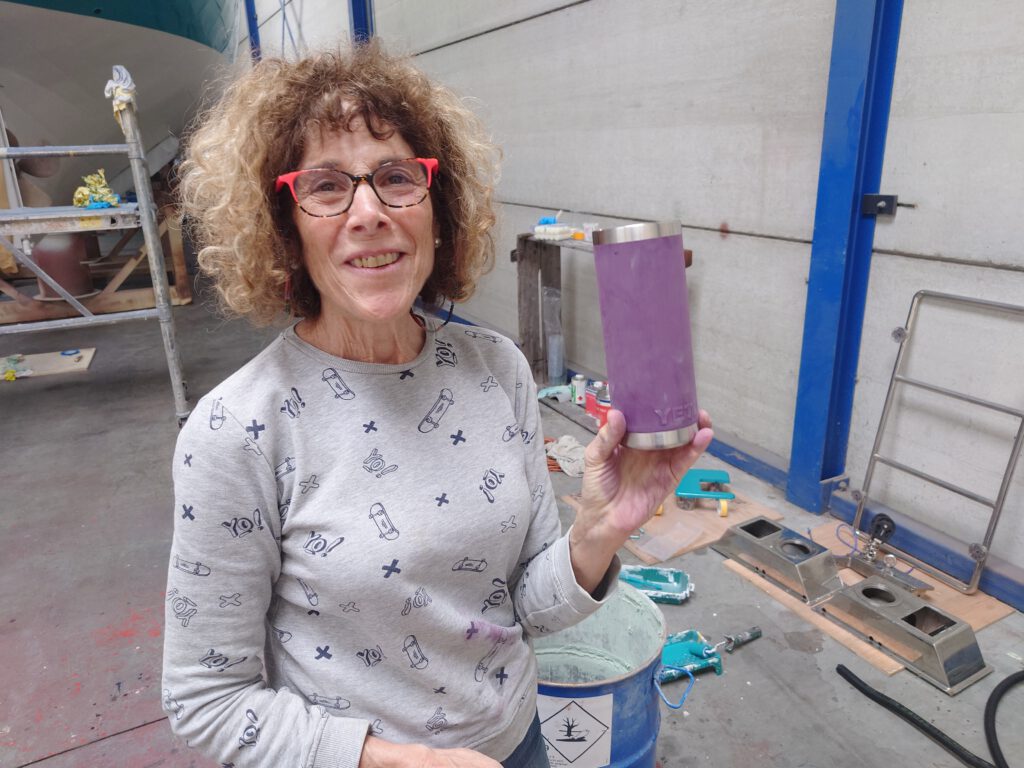
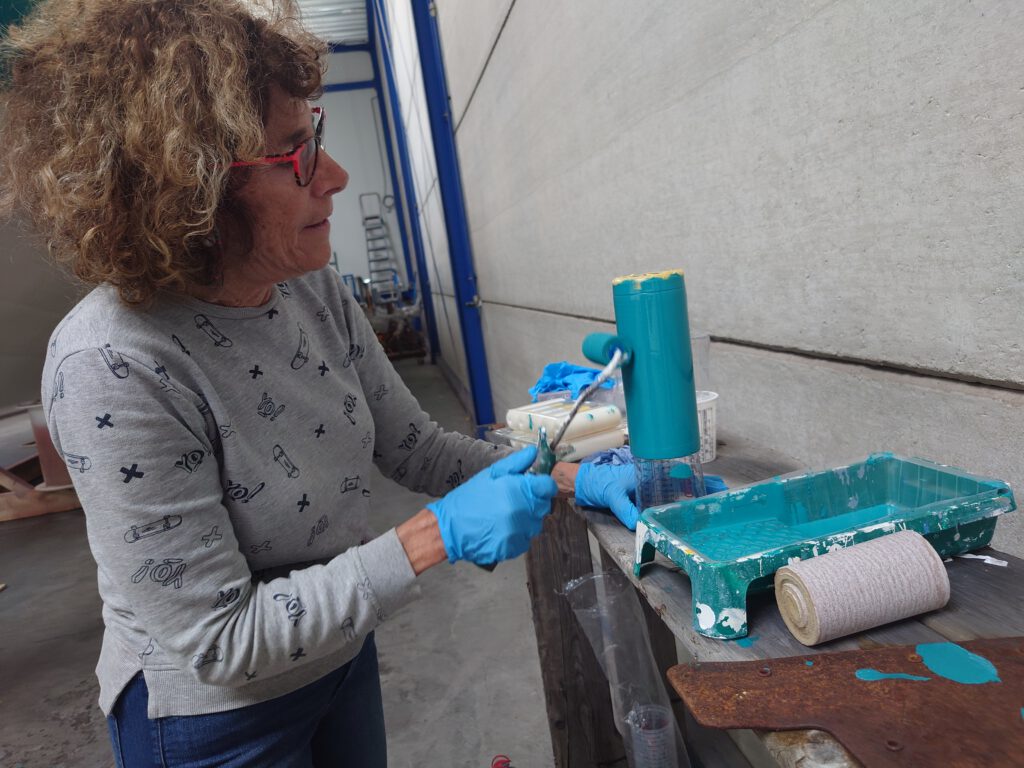
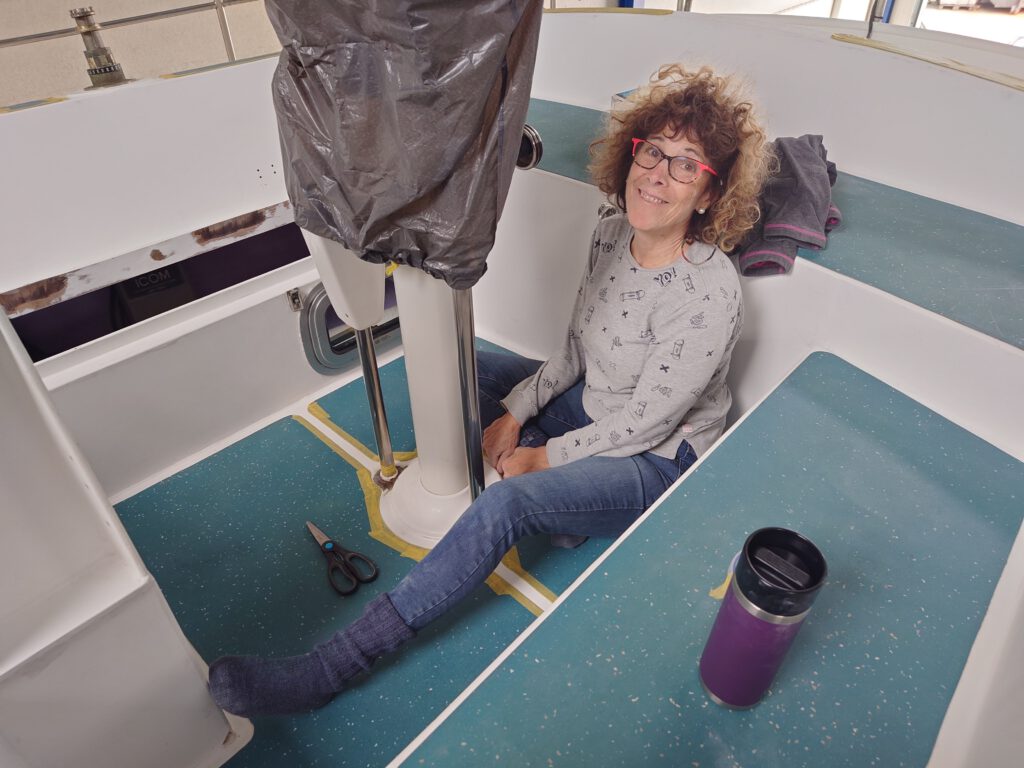
In fact, the teal color looks so beautiful, we have an idea. Our little coffee maker is blue-purple and doesn’t really match, so we think, “why not paint it teal?”. This unleashes the teal monster in Sher who then thinks that painting her purple Yeti coffee mug also in teal to match, is a very good idea. Next, Sher wonders what else she can paint that beautiful teal color!
Next comes 30kg of Coppercoat anti-fouling bottom paint… 4 layers that need to be applied one coat after another, and then two additional layers at the waterline. Finally it’s time to paint the decks. Two full layers and then a layer with anti-skid powder, and finally a third layer in some spots for additional coverage.
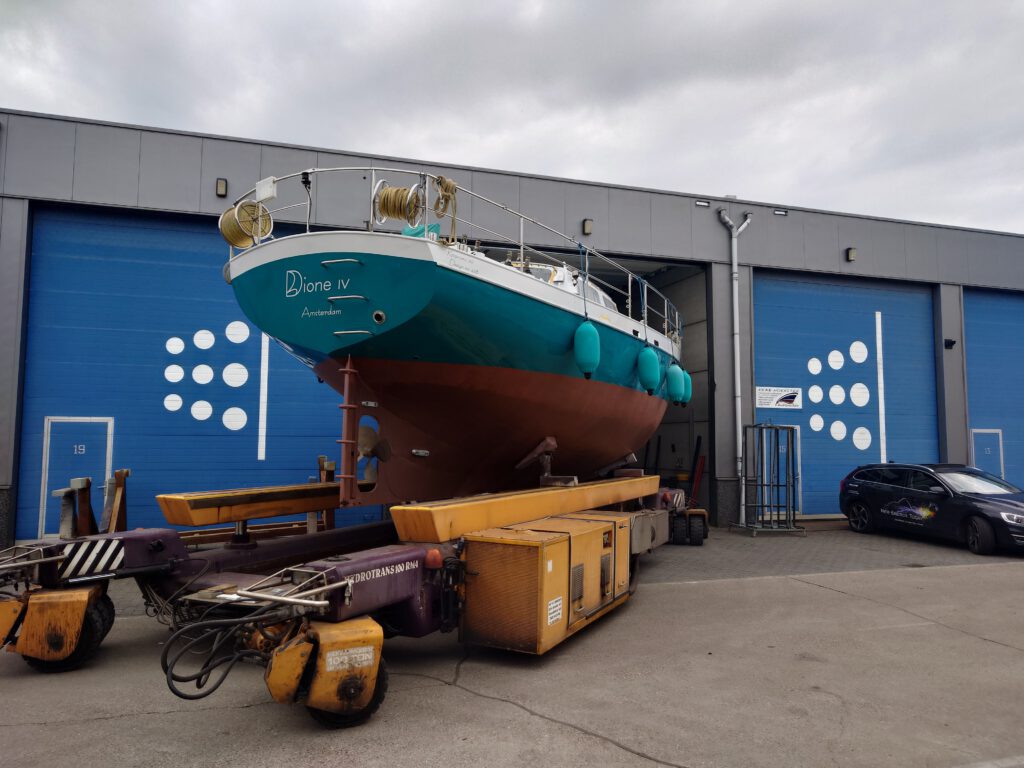
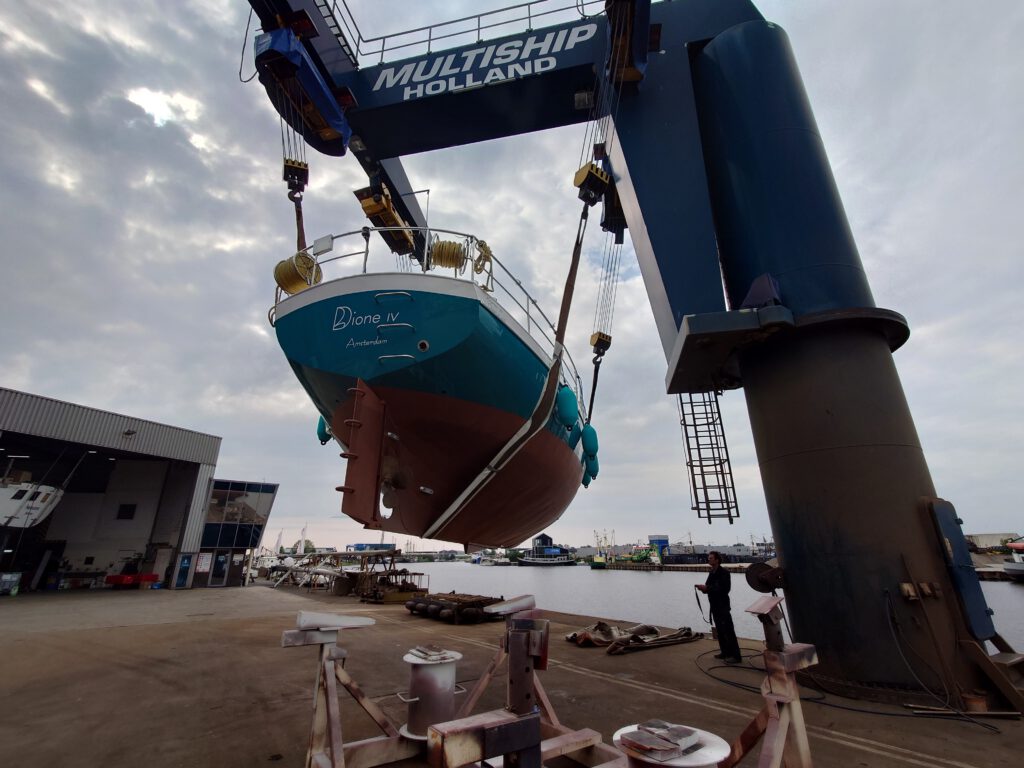
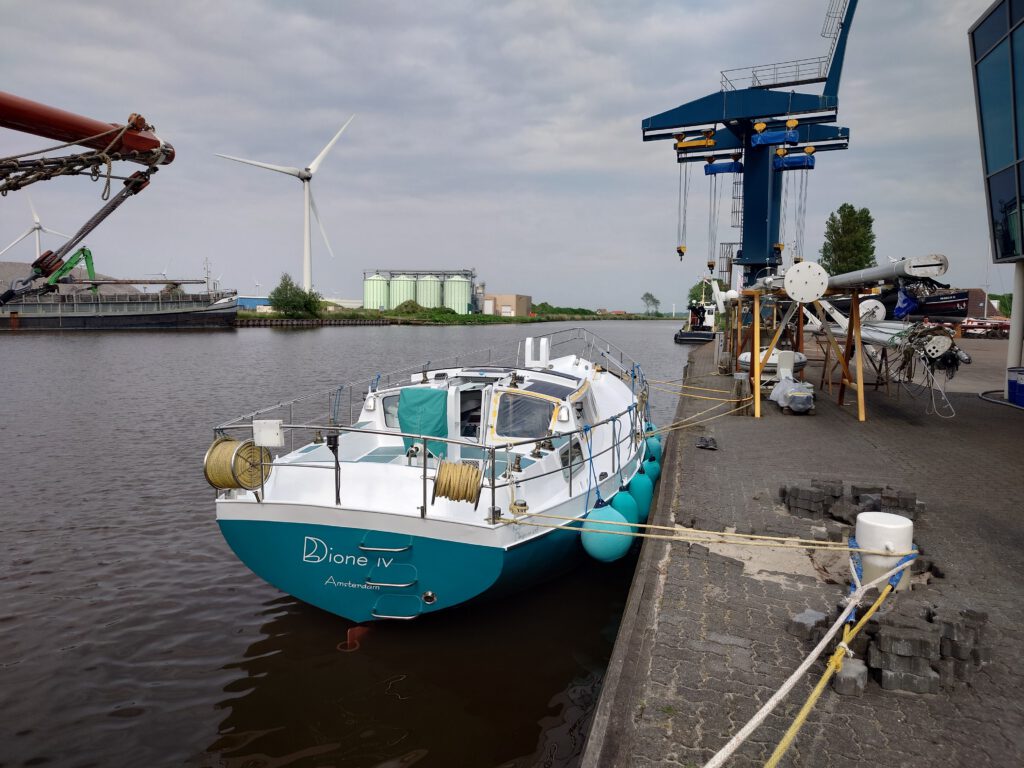
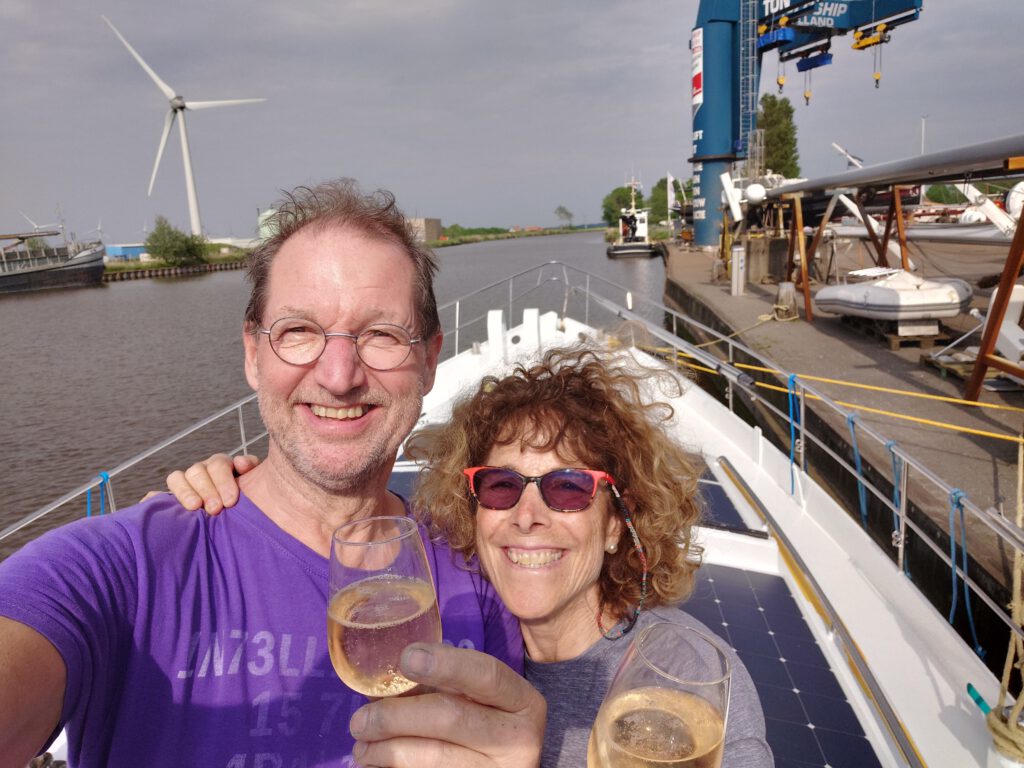
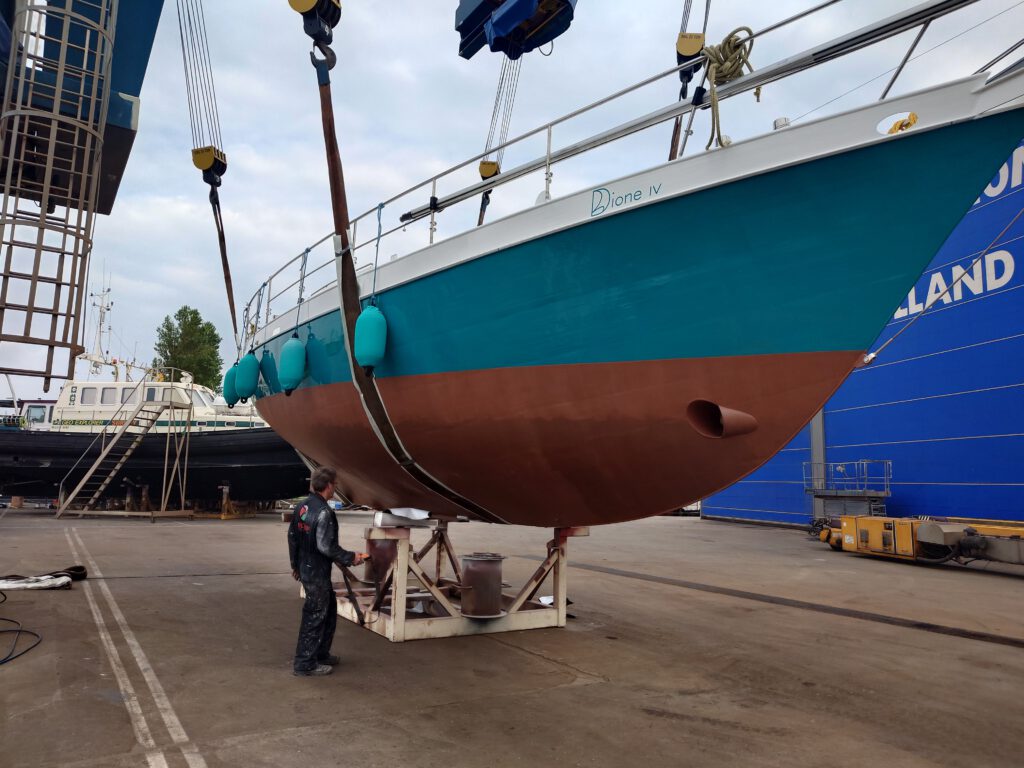
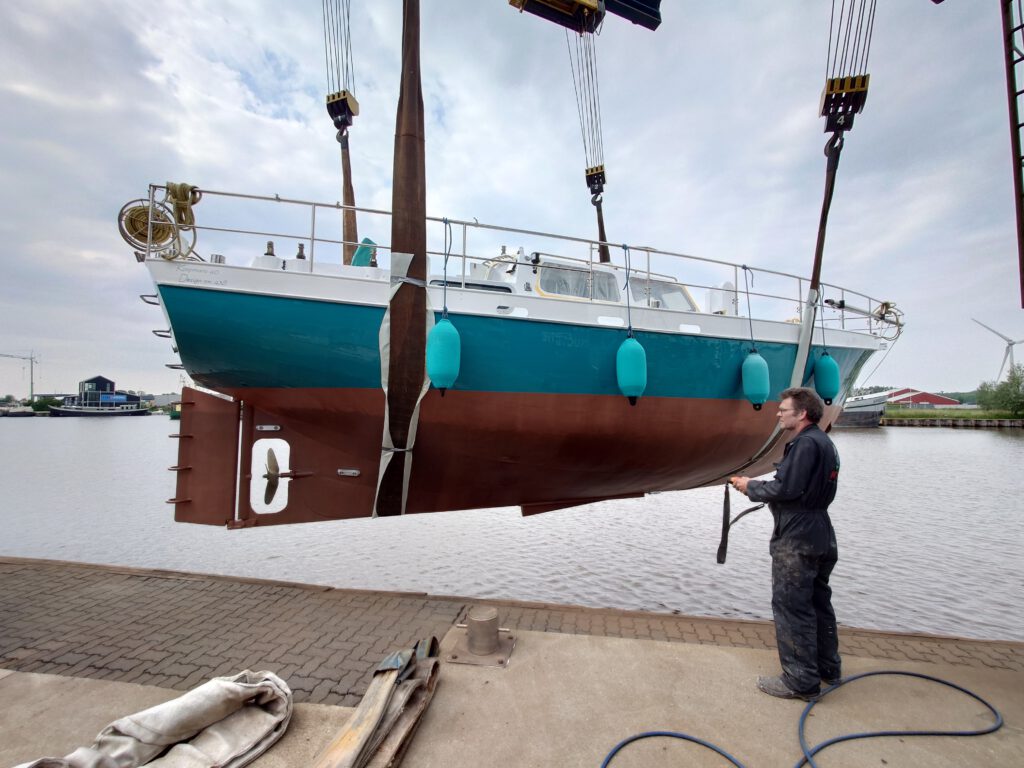
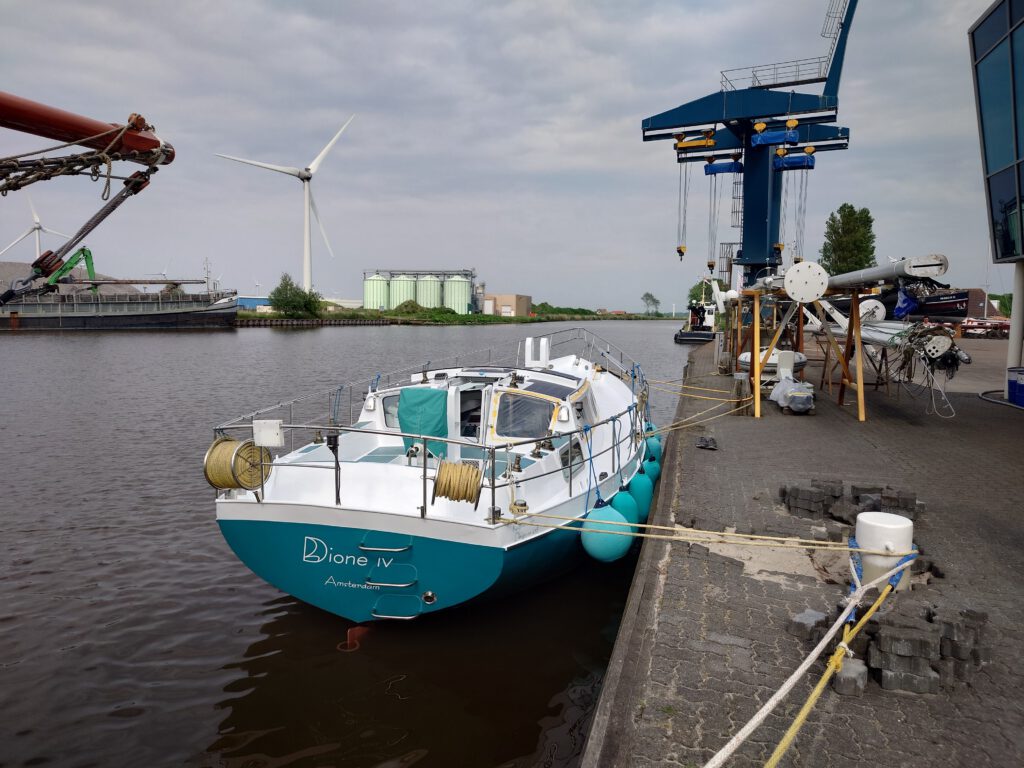
The next day, Dione IV is to be moved out of the hall. We were wondering whether we’d actually be able to get her out the door, with 30kg extra paint on her bottom and puffed up with all the admiration she’d been getting, with everyone telling her how gorgeous she looks! But she just barely makes it out and is gently transported from the DIY hall to the crane and then lifted and placed back in the water… splash! A job well done! Let’s celebrate!
Read the Captain’s Log for the complete story… all the details and lots more photos!
Captain’s Log (T-61) – the complete story
May 1 – into the do-it-yourself hall
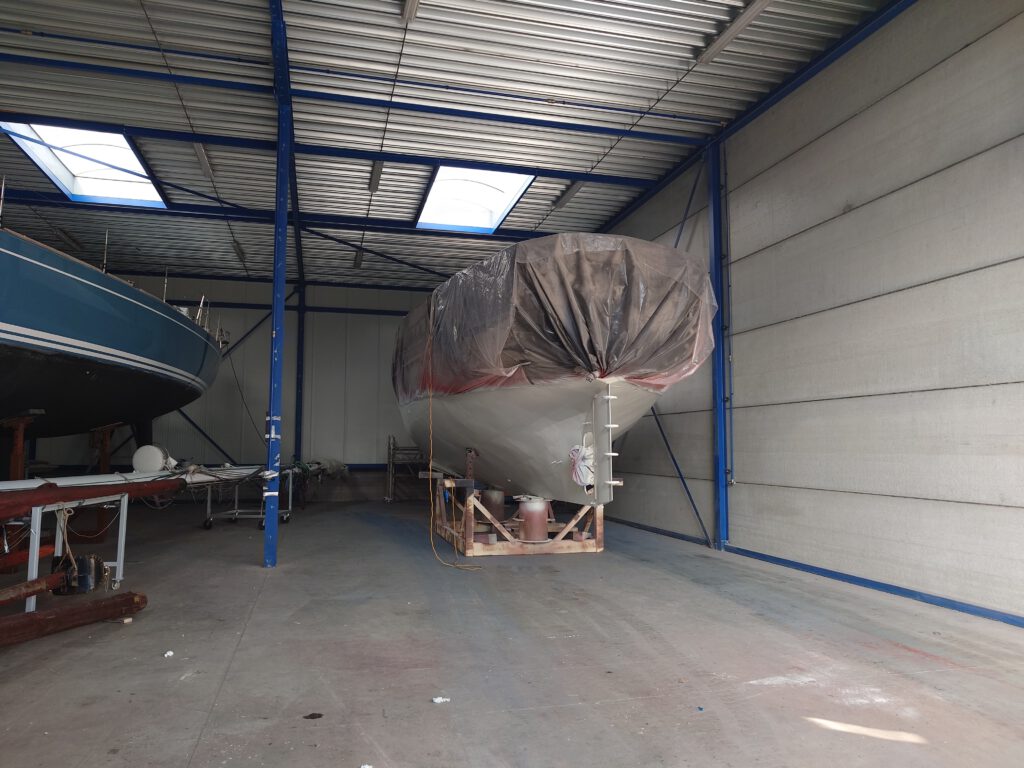
We are ready to start the work we do ourselves, and we go to the boatyard to see the boat. But, where’s the boat?!! We looked everywhere and she is nowhere to be found! 12 meters long and 22 tons isn’t easy to overlook, so she must be hiding somewhere. Yes, Dione IV has already been moved to a do-it-yourself hall.
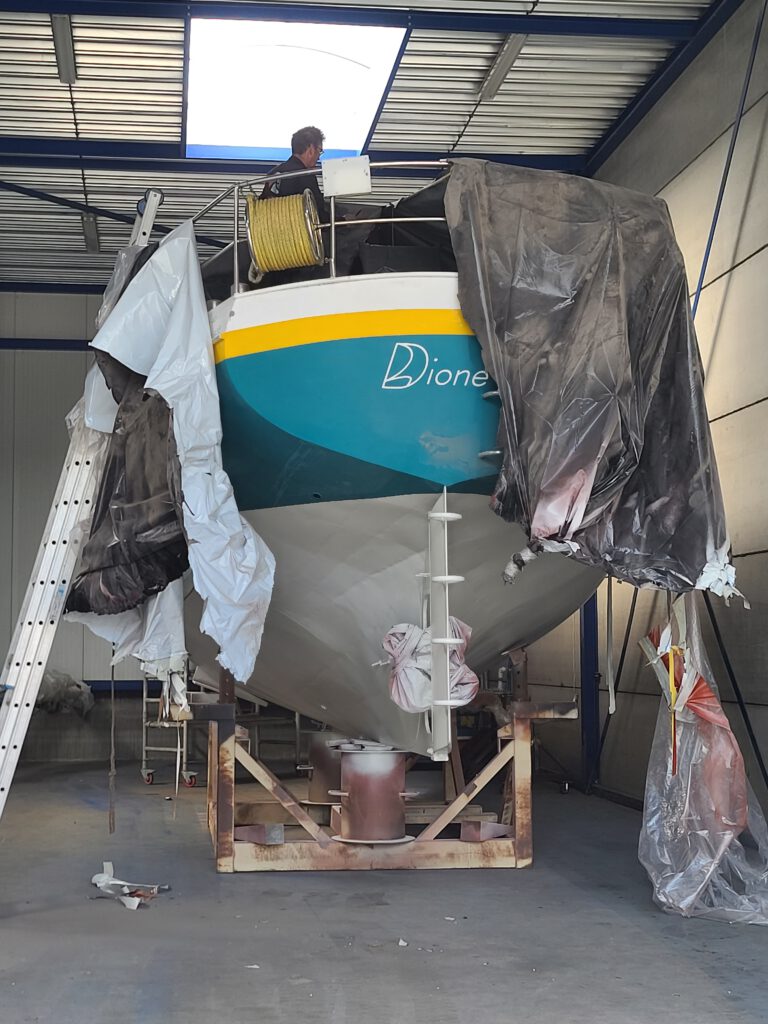
First, she’s being unwrapped. Huge clouds of grey dust drop down from the plastic when Ids, the boatyard manager, cuts the protective cover loose. We wait outside the hall till he’s done!
By the way, we learned that we spelled his name wrong: it’s “Ids”, not “Yts” (which is also an actual Frisian name).
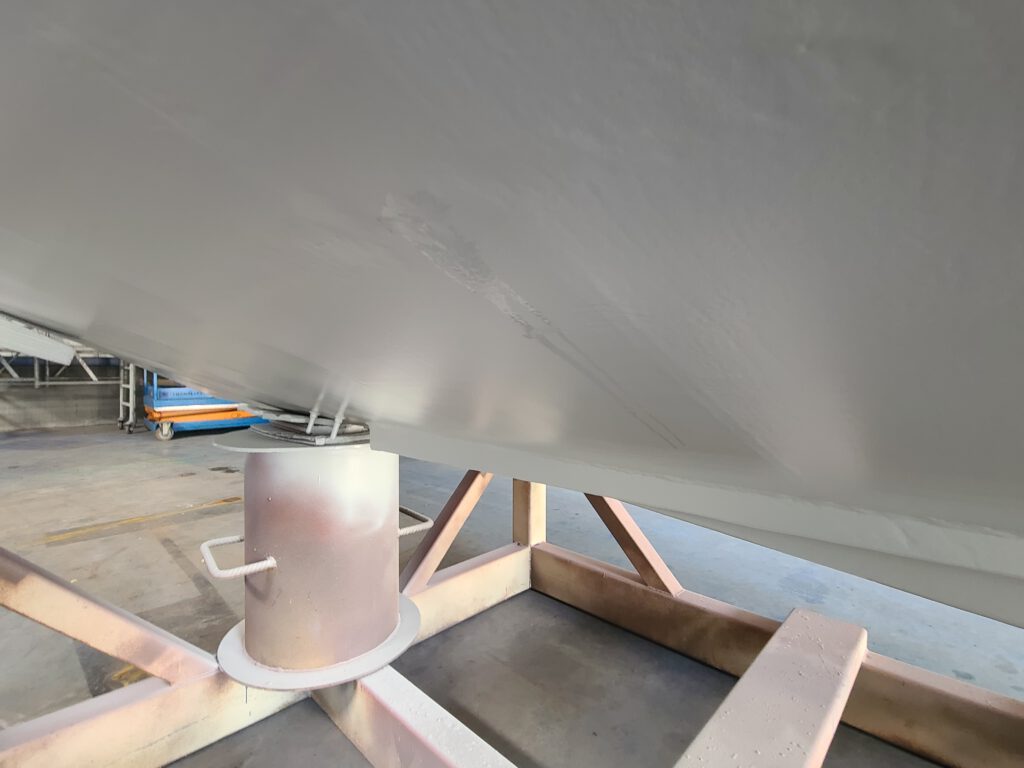
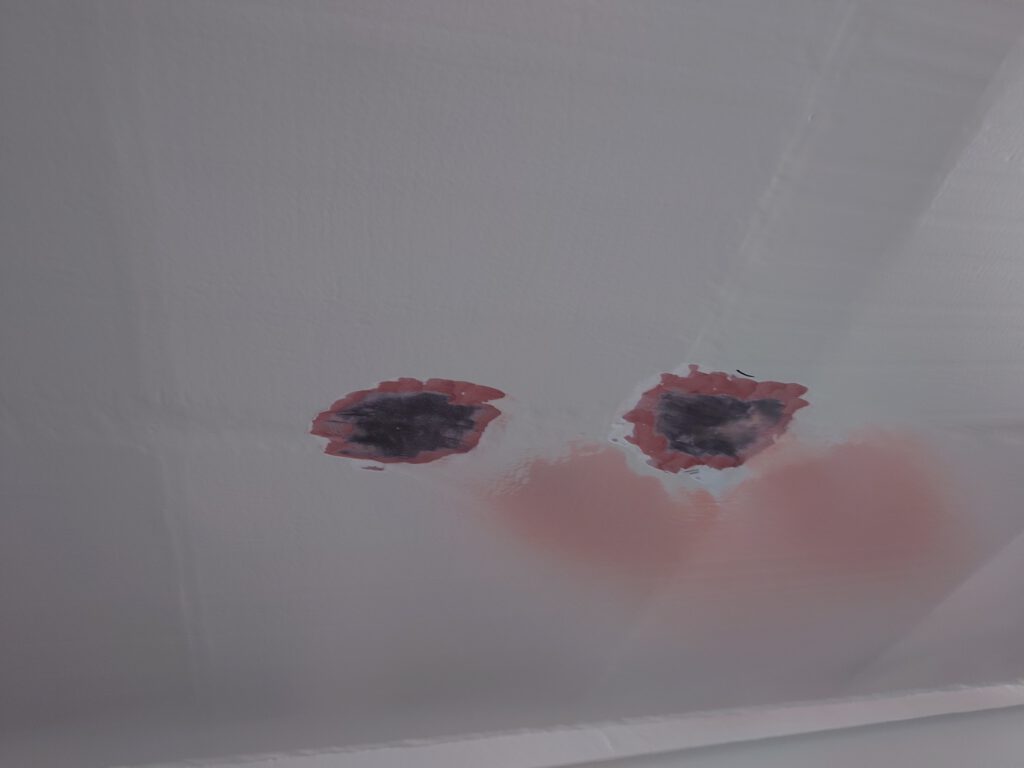
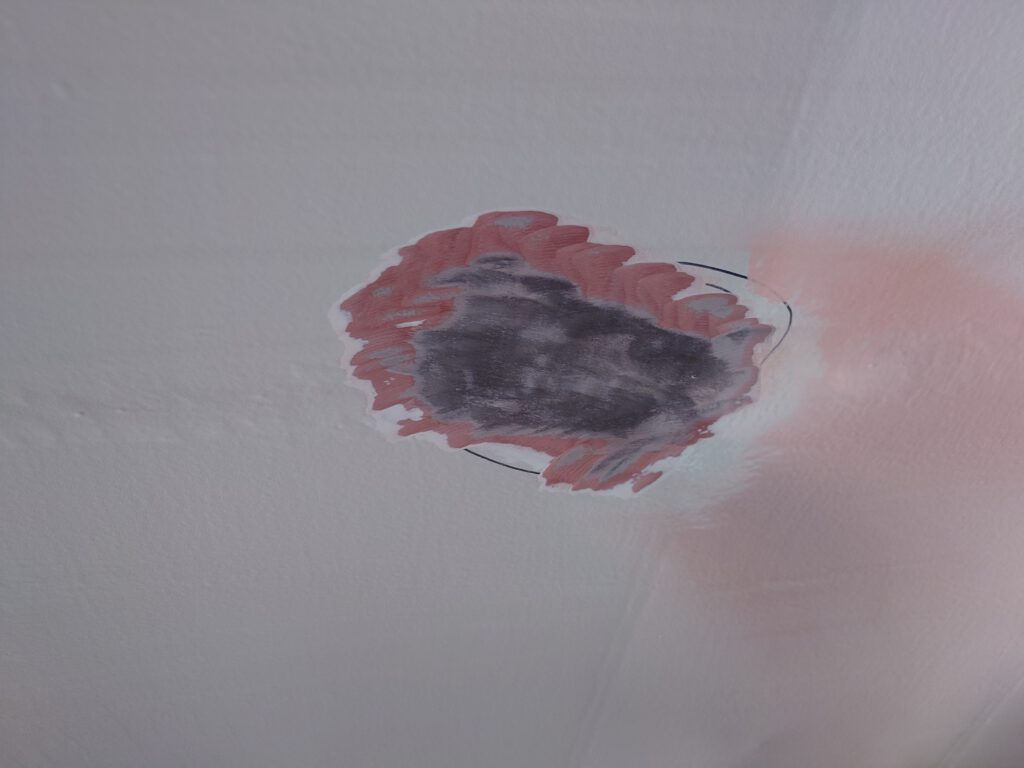
We inspect the paint on the hull and we make an astonishing discovery… diesel is leaking from a spot somewhere in the middle! Here is a picture of the port diesel tank, which is integrated in the hull. Obviously, a weld has been blasted open. Probably a bad weld.
Shocking! What to do?
We report to the office. Wieger, the technical manager comes and has a look. He says, “drain the tank, open the manholes, clean it from the inside and we weld it.” That is a huge job! We’d first have to remove the watertanks (which are on top of the diesel tanks), pump out 300 liters of diesel, open the manholes, clean the tank (the remaining diesel will catch fire when welding), put everything back together again, grit-blast that part of the surface again and re-do the primers. That will certainly be a week of work and big extra costs!
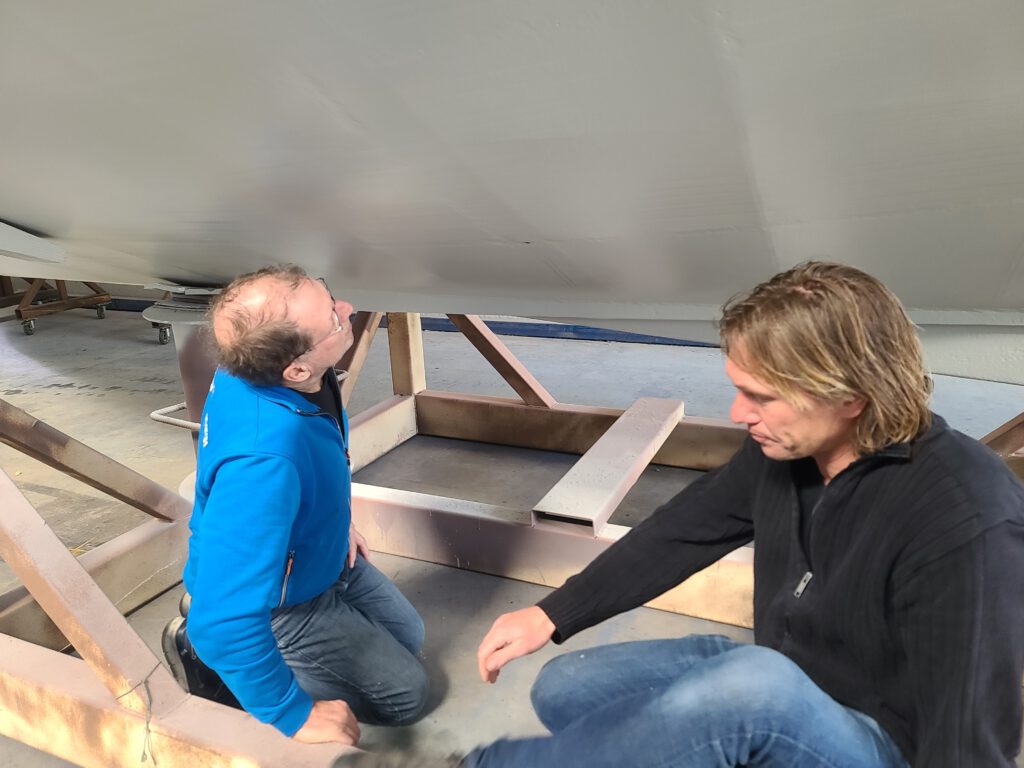
Together we take a look at it.
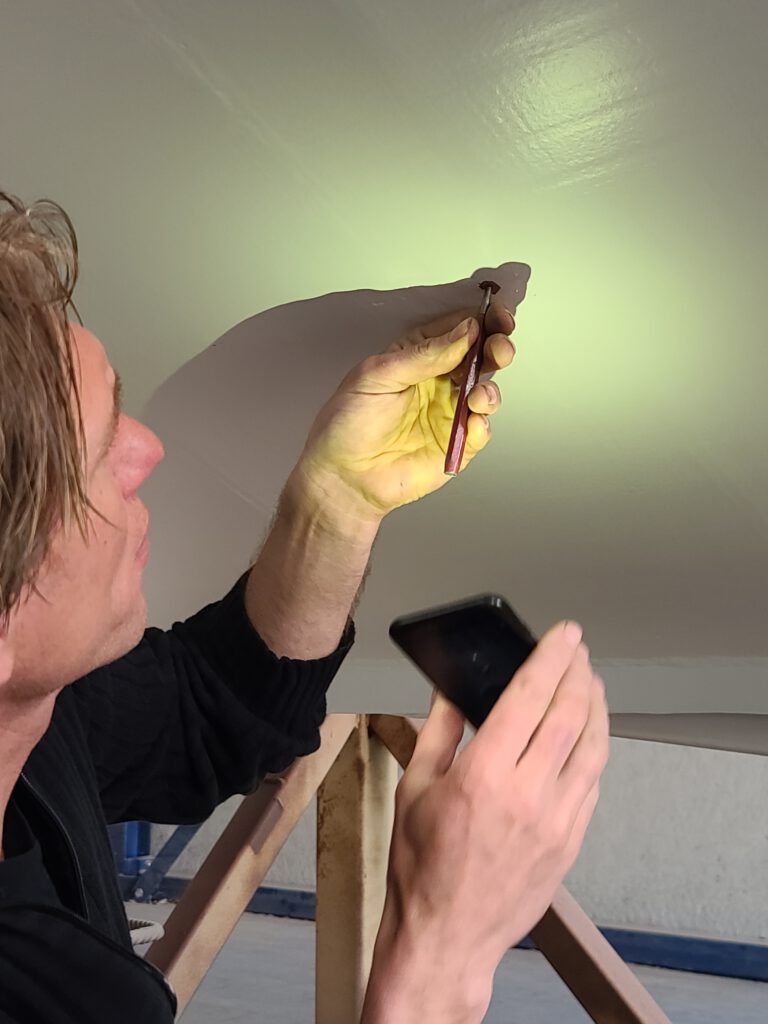
Then, Wieger has another idea: it is a very tiny spot. Maybe less than a hair. A trick might be to hit it with a punch and see if it closes.
If this fails, it will start leaking worse and we’ll have to empty the tank and weld it. But if it succeeds, they will fill the hole with epoxy and it will be good.
He hits it several times in a circle:
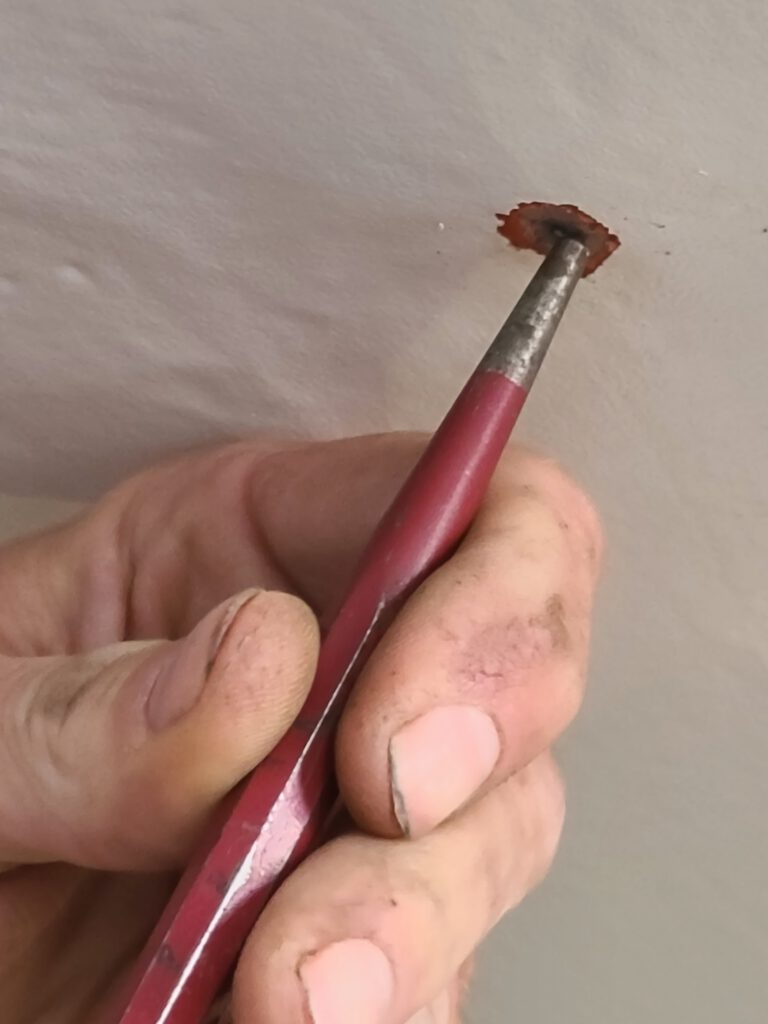
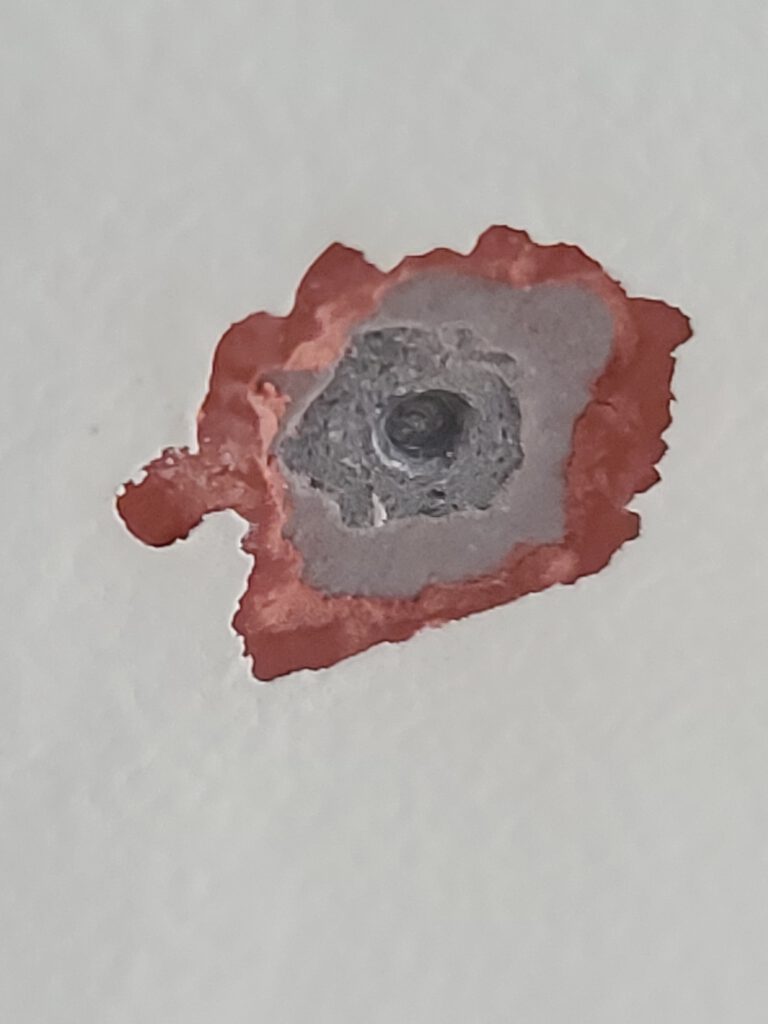
It looks good… no more diesel dripping. He says, “when it’s still dry by tomorrow, we’re fine. Let’s wait and see.”
Next day, the spot is still dry. Ids comes to have a look and says, “let’s see it in a couple of days. If it stays dry, we’ll put the epoxy on.”

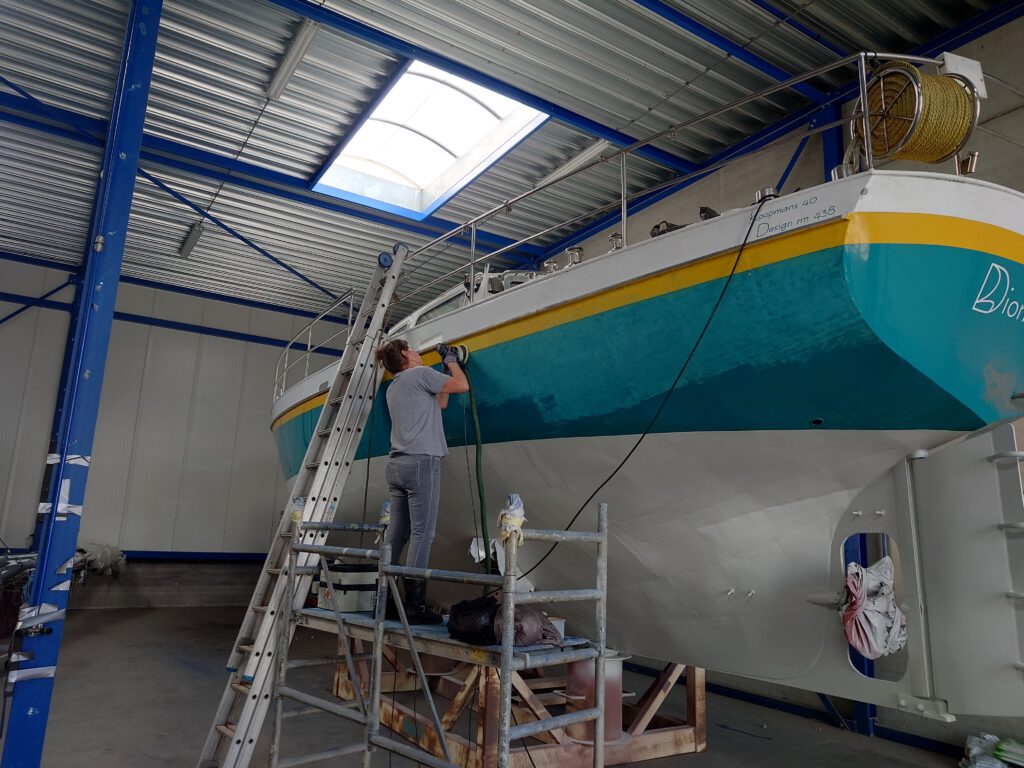
We start peeling off all the text (vinyl lettering) and the nymph graphic from the bow on the port and starboard.
Next on the list… we have 4 windows to be repaired. The double glass panes have started to leak over the years so, although the windows are still watertight, there is condensation between the panes. They have to go back to the factory for replacement of the glass panes.
So, we remove them. We need to cut parts of the timber of the interior for that, regrettably. That will have to be restored and repainted later.
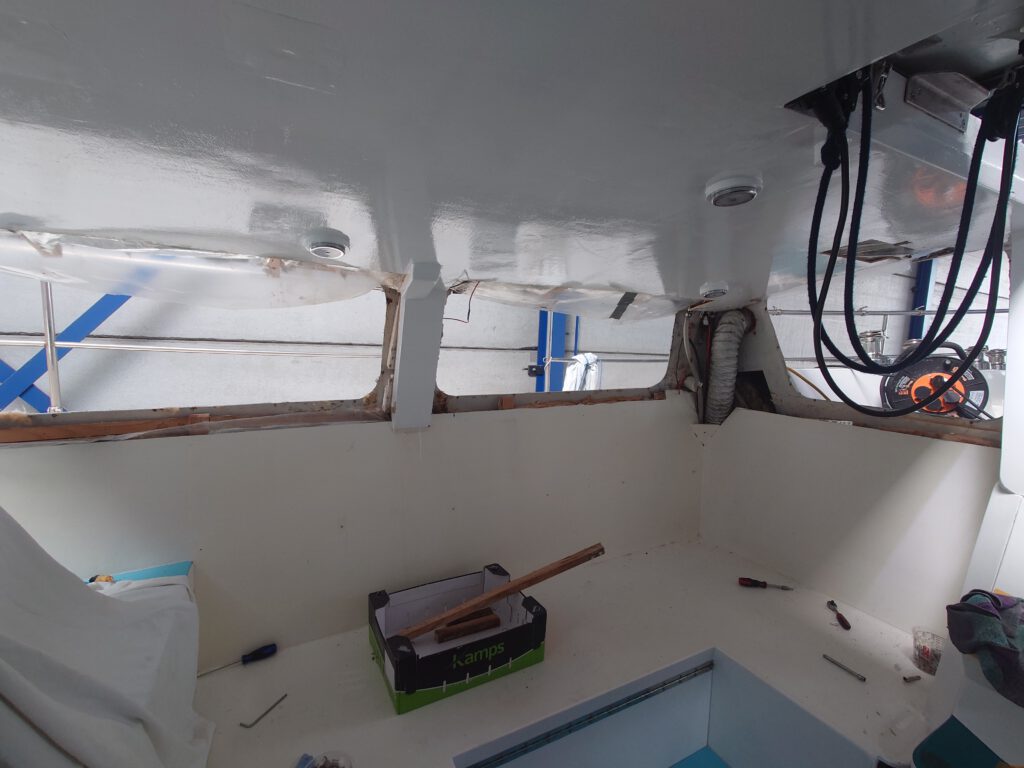

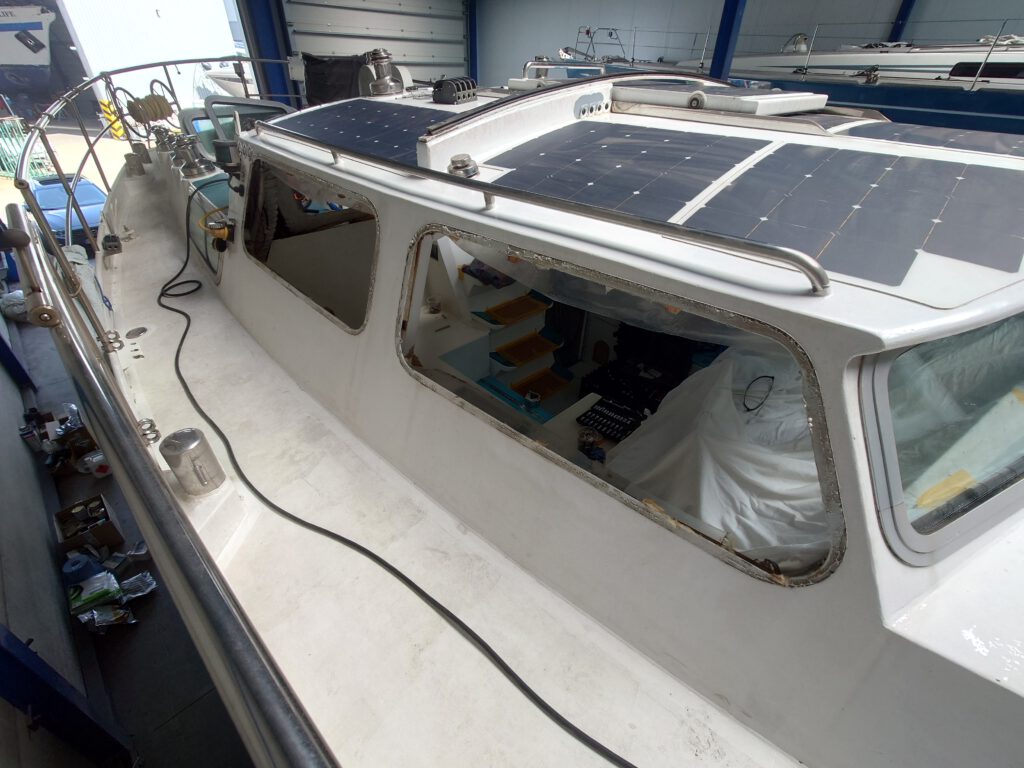
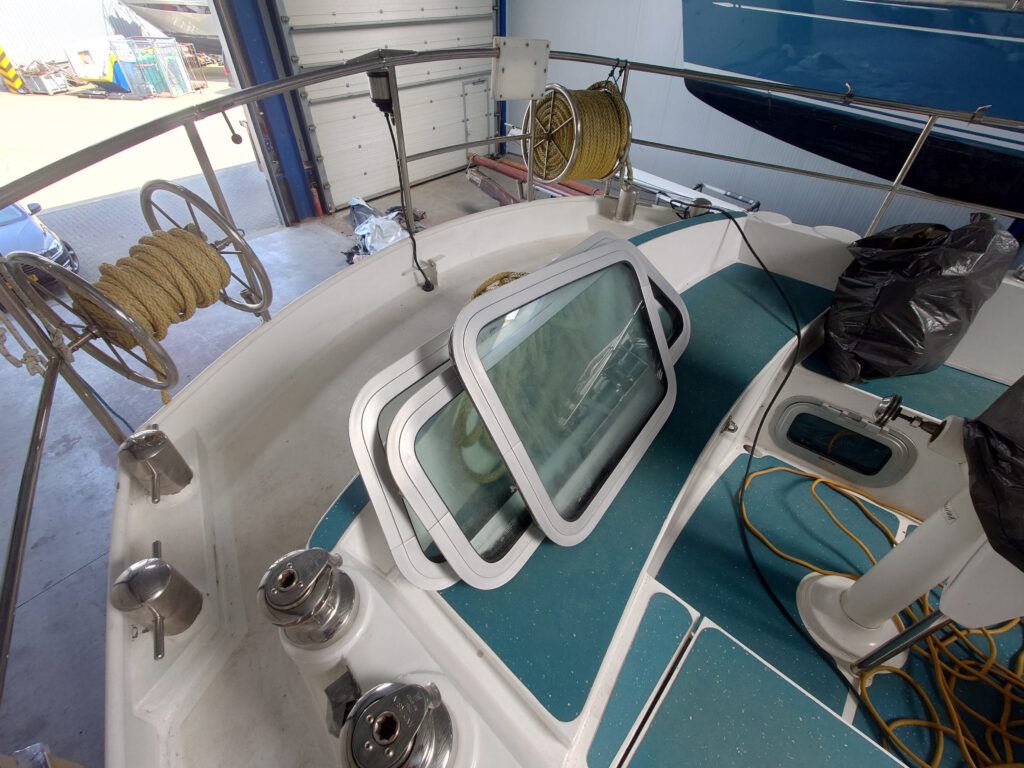
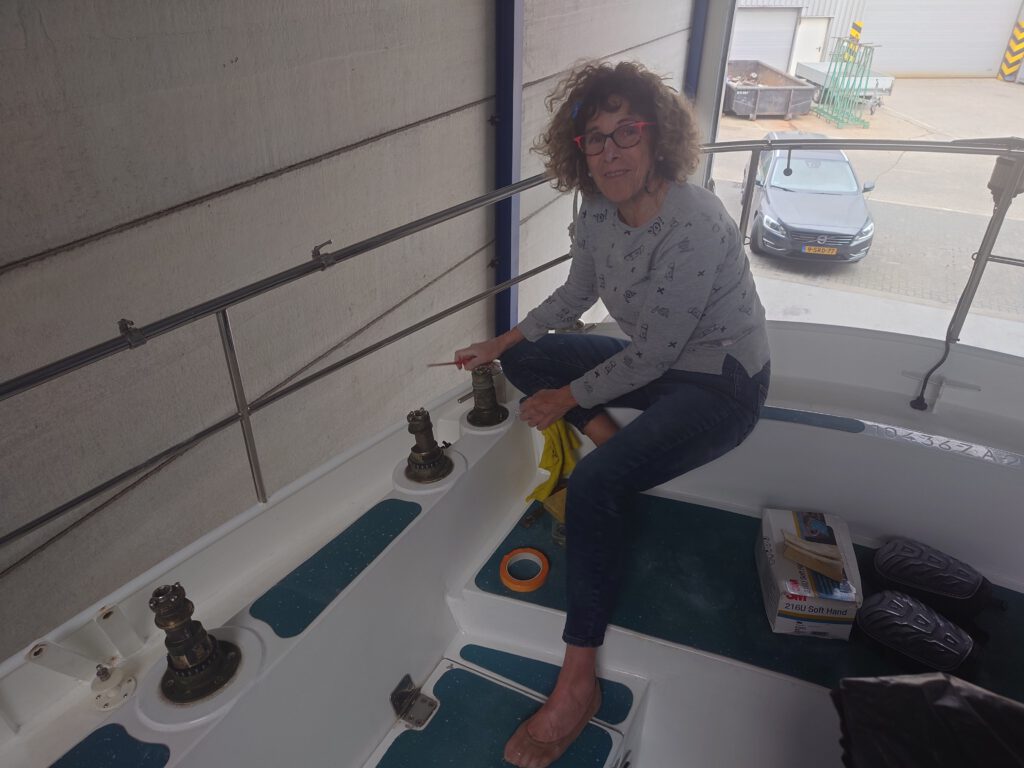
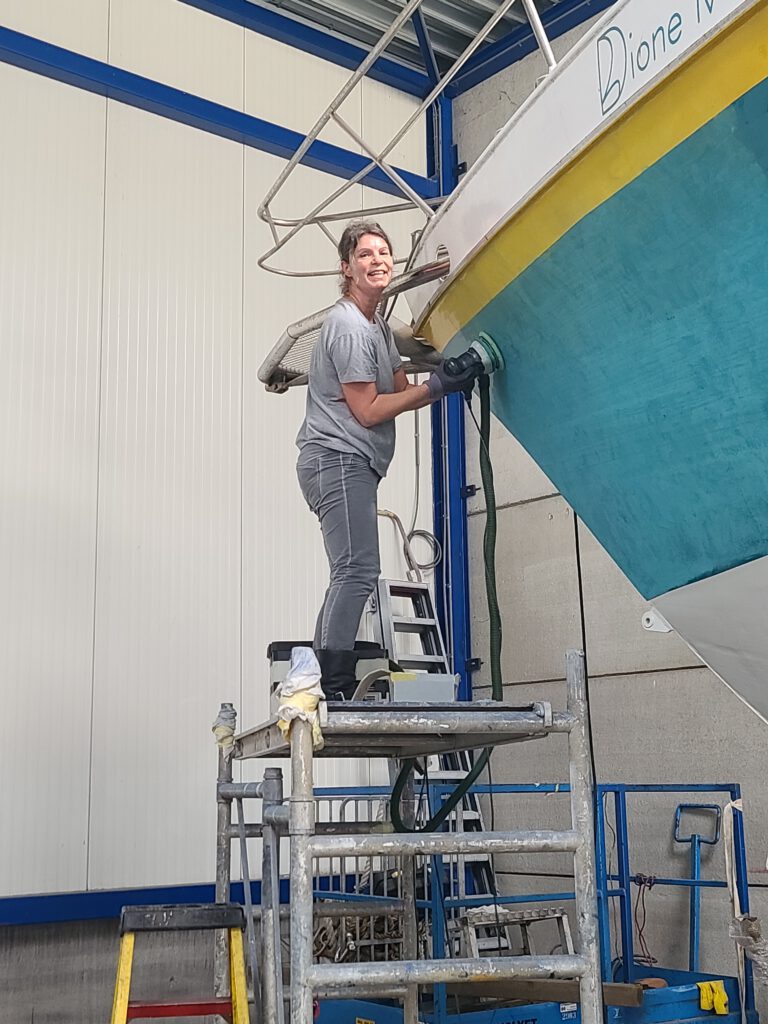
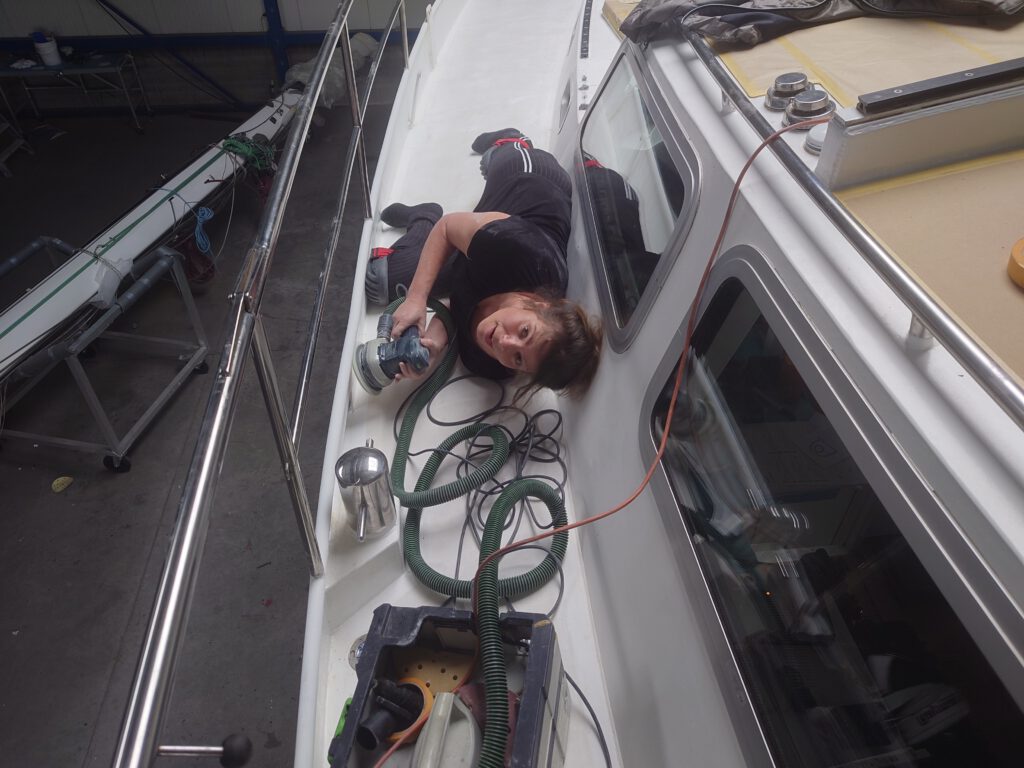
In the meantime, our friend Marjolein starts sanding the hull. Marjolein is a handy woman and she will help us with all the paintwork.
May 2 – removing parts and covering areas for protection
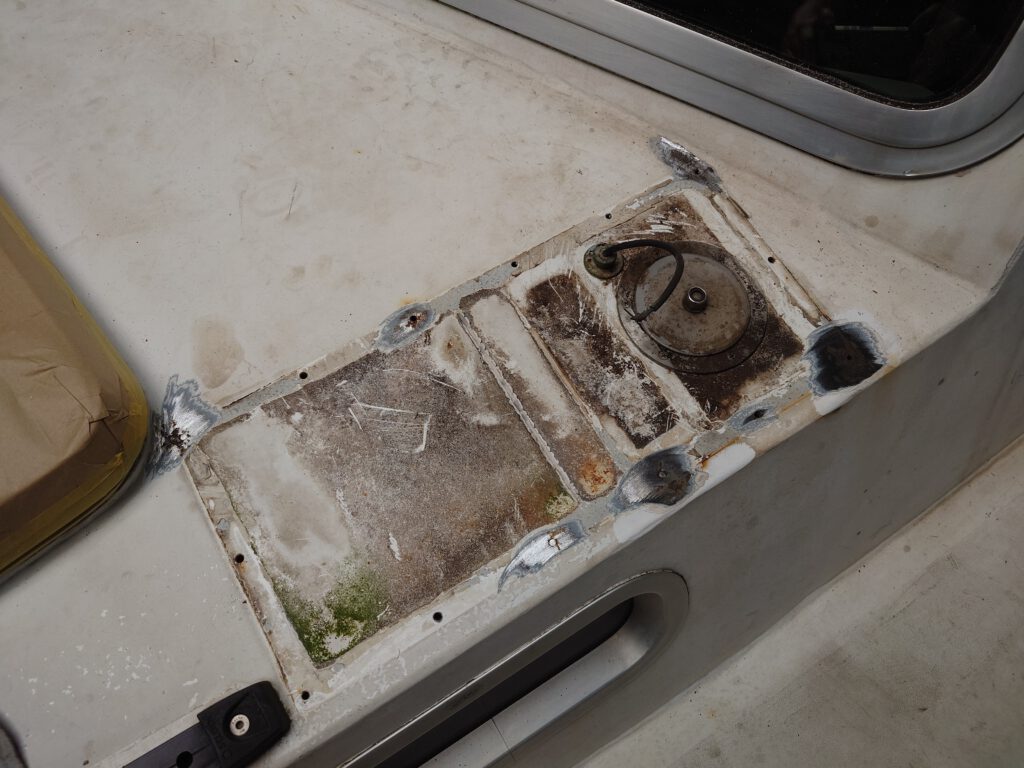
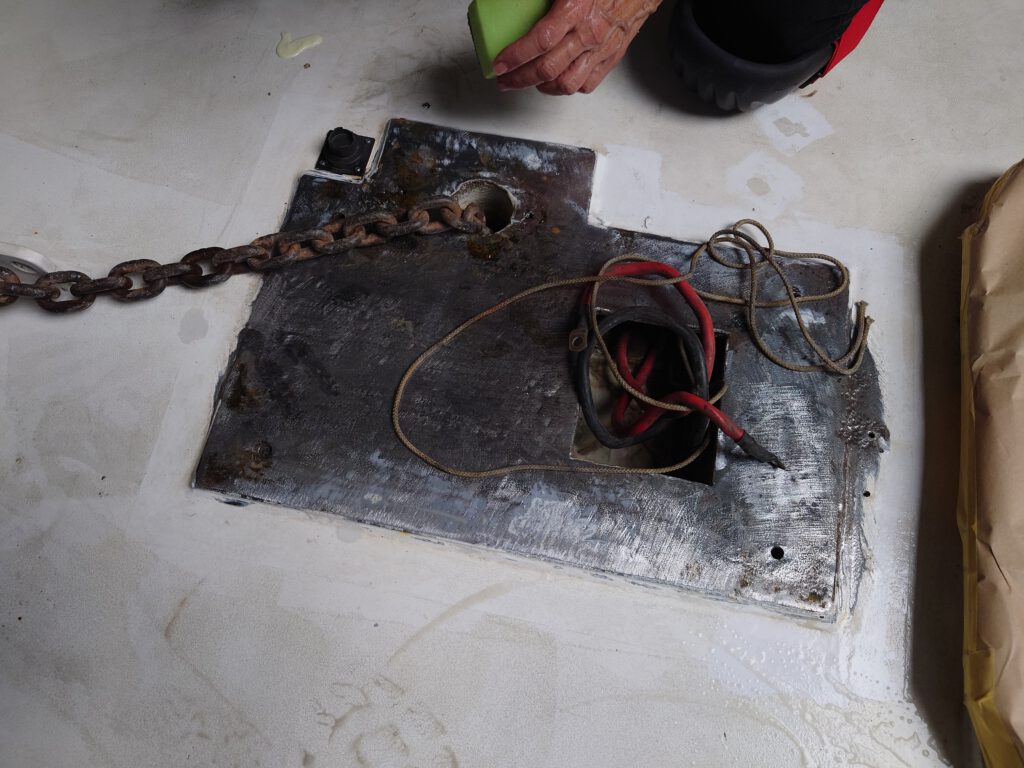
We remove all parts (like the bow sprit, anchor winch, the dorade ventilation boxes, the racks for dinghy and life raft) and cover the windows and hatches with paper to protect them. Then, we grind all rusty spots.
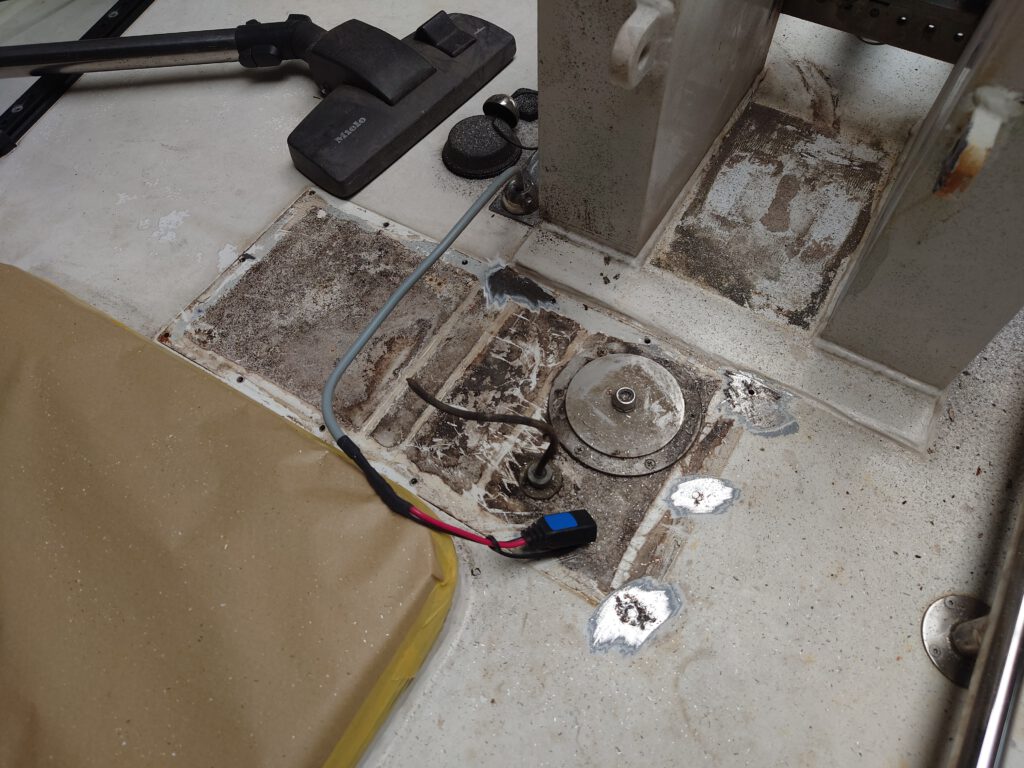
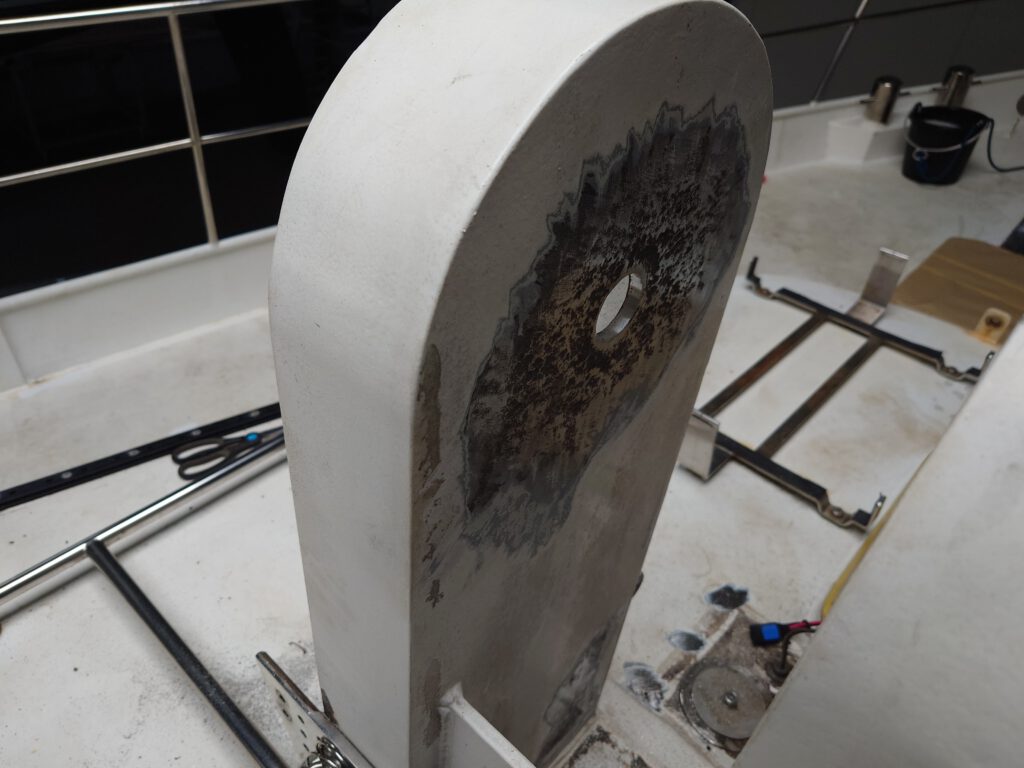
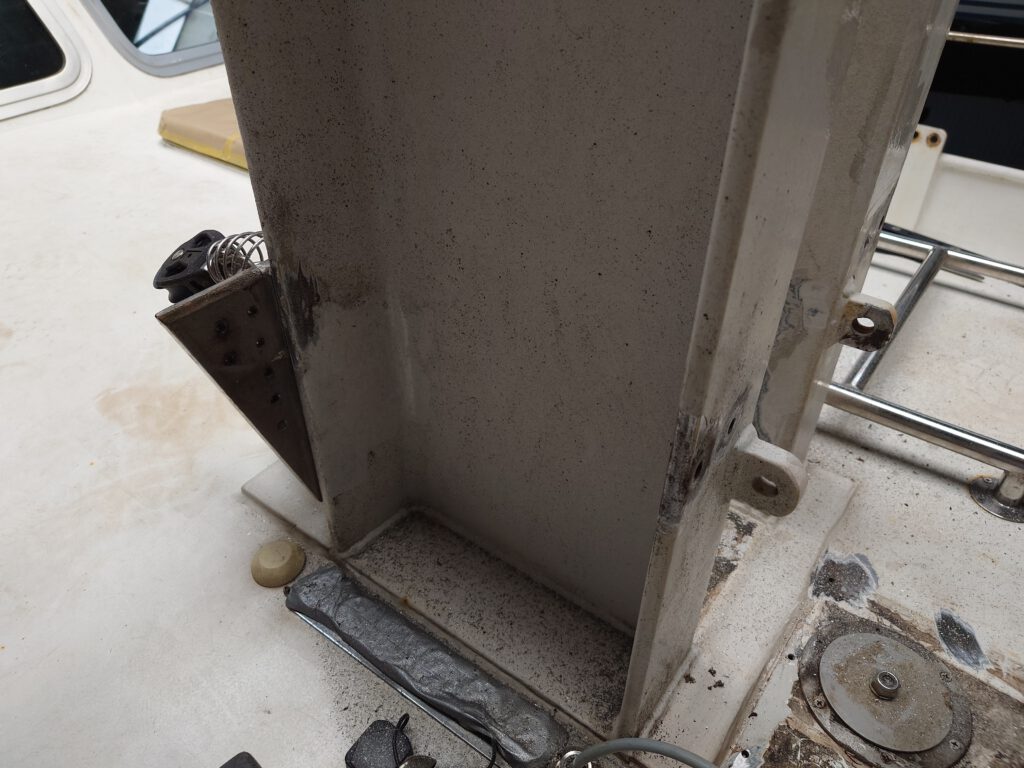

The mizzen mast is brought in. We have some paintwork on the wind generator and the radar mount to do. And we will mount a new 5G antenna for internet reception.
May 4 – work begins with sanding and more….
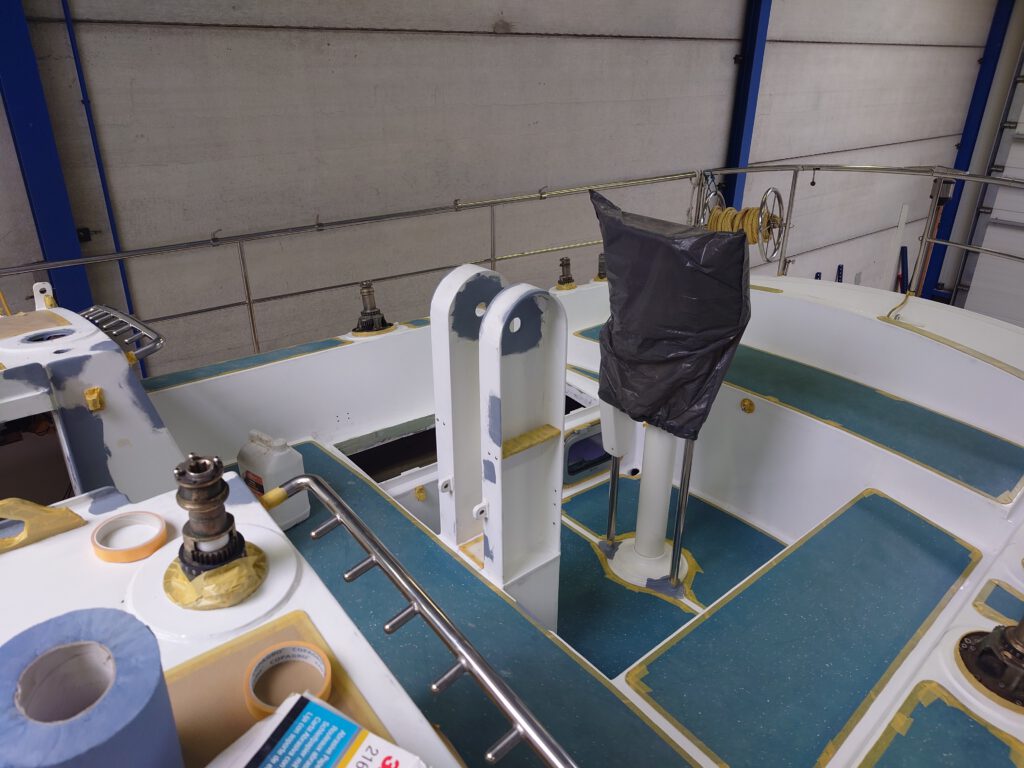
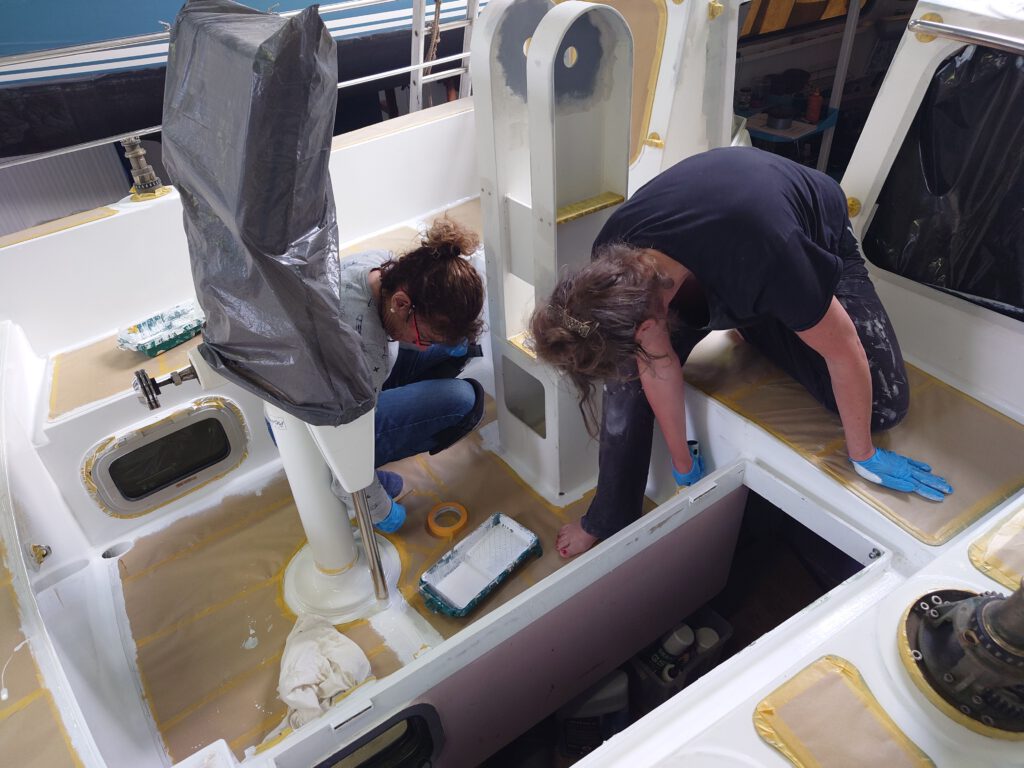
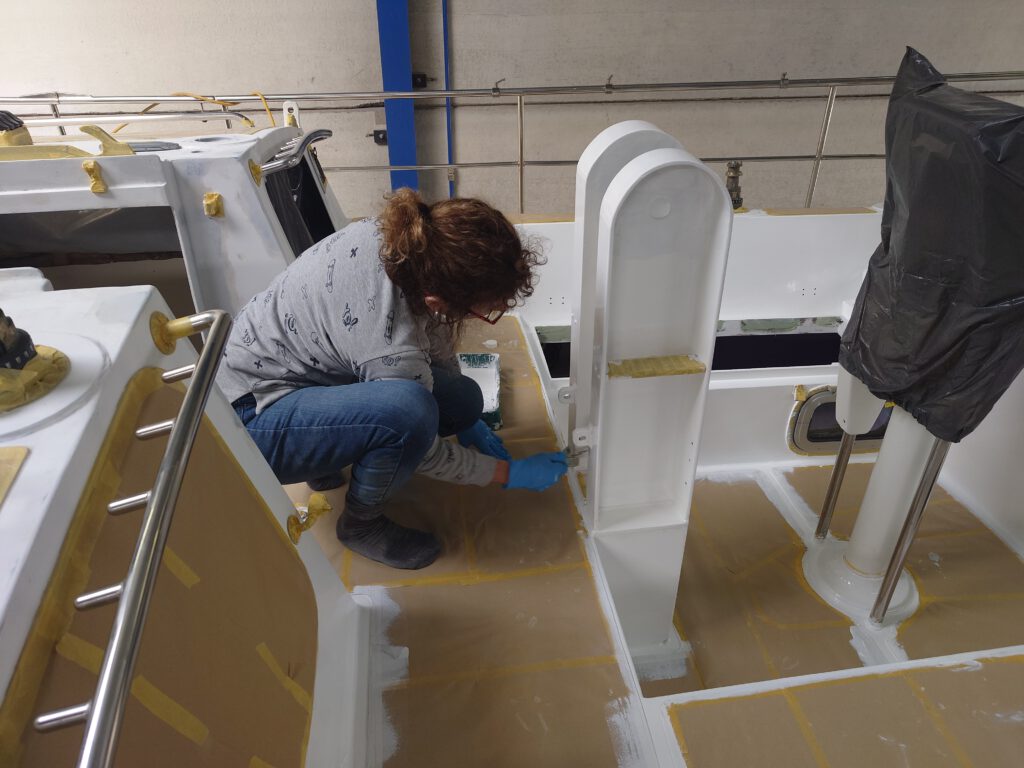
We start sanding the decks and the cockpit.

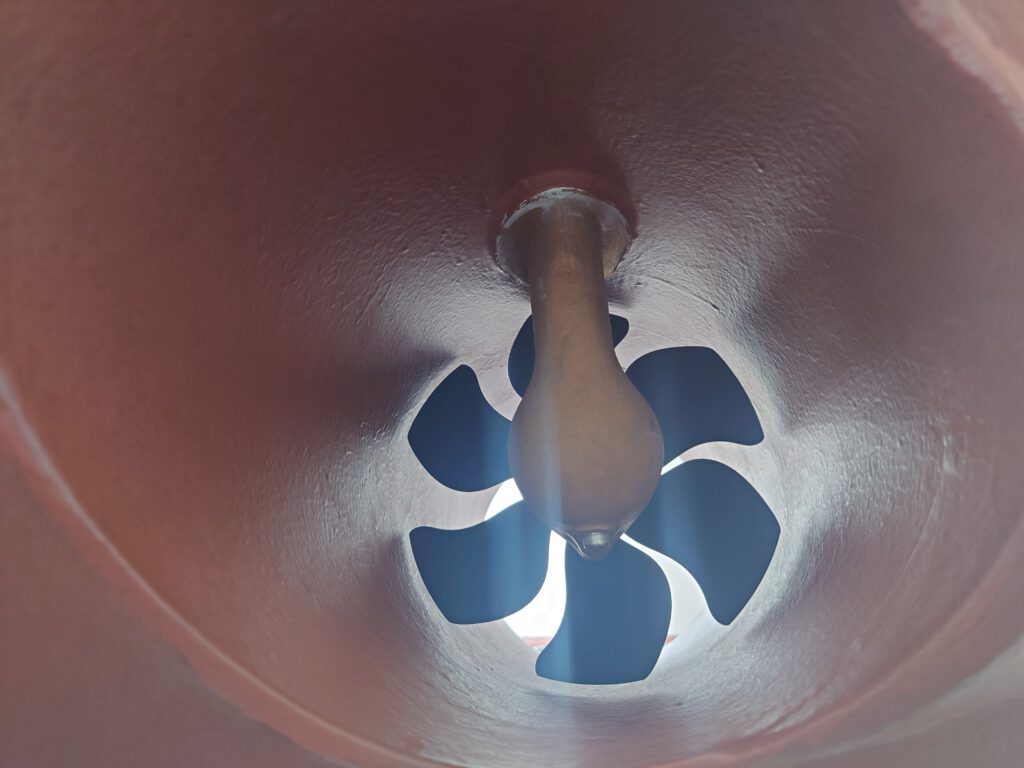
And fitting the prop shaft for the bow thruster.
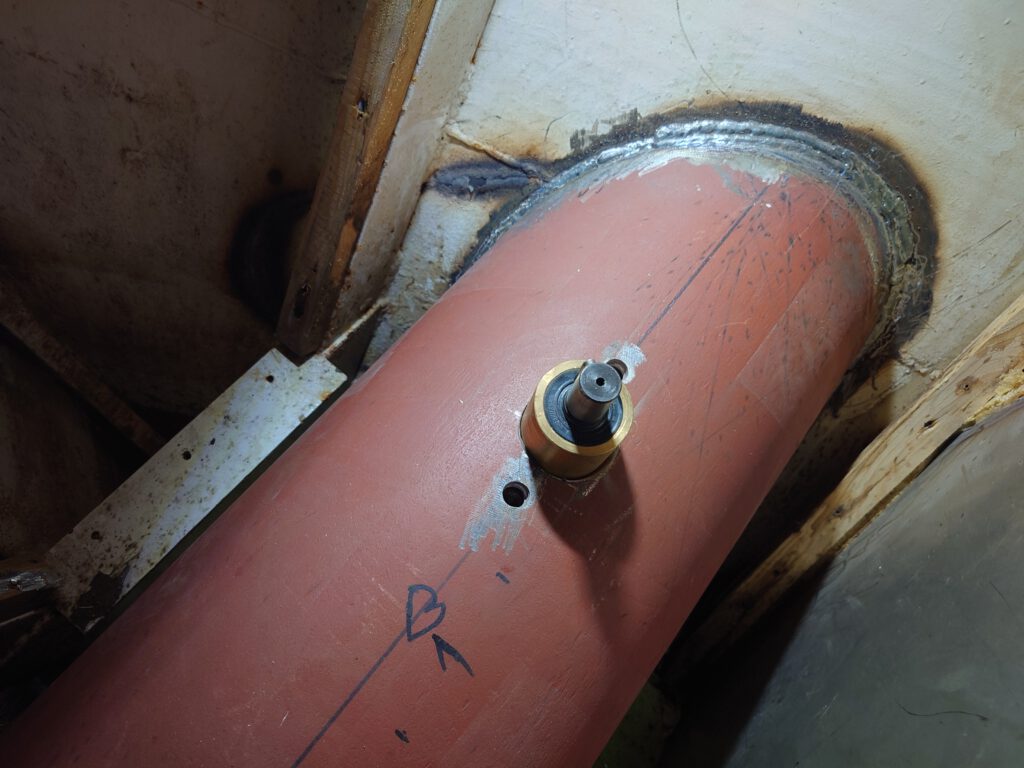
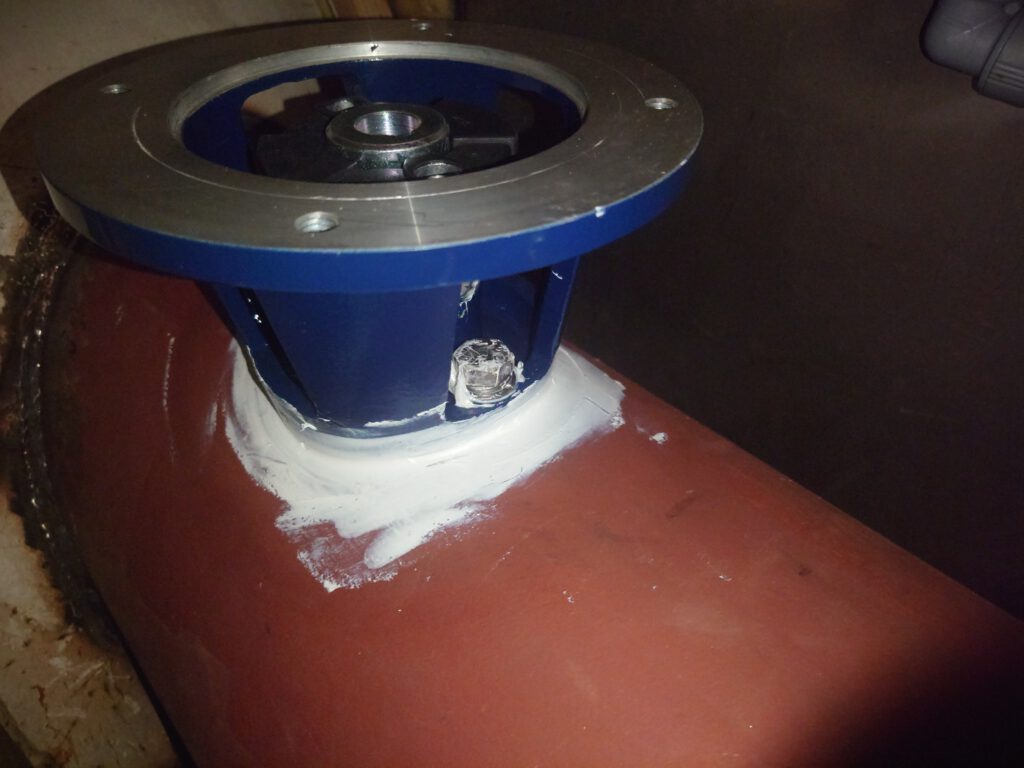
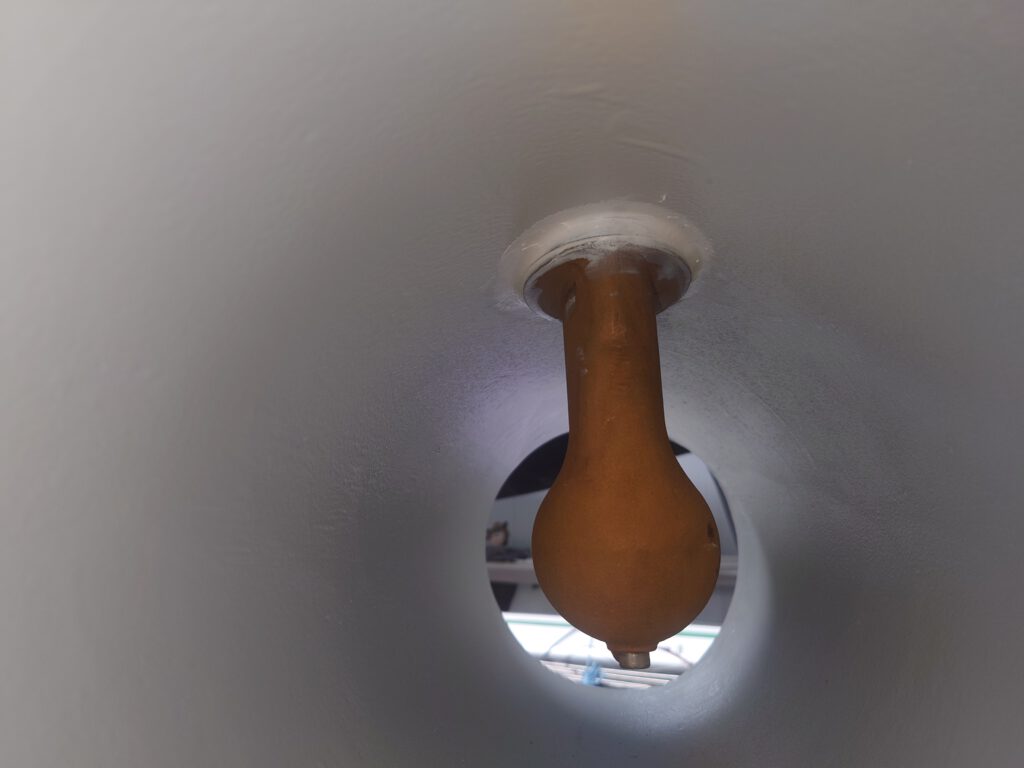

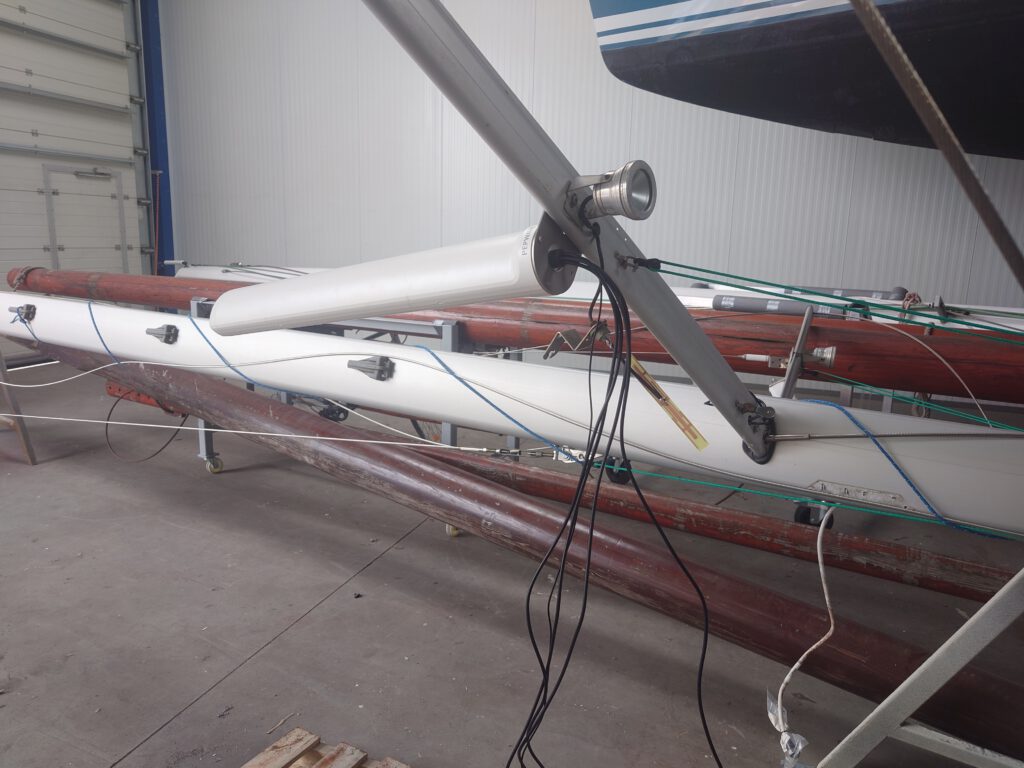
The new antenna is mounted. It’s a Pepwave 40G marine antenna. Double MiMo, which will fit our new router (a Teltonika X50).
The 4 coax cables are a bit of a challenge to get through the mast but with joint forces we manage!
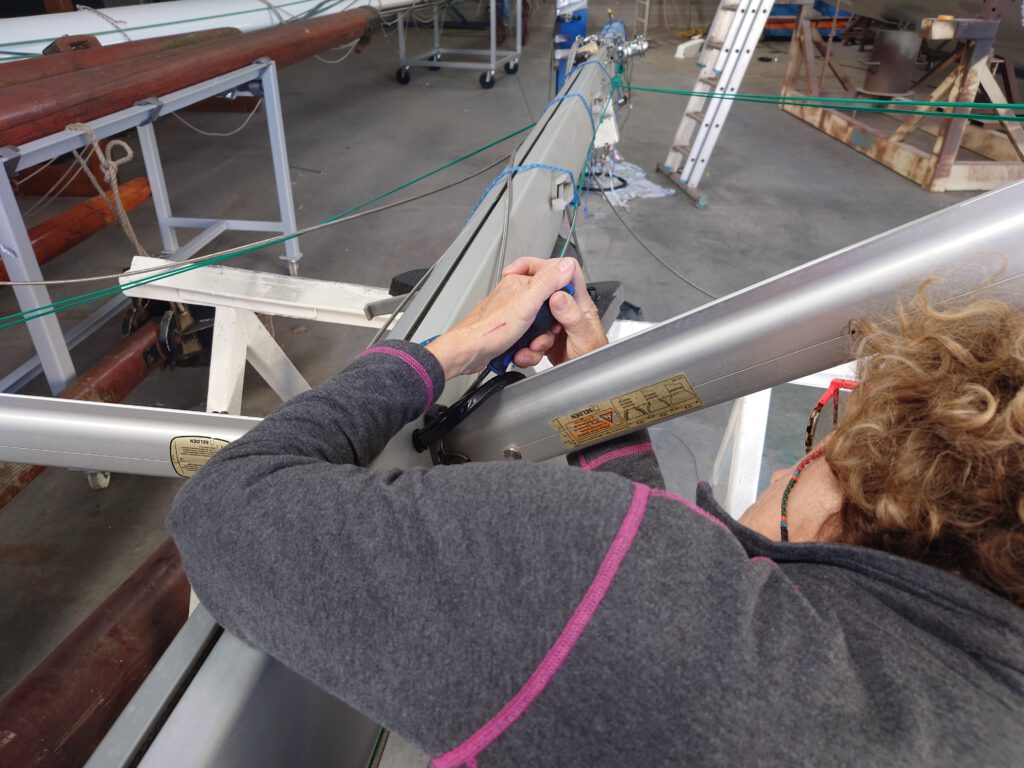
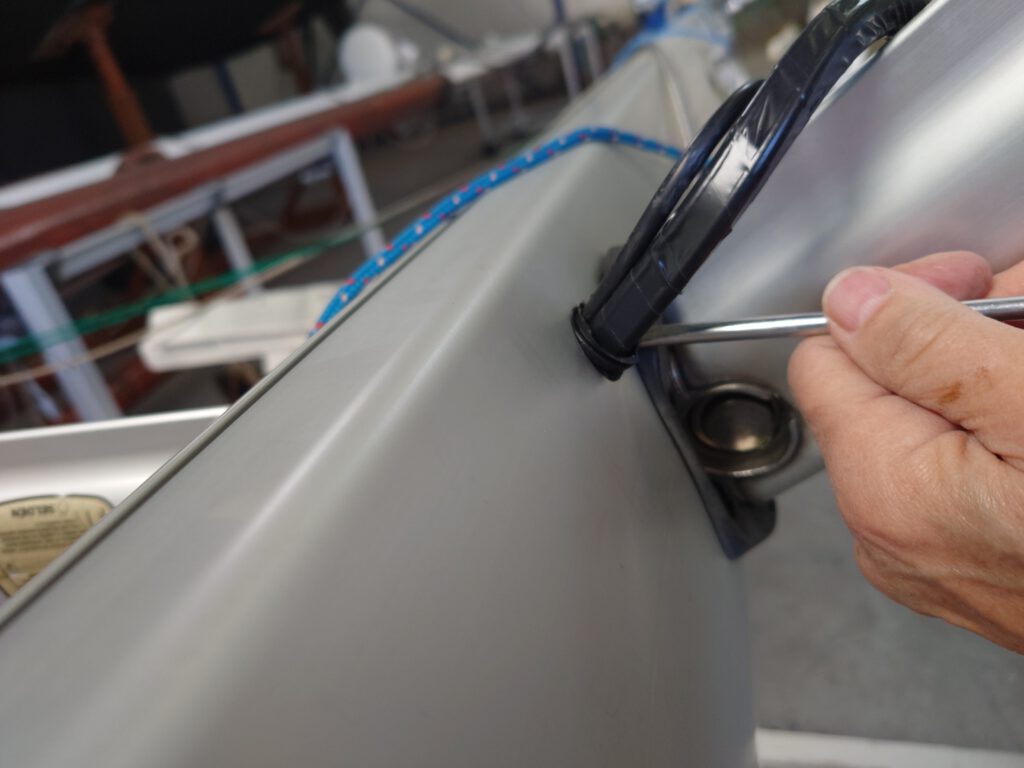
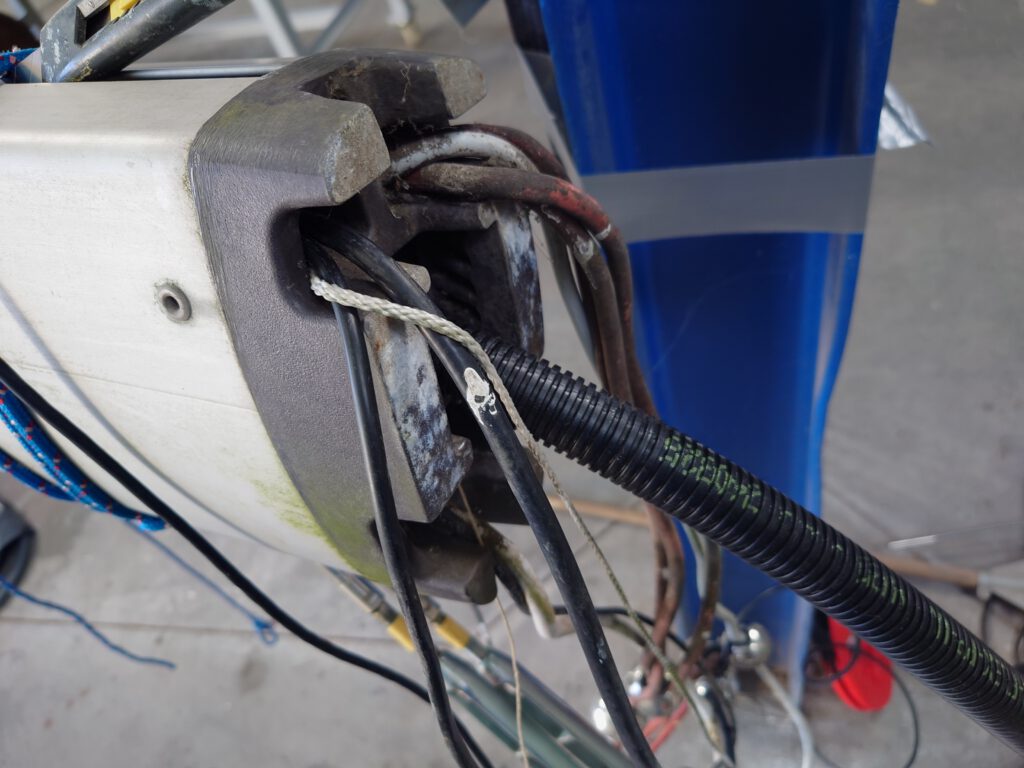
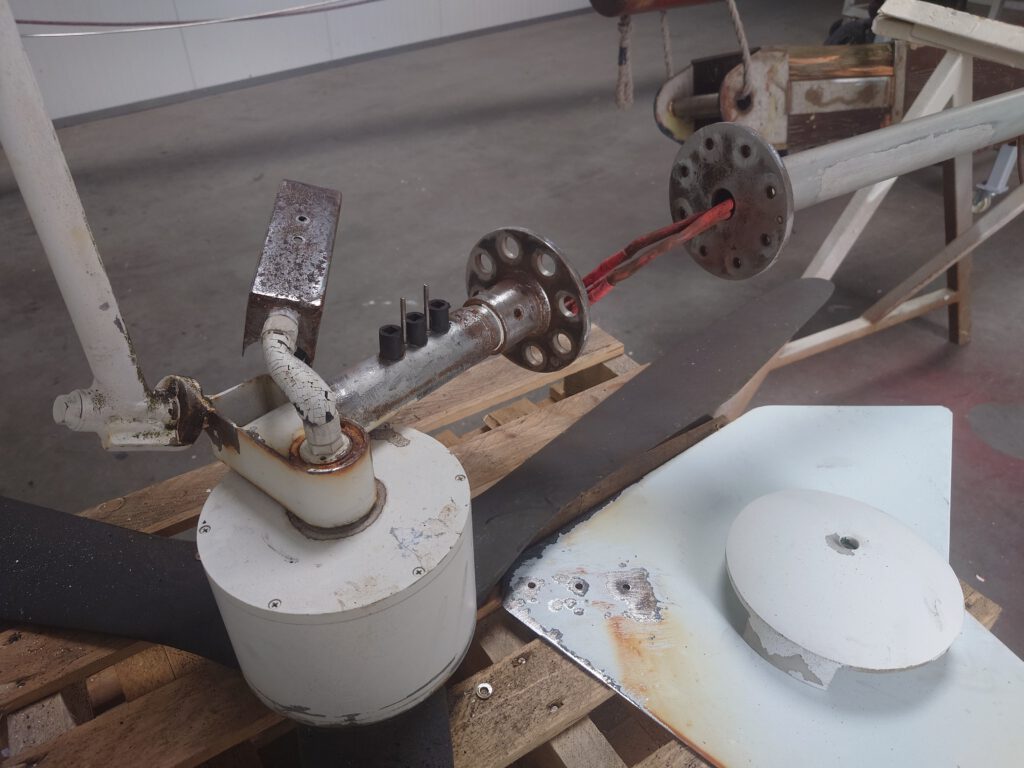
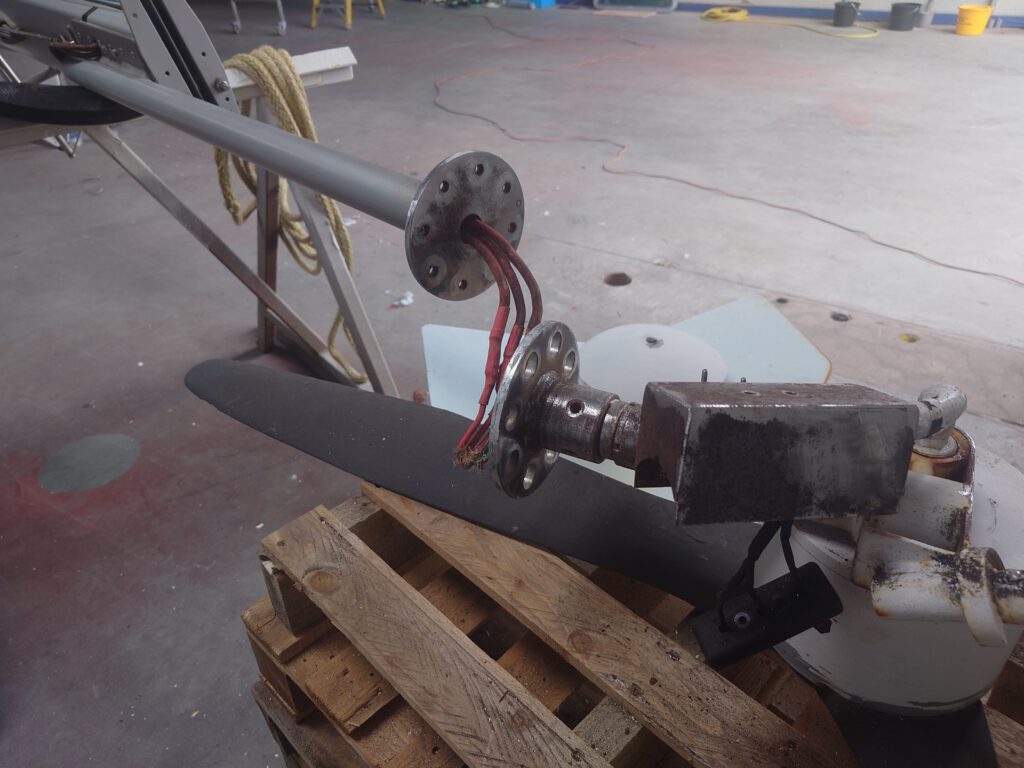
The wind generator dismantled. It is pretty rusty after 10 years of service. Well, it is Chinese “quality”: just one thin layer of paint sprayed on the bare metal. We will remove all rust and add a decent number of layers of primer and high quality top paint.
May 6 – precision taping
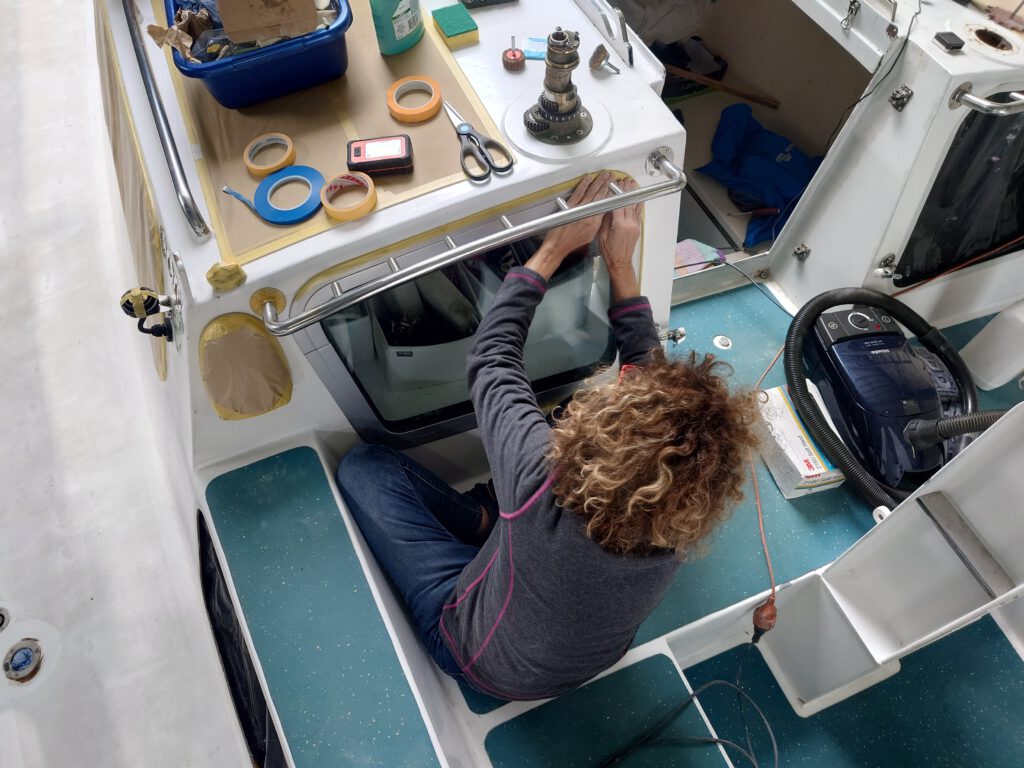
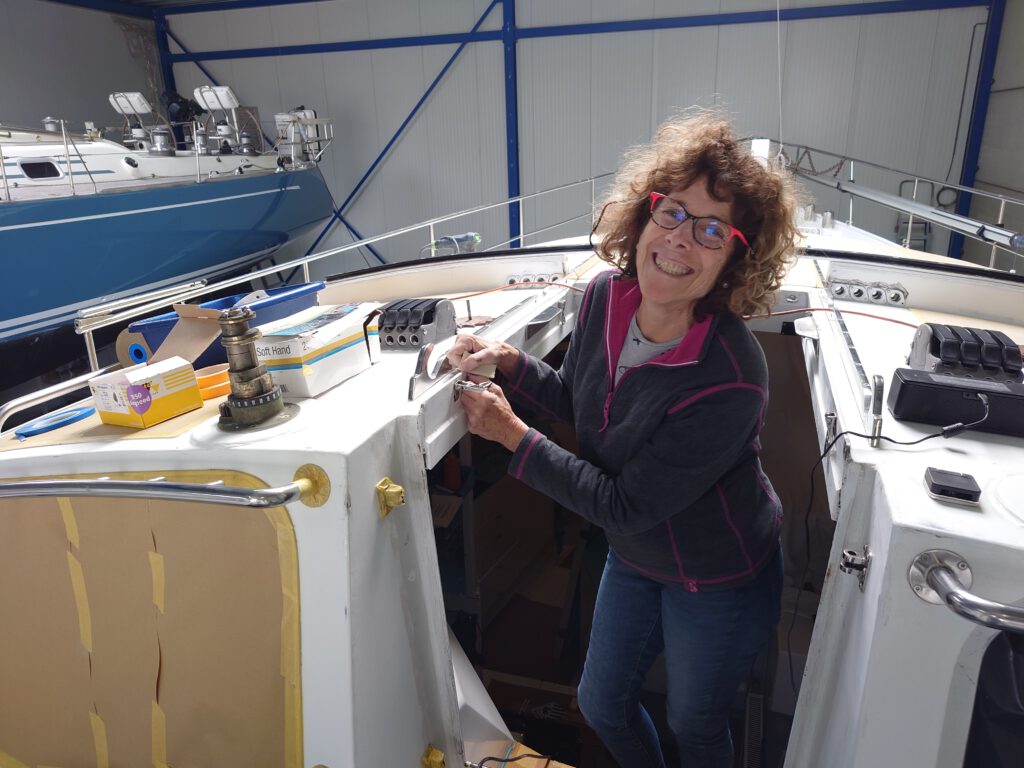
We have a ‘precision taper’ on board 🙂 She tapes and covers all edges and surfaces that shouldn’t be painted.
May 7 – Filler and primer
First layers of filler and primer on bare spots.

May 8 – hull sanded, wind generator primer
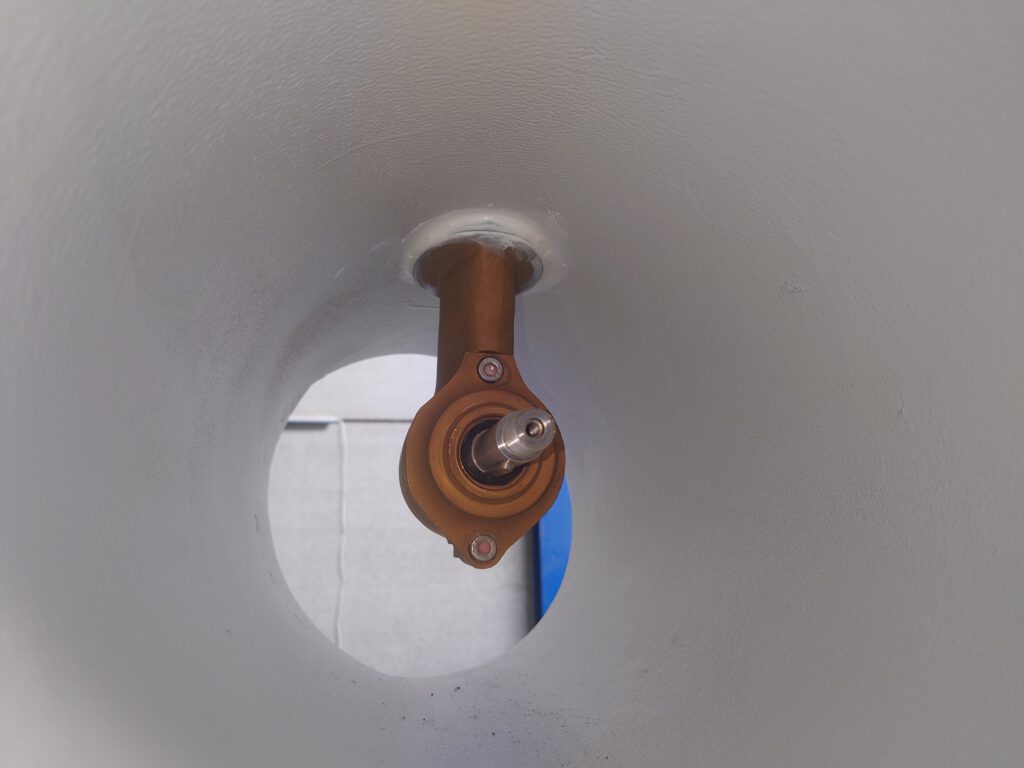
The leaking diesel spot is still dry. So, one of the painter guys comes, grinds it and starts putting new layers of epoxy on.
Well, let’s hope for the best. If we ever see a bladder on this spot when we are on shore for maintenance we’ll know what to do: empty the tank, open it, clean it and weld it from the inside and the outside. Big job….
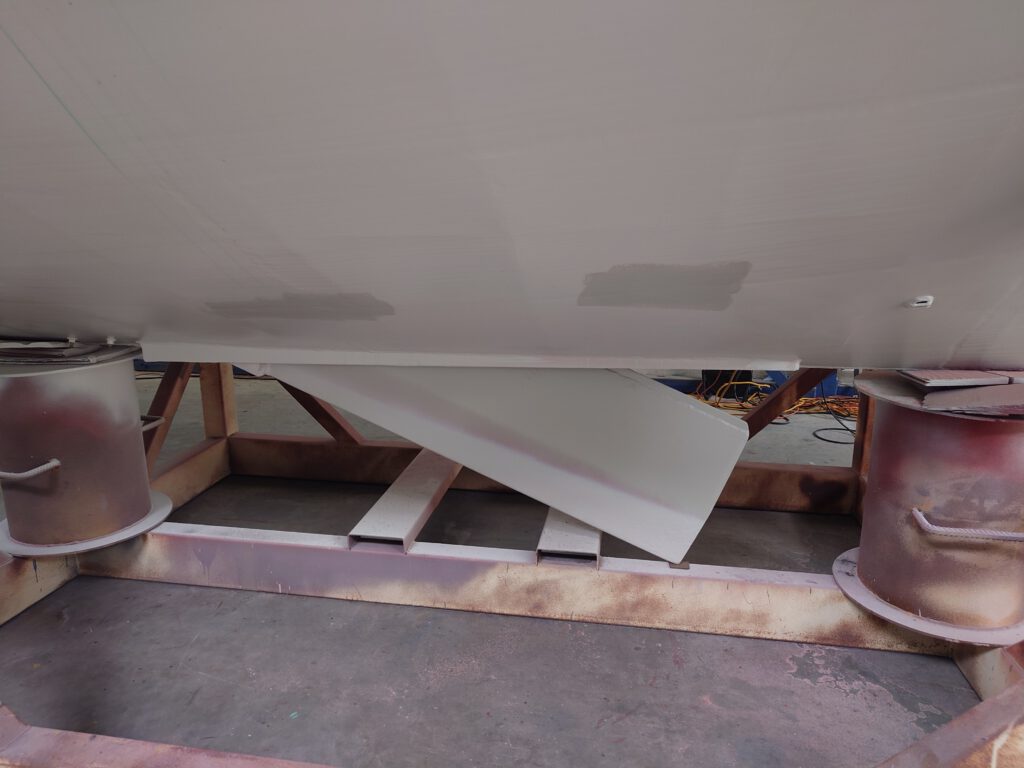
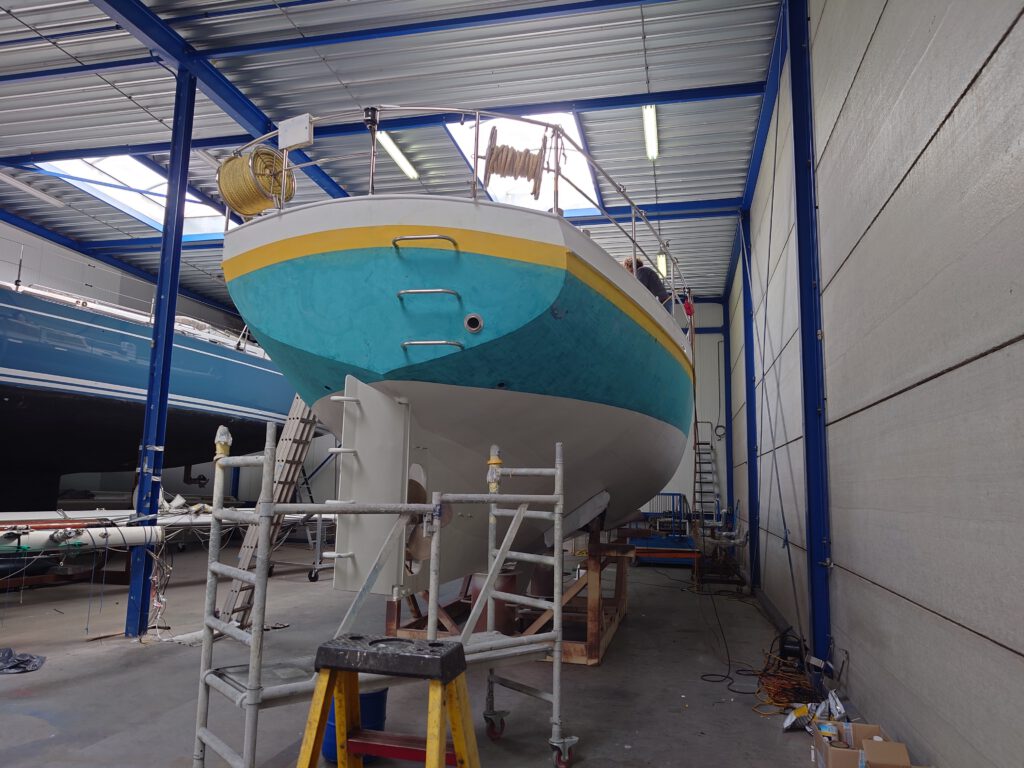
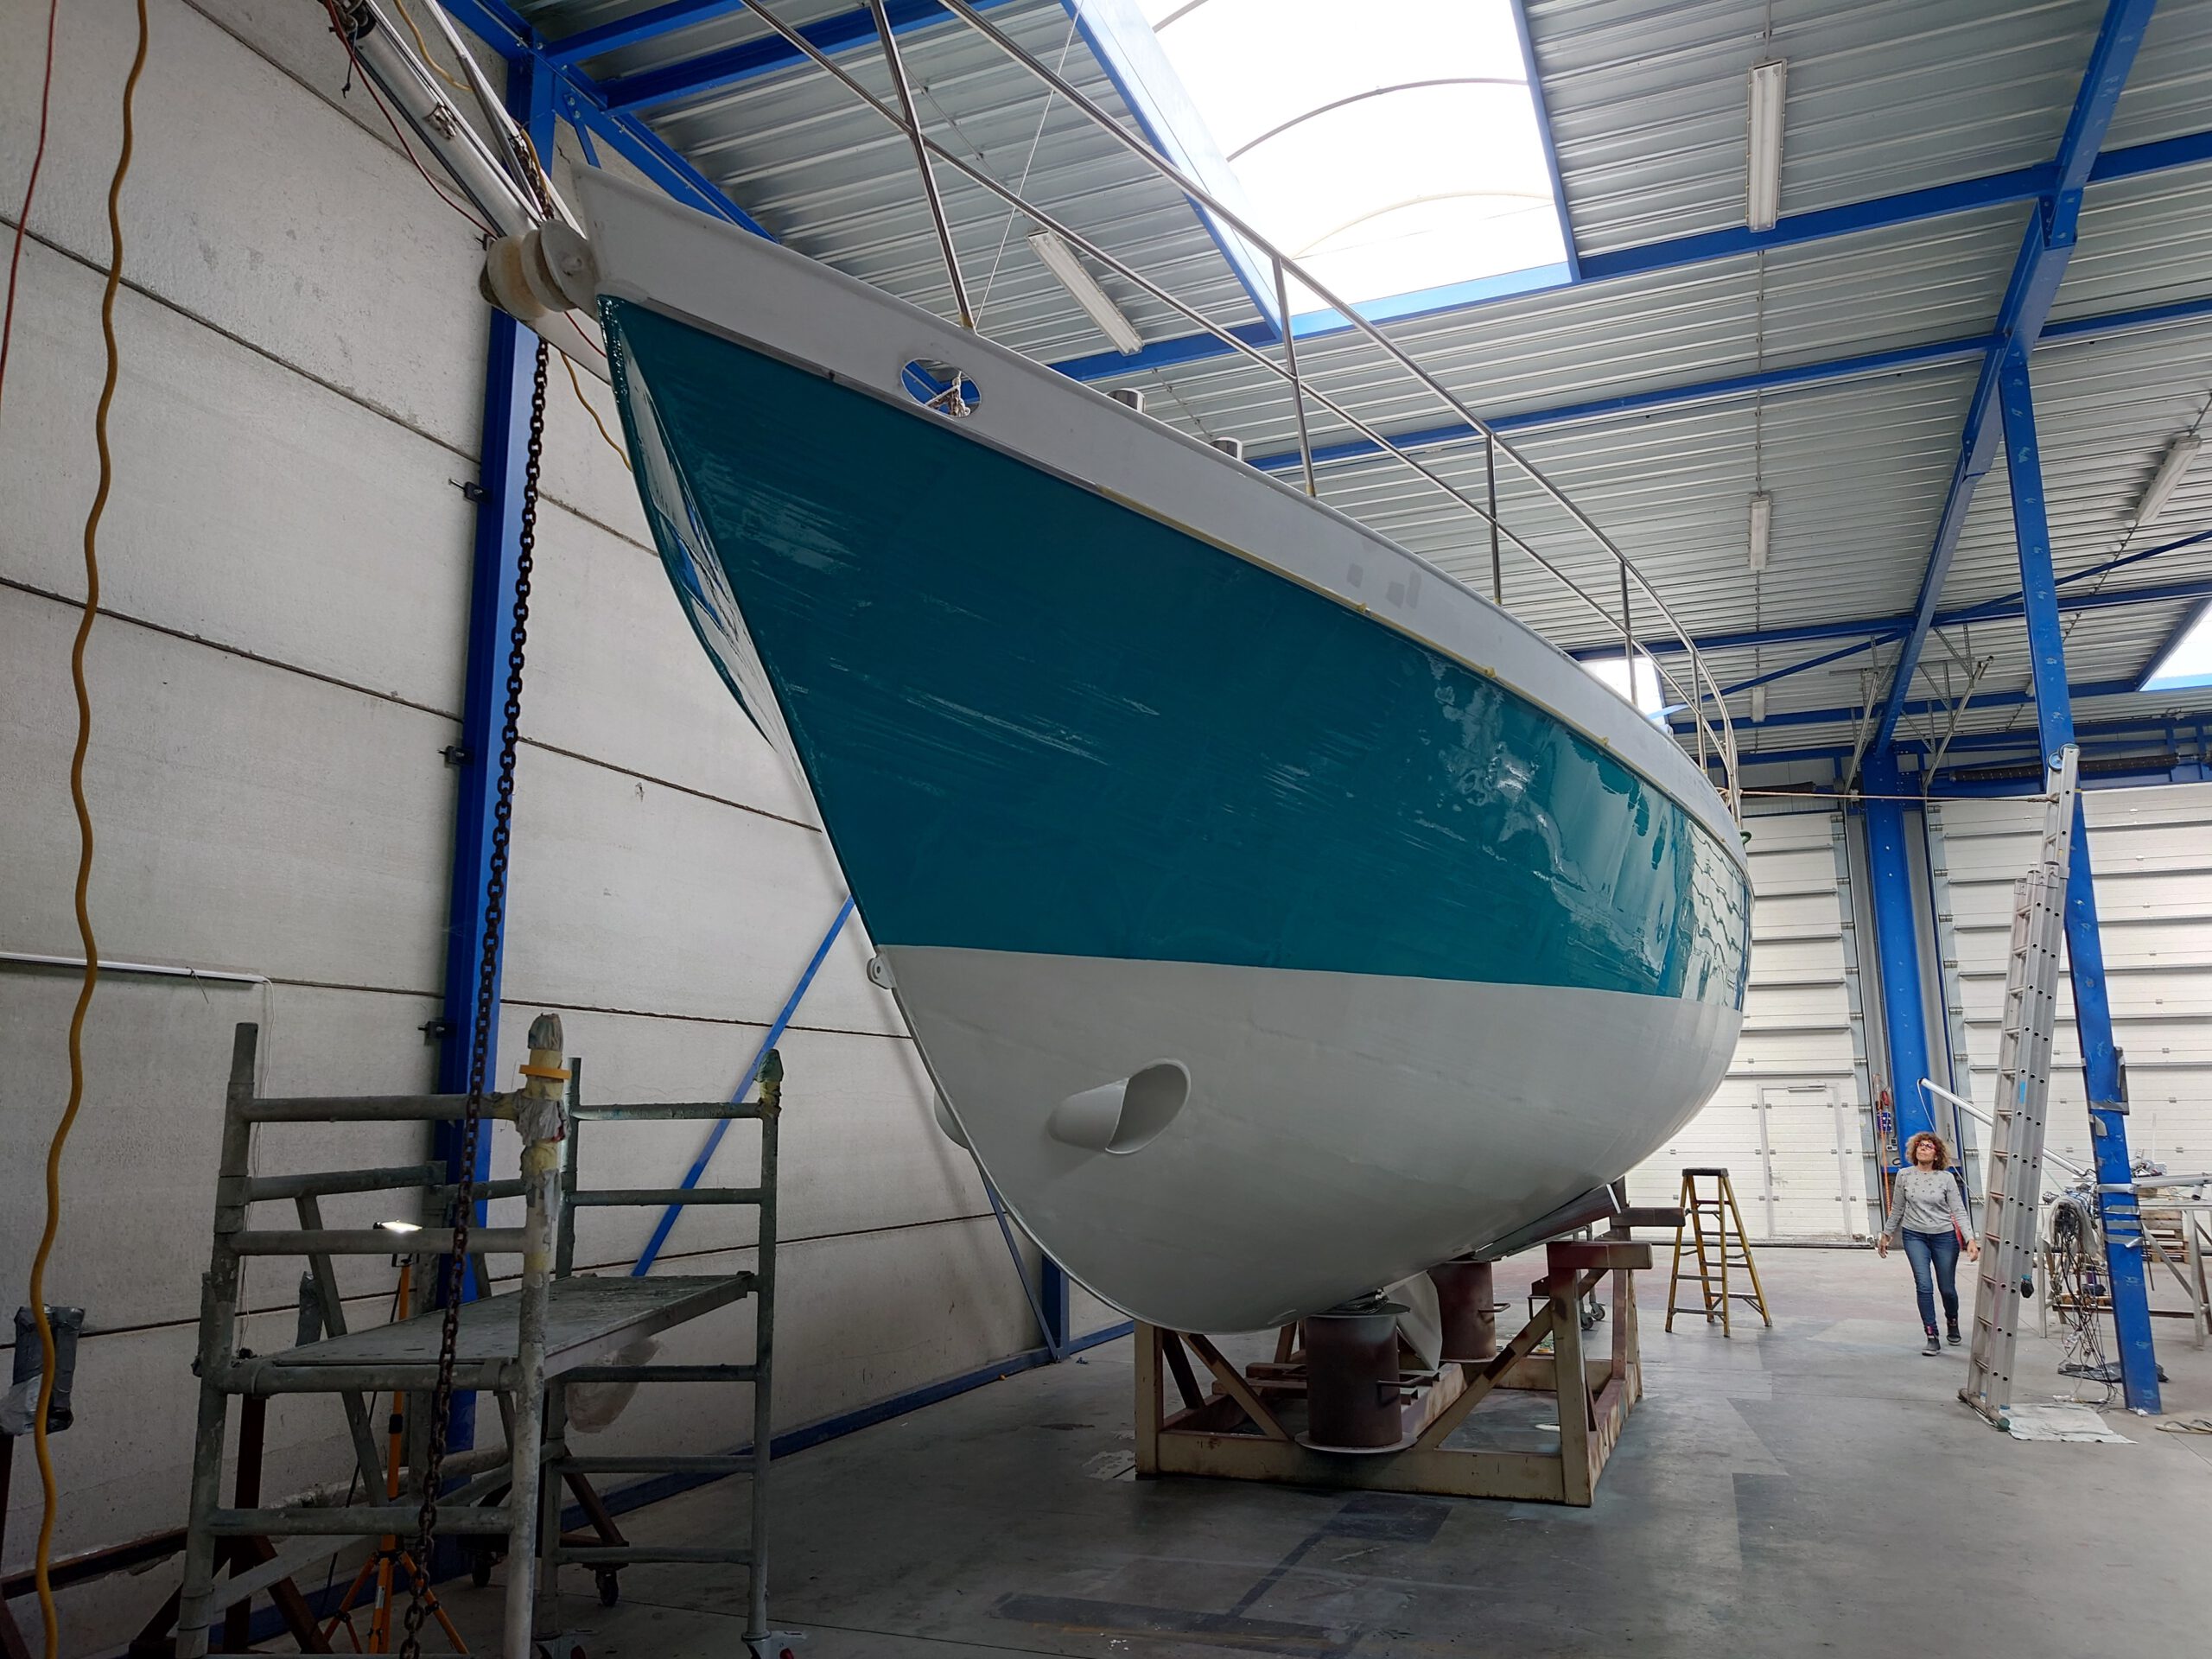
The entire surface of teal and yellow paint on the hull is sanded now. We’ll repaint the teal color, but say goodbye to the yellow stripe.
May 9 – more layers of primer on the decks
May 10 – We start painting the hull

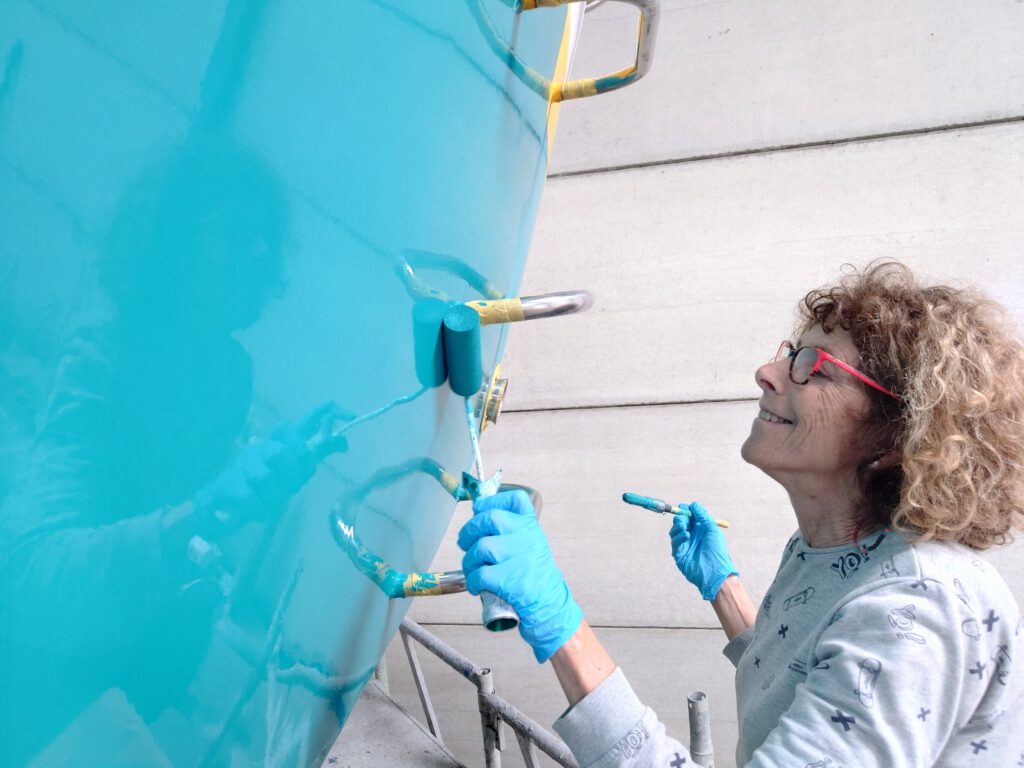

An idea! Our coffee machine has blue/purple sides and they’re getting a bit worn out, plus the color doesn’t match. Let’s paint that teal color! That fits nicely with the interior. Yes!
That brings out a ‘teal monster’ in her 🙂 The purple coffee mug get’s teal, too! What else can we paint teal, she wonders?


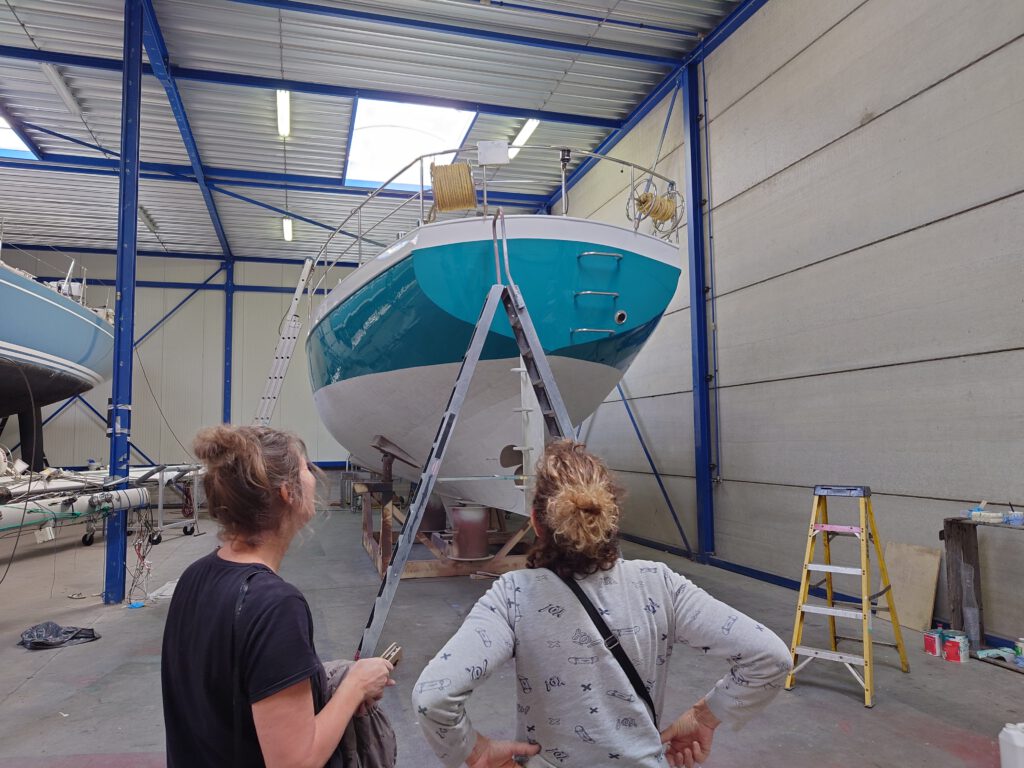
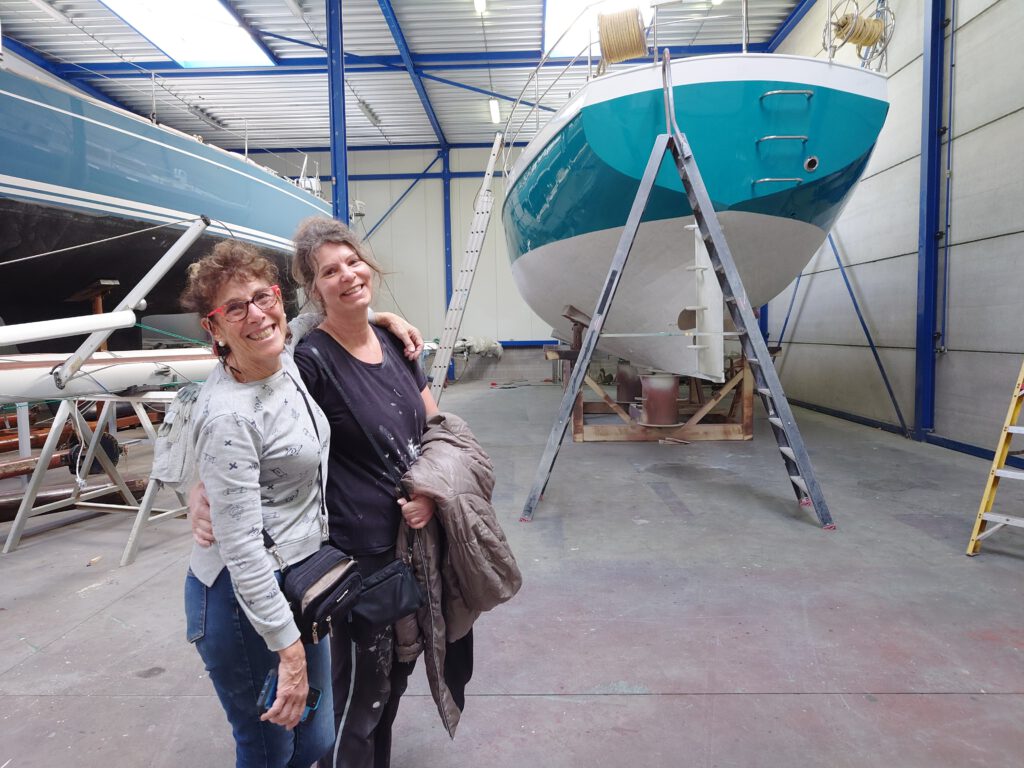
Dione IV looks gorgeous!
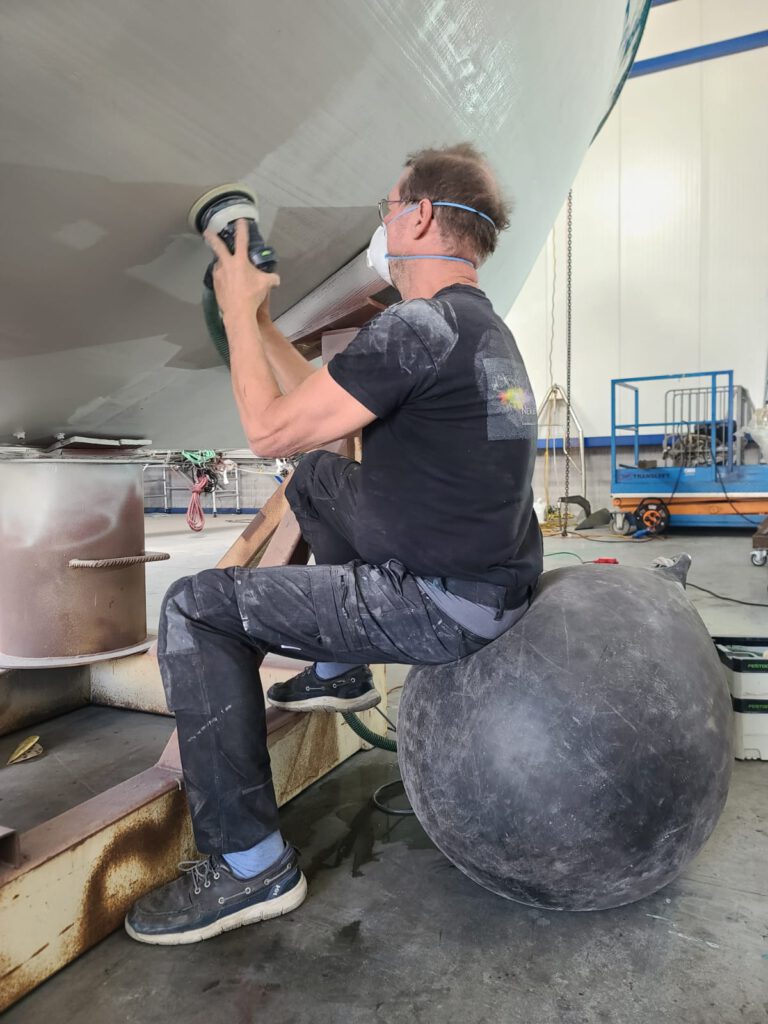
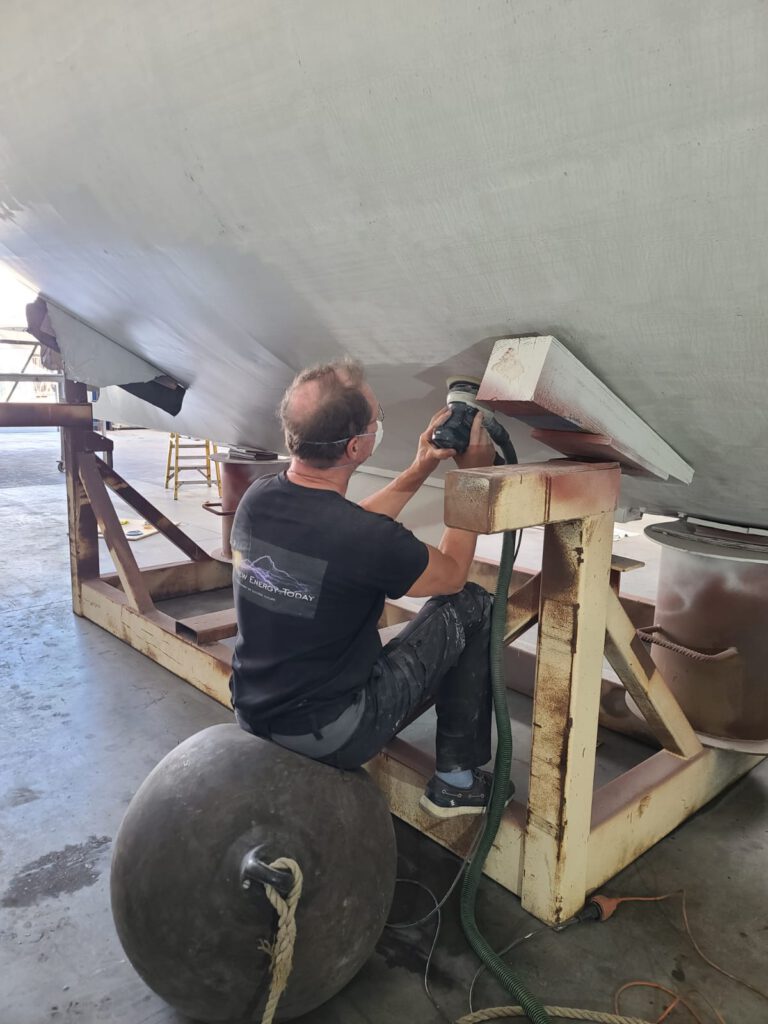
May 11 – sanding the underwater hull – a very hard job!
And painting the cockpit…
May 13 – Coppercoat day!
Today, we’re going to roll on 4 layers of Coppercoat paint on the underwater hull. The primer had to cure for a week and that week is now passed. Coppercoat is an anti fouling. This prevents growing all kinds of sea life (like barnacles, seaweed and such) to the hull.
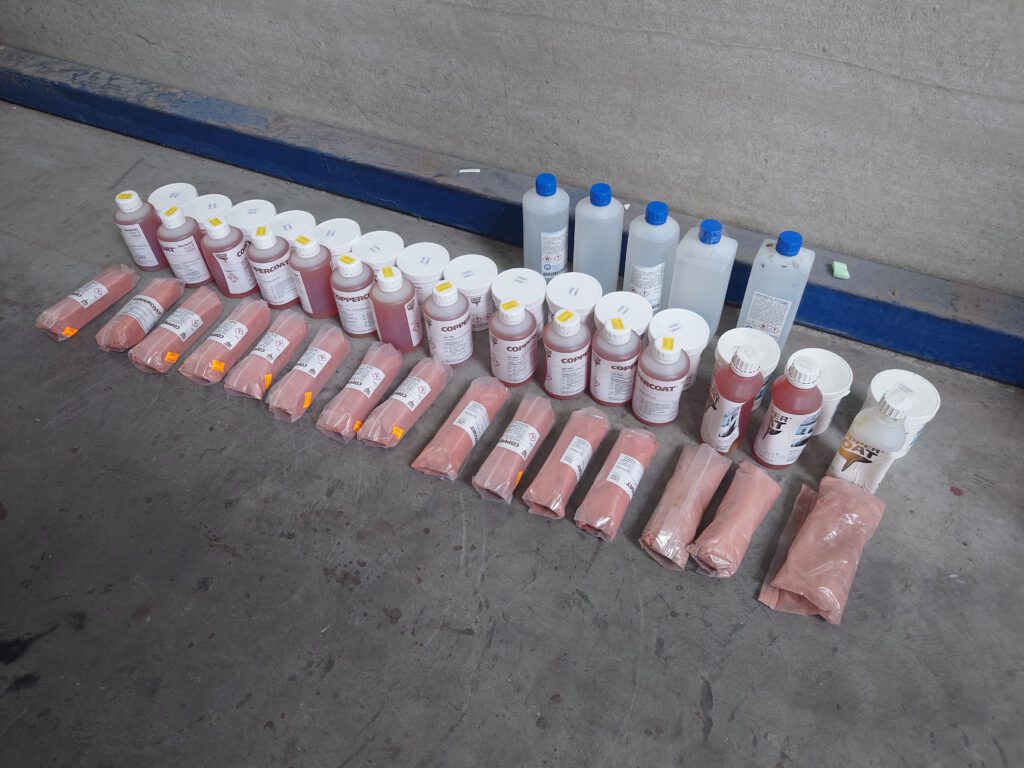
Here’s 30 kg’s of copper powder and 15 liters of 2-component epoxy resin waiting for us! We have to paint the layers wet-on-wet so, this means nonstop painting till all Coppercoat is finished.
First layer of Coppercoat. Sher looks like a nurse 🙂 No, this towel prevents the little spray of Coppercoat (coming from the roller) in her hair. Once dry and cured you’ll never be able to wash it out!
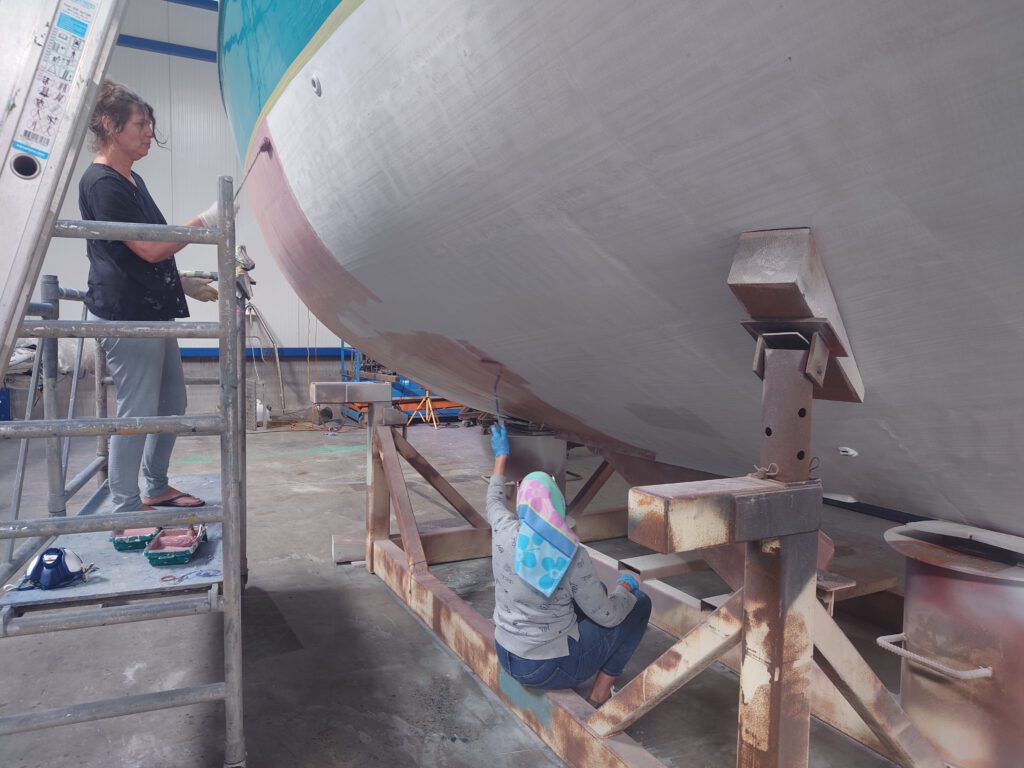

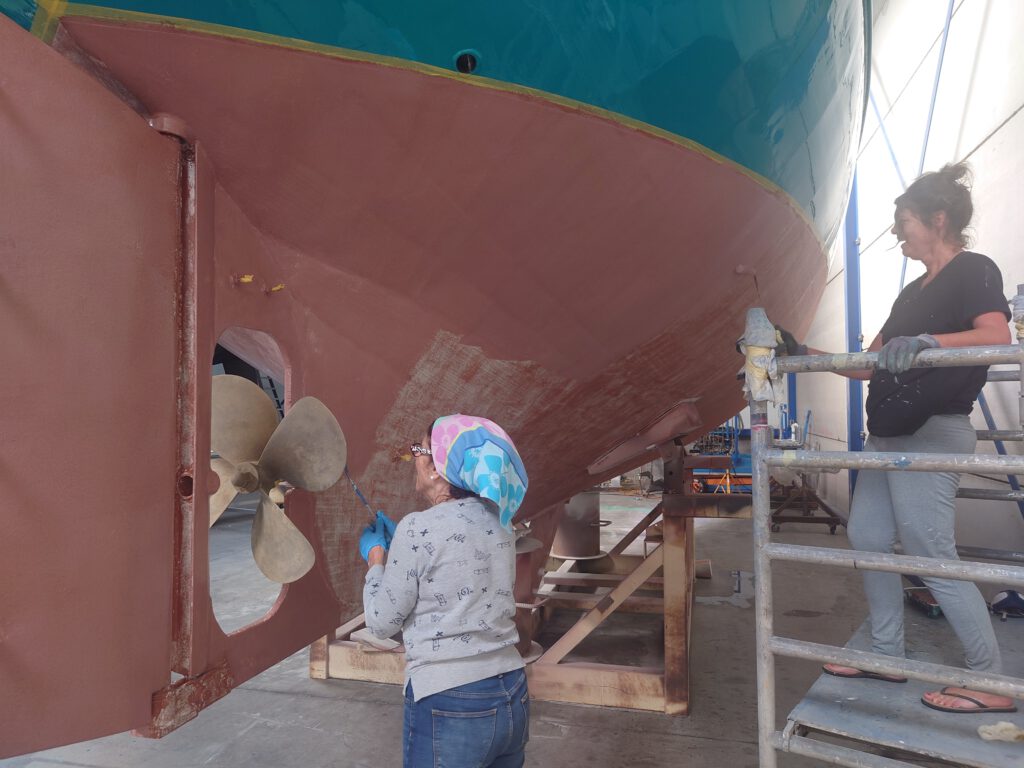
Second layer.
Once the first layer is a bit dry (sticky), we apply the next layer. Like this, all layers become one massive thick layer.
It takes us about an hour to paint the entire hull with the three of us.
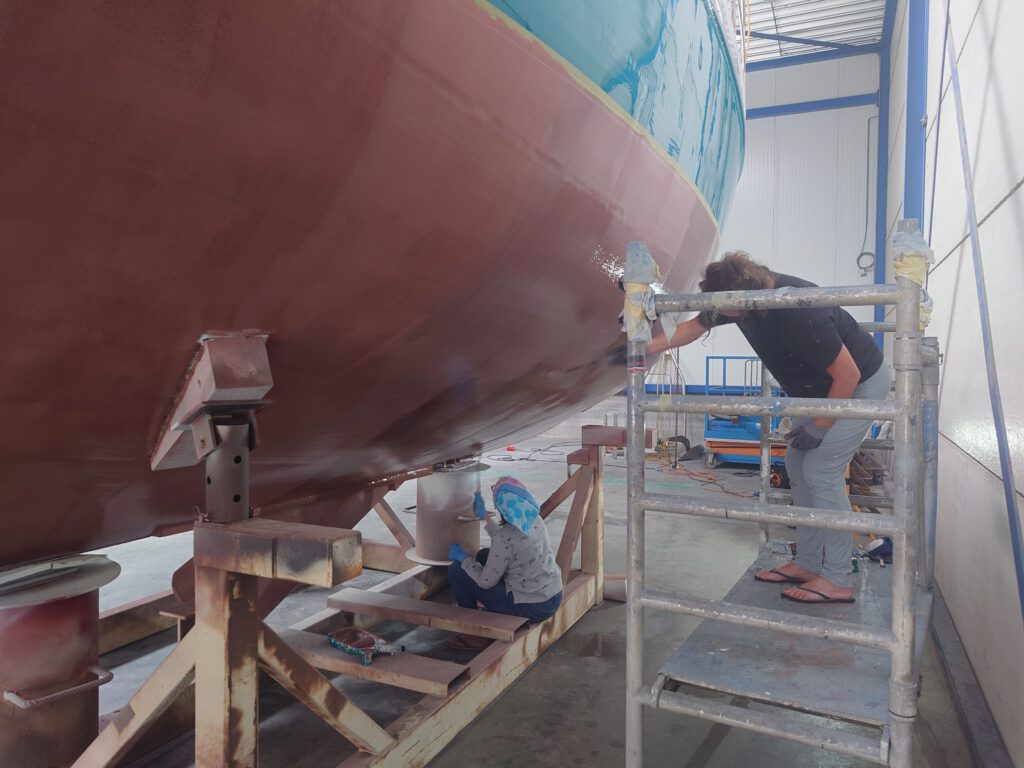
Third layer. The conditions are ideal. Once we round the whole hull, we have to wait an hour or so for the layer gets sticky. So we have a break every hour.
We paint the centerboard as good as we can by pushing a long roller as far up as we can.
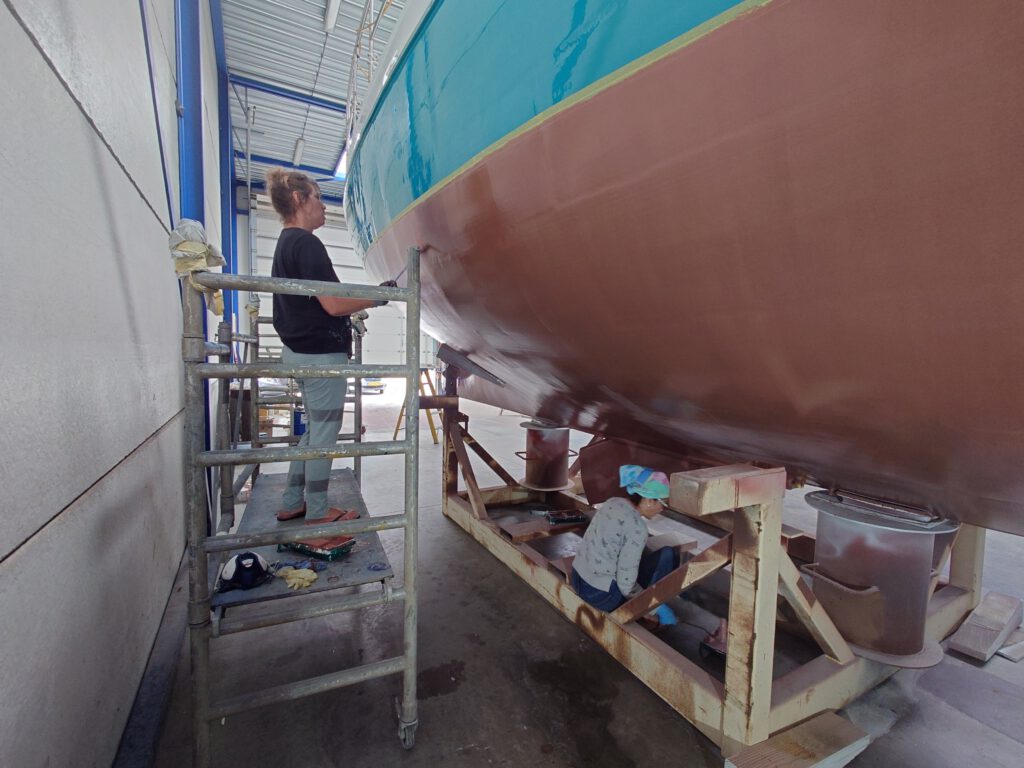
Fourth layer.
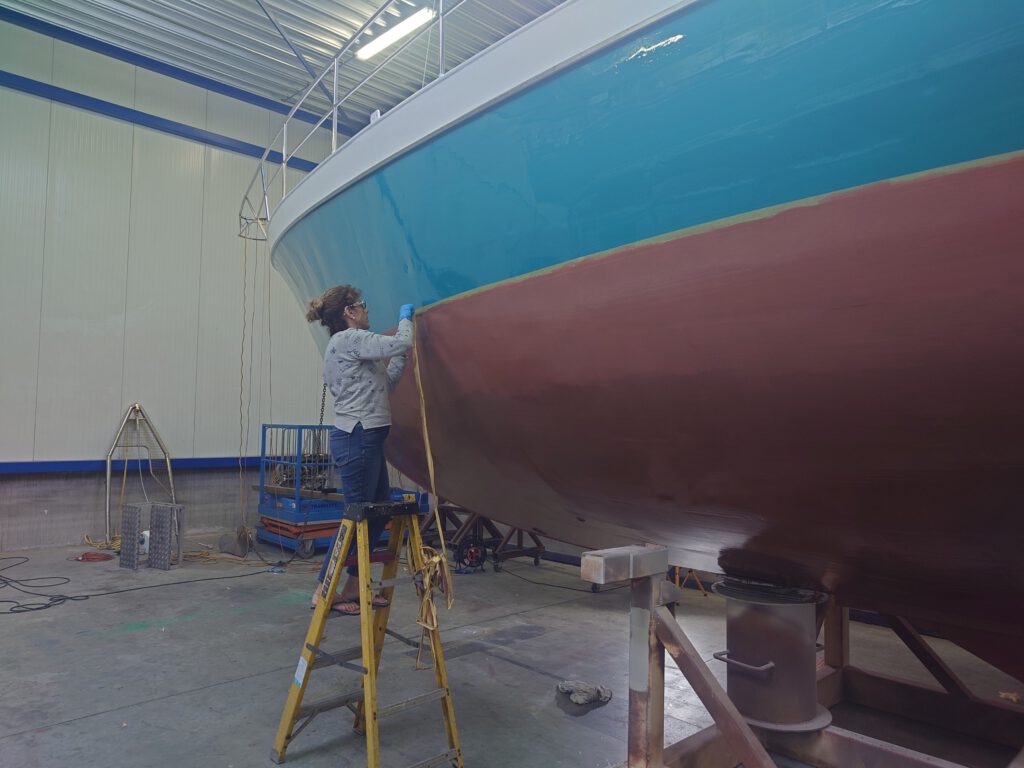
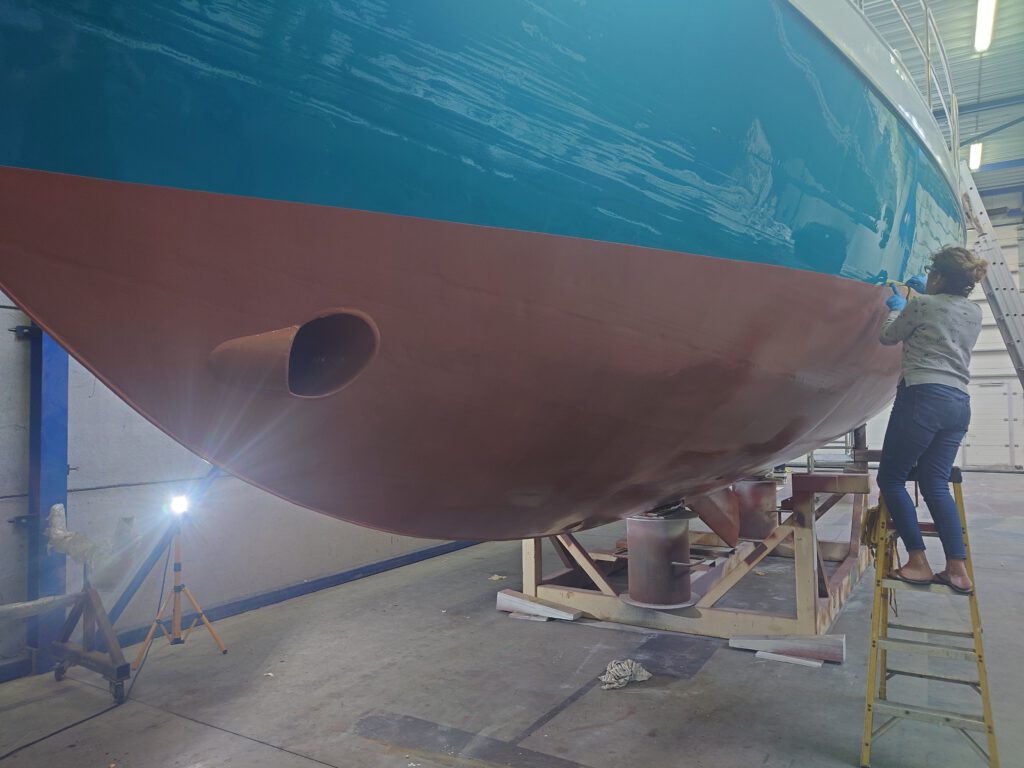
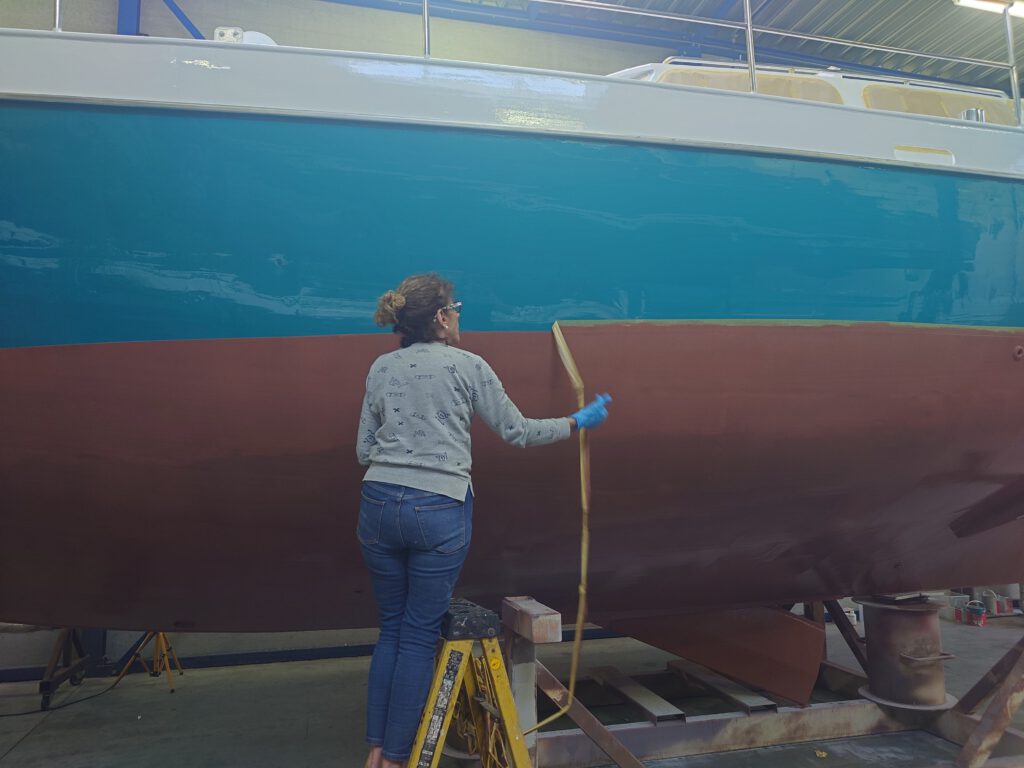
After this layer, we have about a liter of Coppercoat left. We apply that in 2 extra layers on the waterline (about half a meter wide). So, we have 6 layers on the waterline. Excellent!
It’s already 7 o’clock when we finish. Then, we take the tape off. That has to be done while the Coppercoat is still soft. Curing will take a couple of days.
May 14 – the decks are ready for painting now
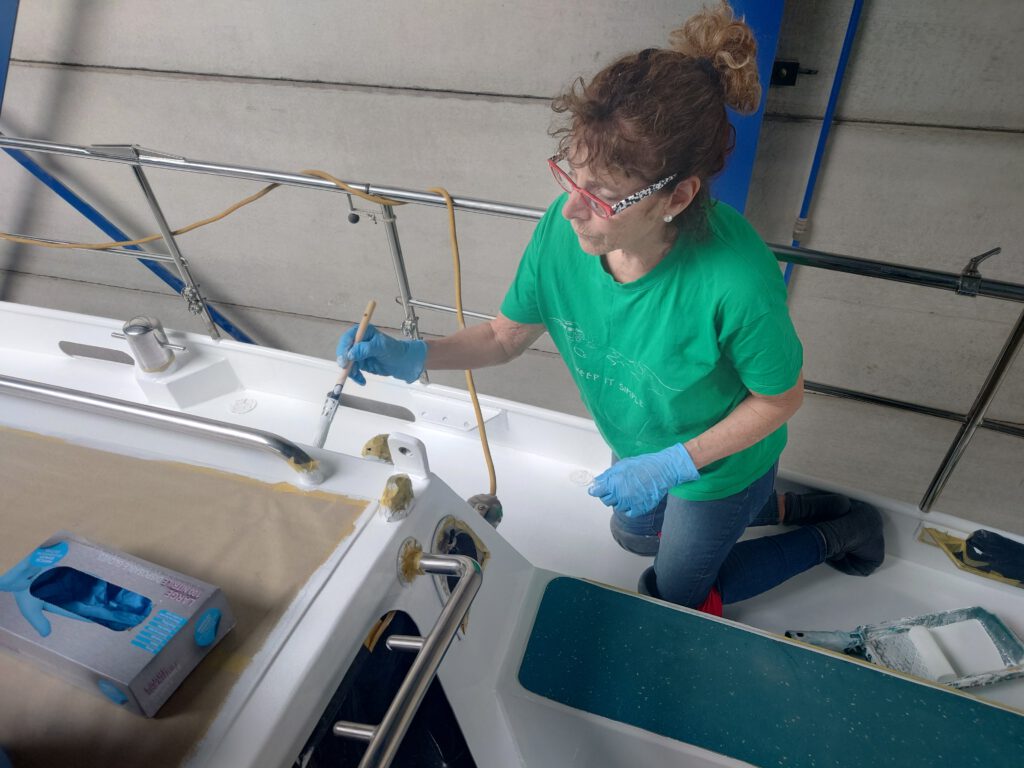
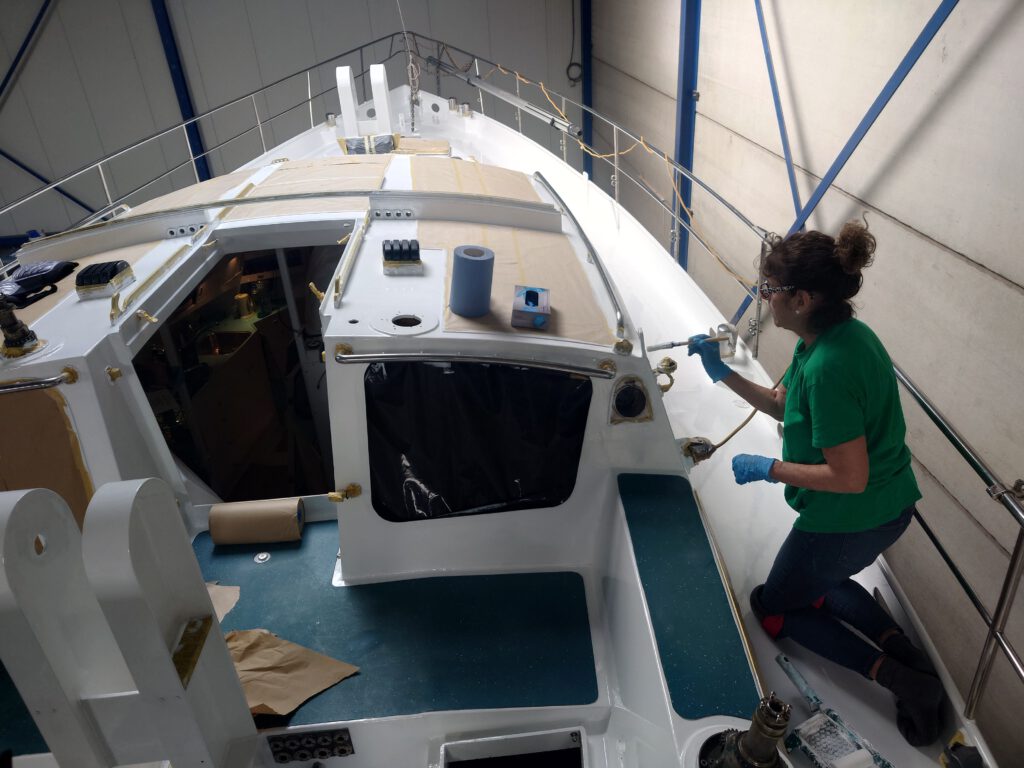
We have removed rust from some some rusty spots, put multiple layers on there, put filler on unequal places, sanded, sanded and sanded again until we got our hands an arms painful and worn-out. But now, the nice part can start! Painting it beautifully white. We use the color Snow-white from International Perfection Pro paint. This is the best epoxy paint on the market. It should last at least 10 years.
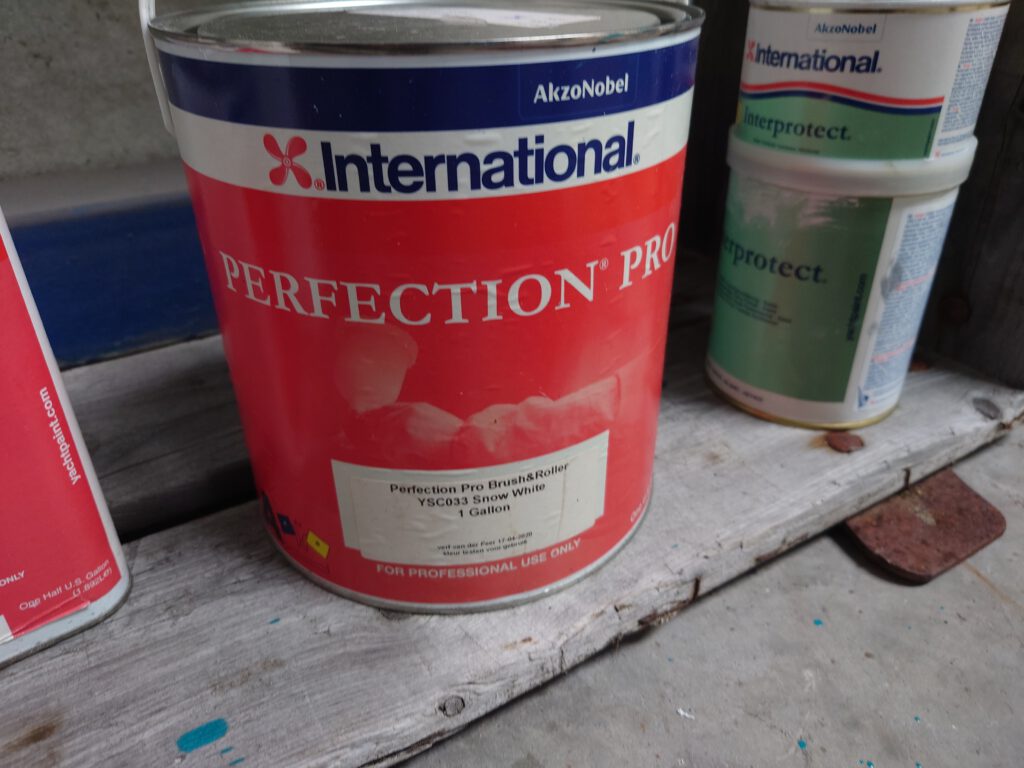
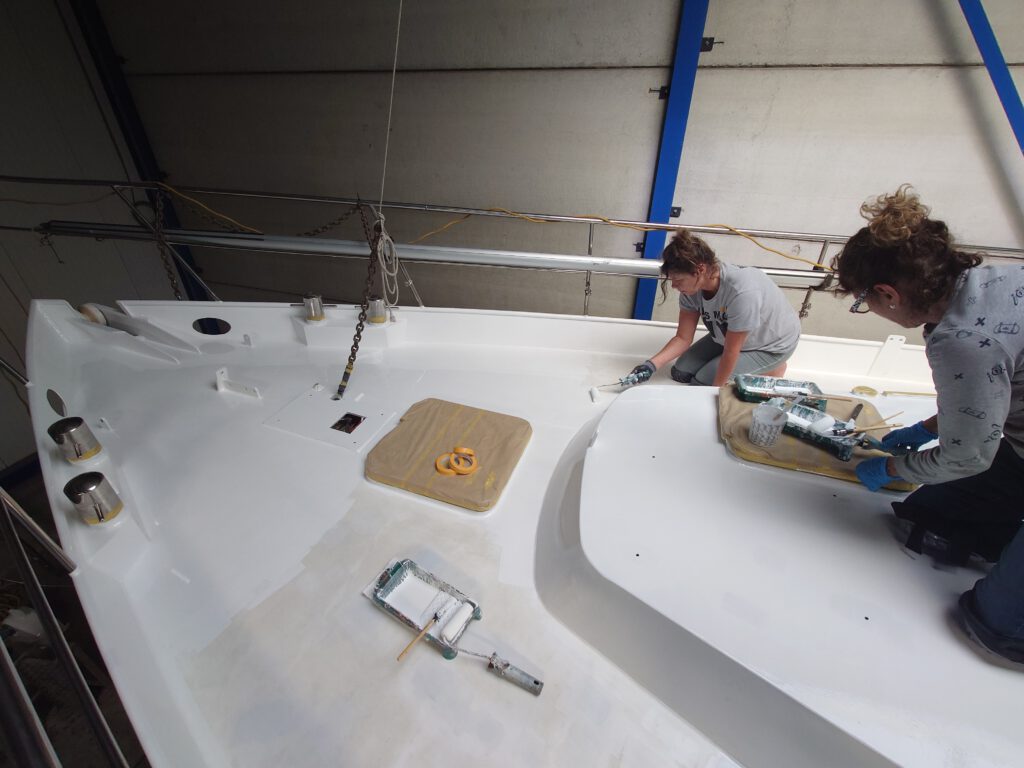
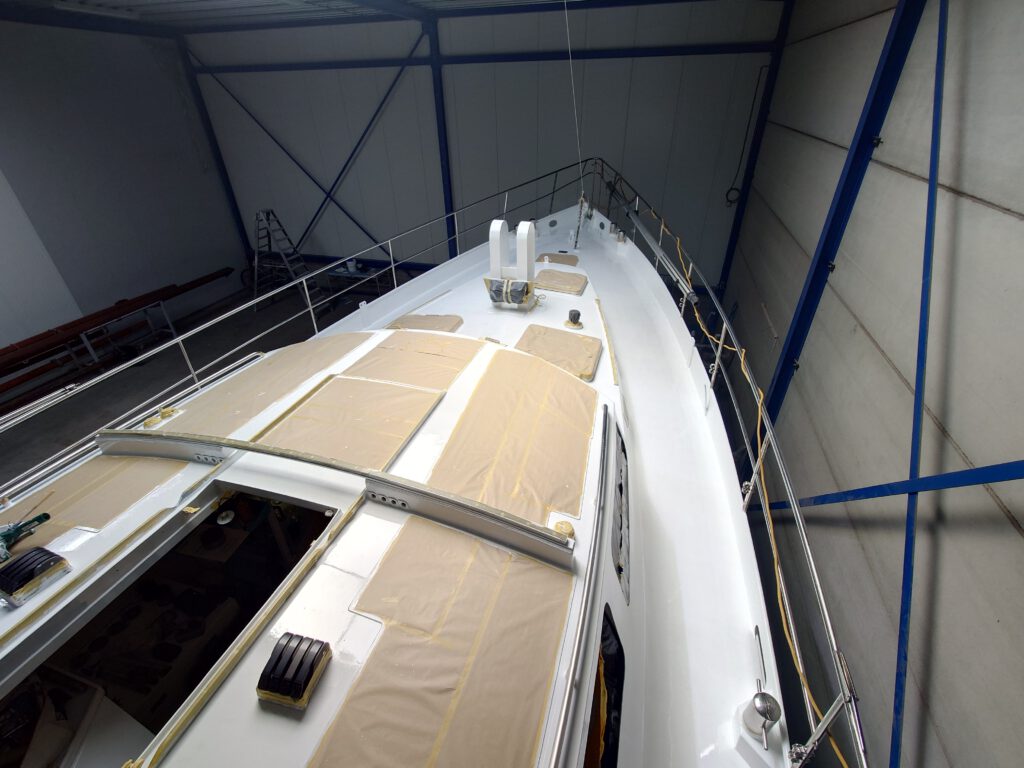
After the first layer she looks so beautiful already! And 3 more layers to come. So, the white will be looking more brilliant and intense.
While the decks are drying we mount the prop for the bow thruster.
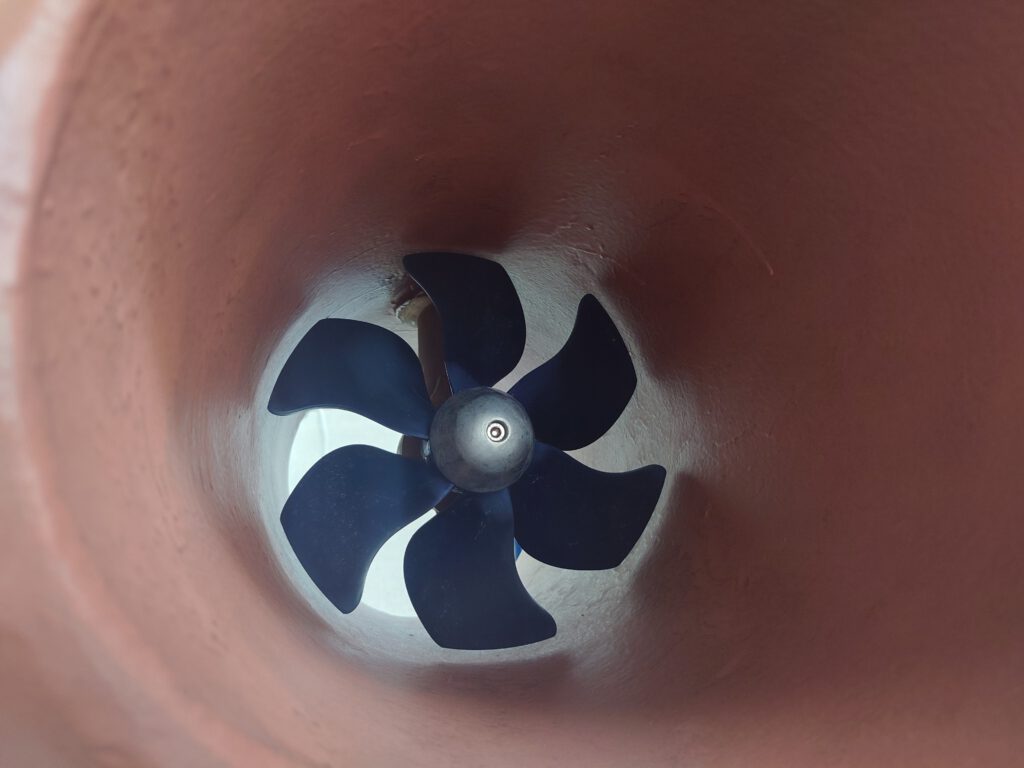
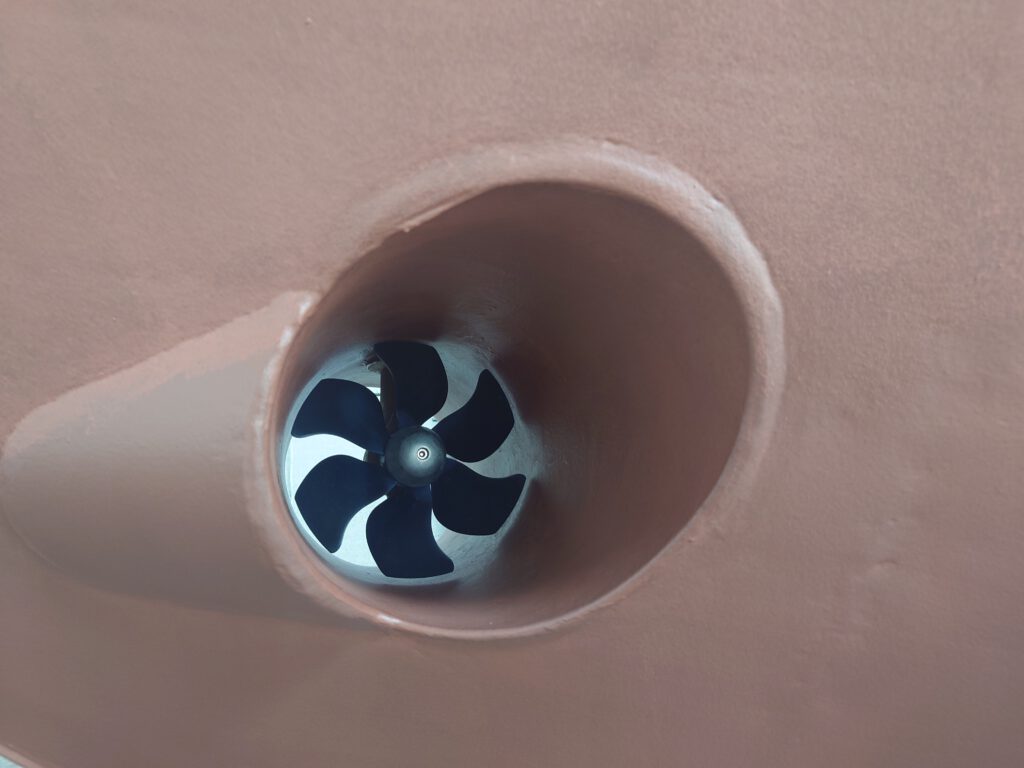
May 15 – second layer of paint on the decks
We don’t sand the previous layer. We just add layers while the previous layer isn’t fully cured (24 hours in this temperature of 20 degrees Celsius). Like this, we get a nice thick layer of paint that is very strong and durable. Hard like glass when fully cured. The drawback of this way of working is that we can’t sand small failures away (like drips, dust particles, insects). Professional painters sand after each layer. But for us, the maximum protection of a thick layer of paint is more important than a mirror-like surface. Like they do on the Navy ships. The Dione IV isn’t a superyacht with everything filled super smooth, you know… but she is a super yacht! She has almost no filler on her. Filler is just extra weight and makes it far more difficult and laborious the repair scratches and damages.
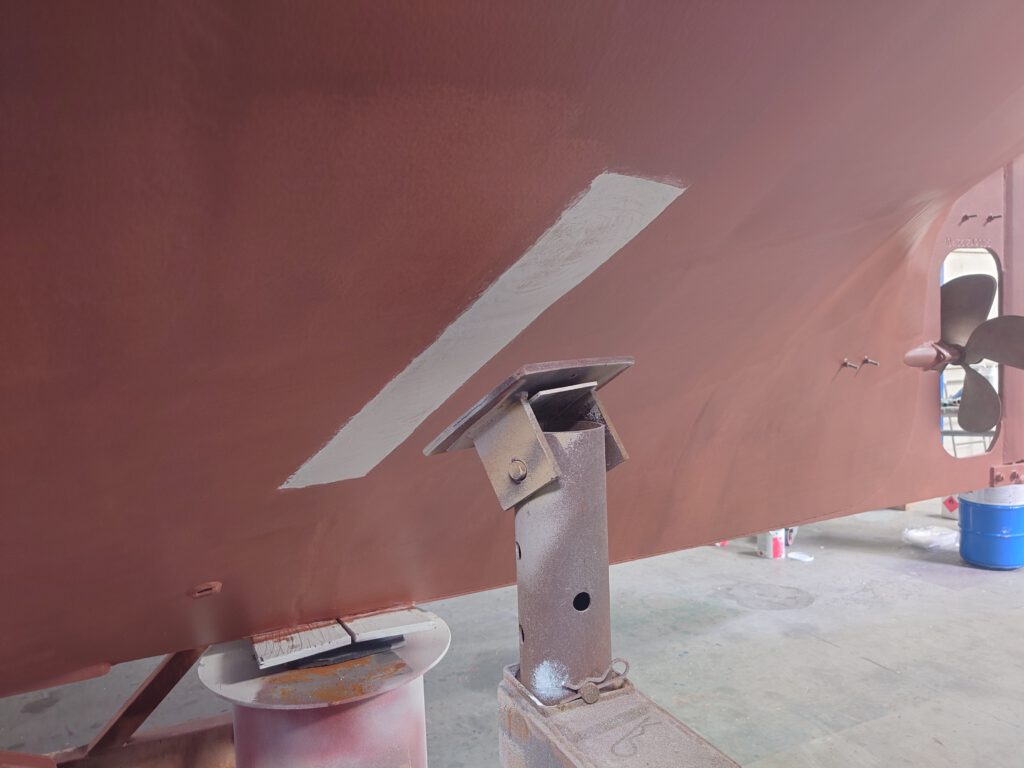
The Coppercoat is dry and almost cured. Time to move the supports so that we can paint the 2 places where the aft supports have been. Ids comes to do that. Of course, this has to be done with great care and responsibility!
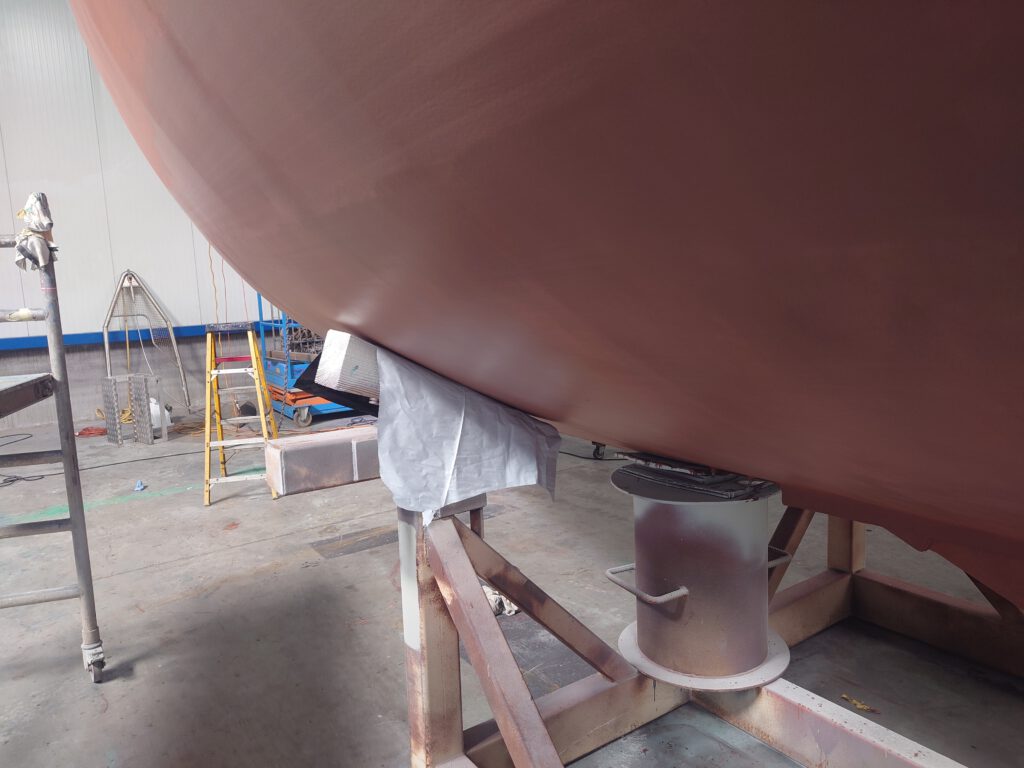
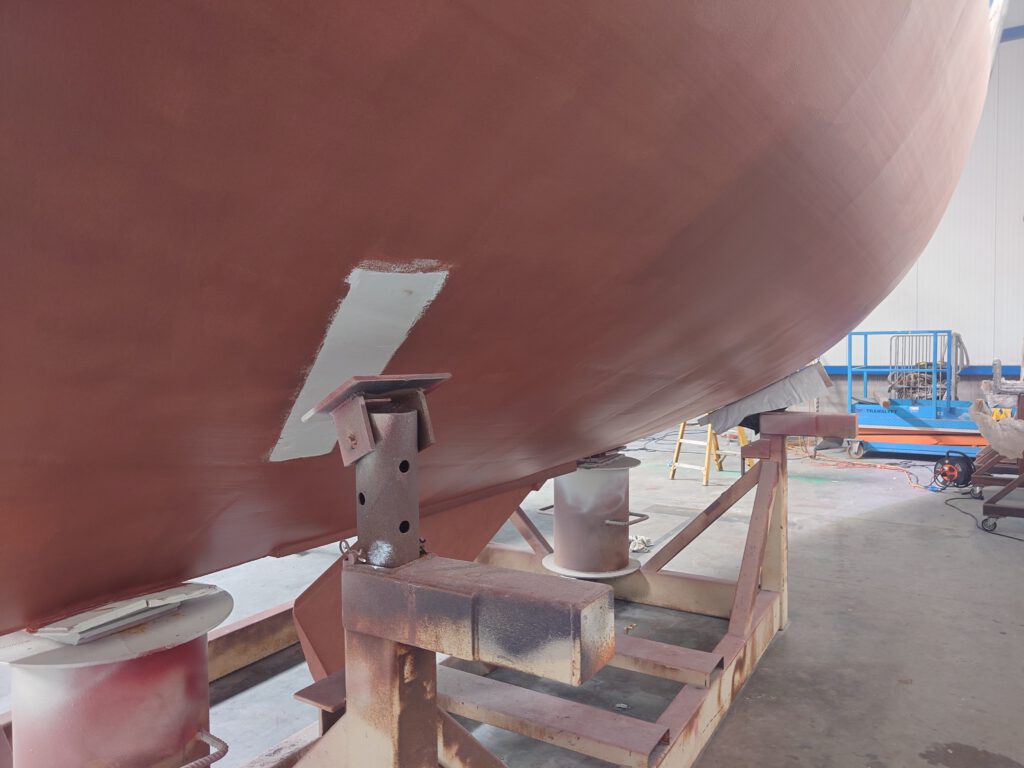
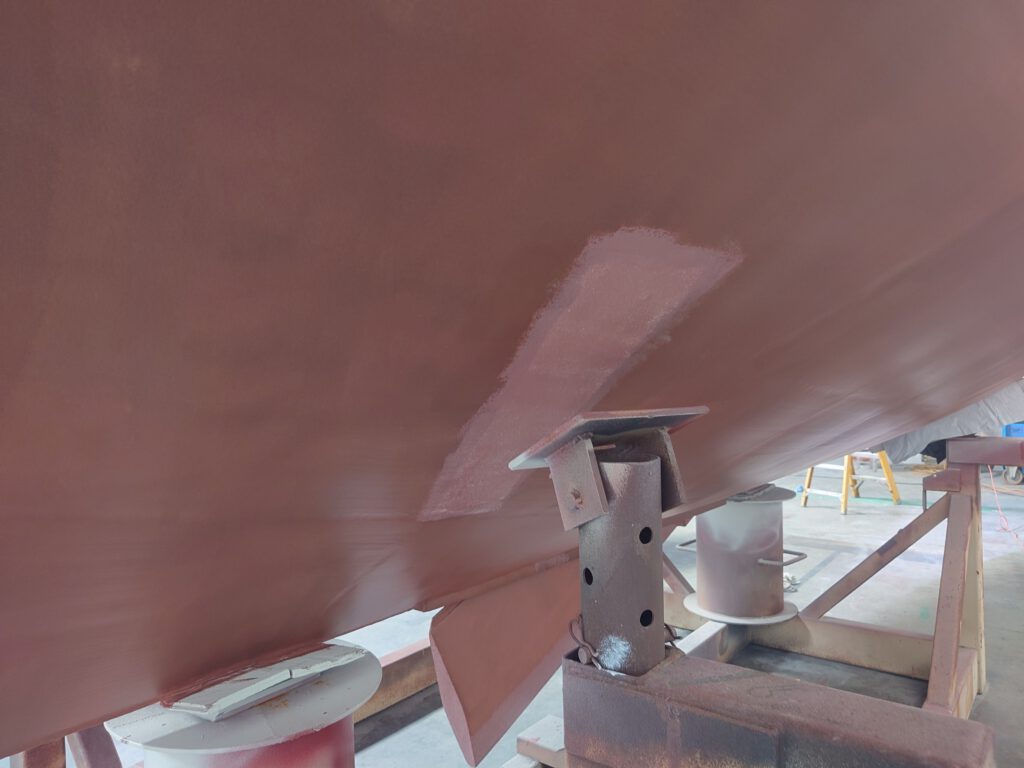
The teal and the white paint have fully cured now. So, we can stick the text lettering on now!
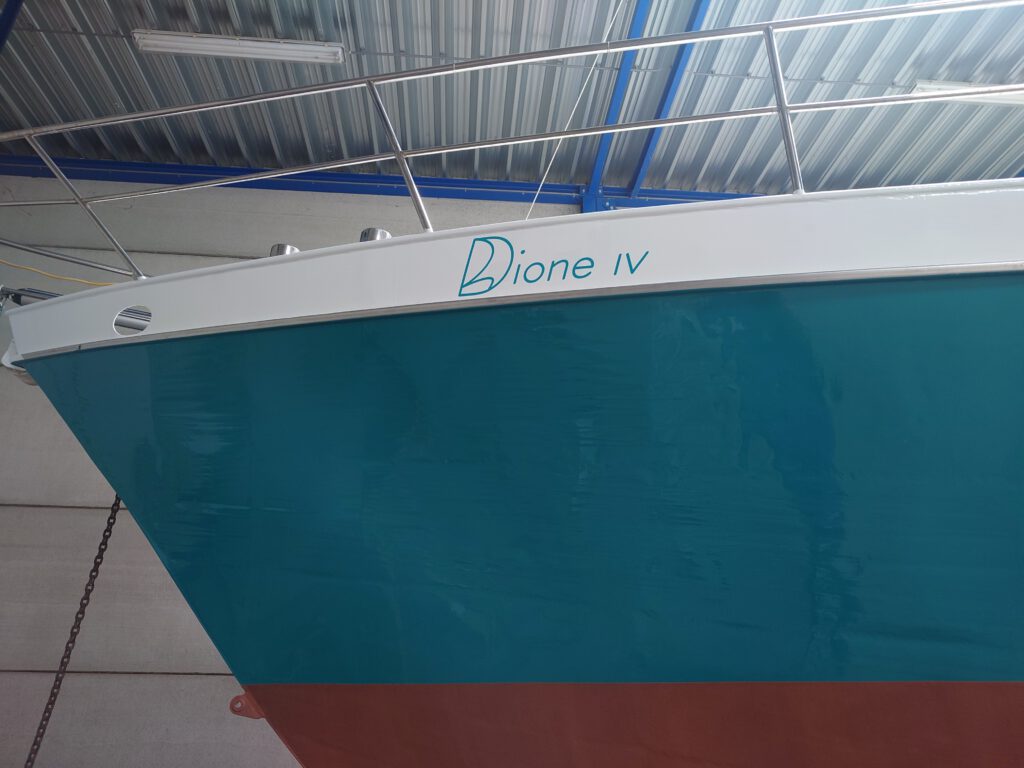
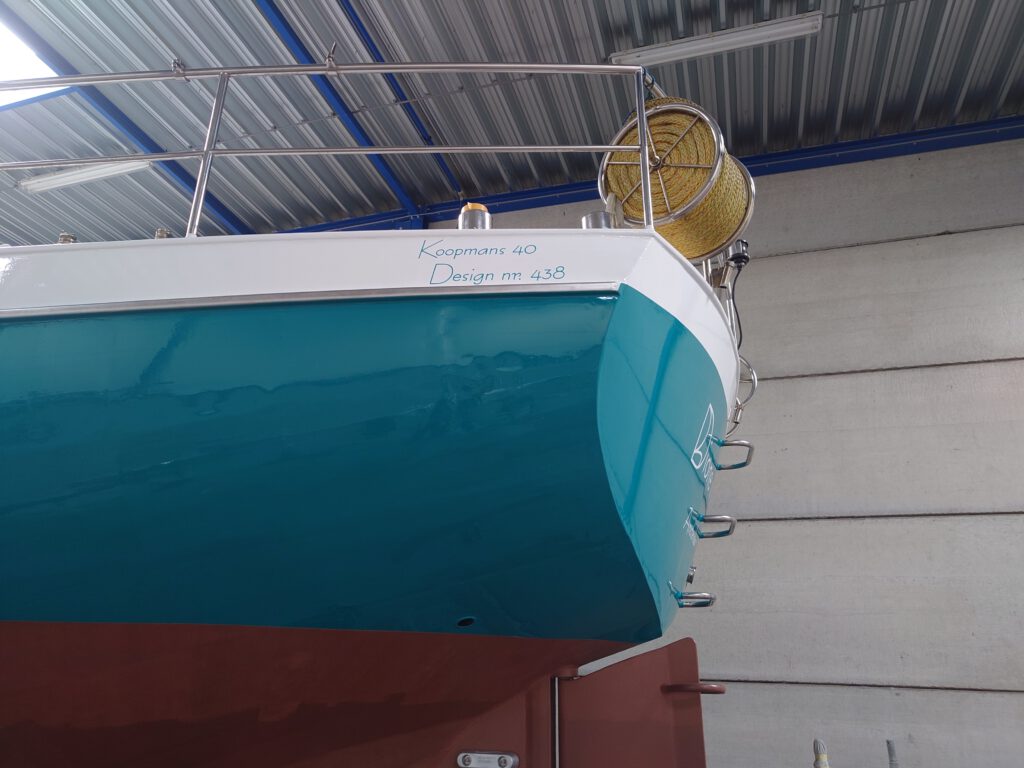

That looks so lovely! We are very happy with it!
By the way, we had to choose a home port. Well, we since the Dione IV is actually our home and we don’t have any other home and we keep her under the Dutch flag, we had to select any Dutch port. It could have been any city. But we took Amsterdam because everybody in the world knows Amsterdam. So, we won’t have to spell that out to the coastguard or any other authority. Handy!
May 16 – We taped the main deck for applying the 3rd layer of paint
This last layer contains anti-skid powder. Without this, the decks would be extremely slippery and dangerous when we are underway.

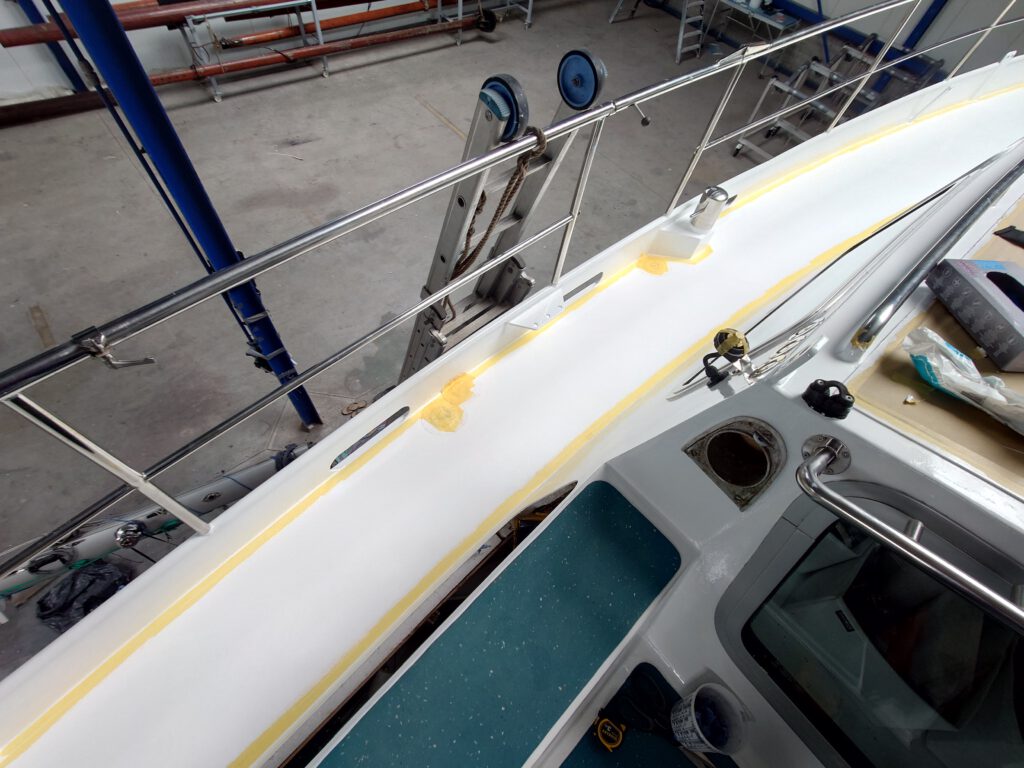
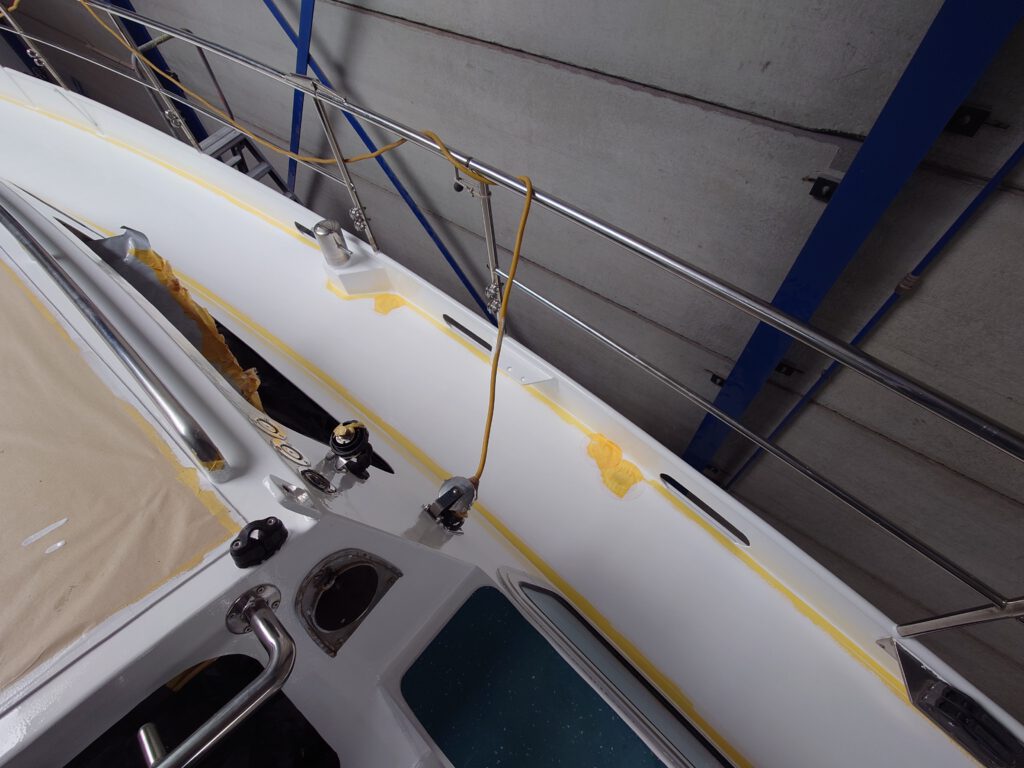
May 17 – all paint has dried now but is not fully cured
So, while it’s still a bit soft, we take all the tape and paper off.
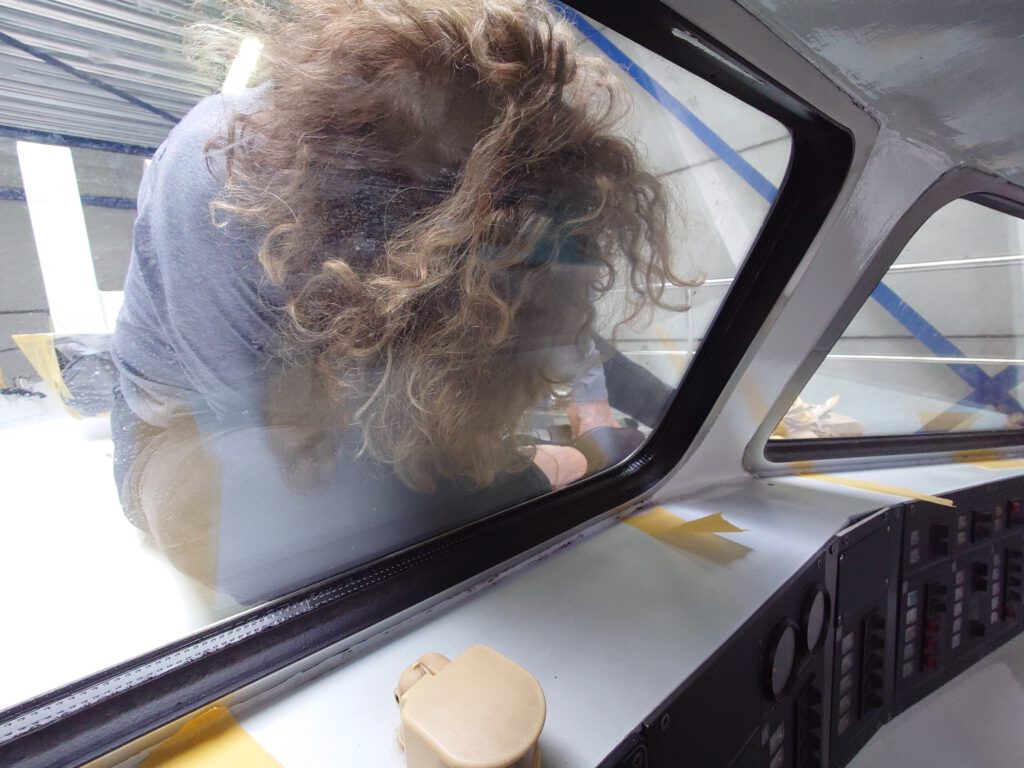
By the end of the day it will be time to launch her back into the water! We prepare the Dione IV for getting back in the water. Since the paint on the deck salon isn’t fully cured yet, we can’t put the new windows back. So, we cover the empty places temporarily with plastic.
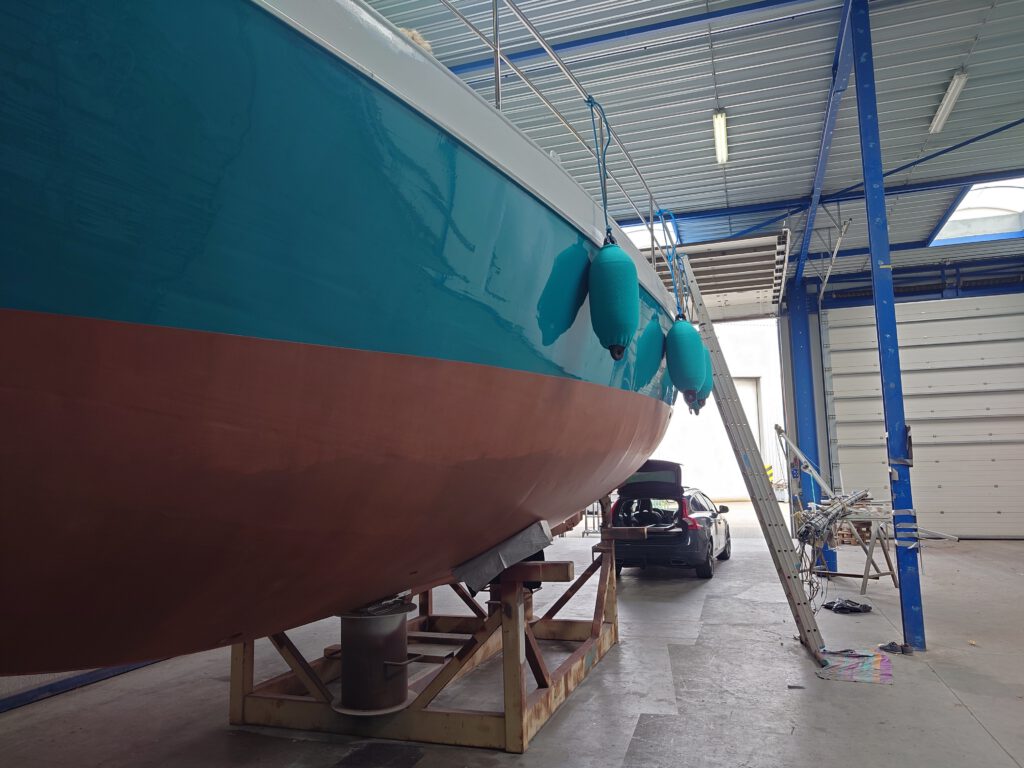
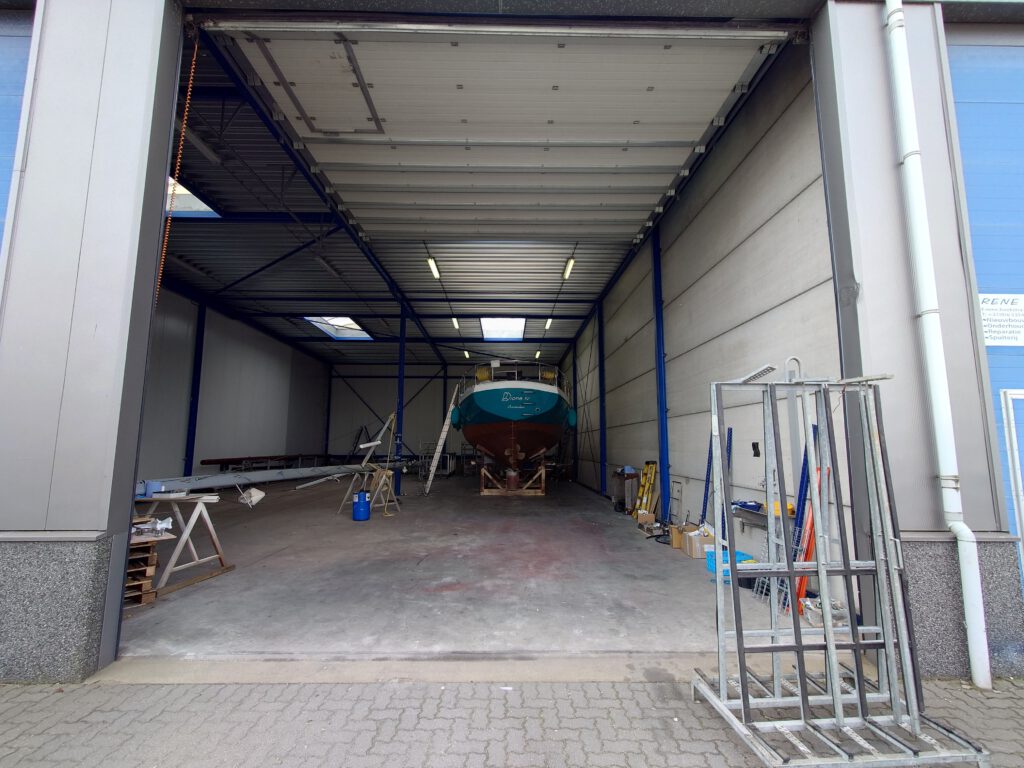
At 4 o’clock, Ids comes with the boat transporter and takes the Dione IV very cautious and carefully to the crane. For a moment, we are afraid she won’t fit through the door any more, with all these kg’s of paint on her and being so puffed-up with admiration, love, and care! 🙂 But, all goes well!
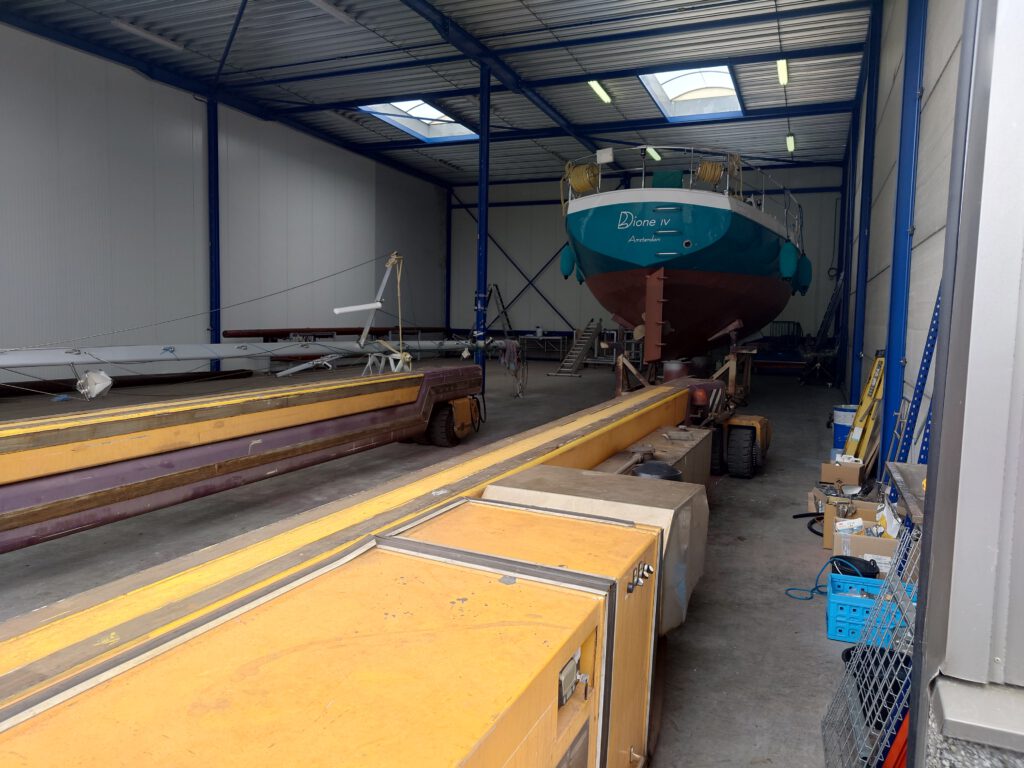
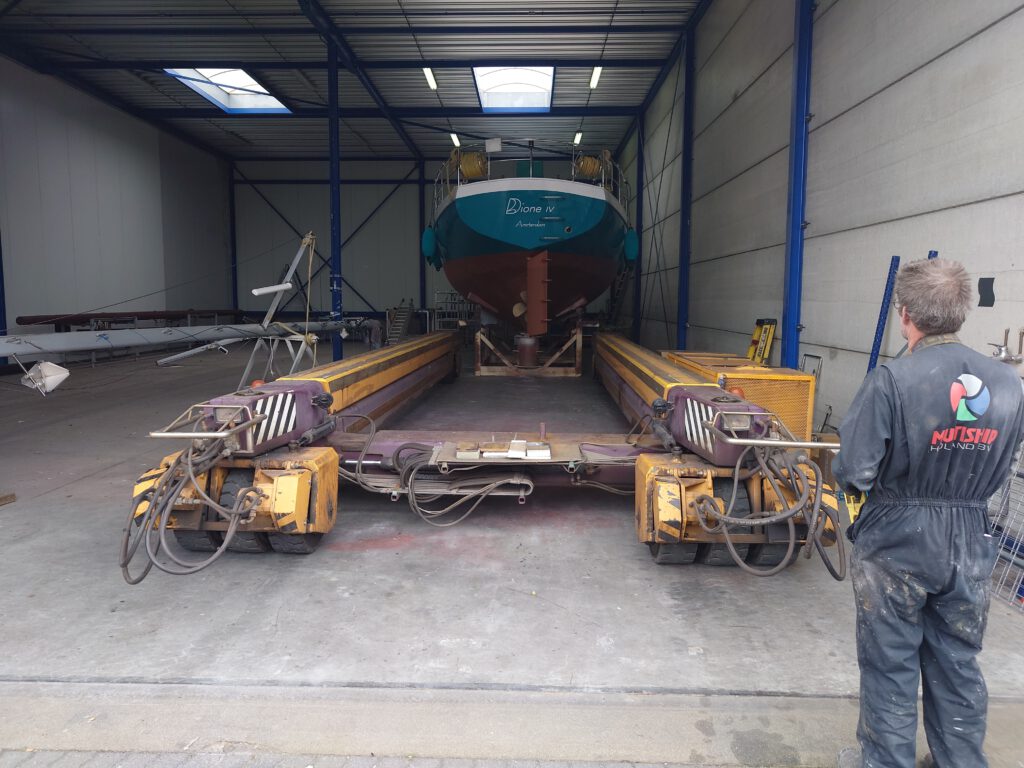

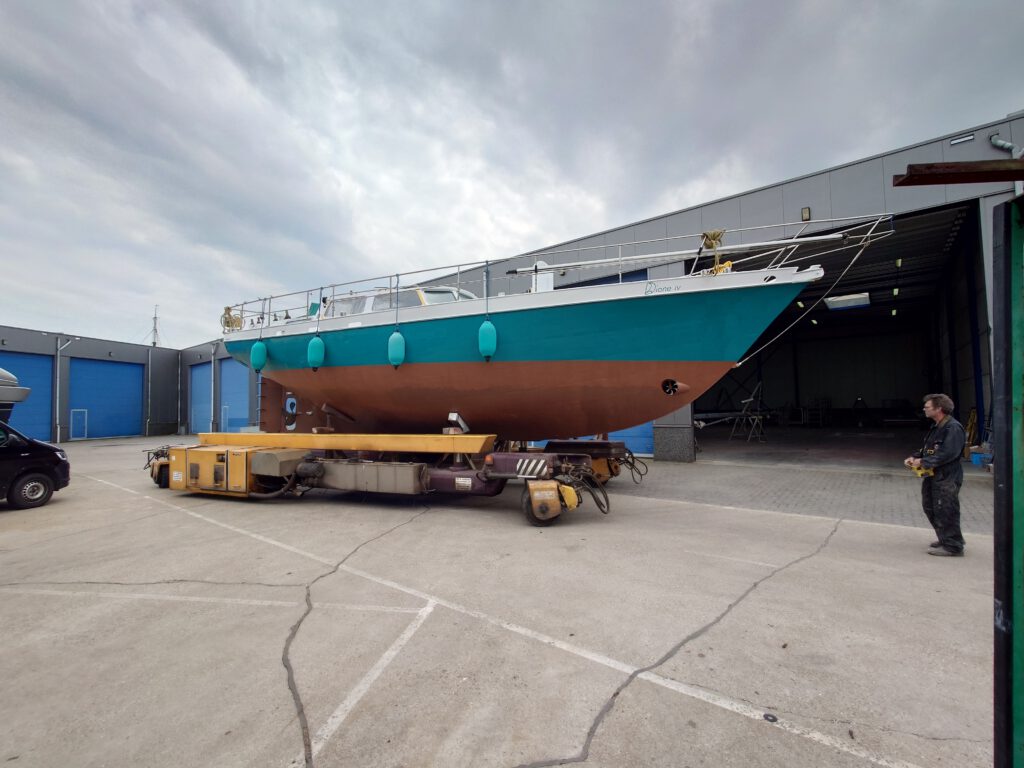
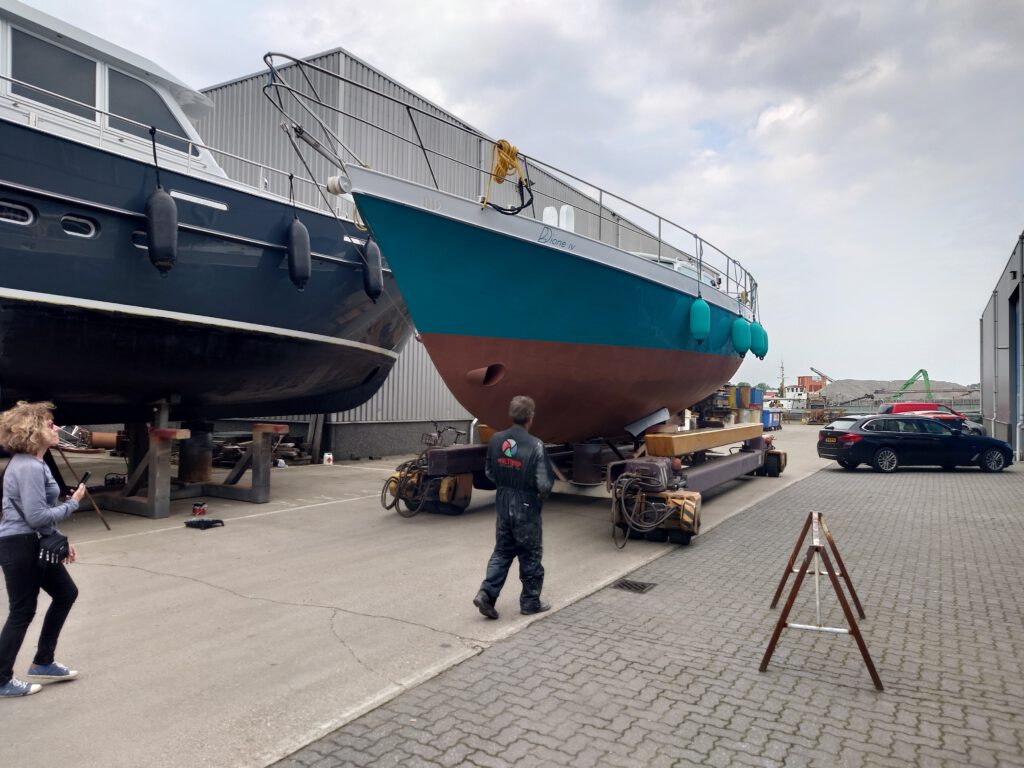
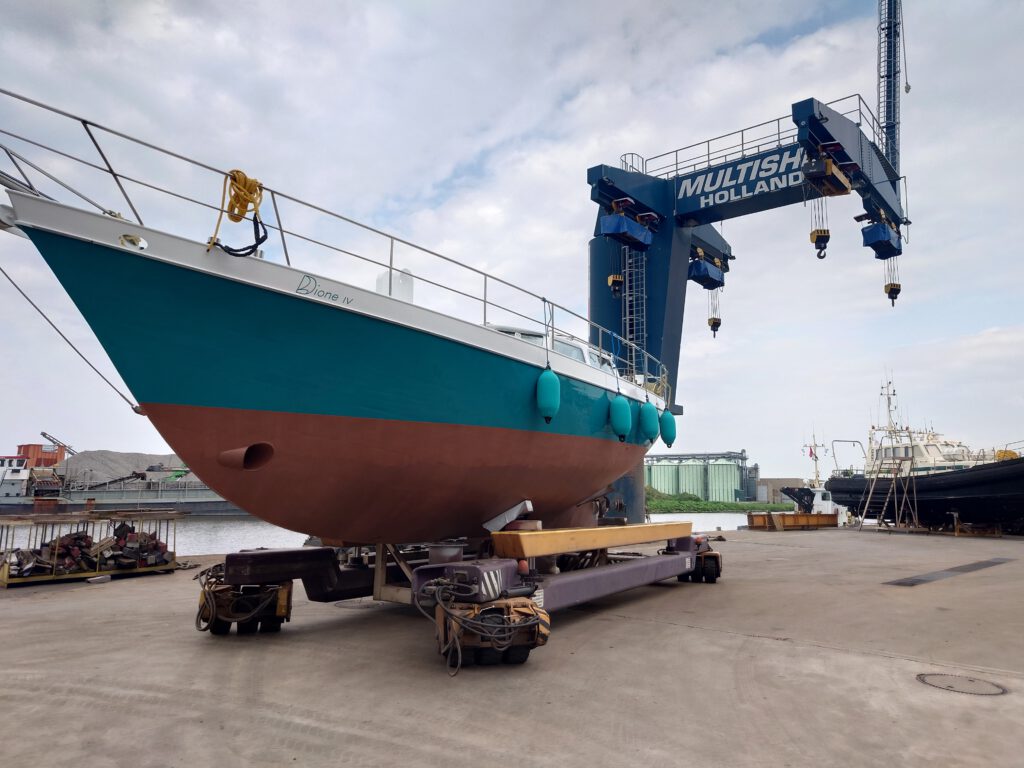
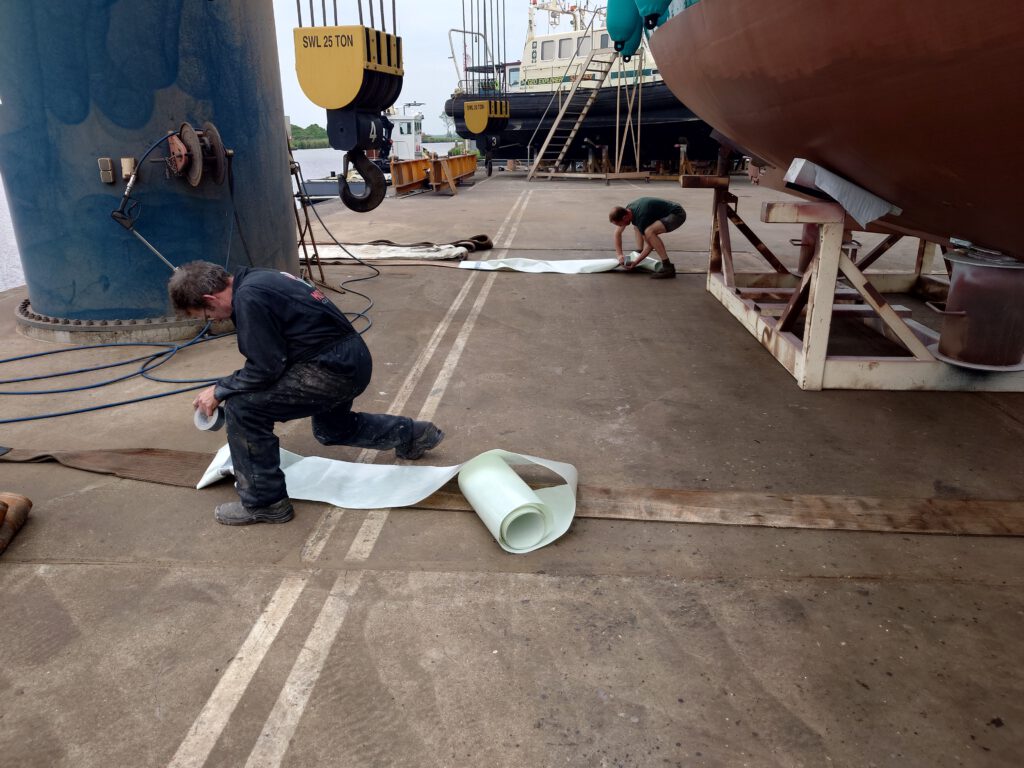
To protect her beautiful new body from the dirty slings, they put plastic over the slings. We are so happy with this great care of these guys!
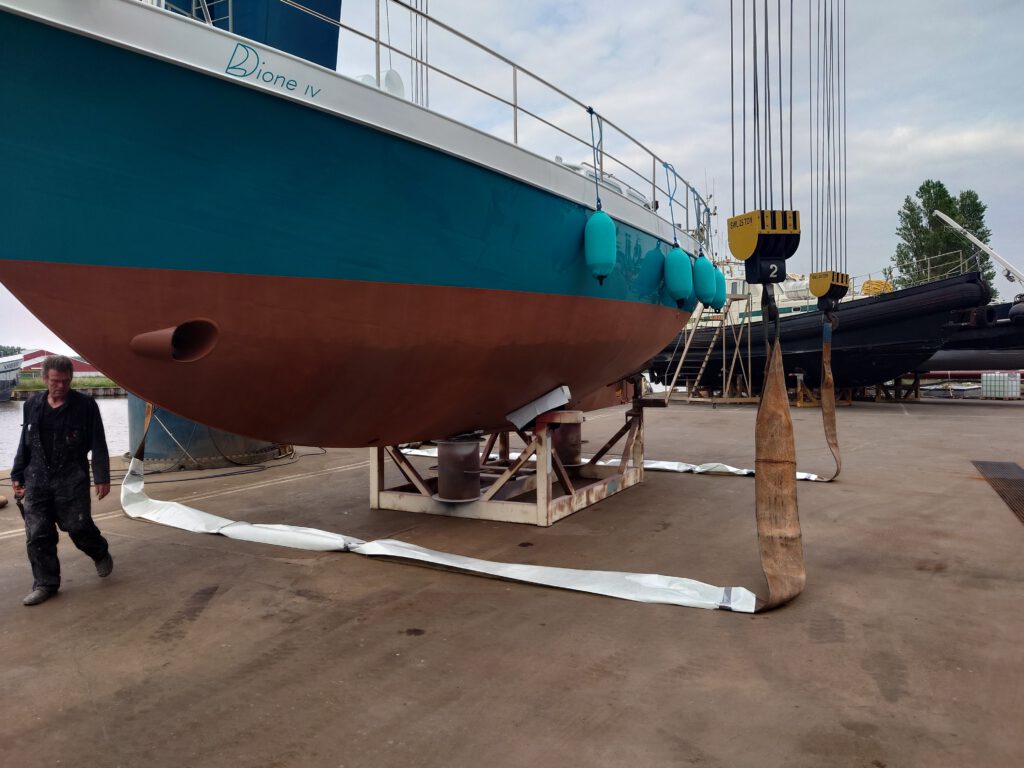
Splash!!!

DIY Project done!!
We’ve painted her from the keel to the mast, from port to starboard, from bow to stern. ALL paint on the outside has been renewed under optimal conditions (temperature and humidity), all according to classification, using the best paints available.
We’re very happy to live on board and afloat again after 6 weeks as landlubbers and we toast with a delicious pink champagne to that!

Leave a Reply